Adding Findings
This tutorial guides you through adding findings and observations to your inspection reports. You will discover different methods to enrich your reports with audio notes, images, and detailed descriptions.
Visit inspector.lumos.property
1. Introduction To Methods

2. Add A Finding Via The Plus Button
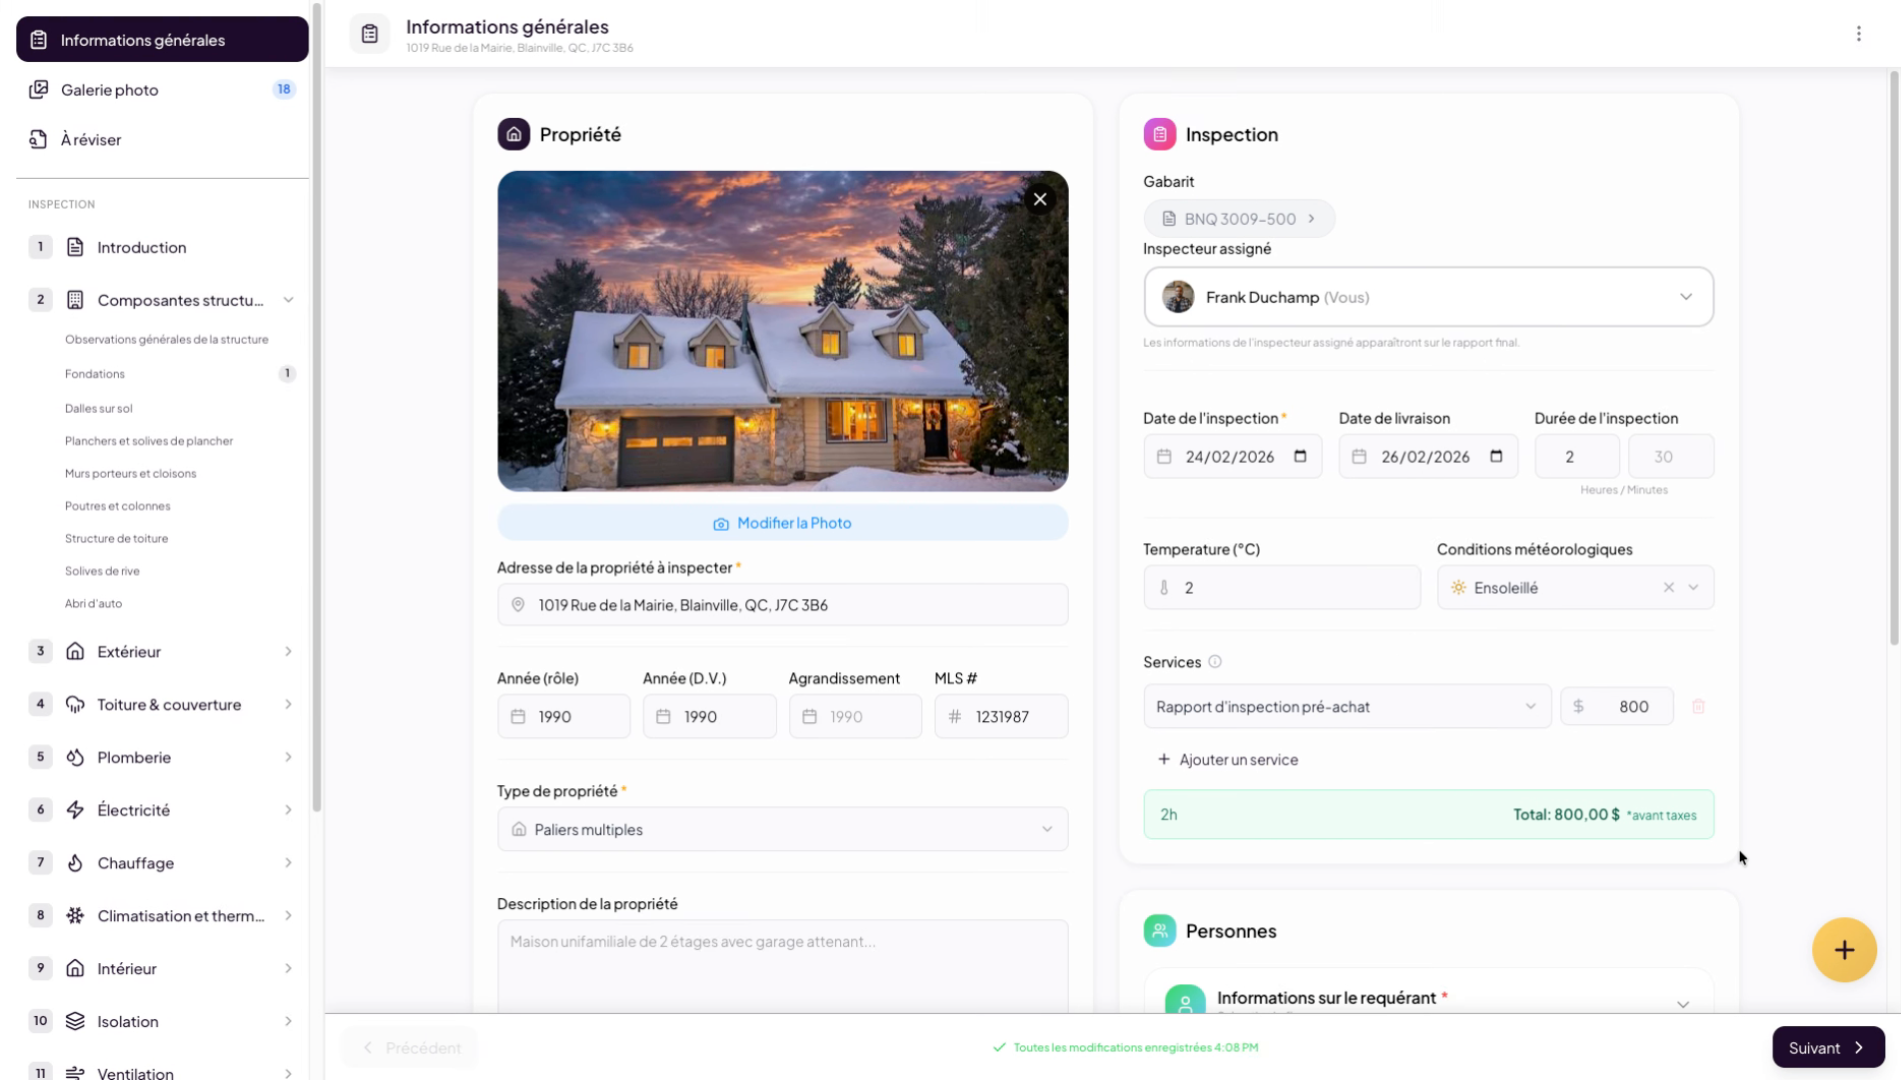
3. Open The Plus Menu
Click the Plus button to start adding a finding or observation to your inspection report.
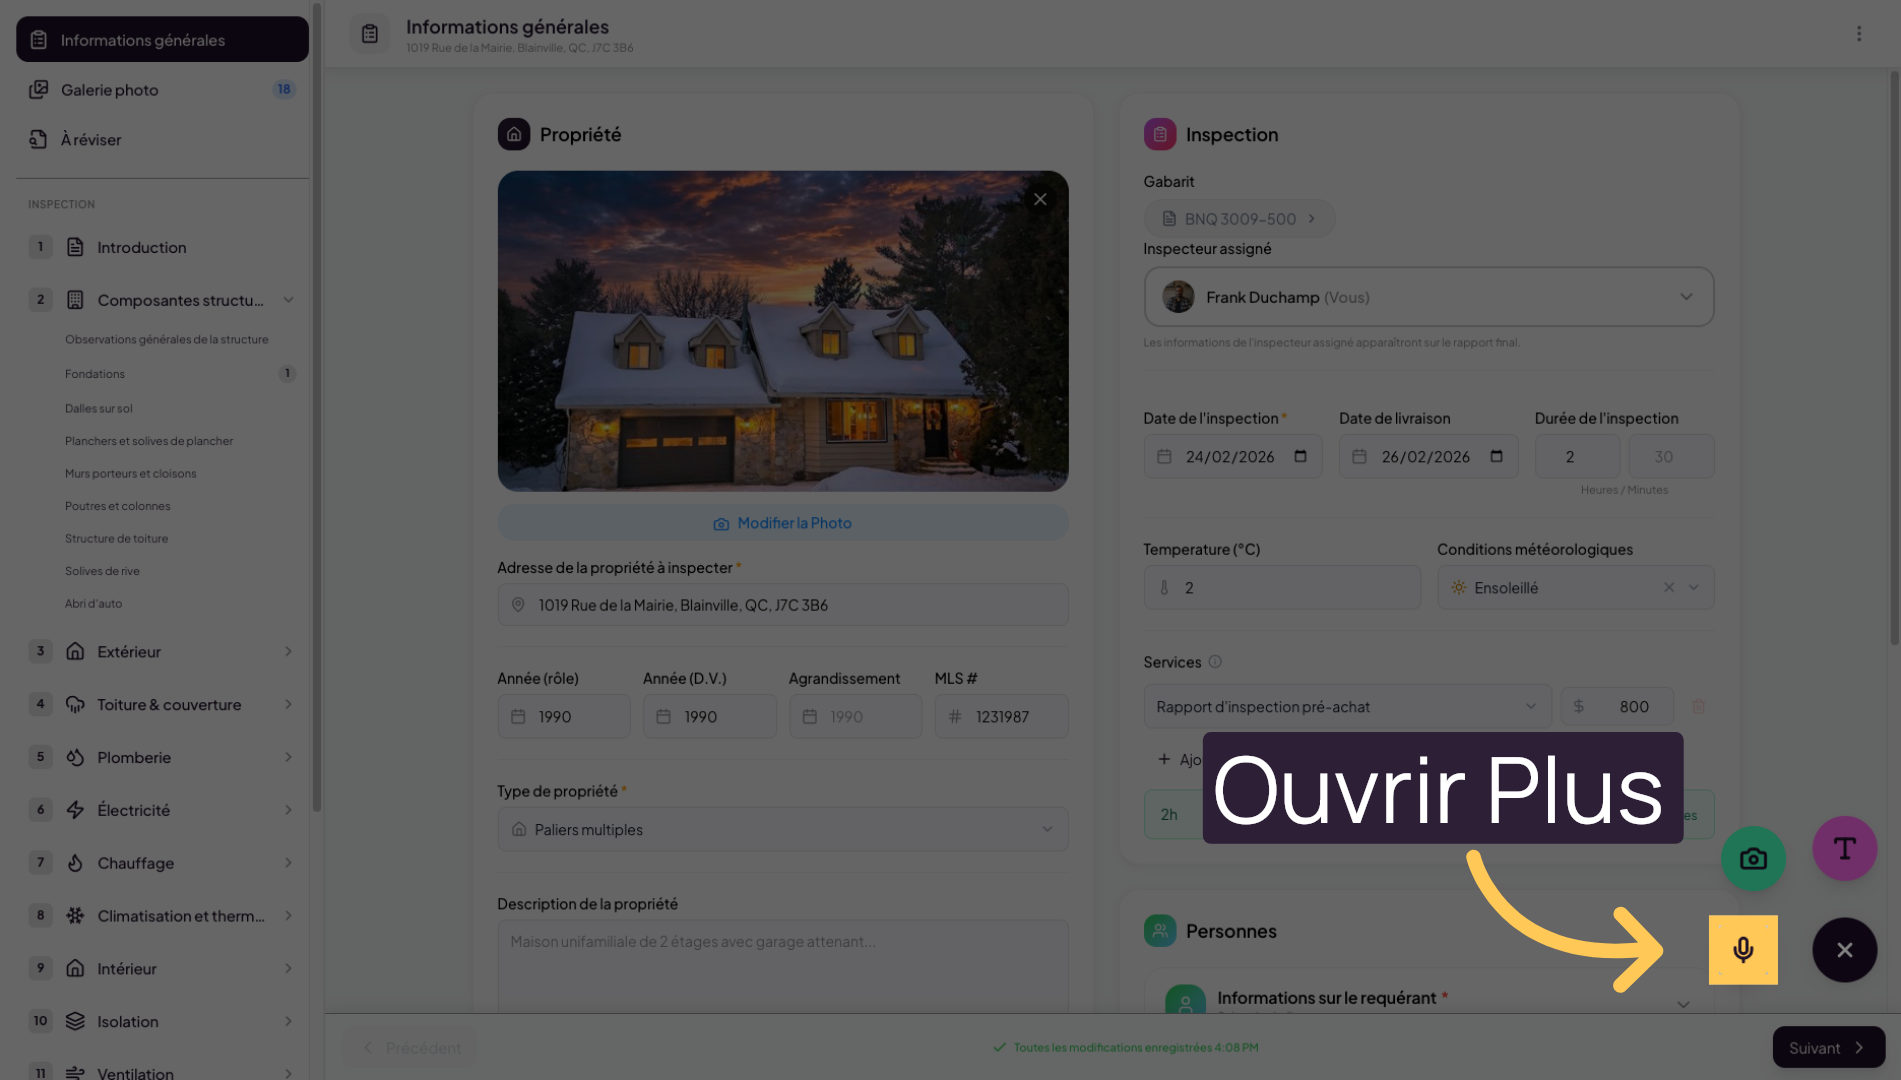
4. Add An Audio Note In The Field

5. Record An Audio Note
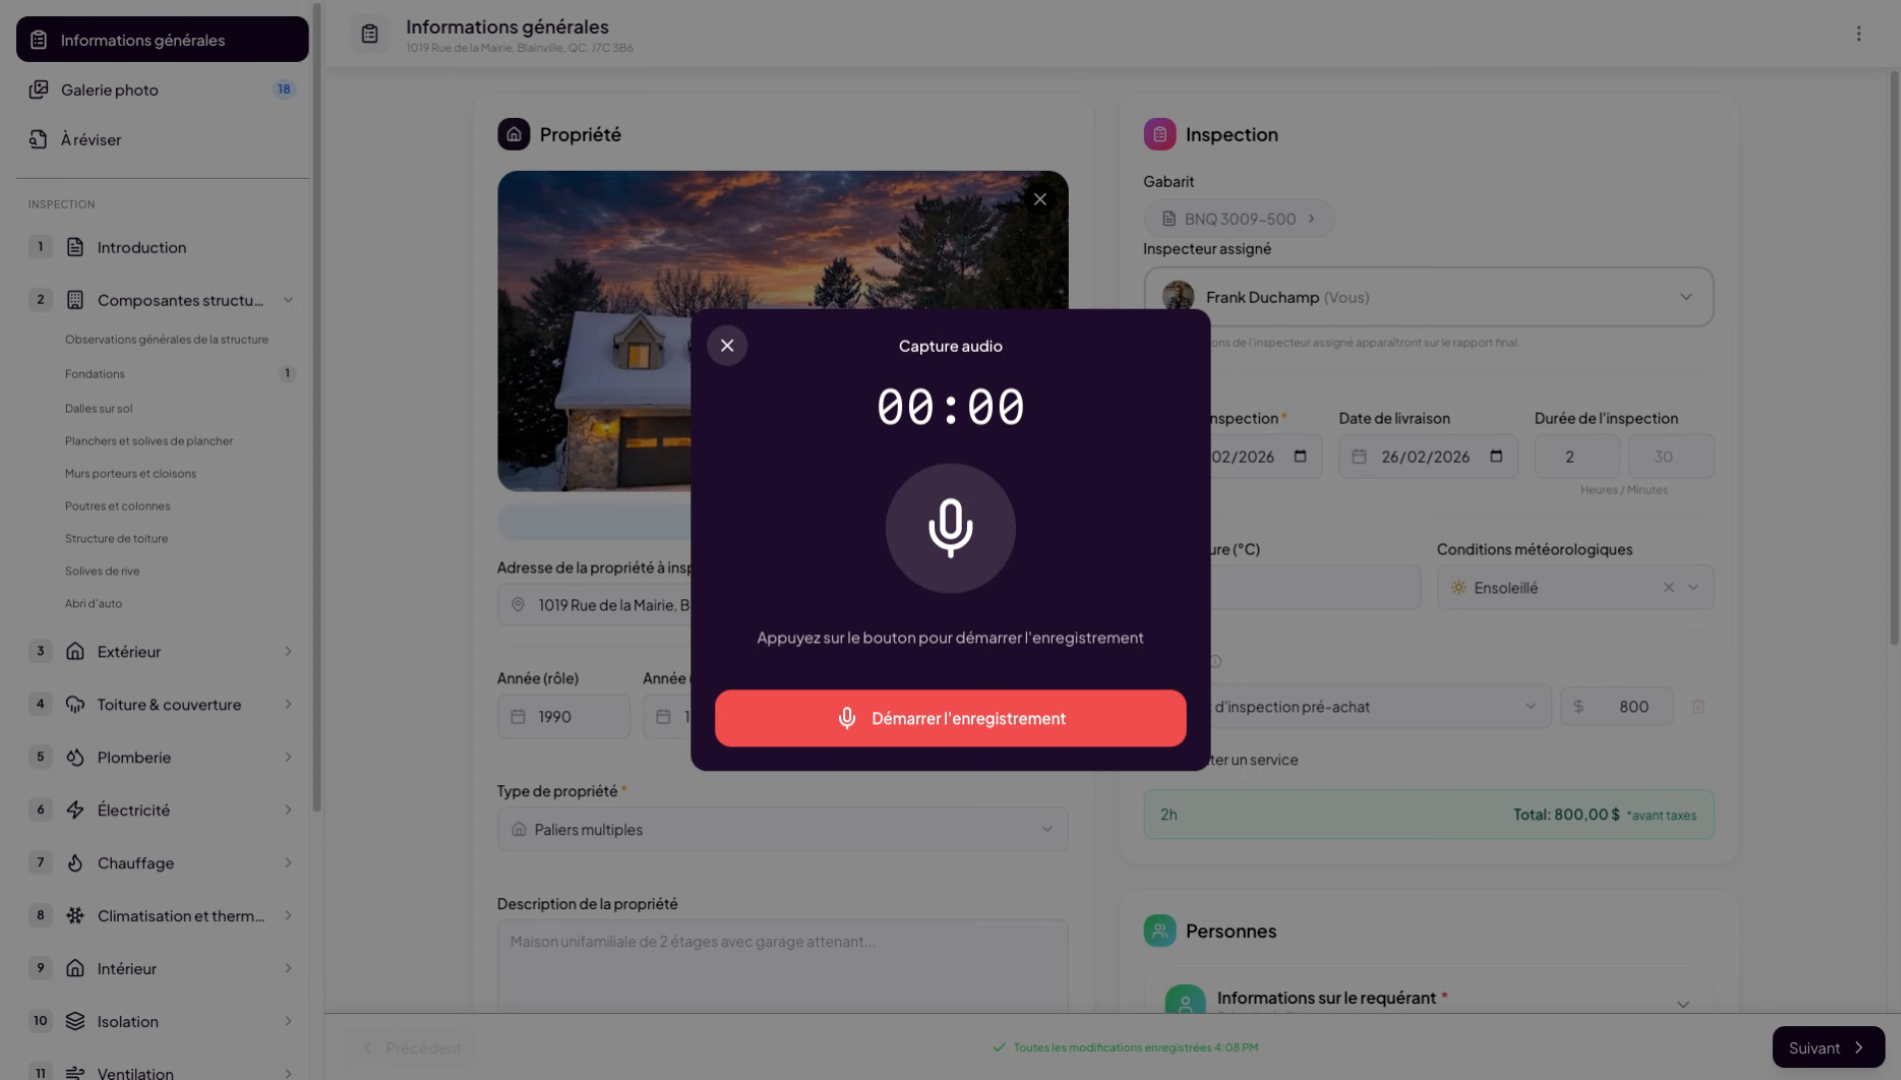
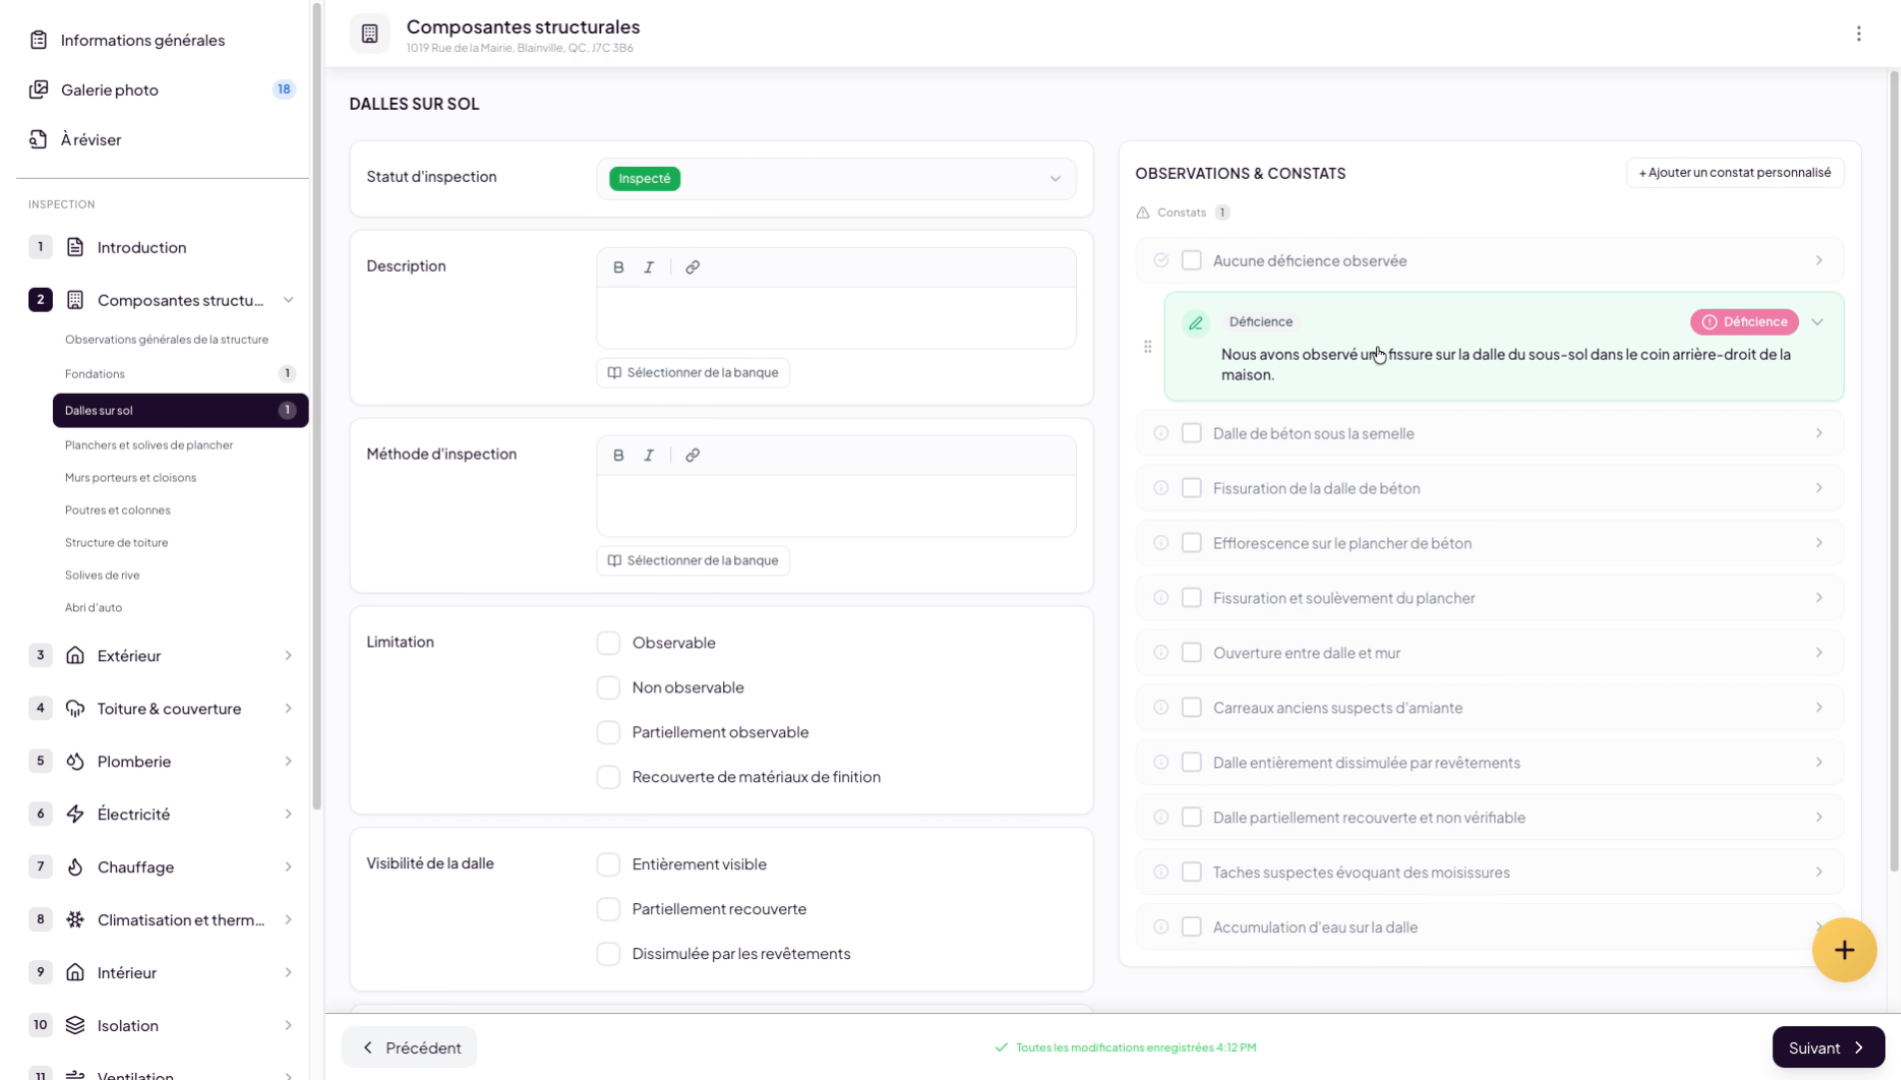
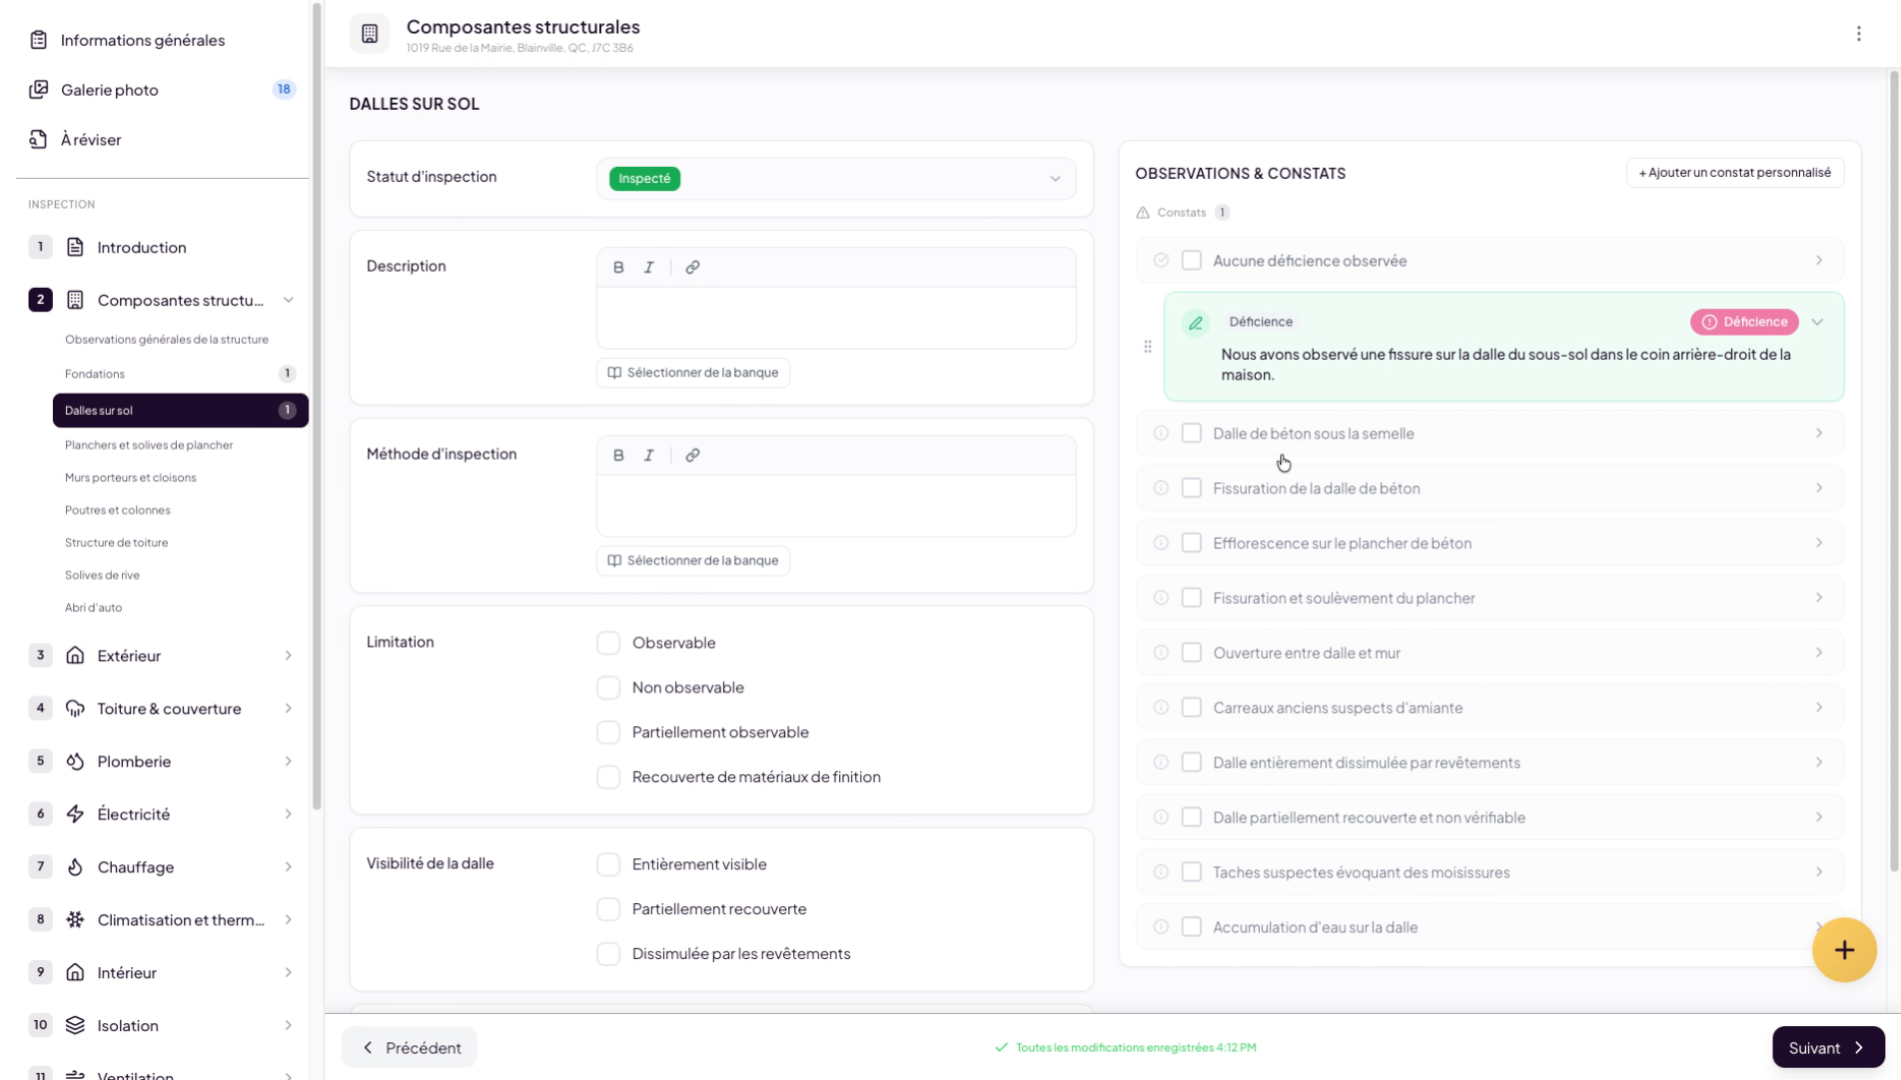
6. Example Of A Crack Finding
For this example, we will add a crack finding on the basement slab. Simply dictate your finding: We observed a crack on the basement slab in the rear-right corner of the house.

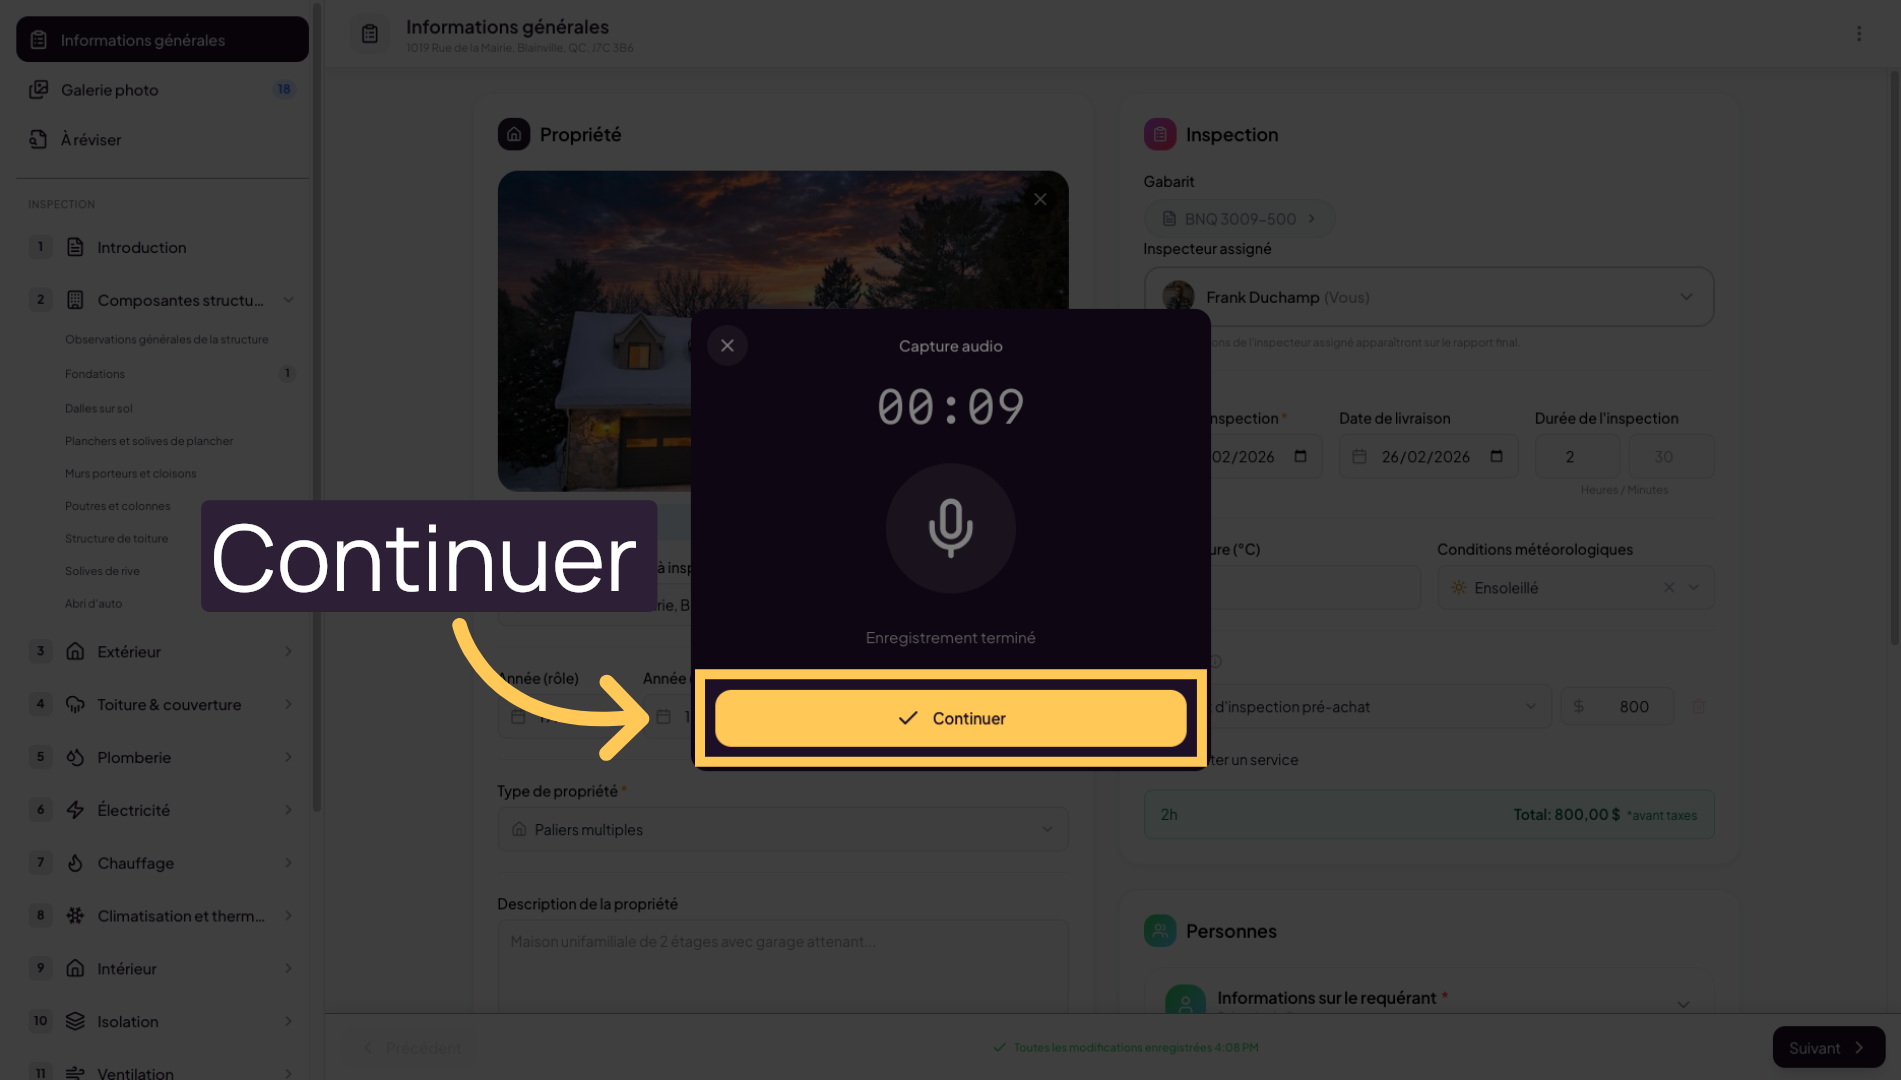
7. Continue Processing The Finding
Click “Continue” to proceed with adding your observation finding.
8. Add Images And Finish Note

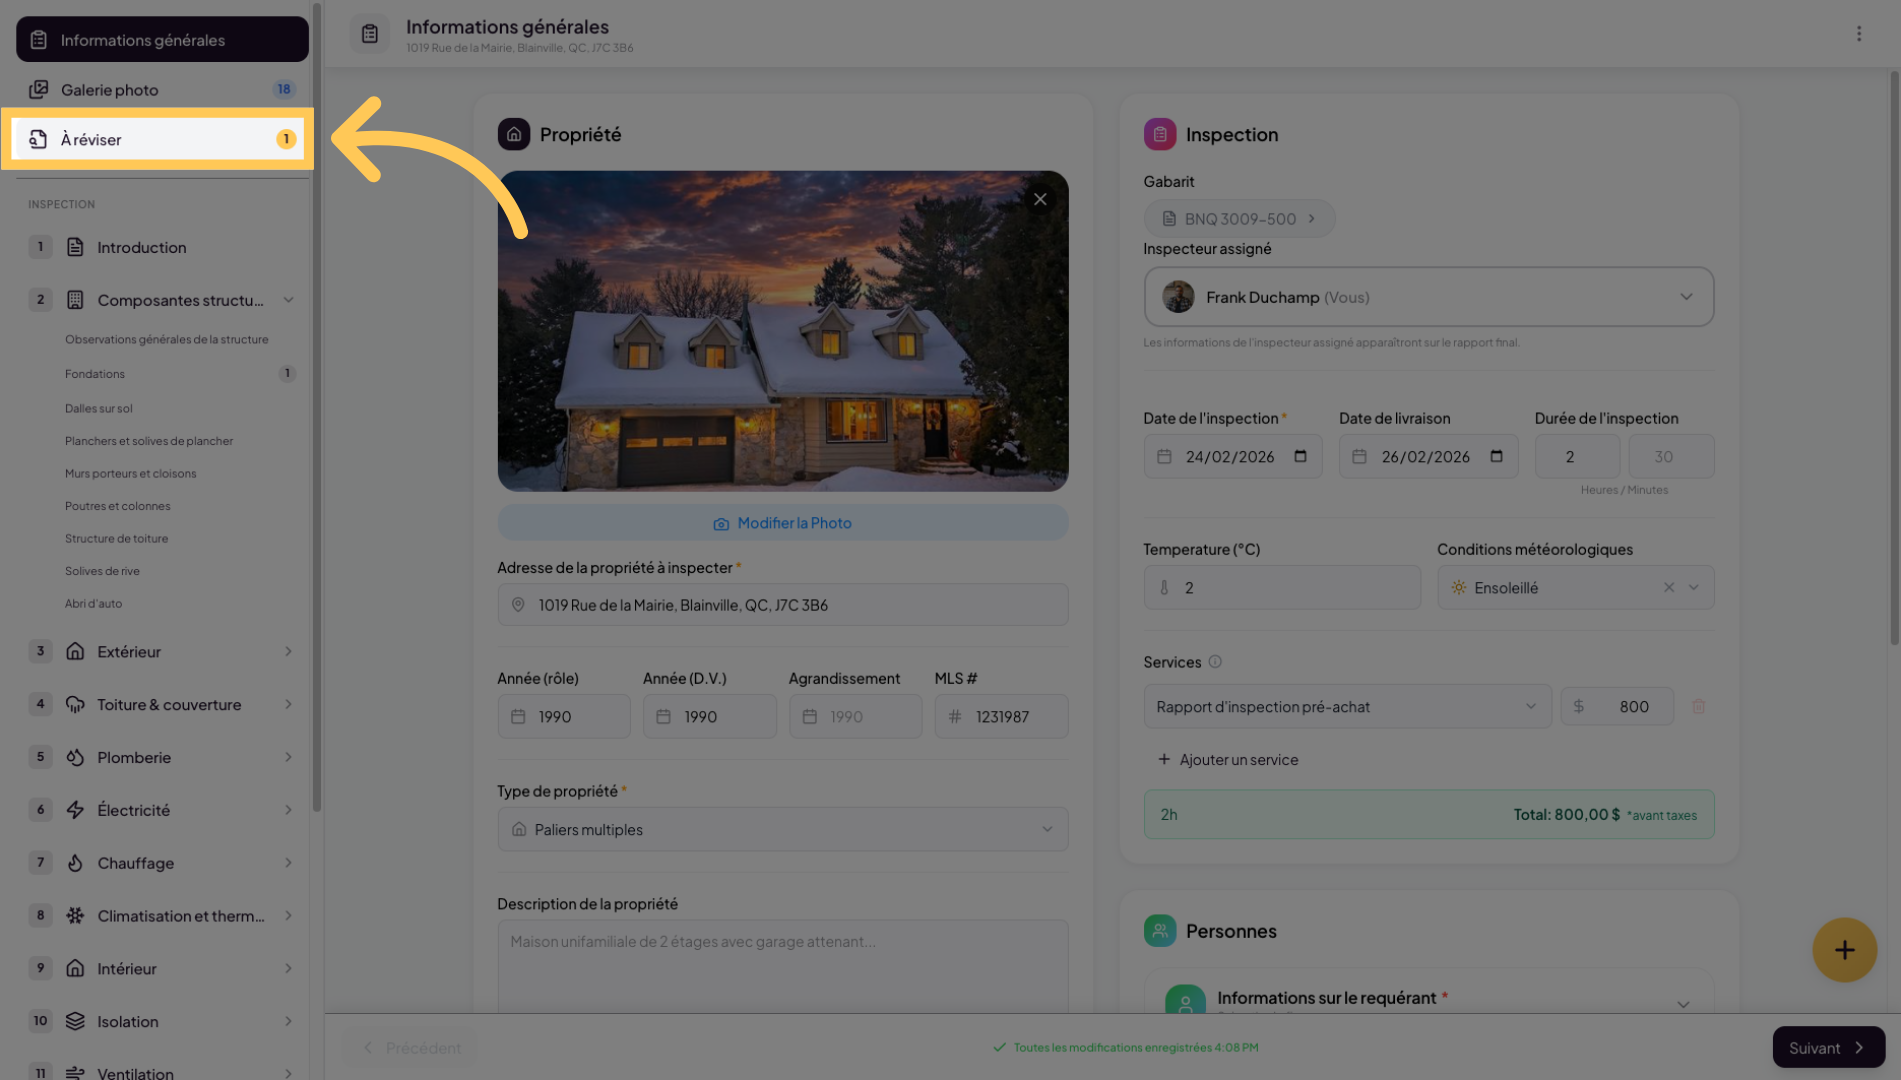
9. Mark The Finding For Review
Click “To Review” to find your finding(s) in the review queue.
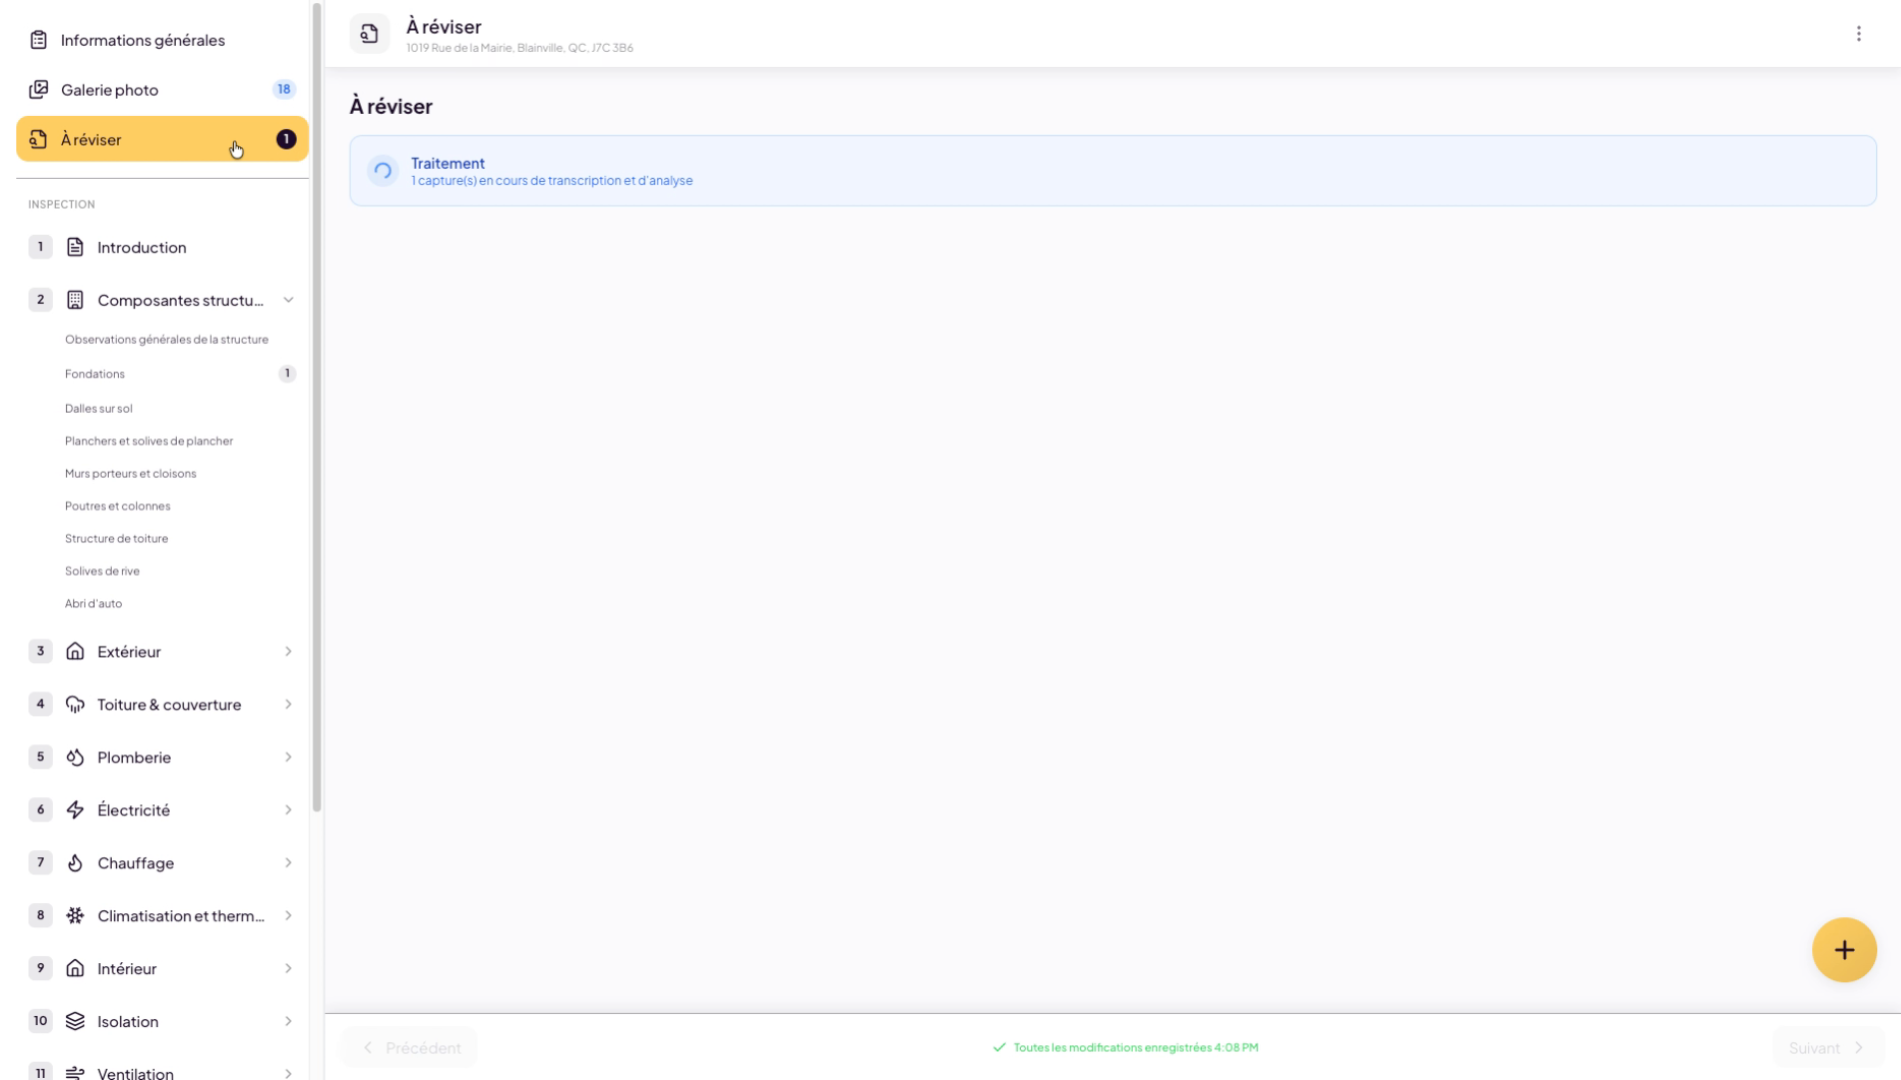
10. Manage The Notes Queue
Your audio note or photos will be placed in a queue in the “To Review” section. You can take multiple audio notes during your inspection visit and process them later when you’re back at your computer. You don’t have to do it right away — you can chain note recordings throughout your inspection.
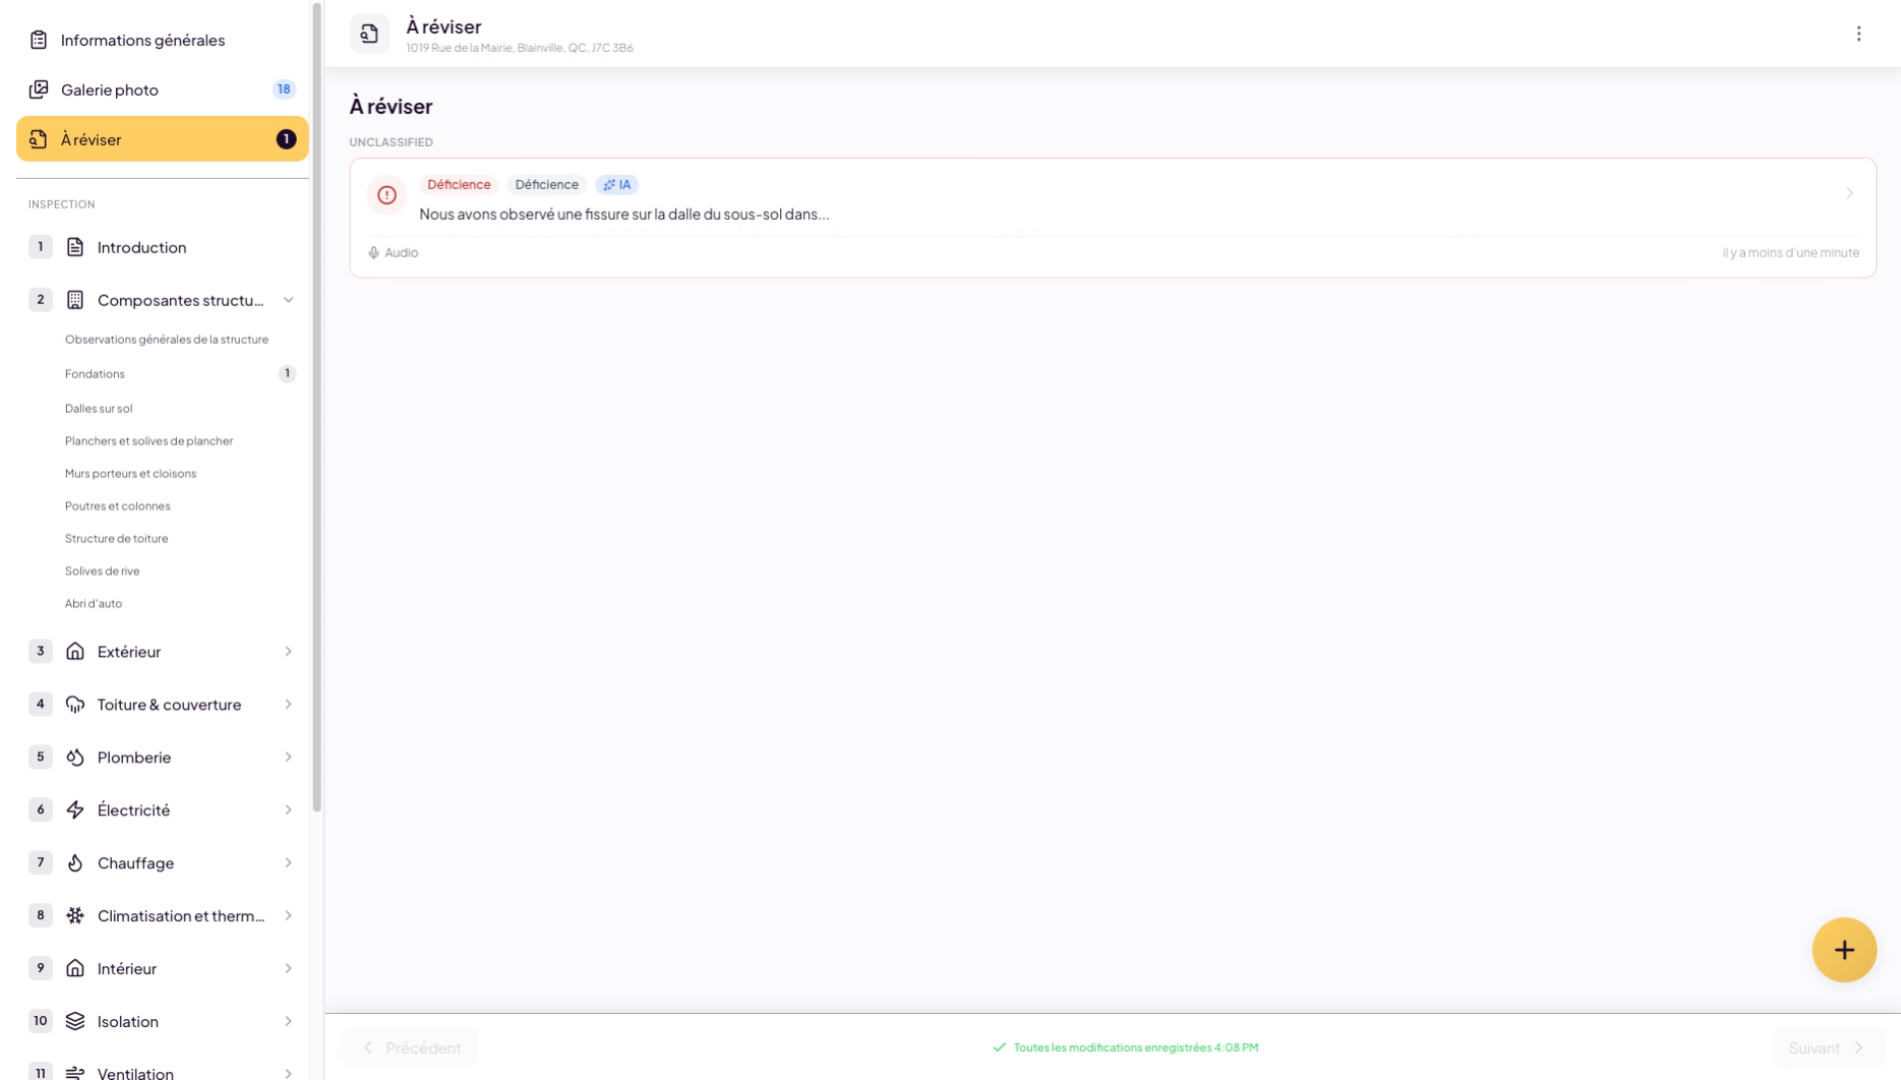
11. Review The AI Transcription
While you work on other things, Lumos AI will transcribe the observation findings. You simply need to review them by clicking on them. Adjust the content as you see fit.
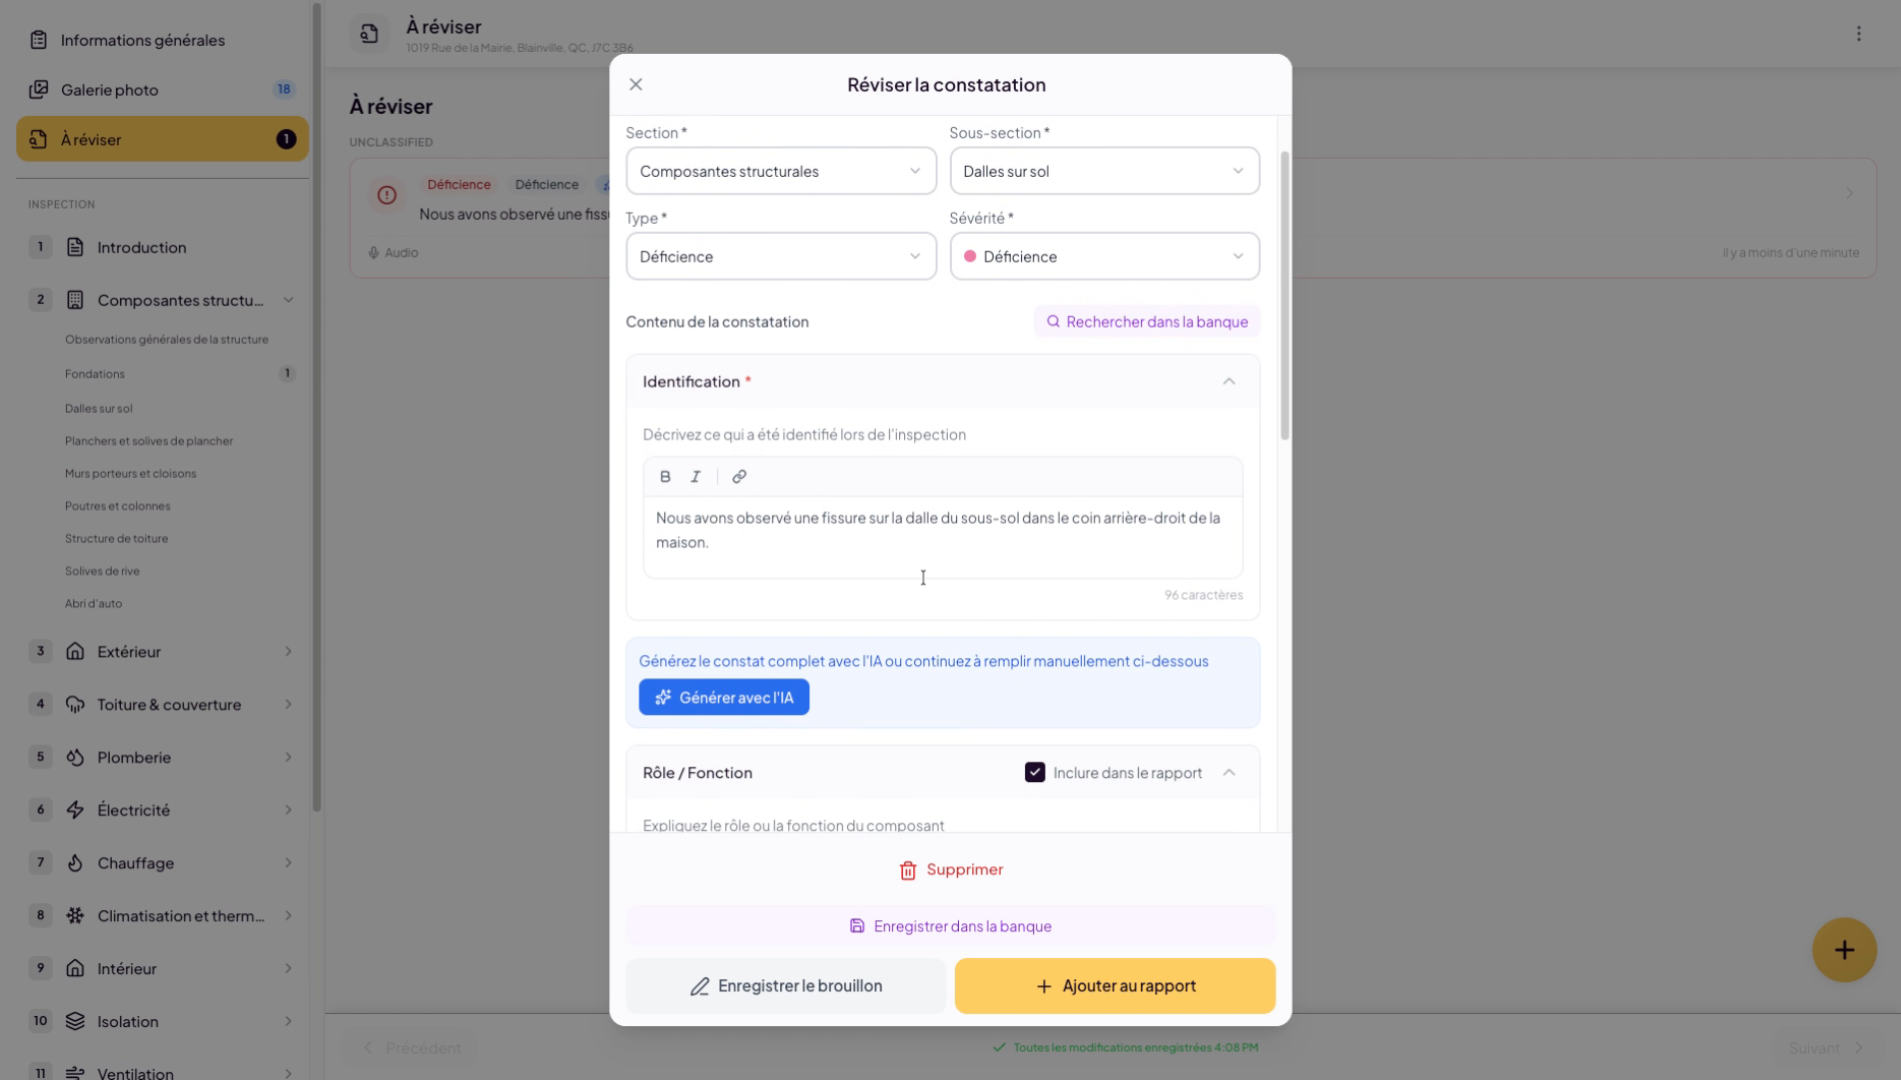
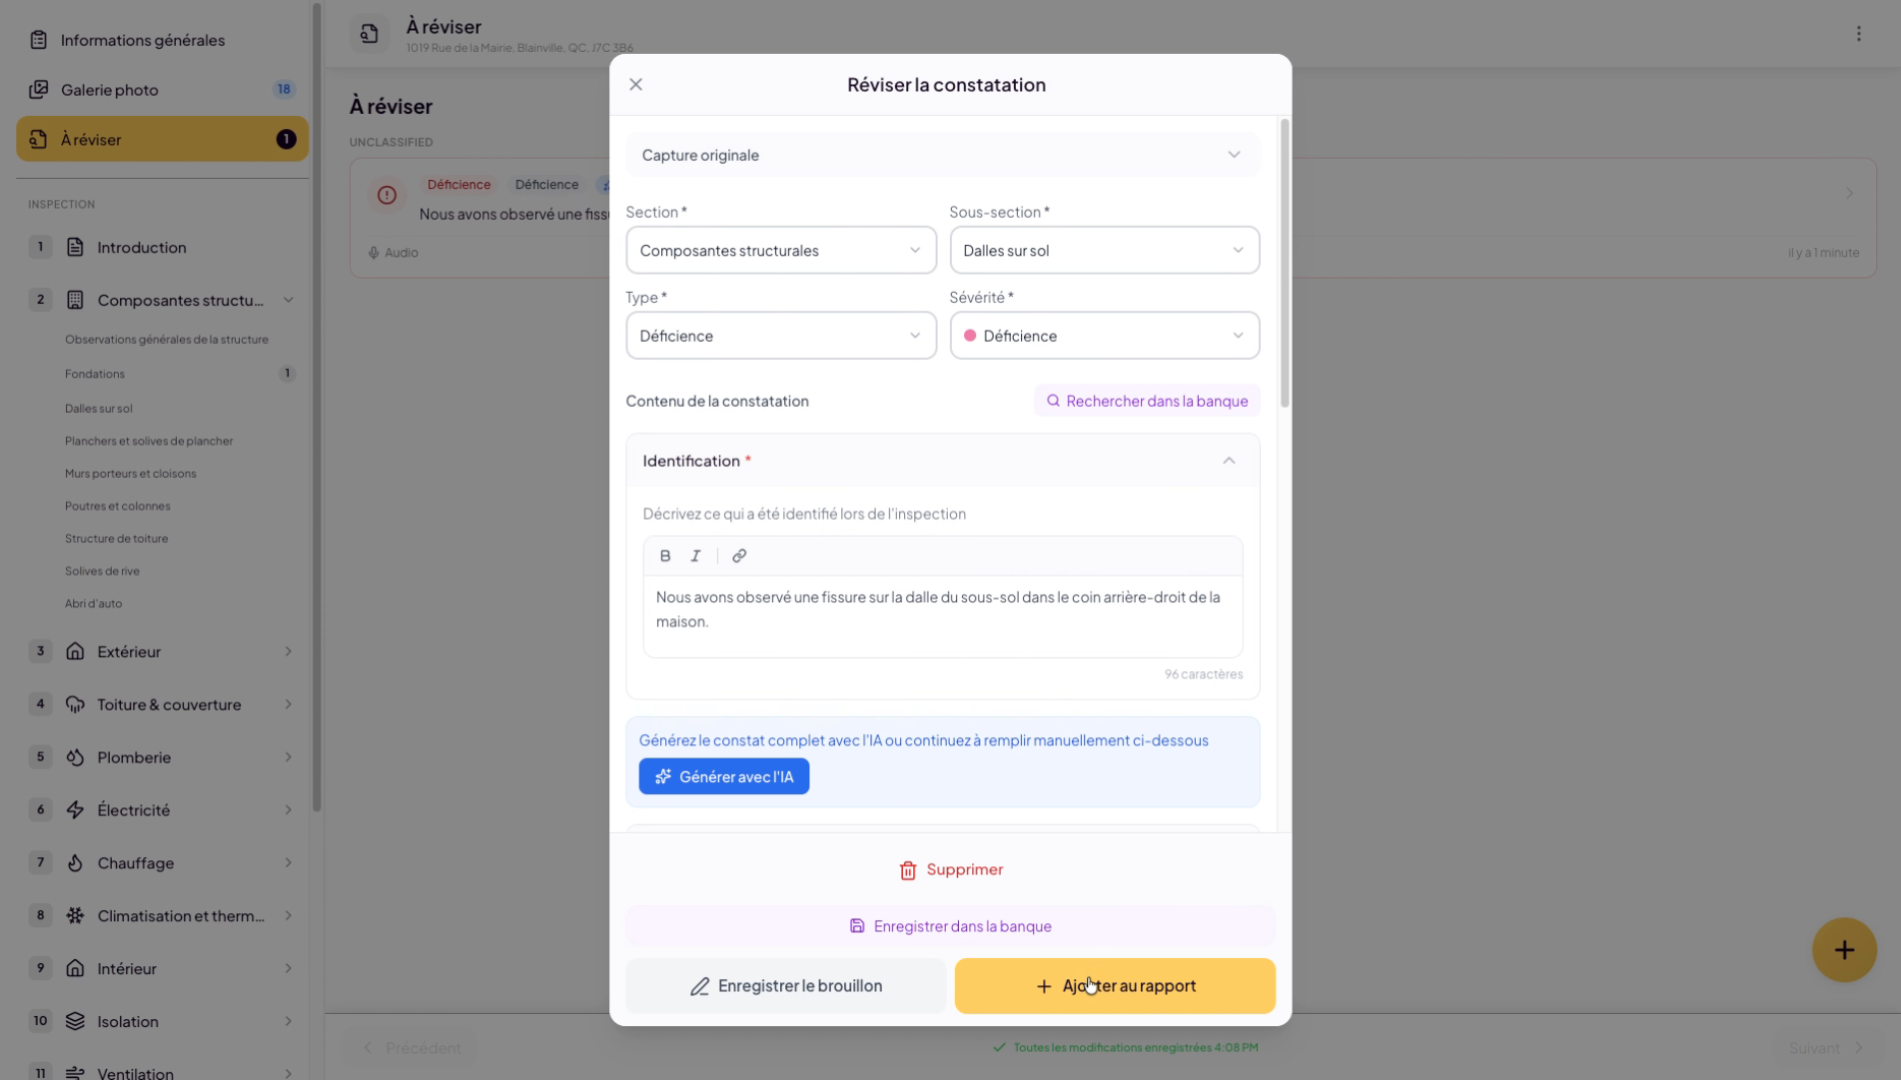
12. Select The Finding Location
Choose the section and subsection where you want this finding to appear. In our example, we selected the slab on the floor.

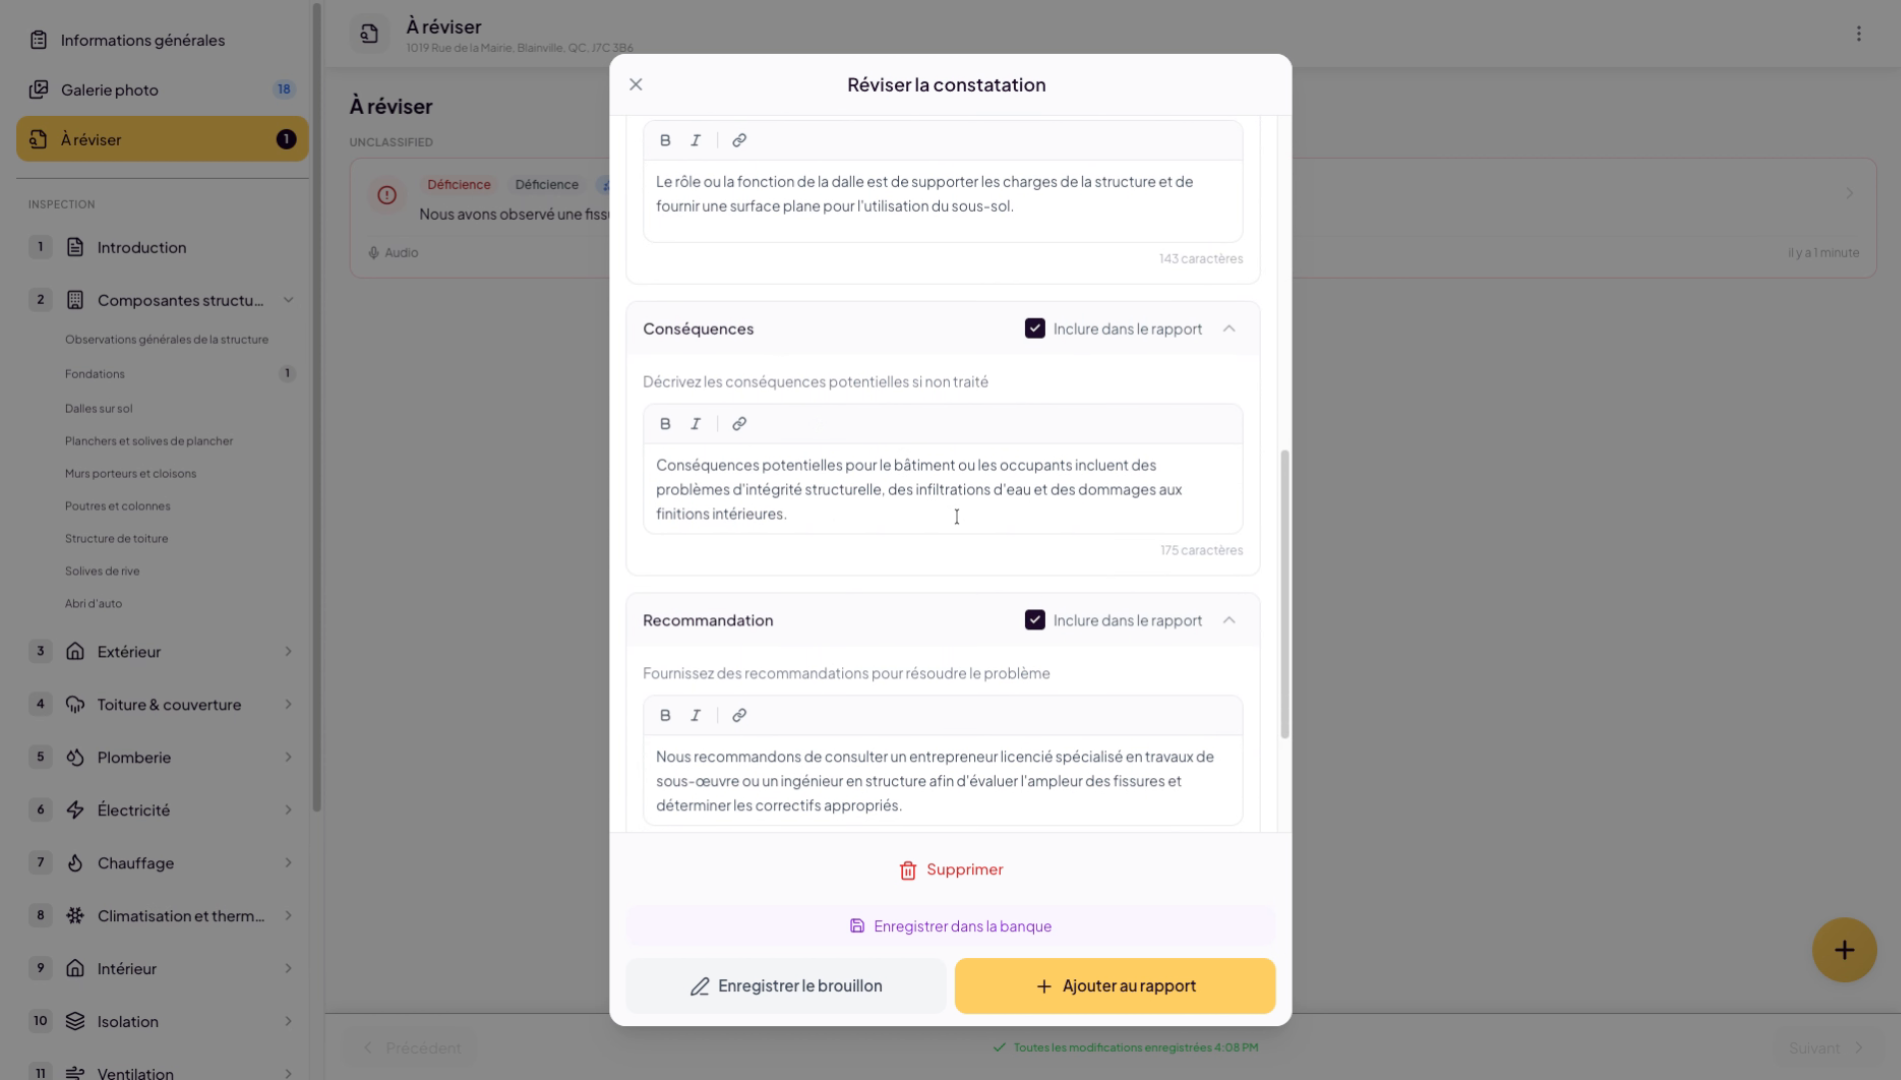
13. Review AI-Generated Content
14. Configure Section Inclusion
For each finding, you have the option to include or exclude certain sections of the findings.
15. Access Section Options
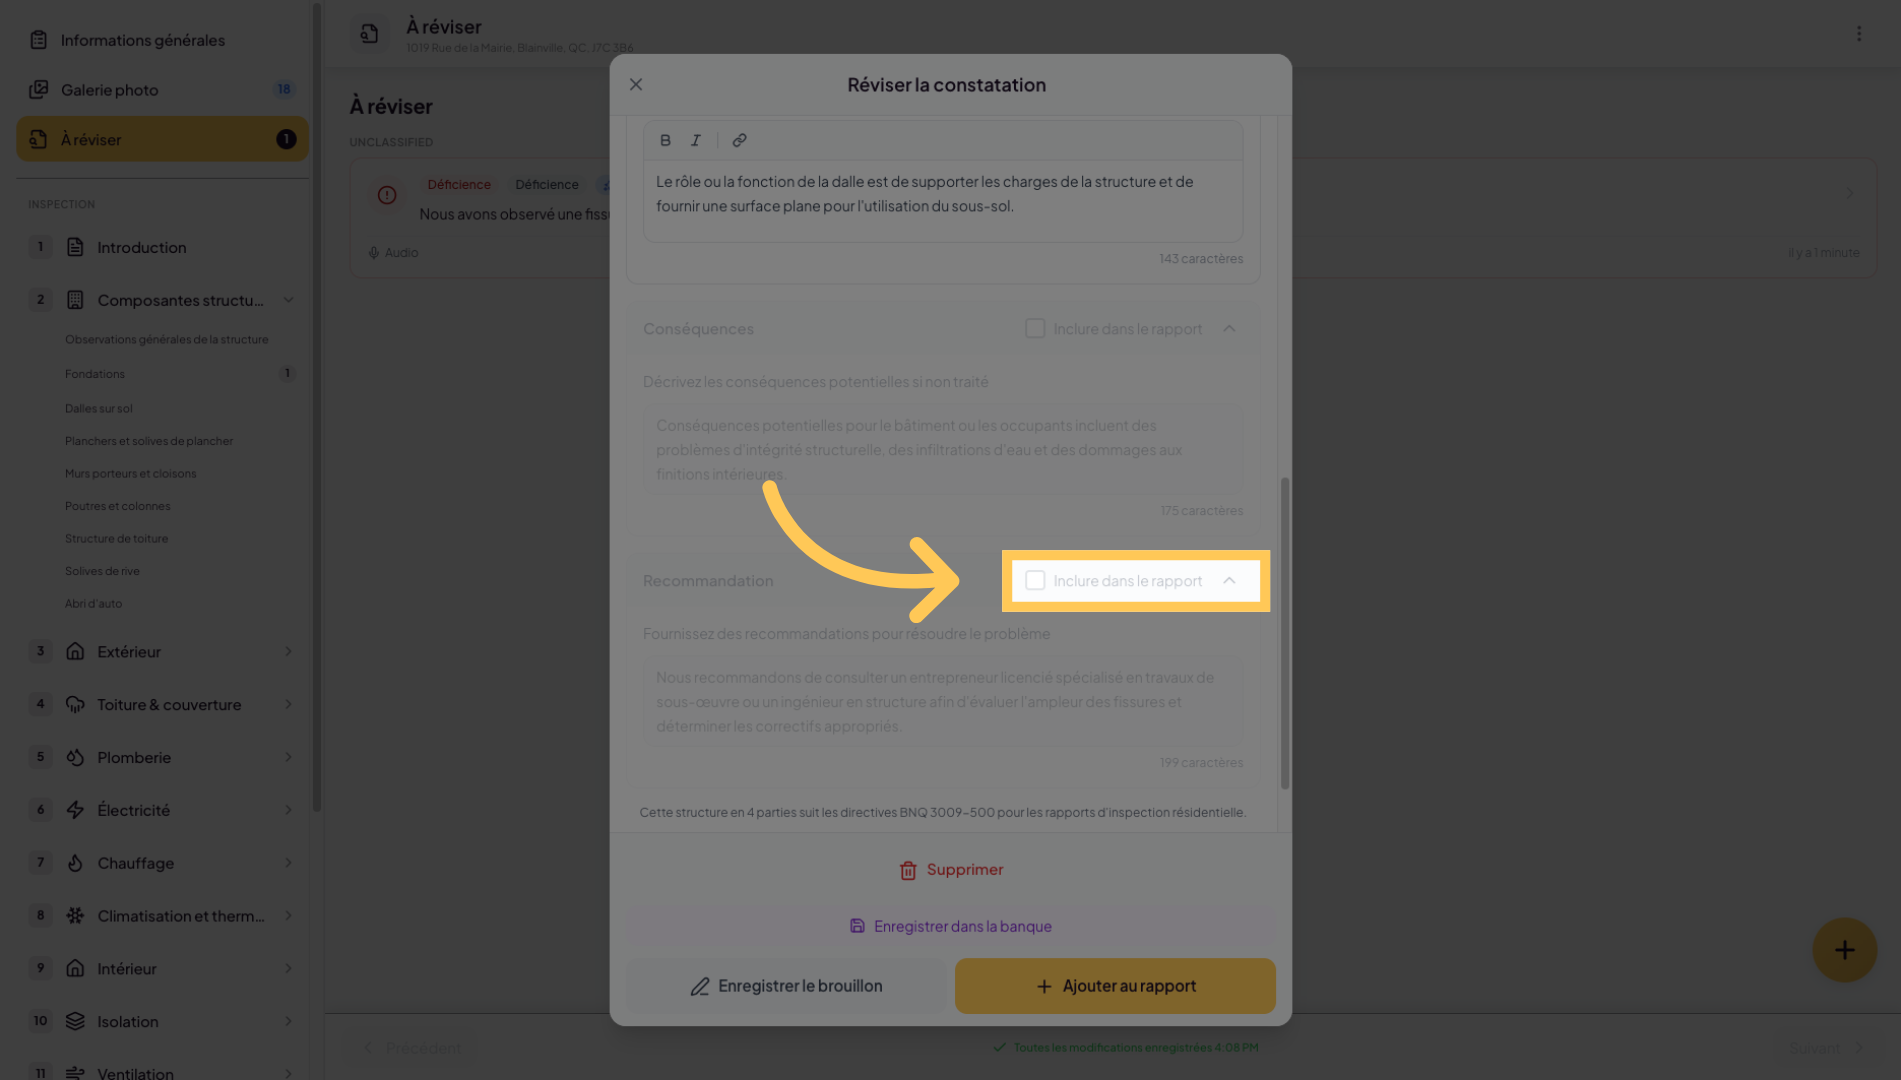
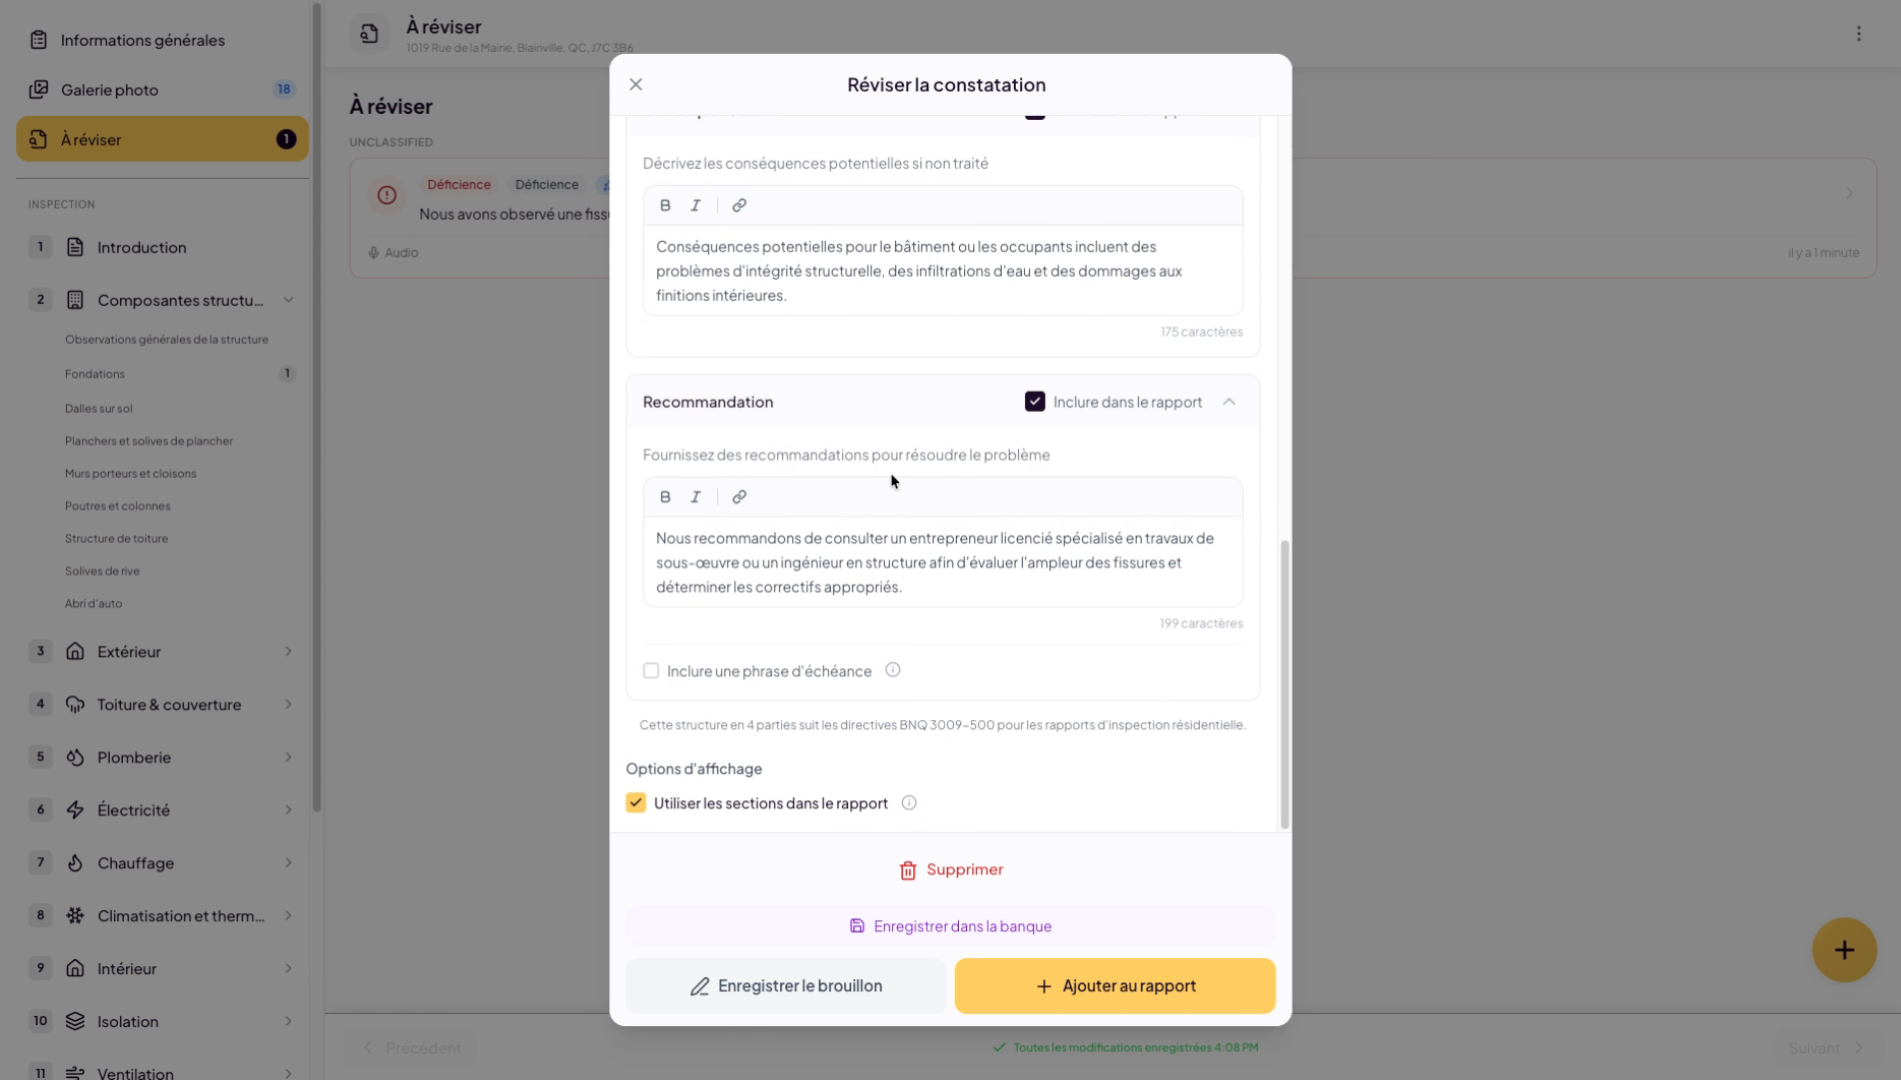
16. Choose Single Paragraph Display
Finally, at the bottom, you have the option to decide whether to display it in 4 paragraphs or as a single paragraph. If you uncheck “Use sections in report”, the finding will appear as a single paragraph.
17. Add The Finding To The Report
When you’re ready, click “Add to report”. You will now verify that your finding has been properly added by going directly to the relevant subsection.
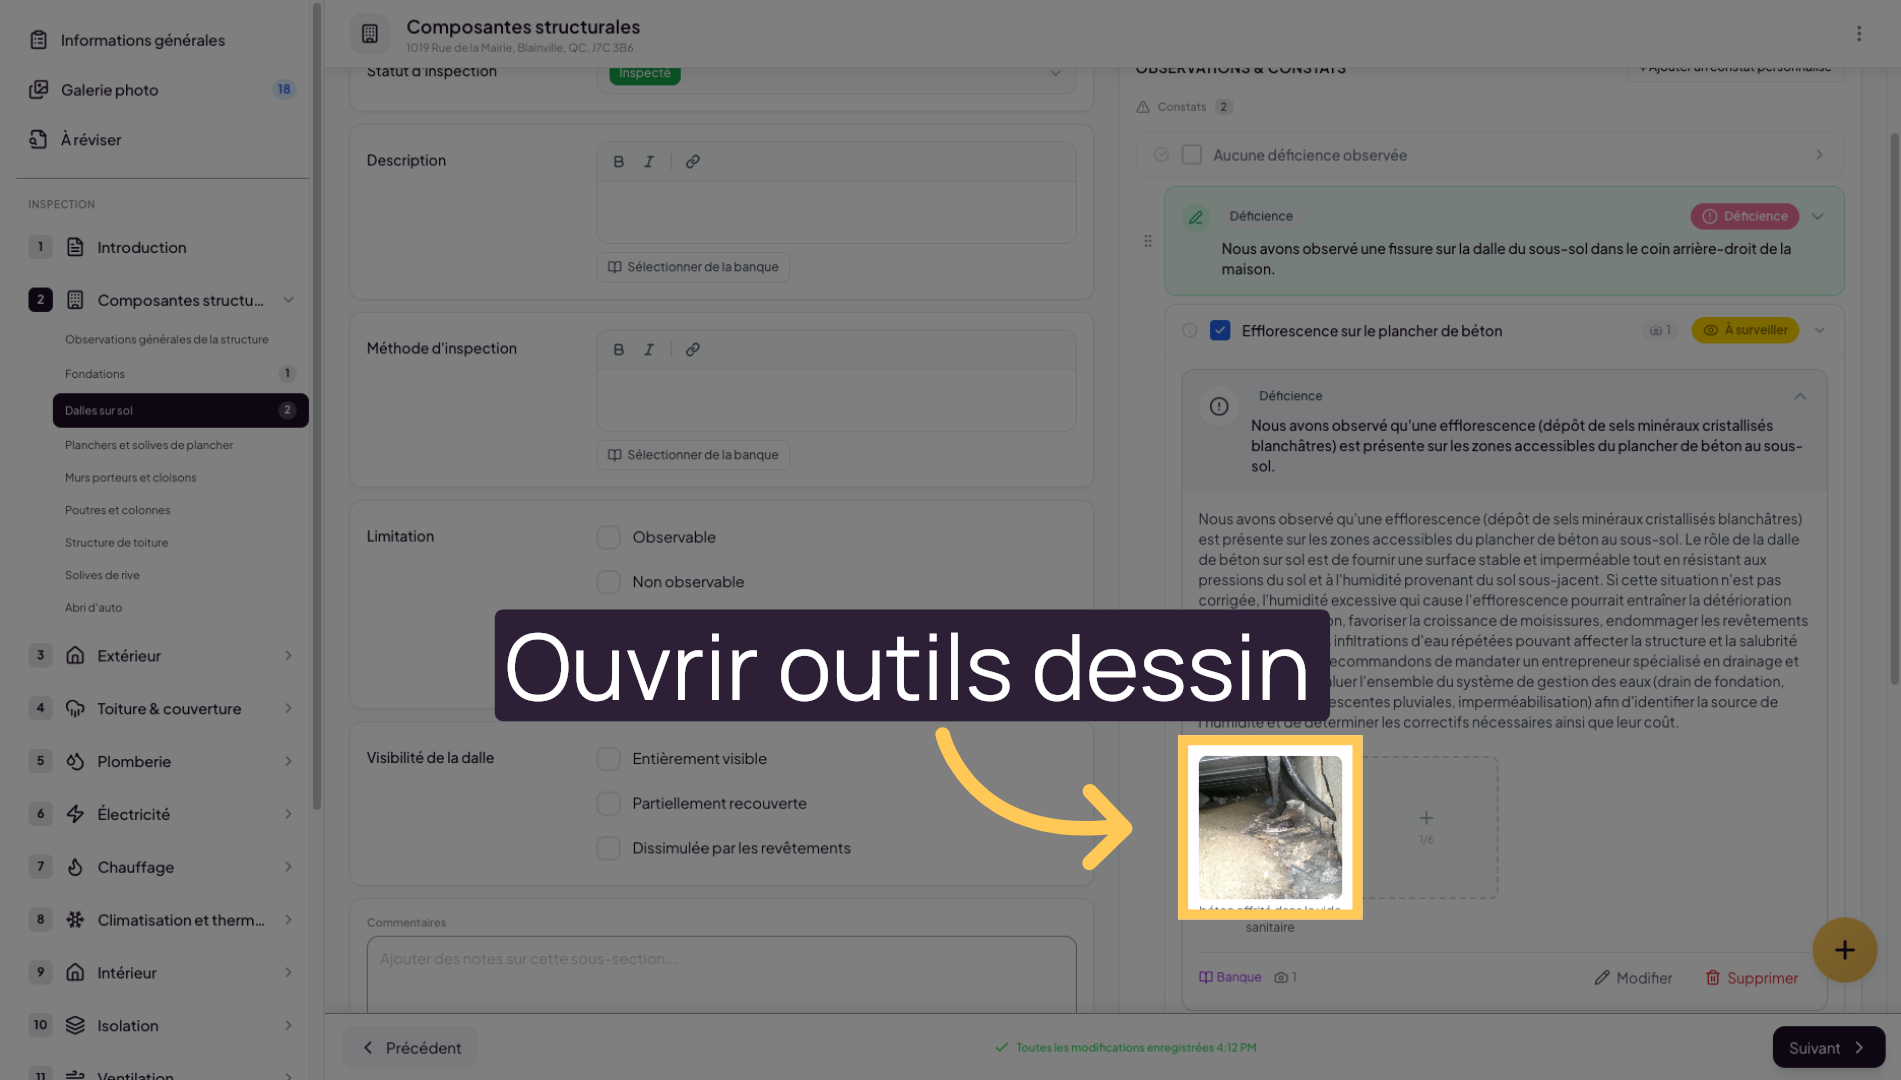
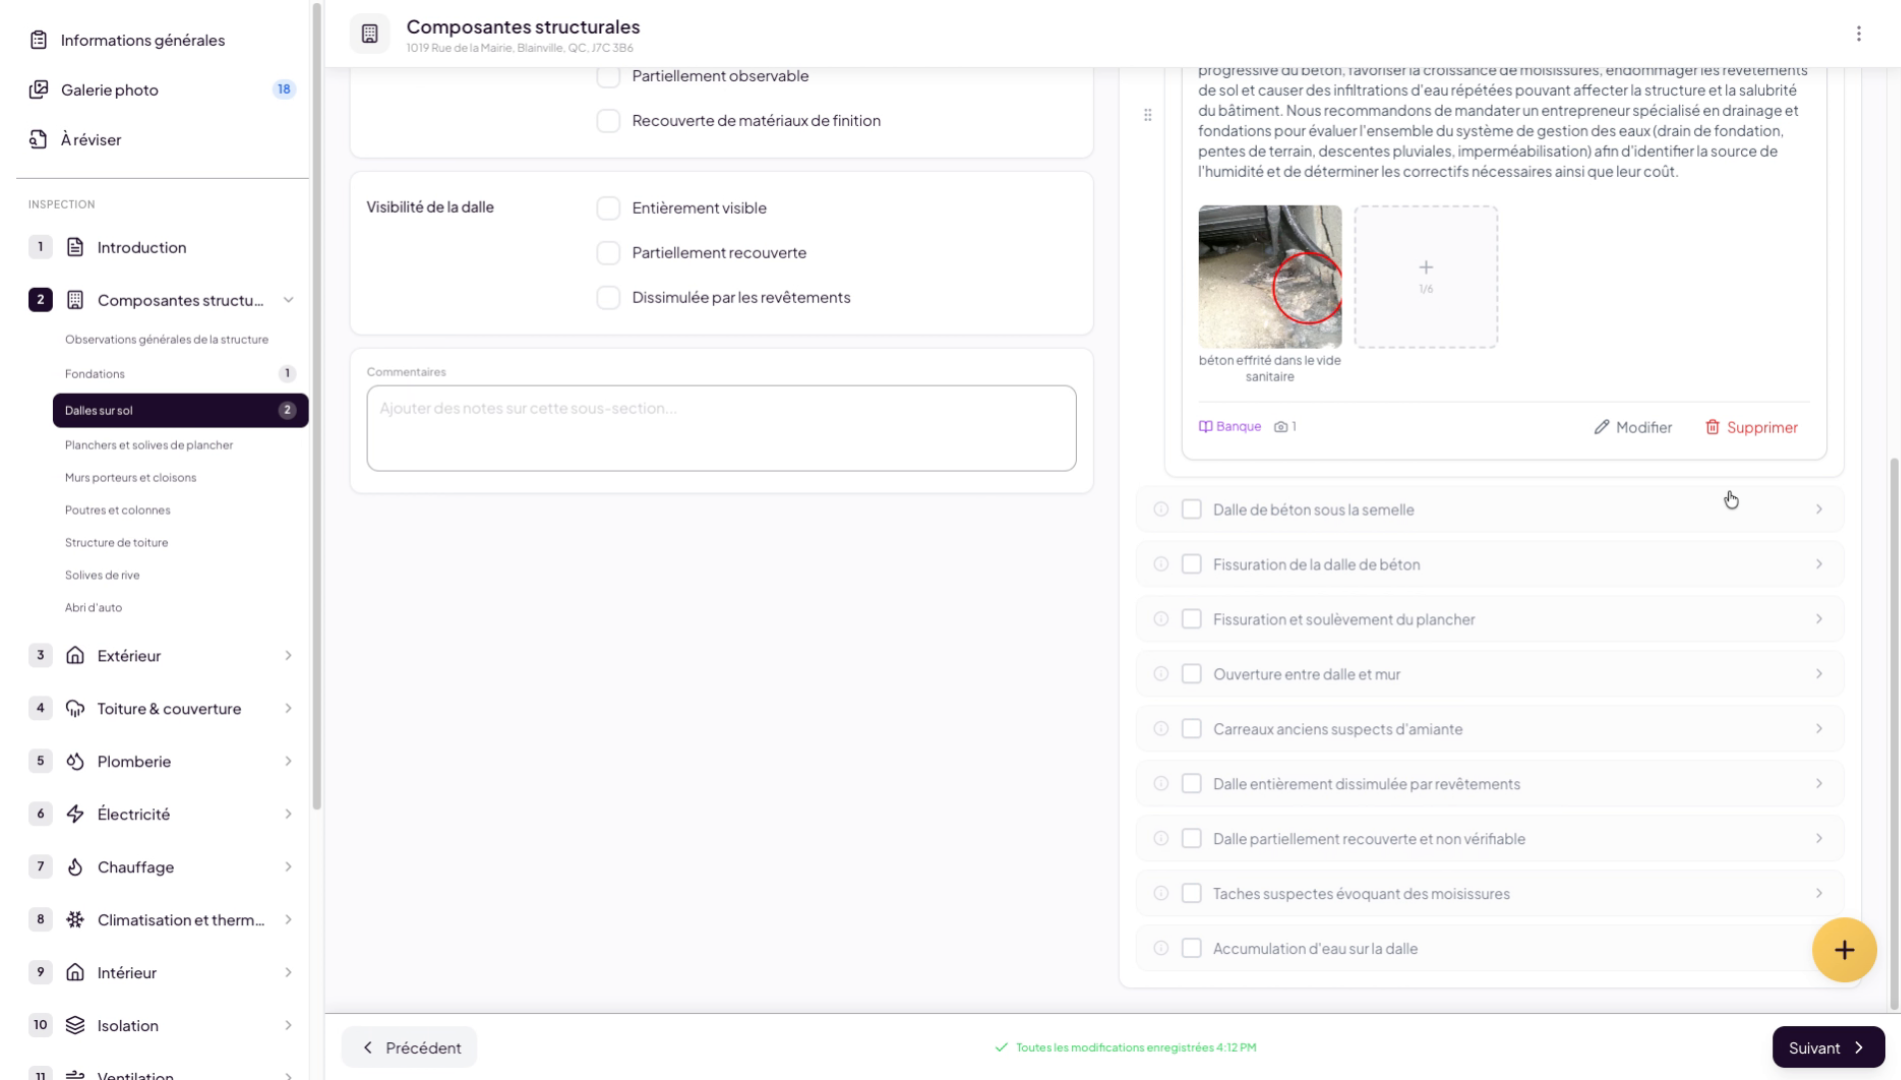
18. Verify The Added Finding
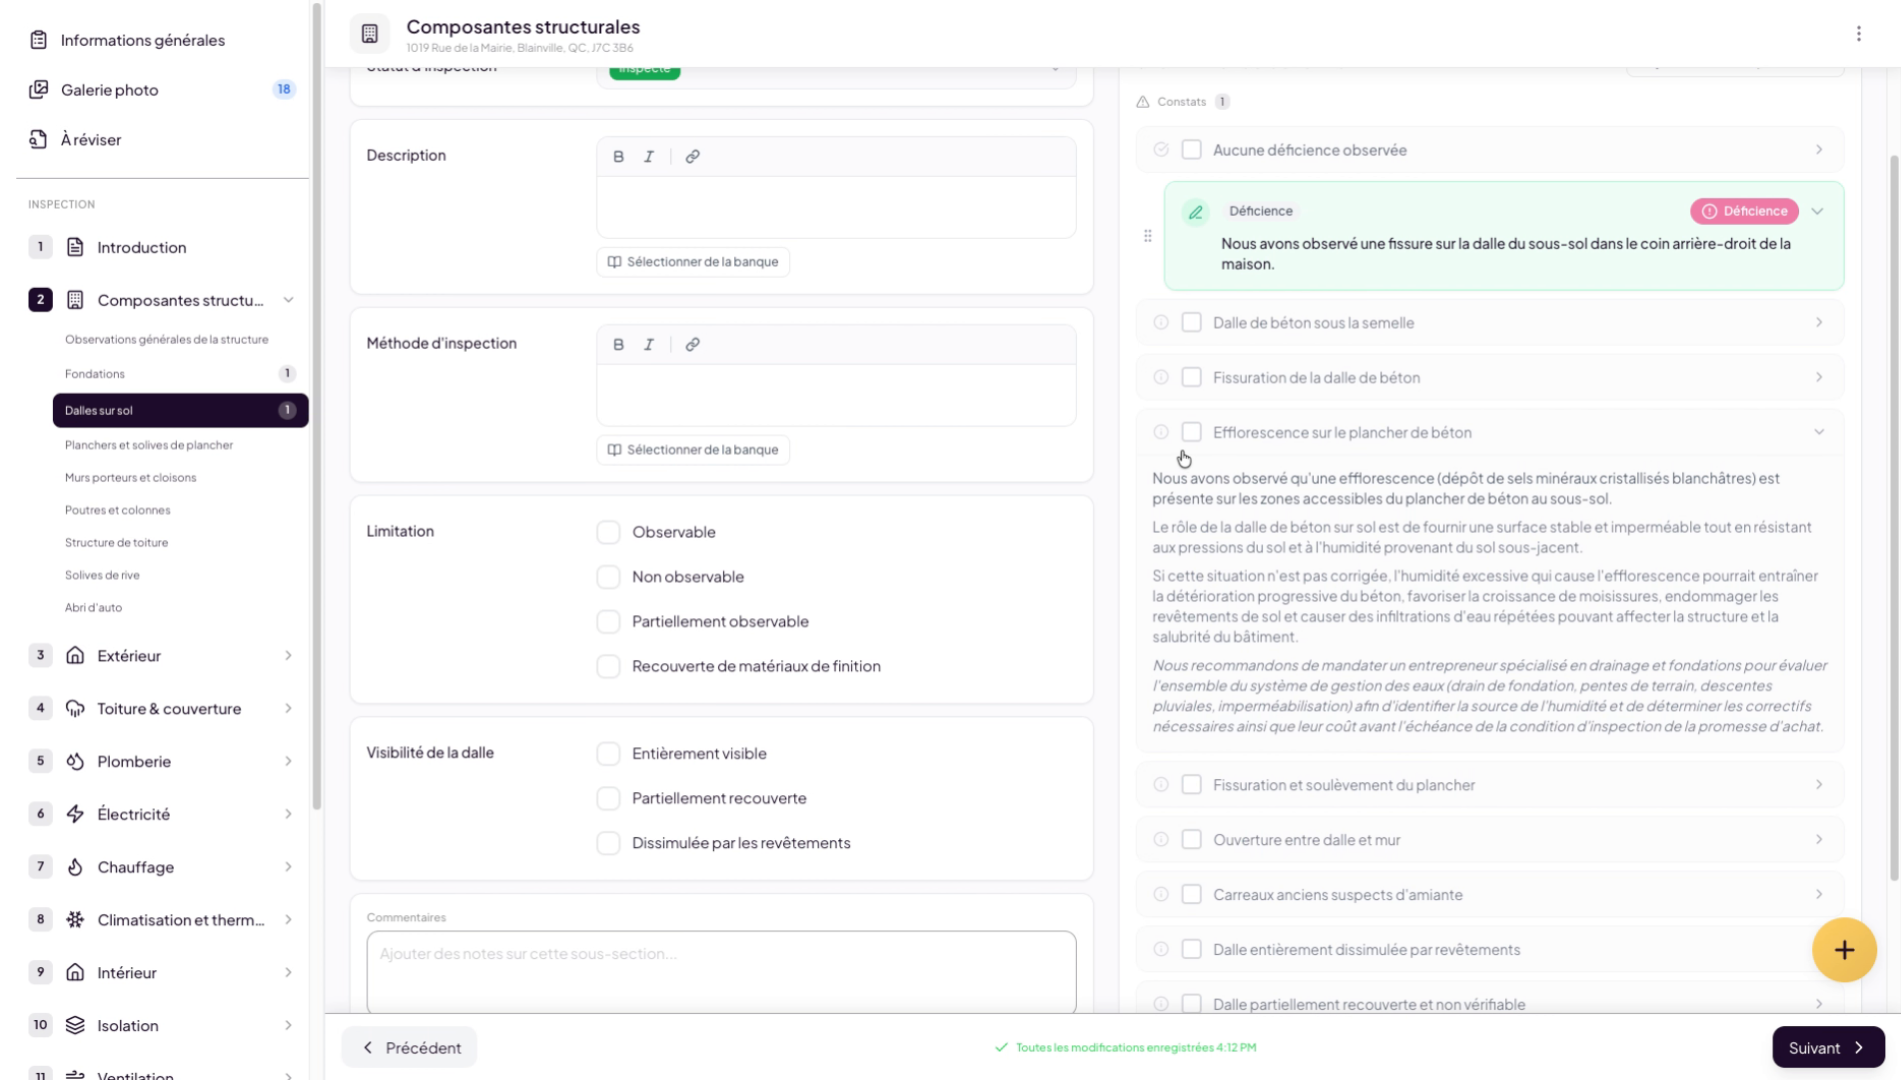
19. Use The Lumos Predefined Findings List
You can also choose from the predefined findings list offered by Lumos. It’s very simple — just click on one. You can read the text to make sure it matches what you’re looking for.
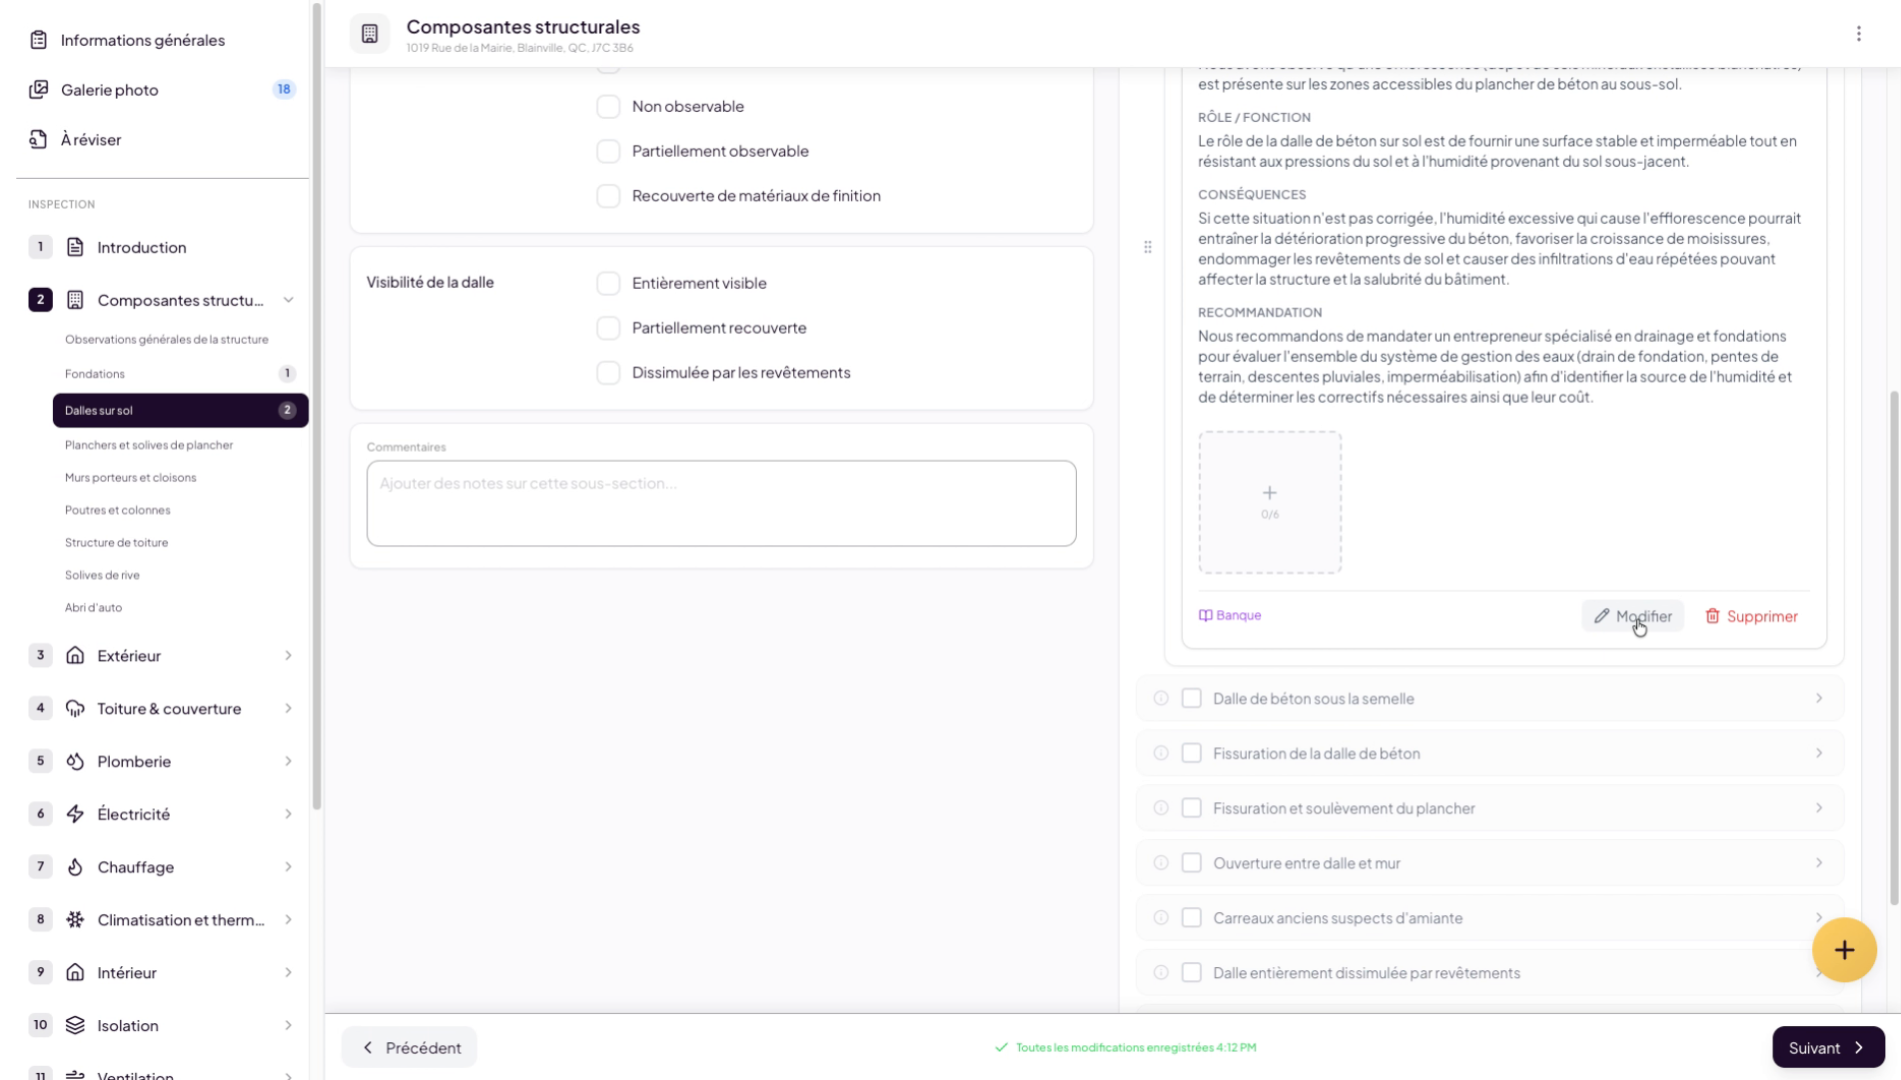
20. Edit An Added Finding
Once added, you also have the option to edit it to ensure it meets your quality standards.
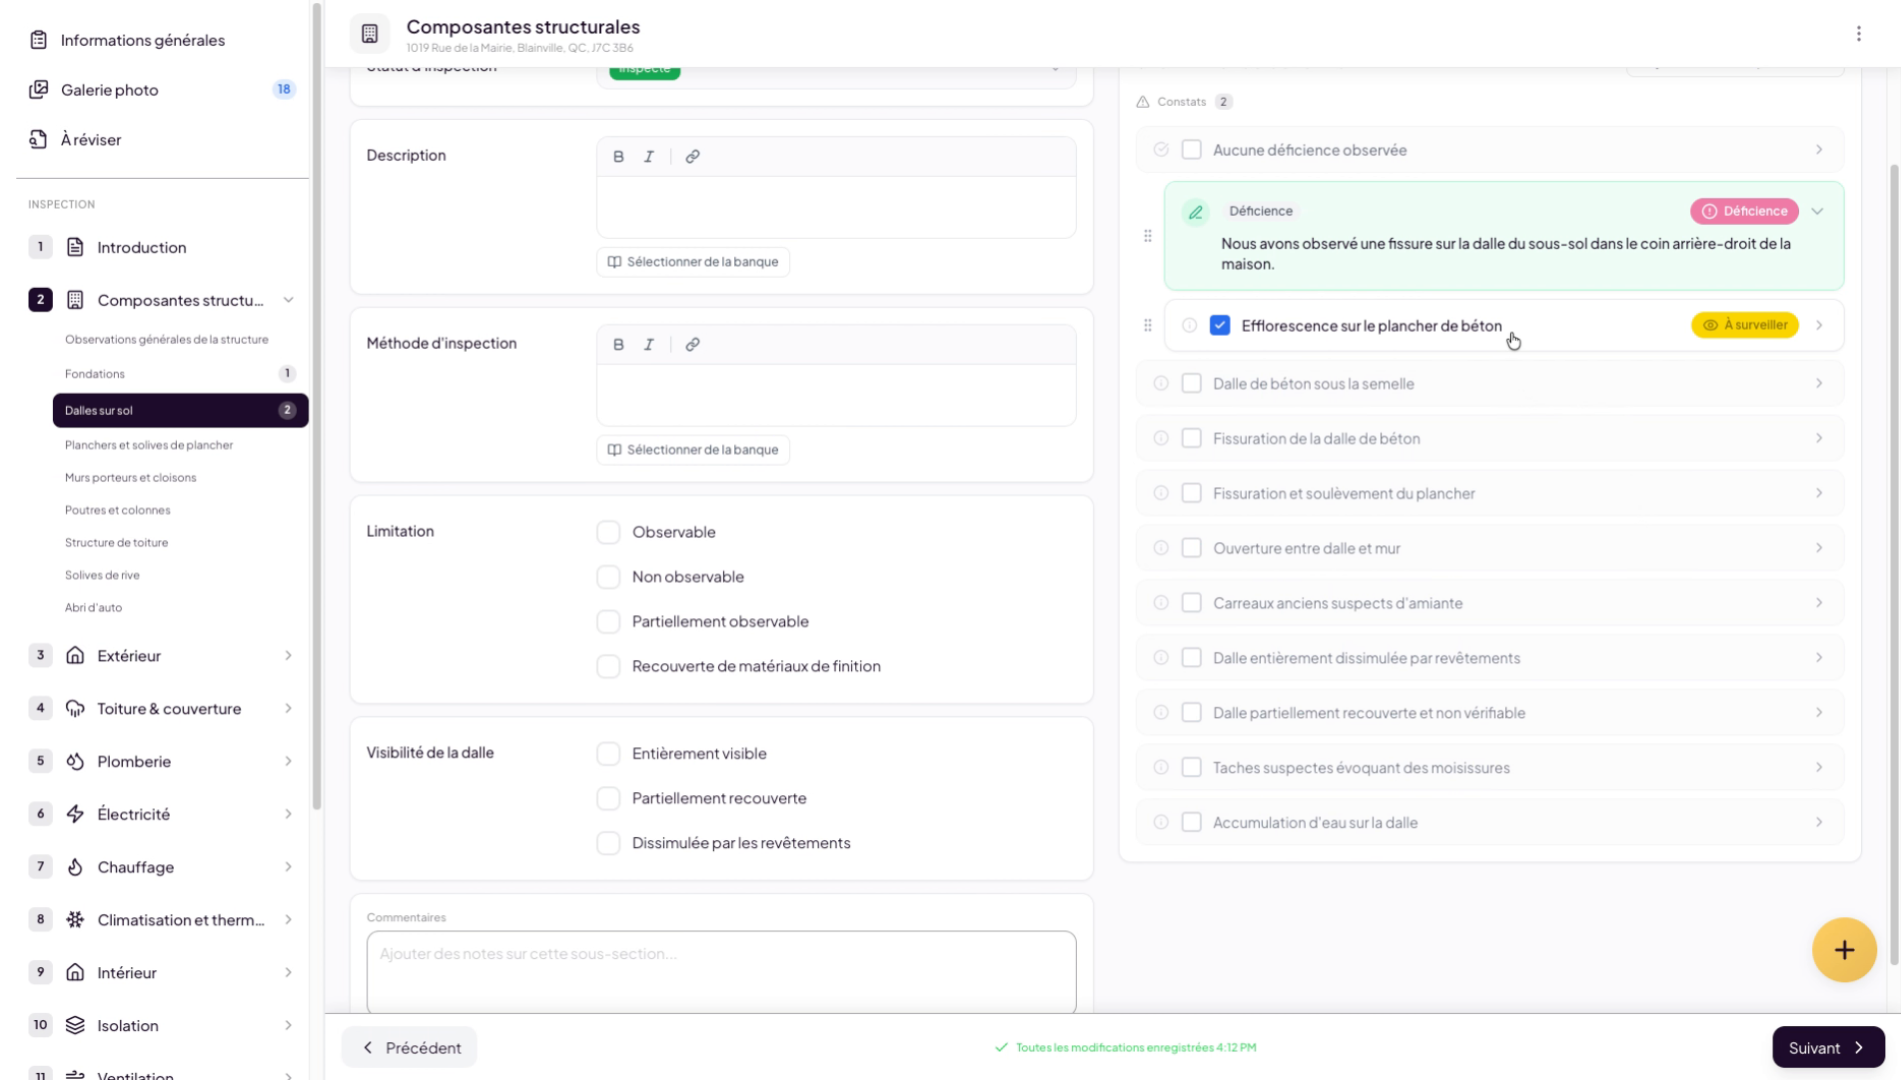
21. Validate The Finding Severity
To add it to this subsection, simply check the box and select the severity level you want.

22. Add Multiple Findings
That’s it — it’s that simple. You can add as many findings as you want in each subsection without having to write them yourself.
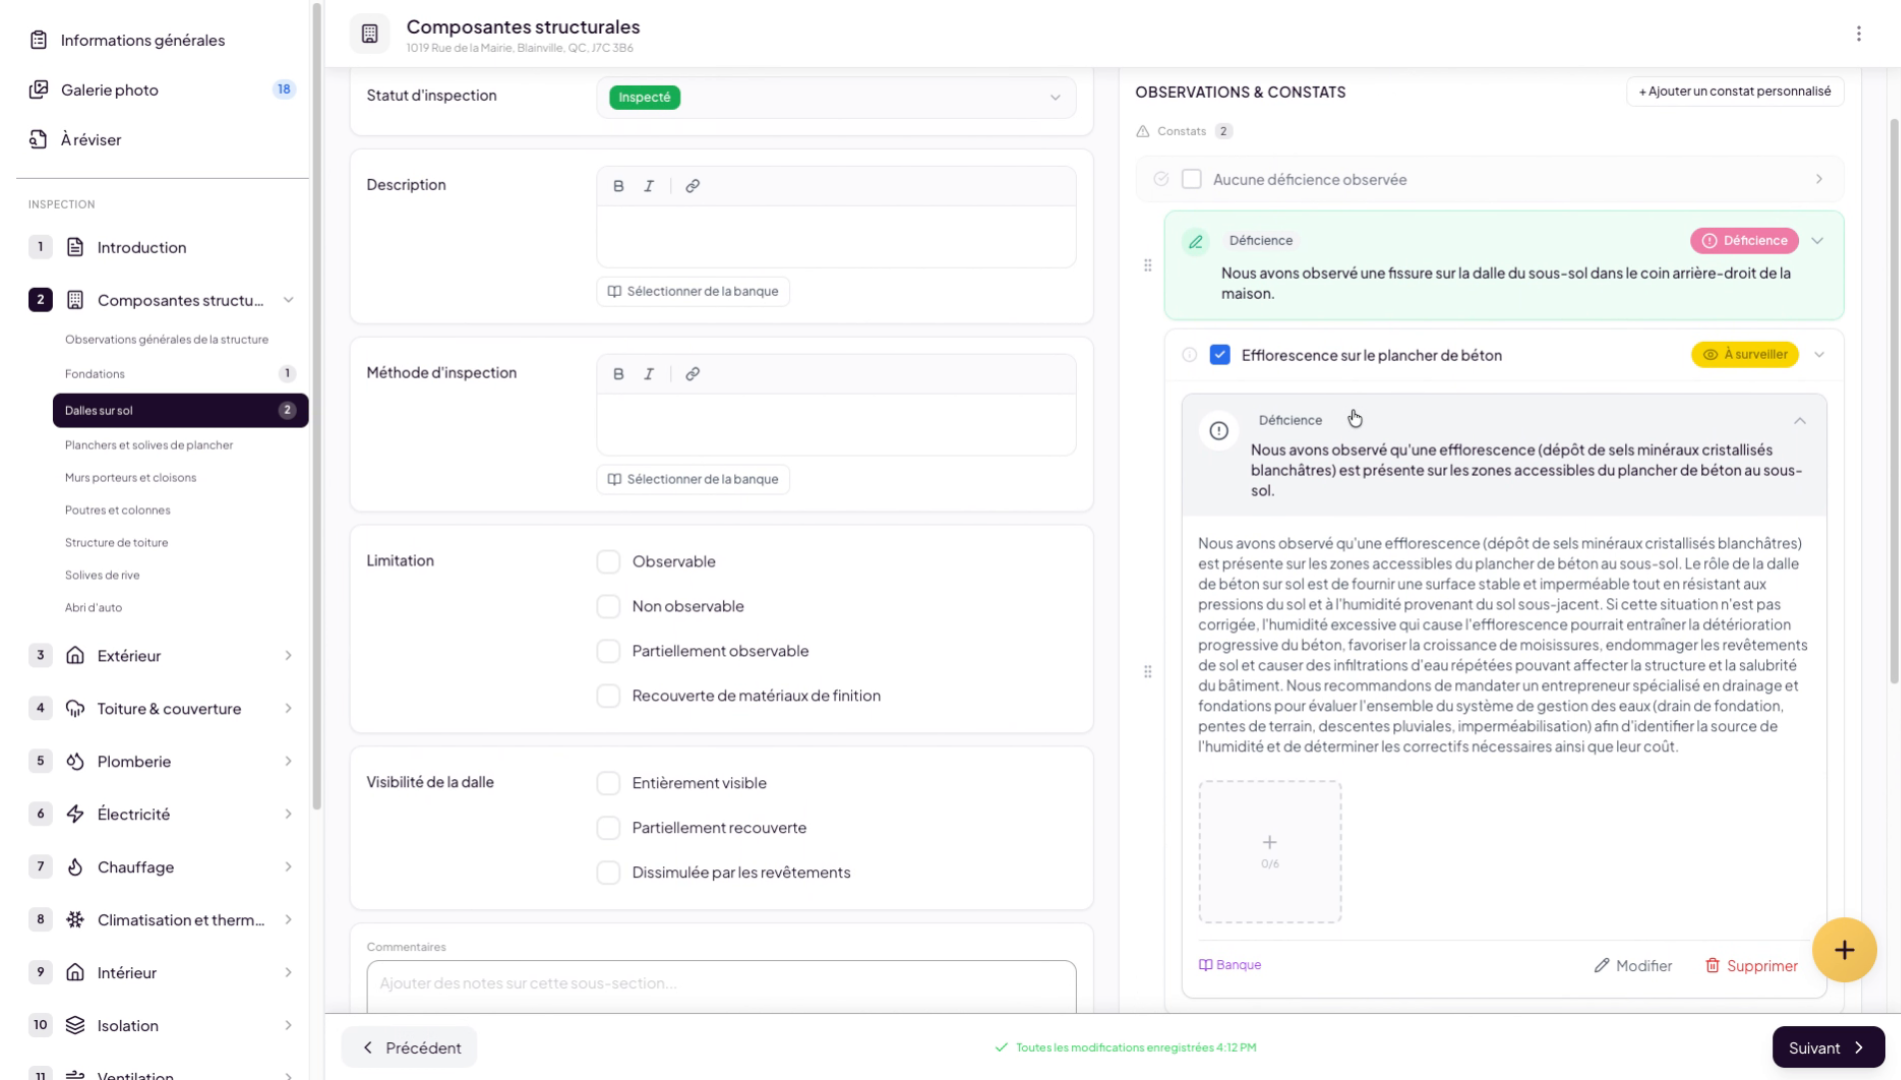
23. Edit A Finding’s Content
24. Add Photos To The Finding
To add photos to your finding, click the plus button, choose to import your images directly or select them from the gallery if you’ve already chosen some previously.
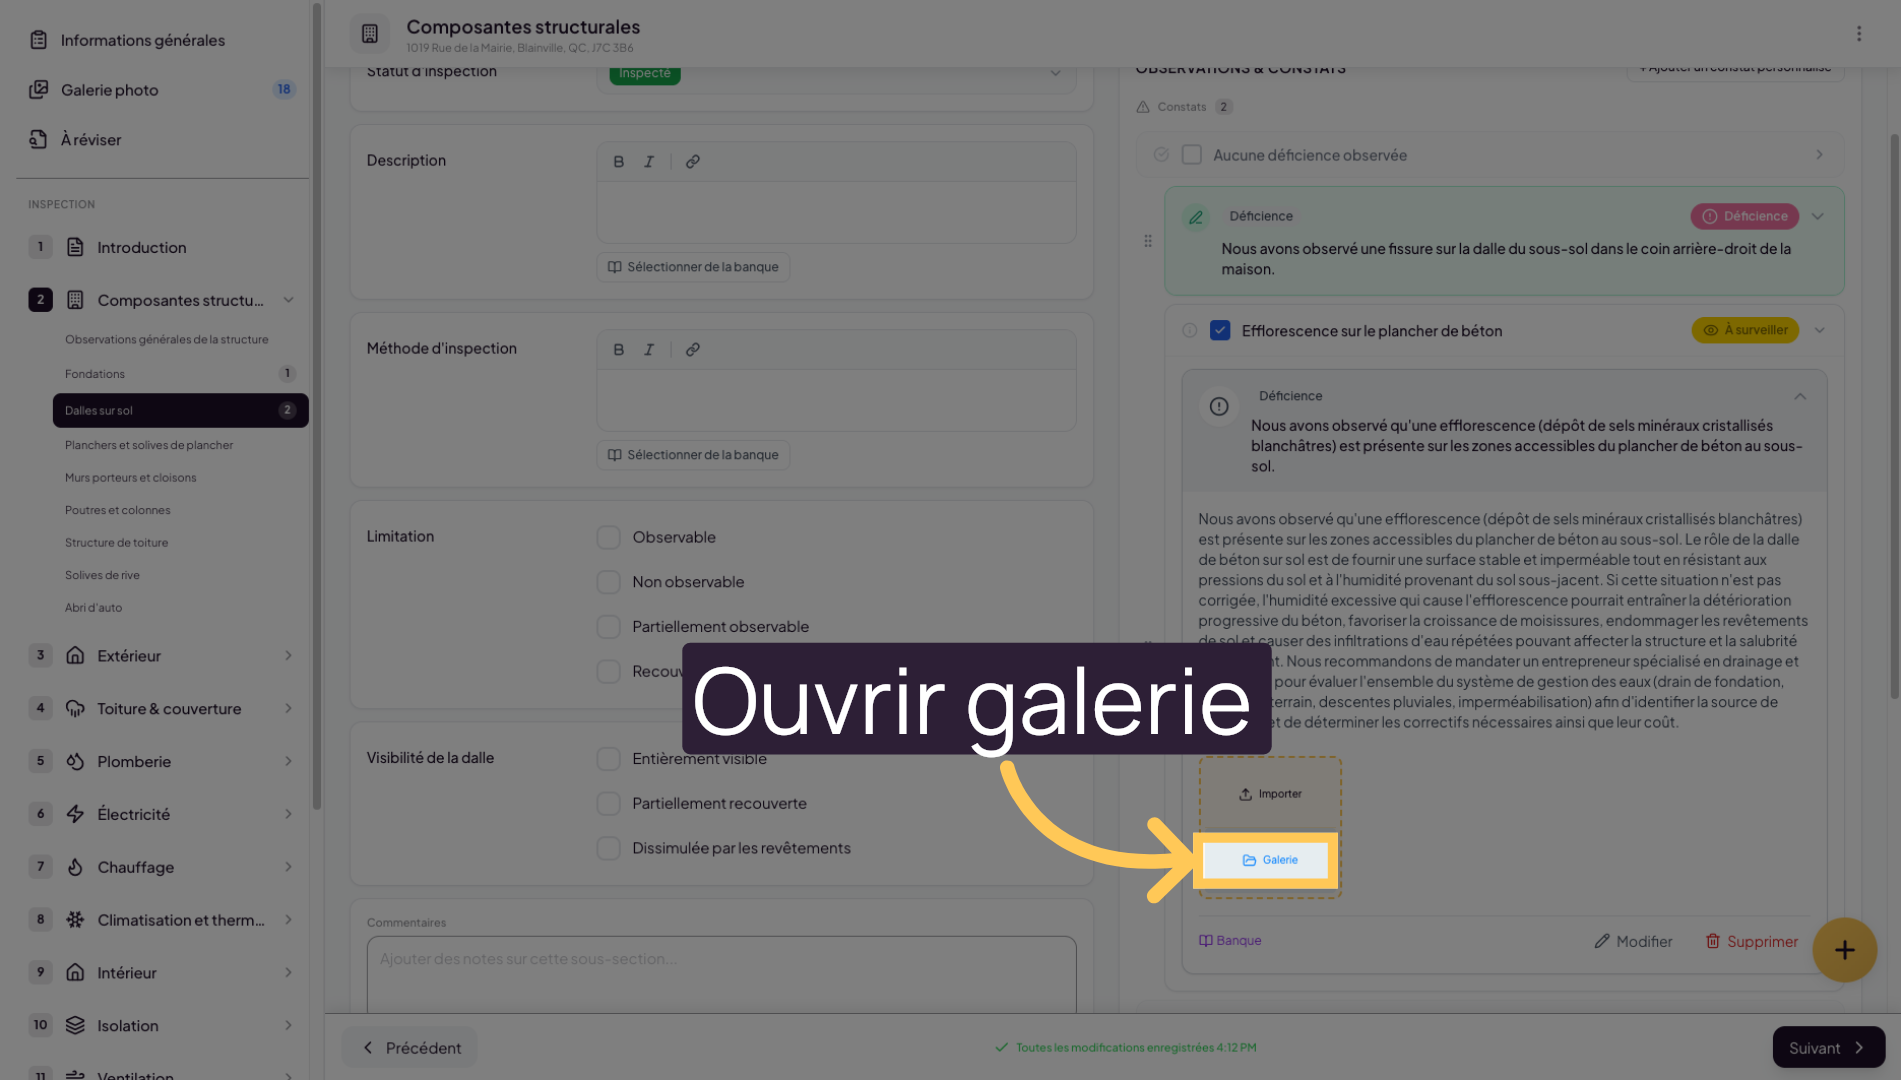
25. Open The Gallery
Click “Gallery” to access previously selected or imported images.
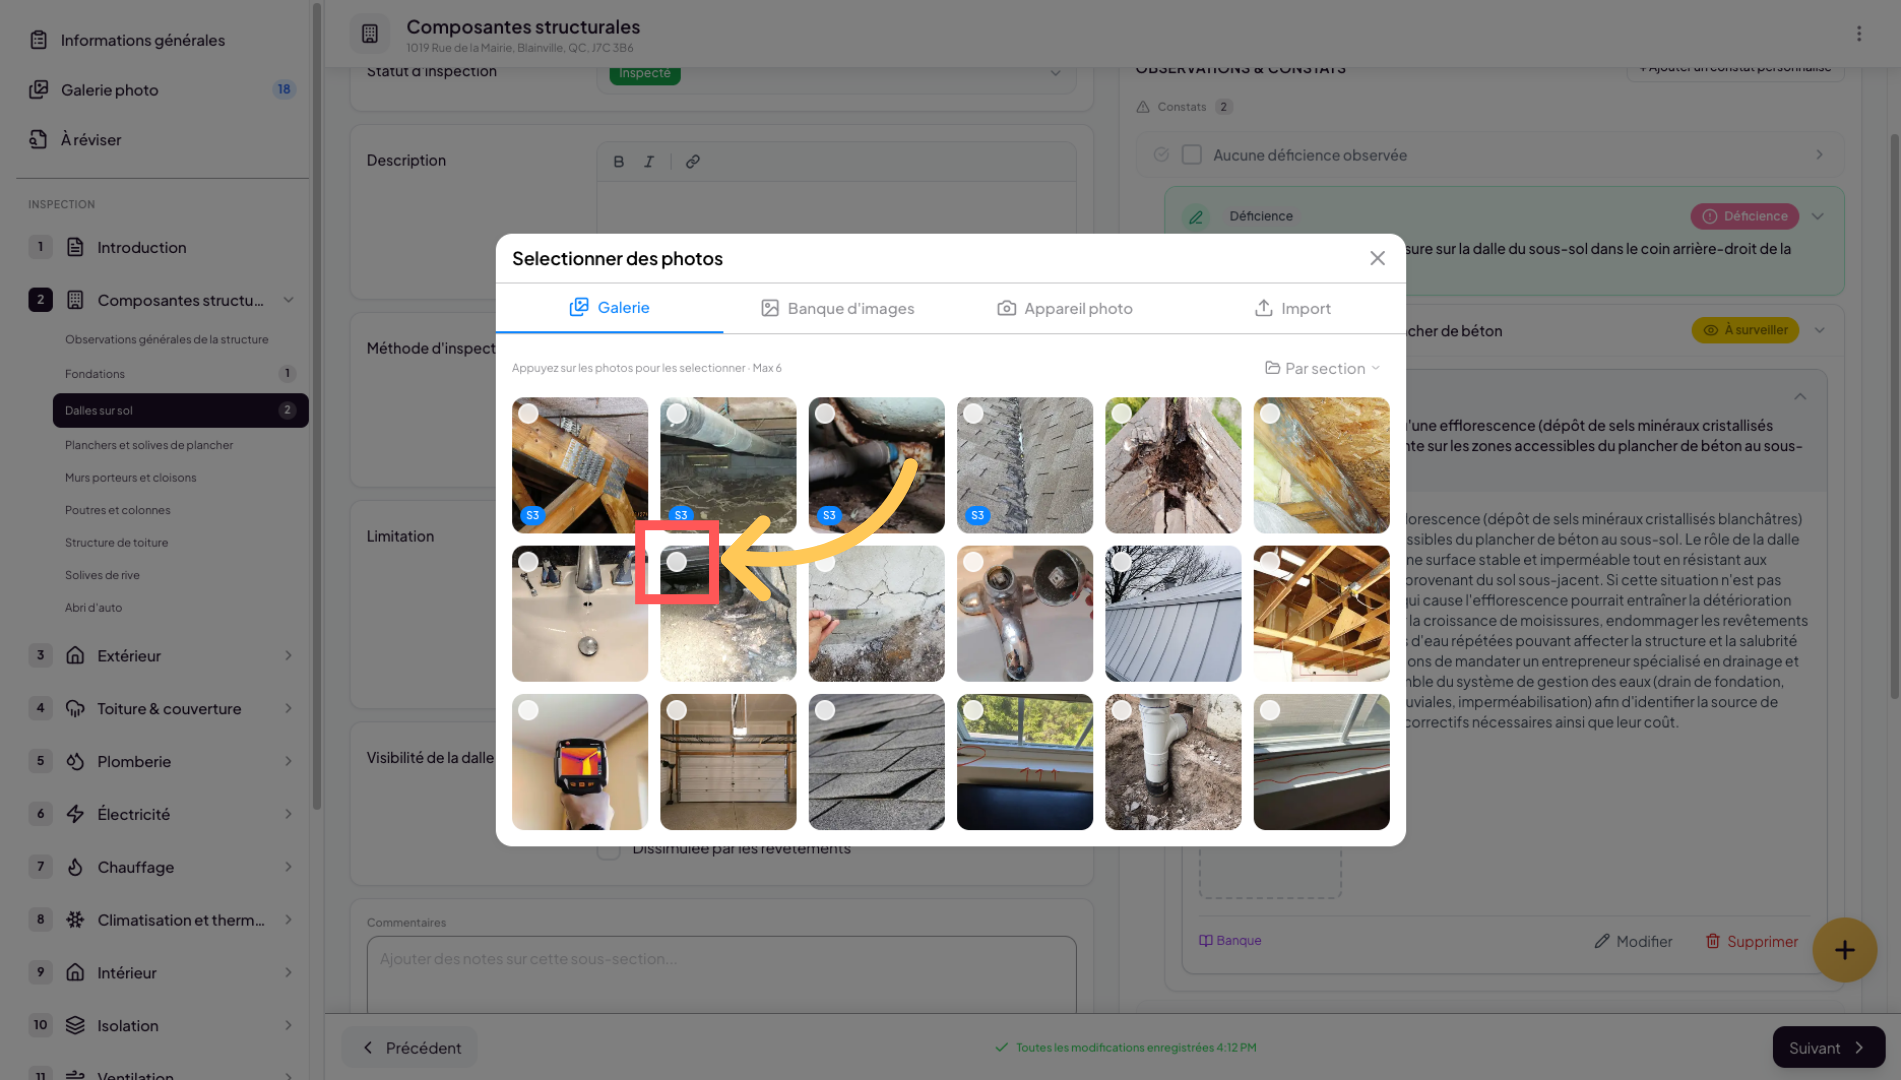
26. Select A Photo
Click the small round badge to select a photo to add to your finding.
27. Select A Single Photo
Click “Select photo” to confirm adding the image to your finding.

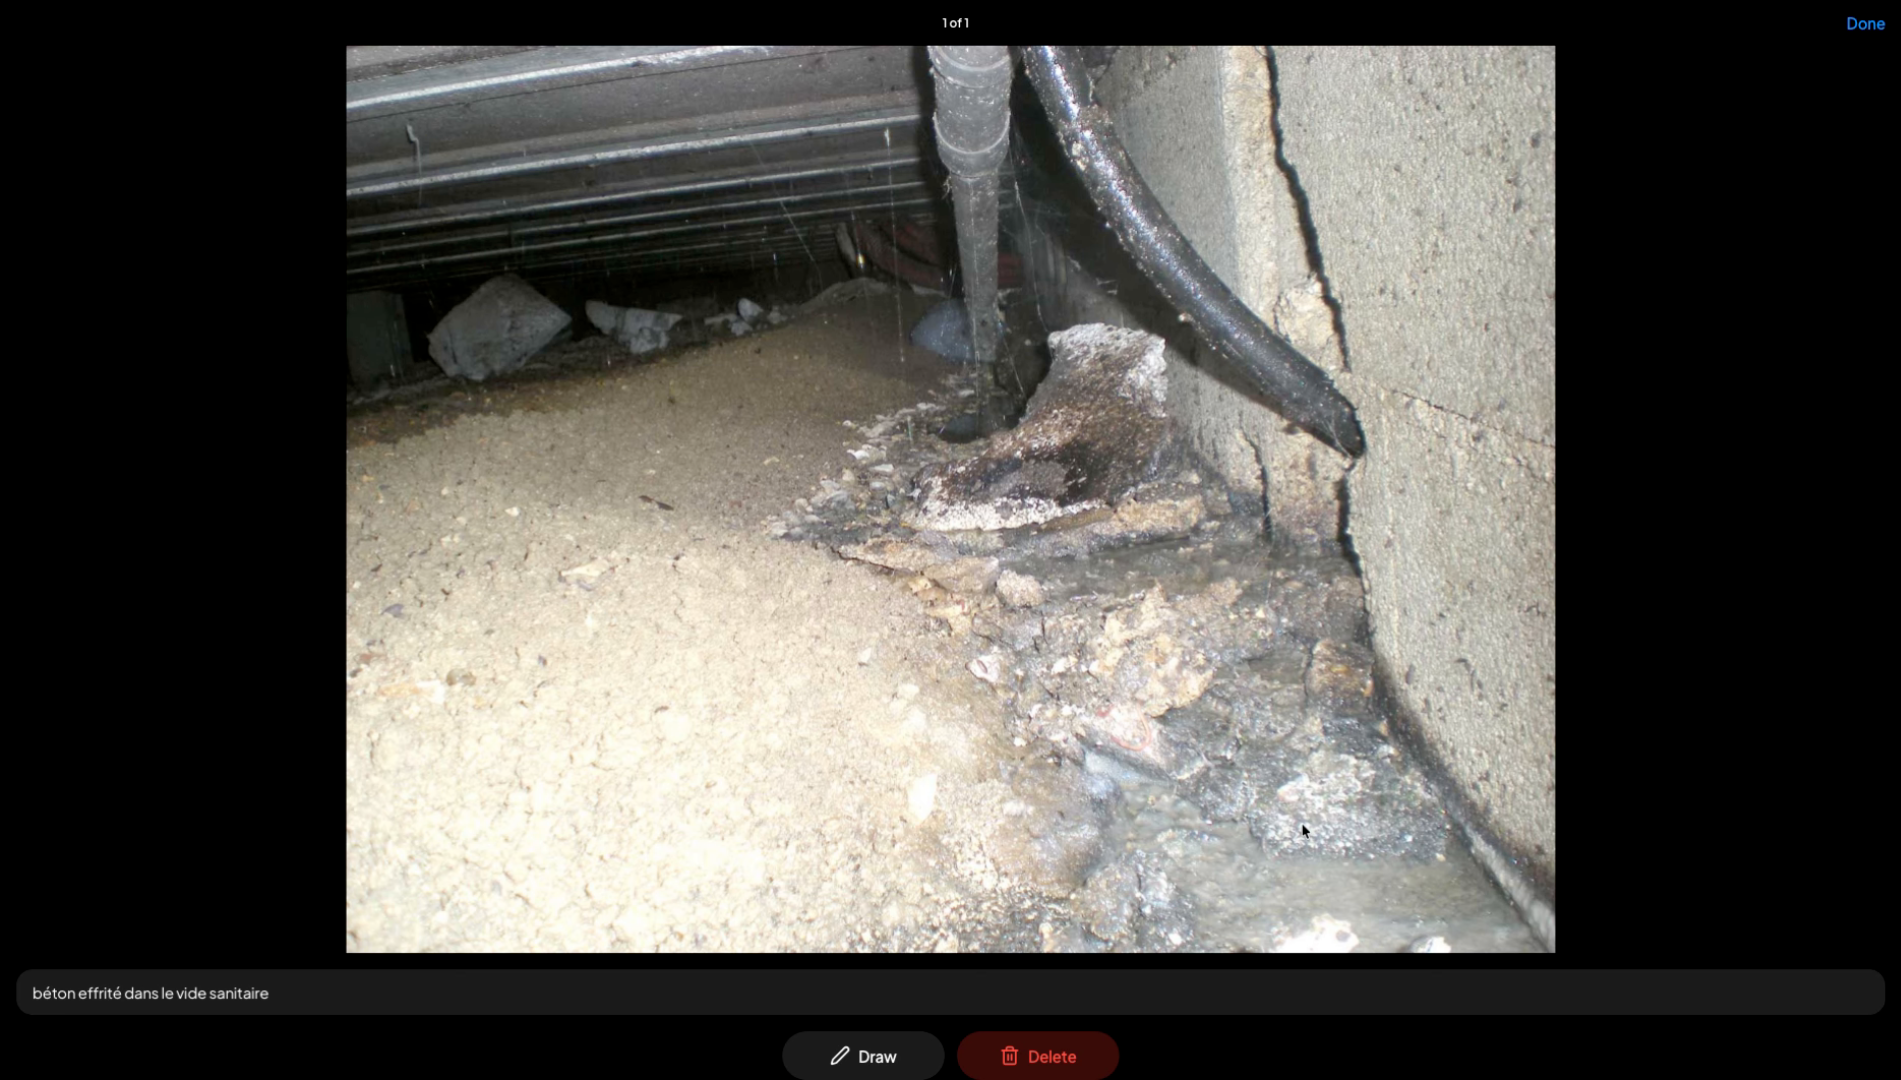
28. Add A Description Below Photo
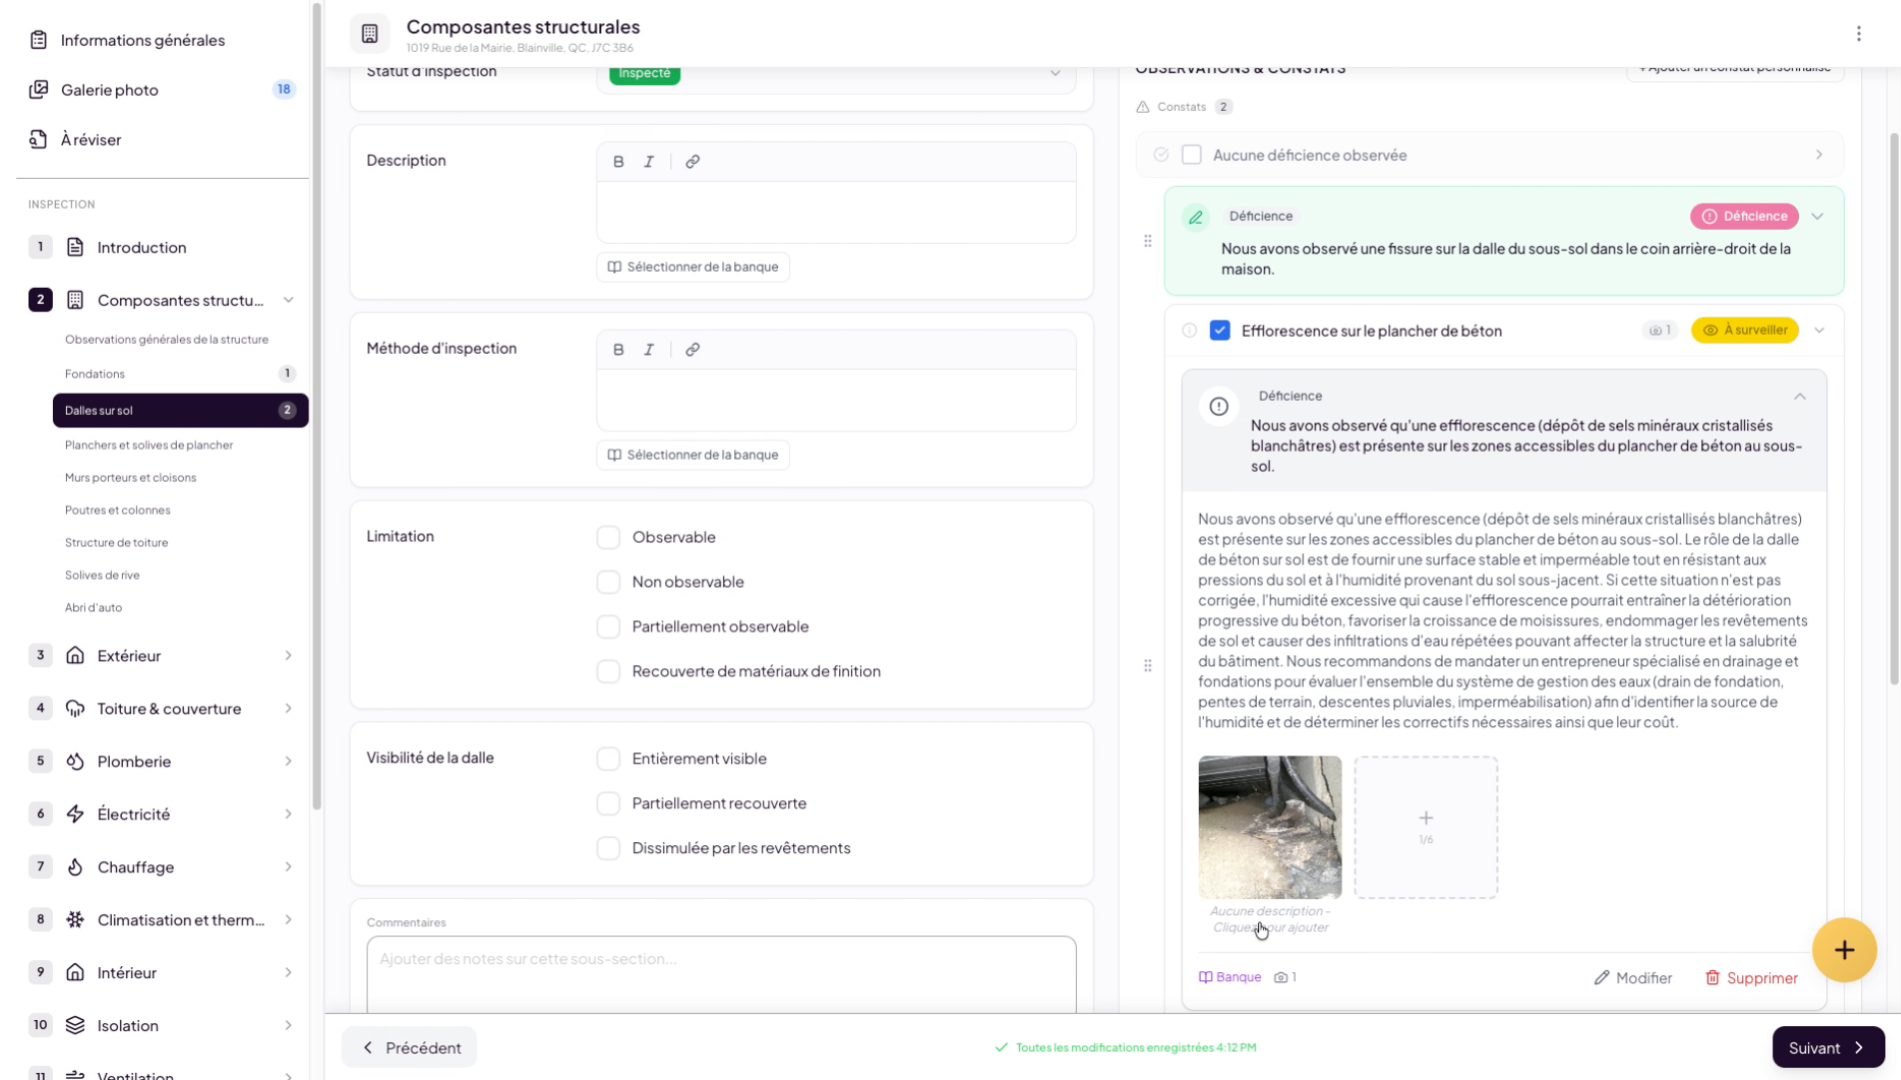
29. Describe The Observed Detail
Enter a detailed description of the finding, for example “crumbling concrete in the crawl space”.
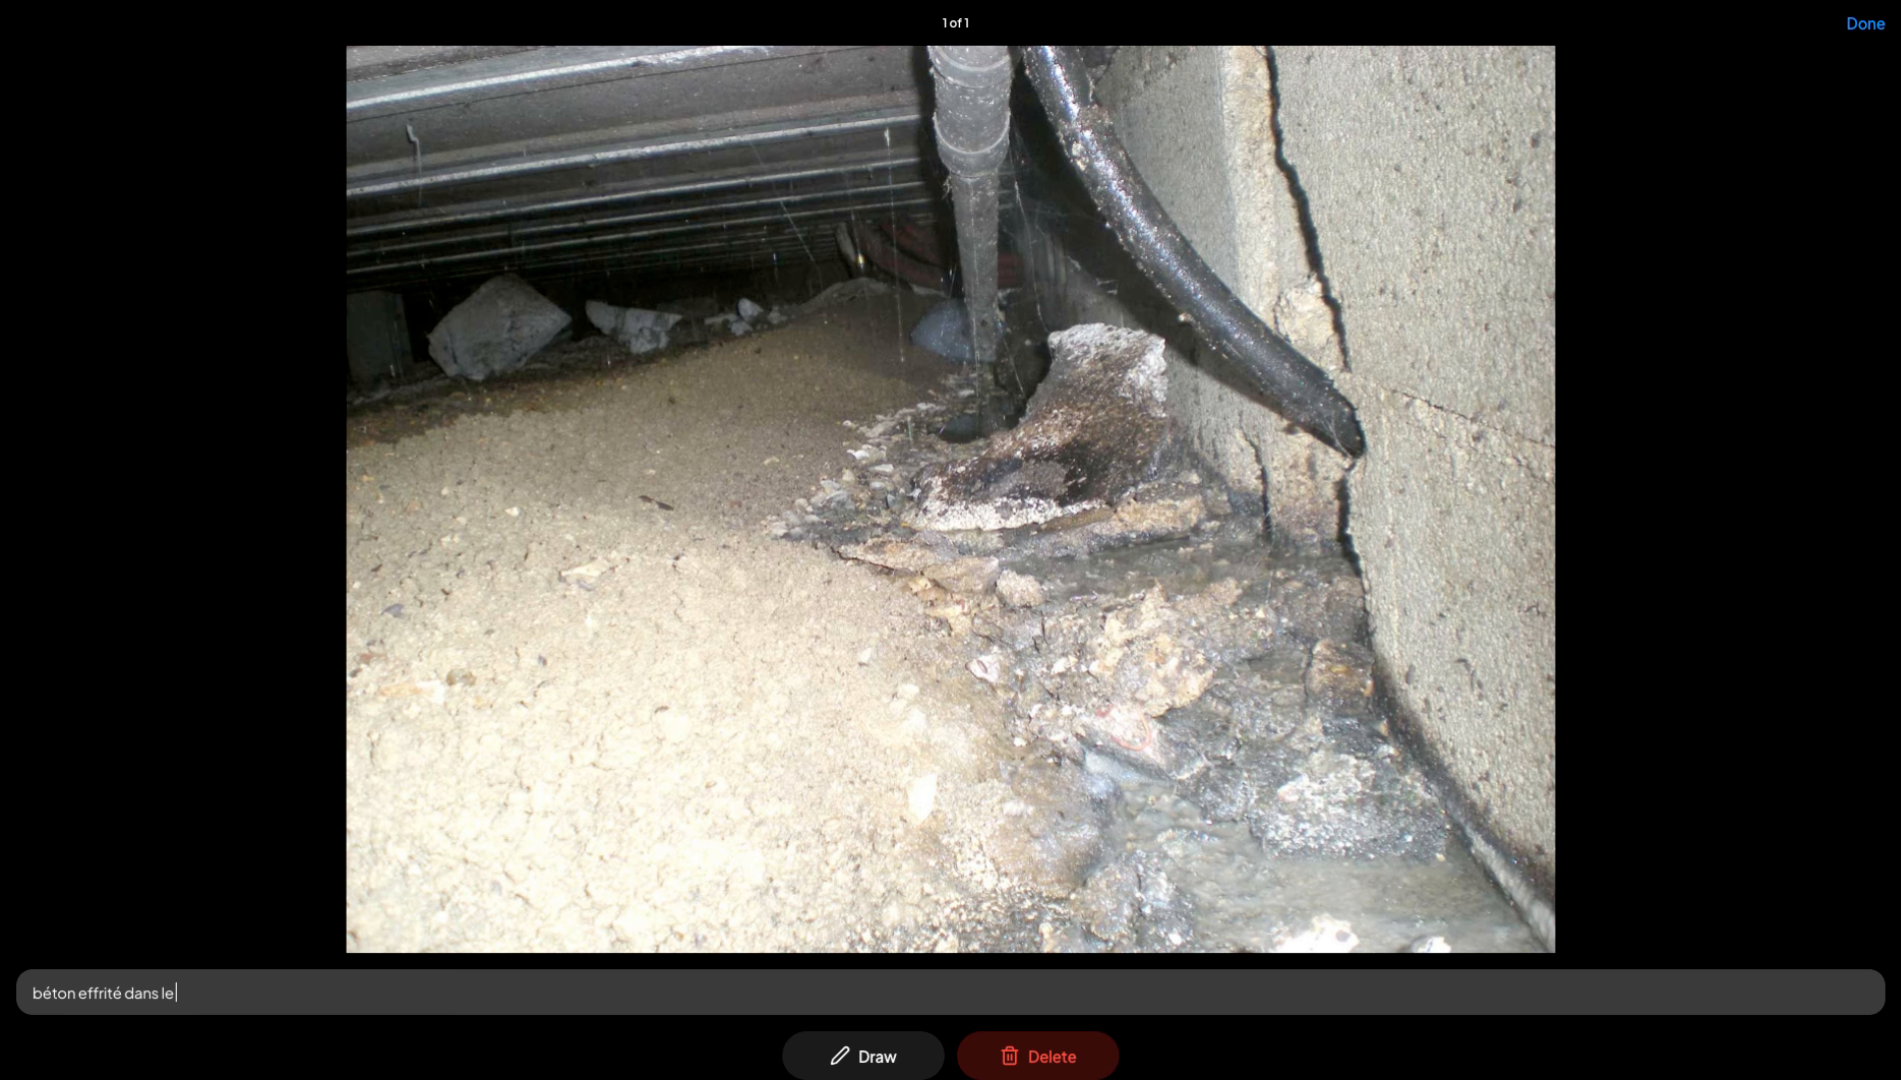
30. Confirm The Description
Click “Done” to confirm the description added to the photo.
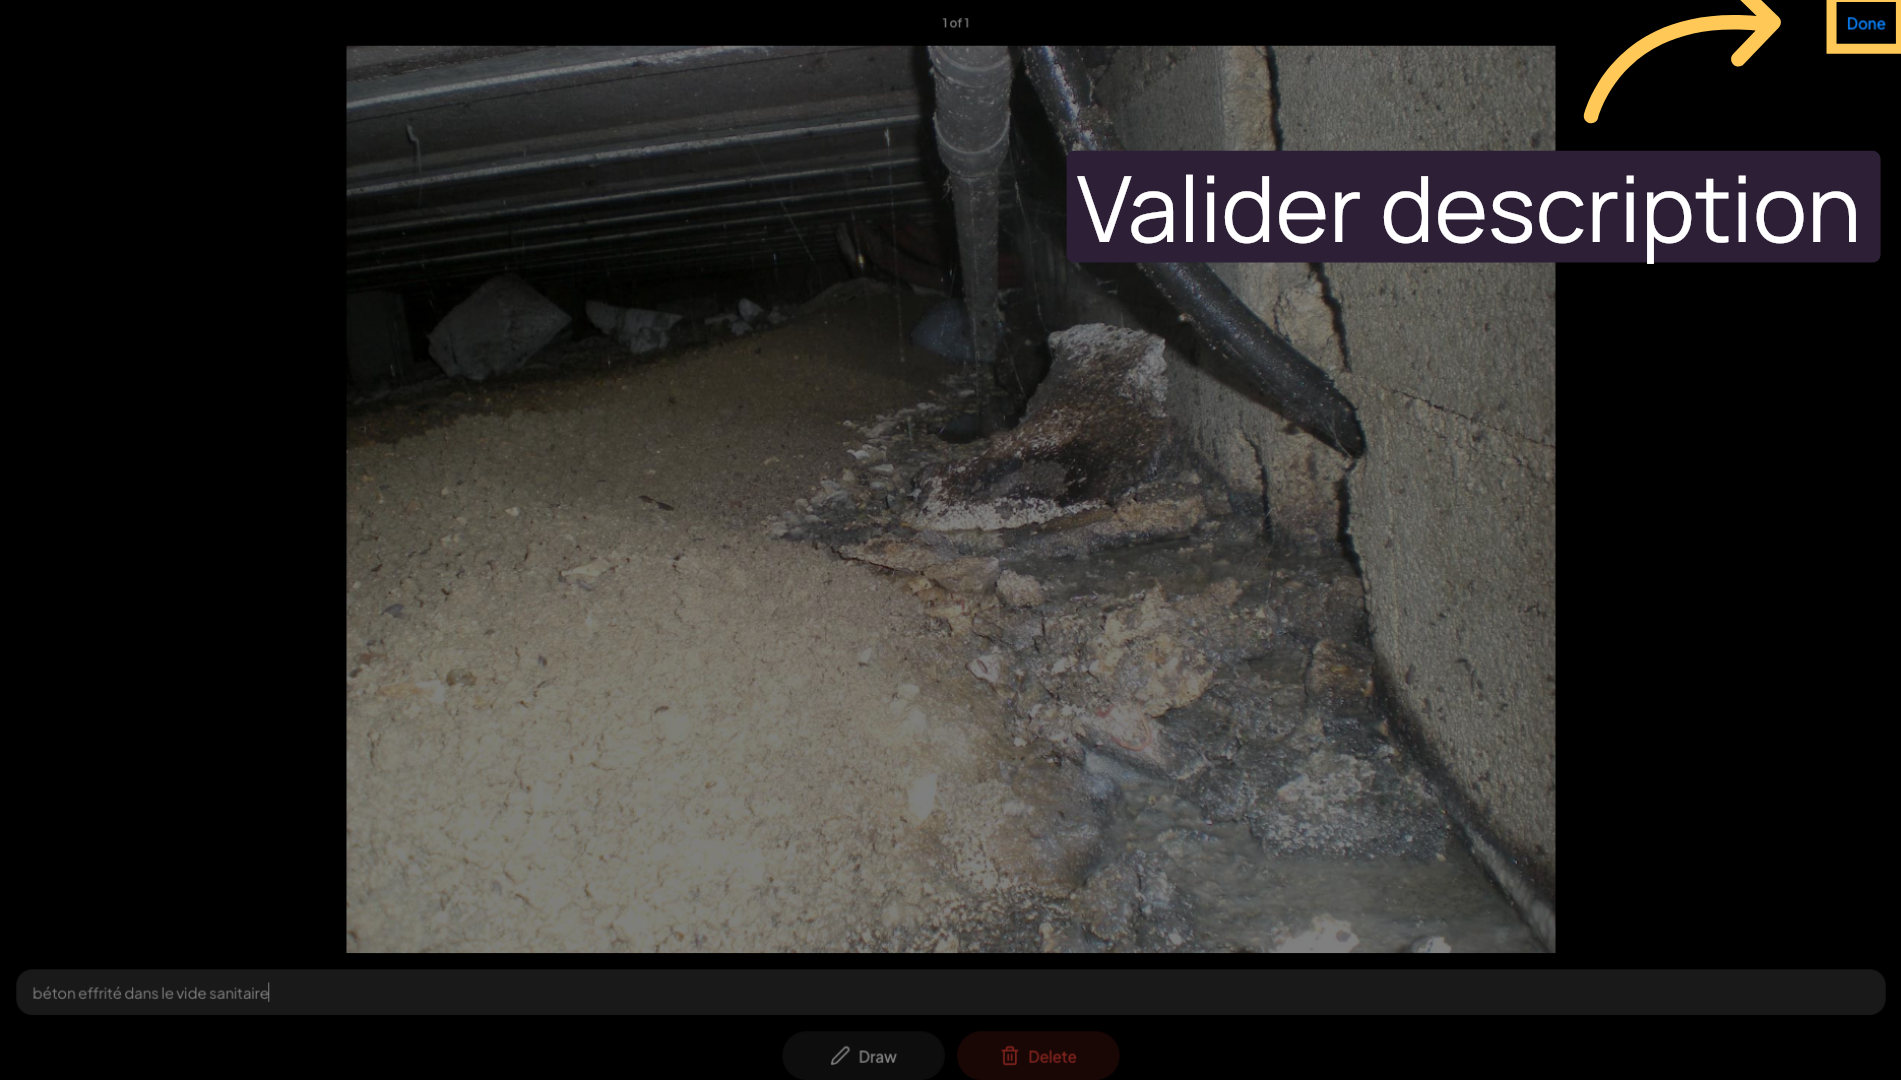
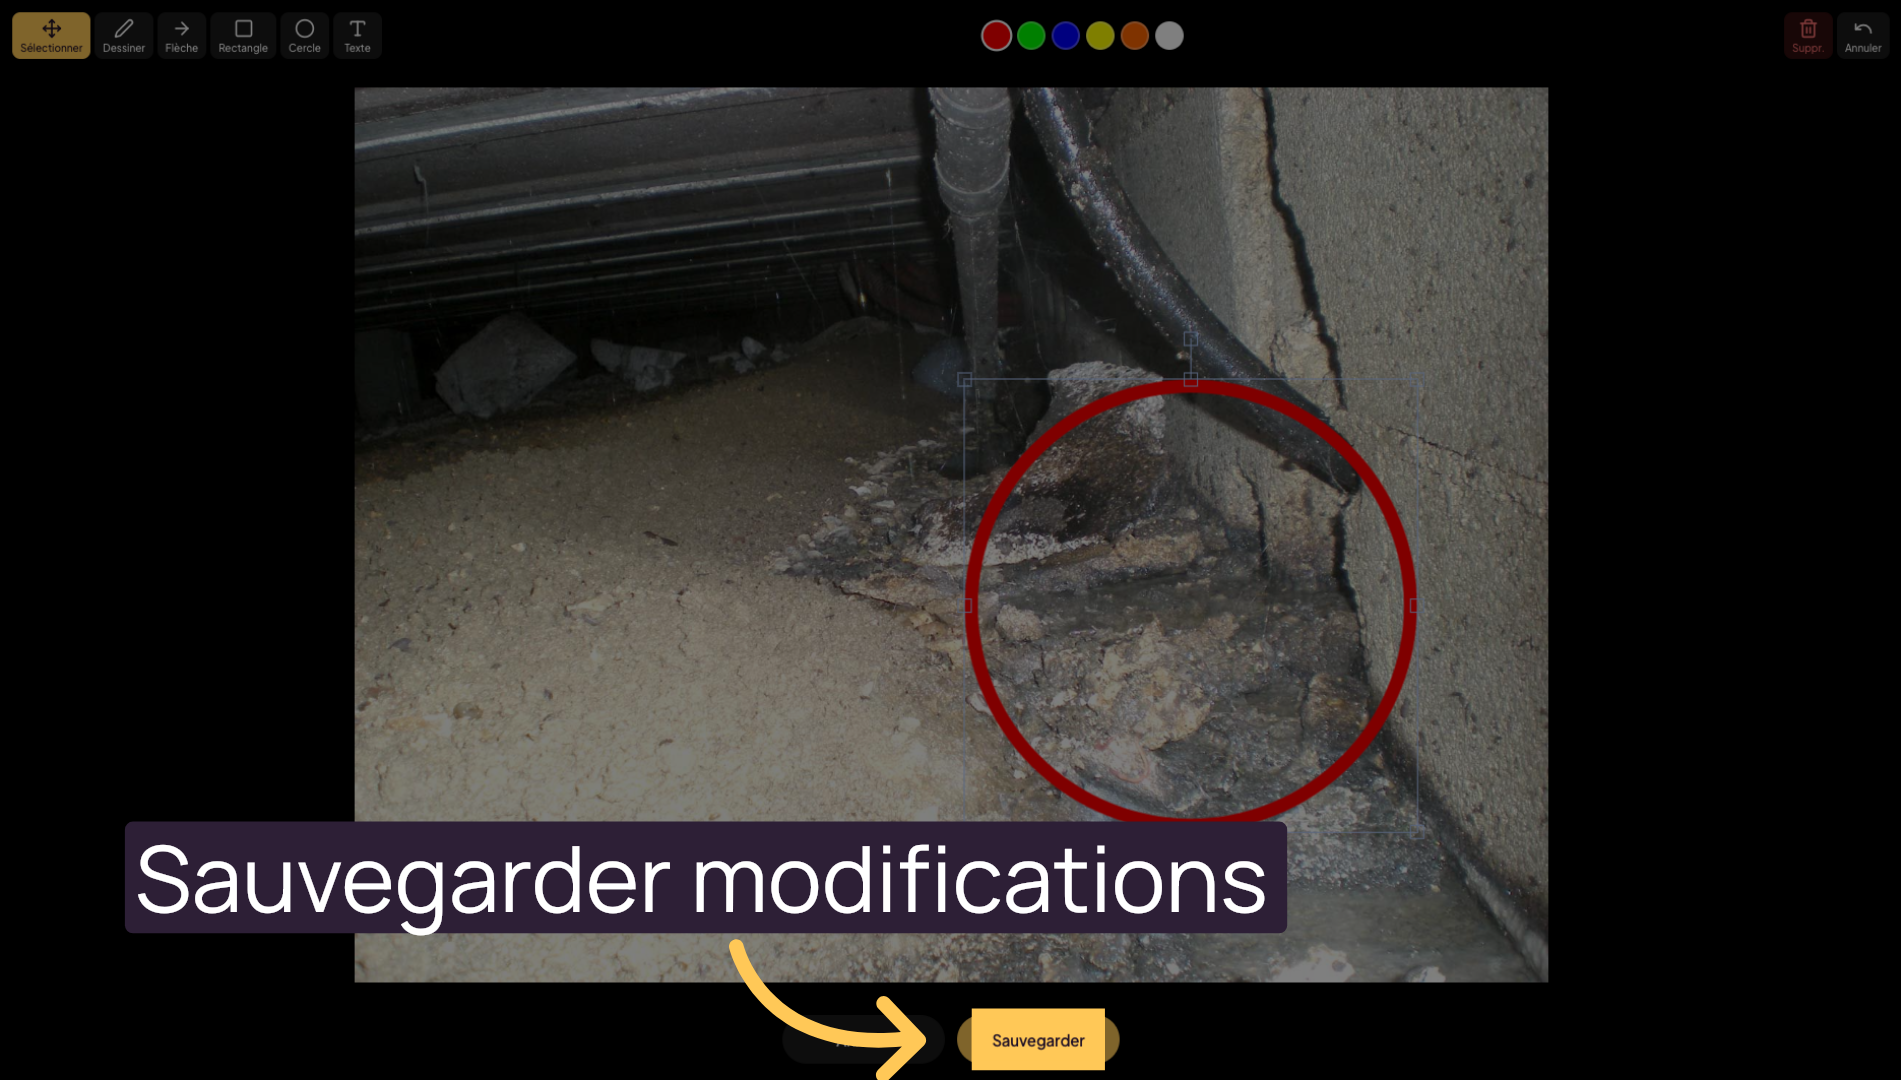
31. Access Drawing Tools
Click on the photo to open the image drawing tools to add visual elements.
32. Use The Image Drawing Tool
Then select the draw button to add elements to your image to make it easier for your client to understand.
33. Save Changes
Click “Save” to save all changes made to your finding and its images.
34. Manage Findings In The Report
Go through all sections and subsections of your inspection report, adding your findings as you progress through the inspection. You can also use findings you added to the queue during your inspection visit. Simply sort them in the “To Review” section at the top of the main navigation.
You have learned how to add, edit, and manage findings and observations in your inspection reports with Lumos. You can now efficiently organize your audio notes, images, and descriptions for a complete and accurate report.