Add and manage photos in your inspection reports
This tutorial guides you through adding and managing photos in your inspection reports in Lumos Inspection. You will learn how to organize your images, create findings, and use artificial intelligence to optimize your reports.
Visit inspector.lumos.property
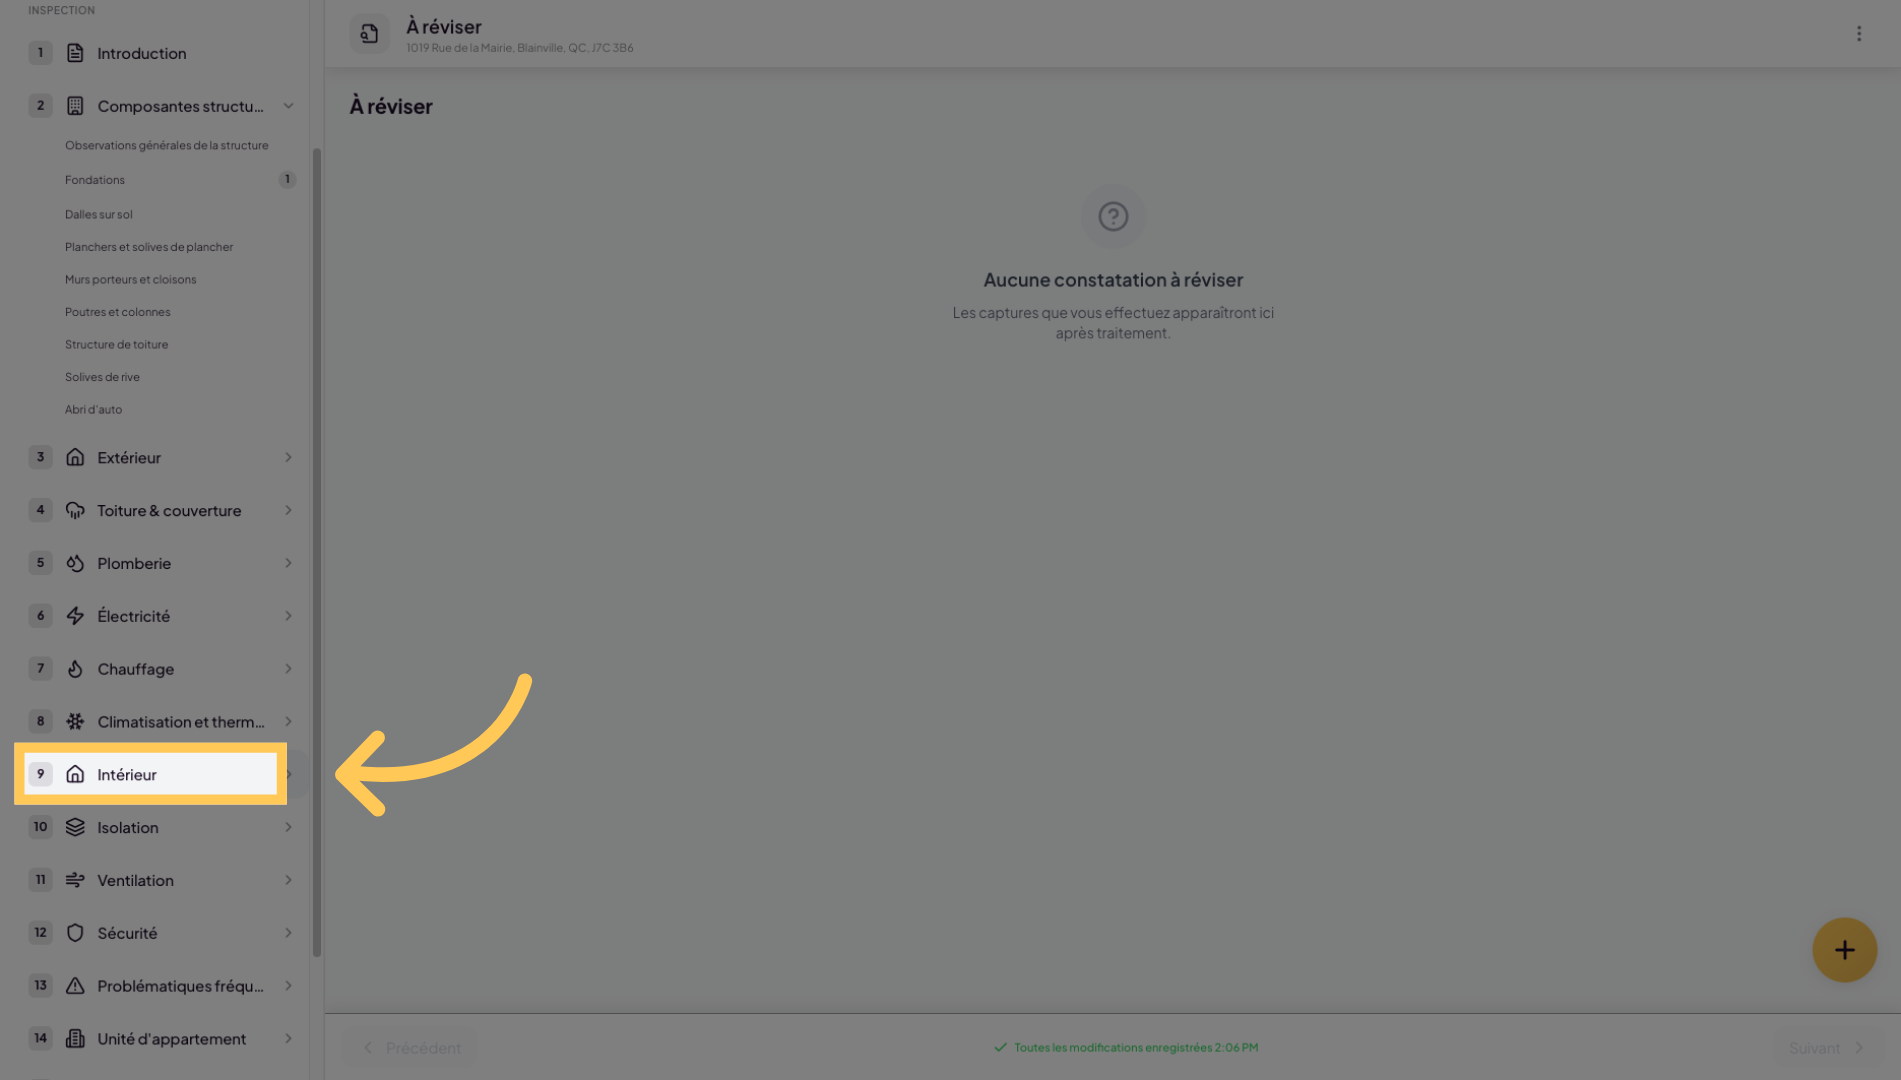
1. Access photo management
To add or manage photos in your inspection reports, go to one of your projects and click on an inspection, or create one.
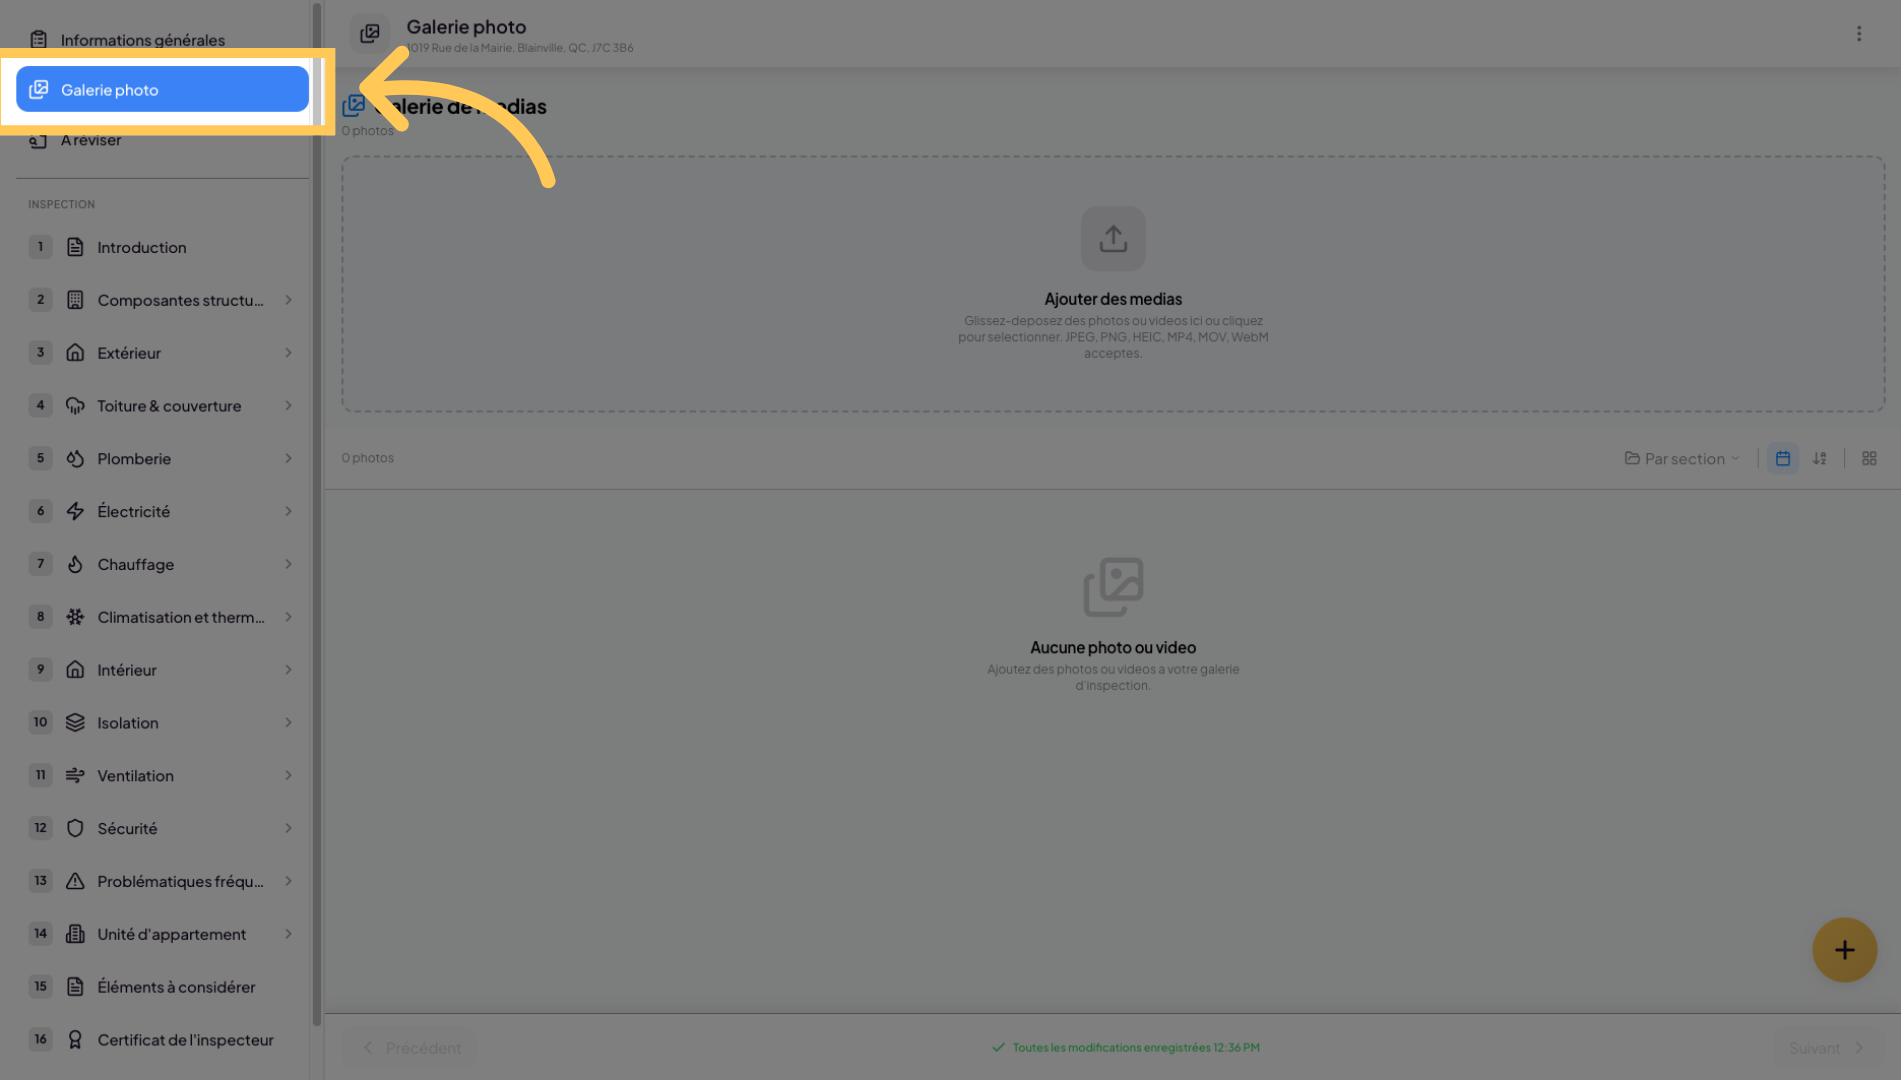
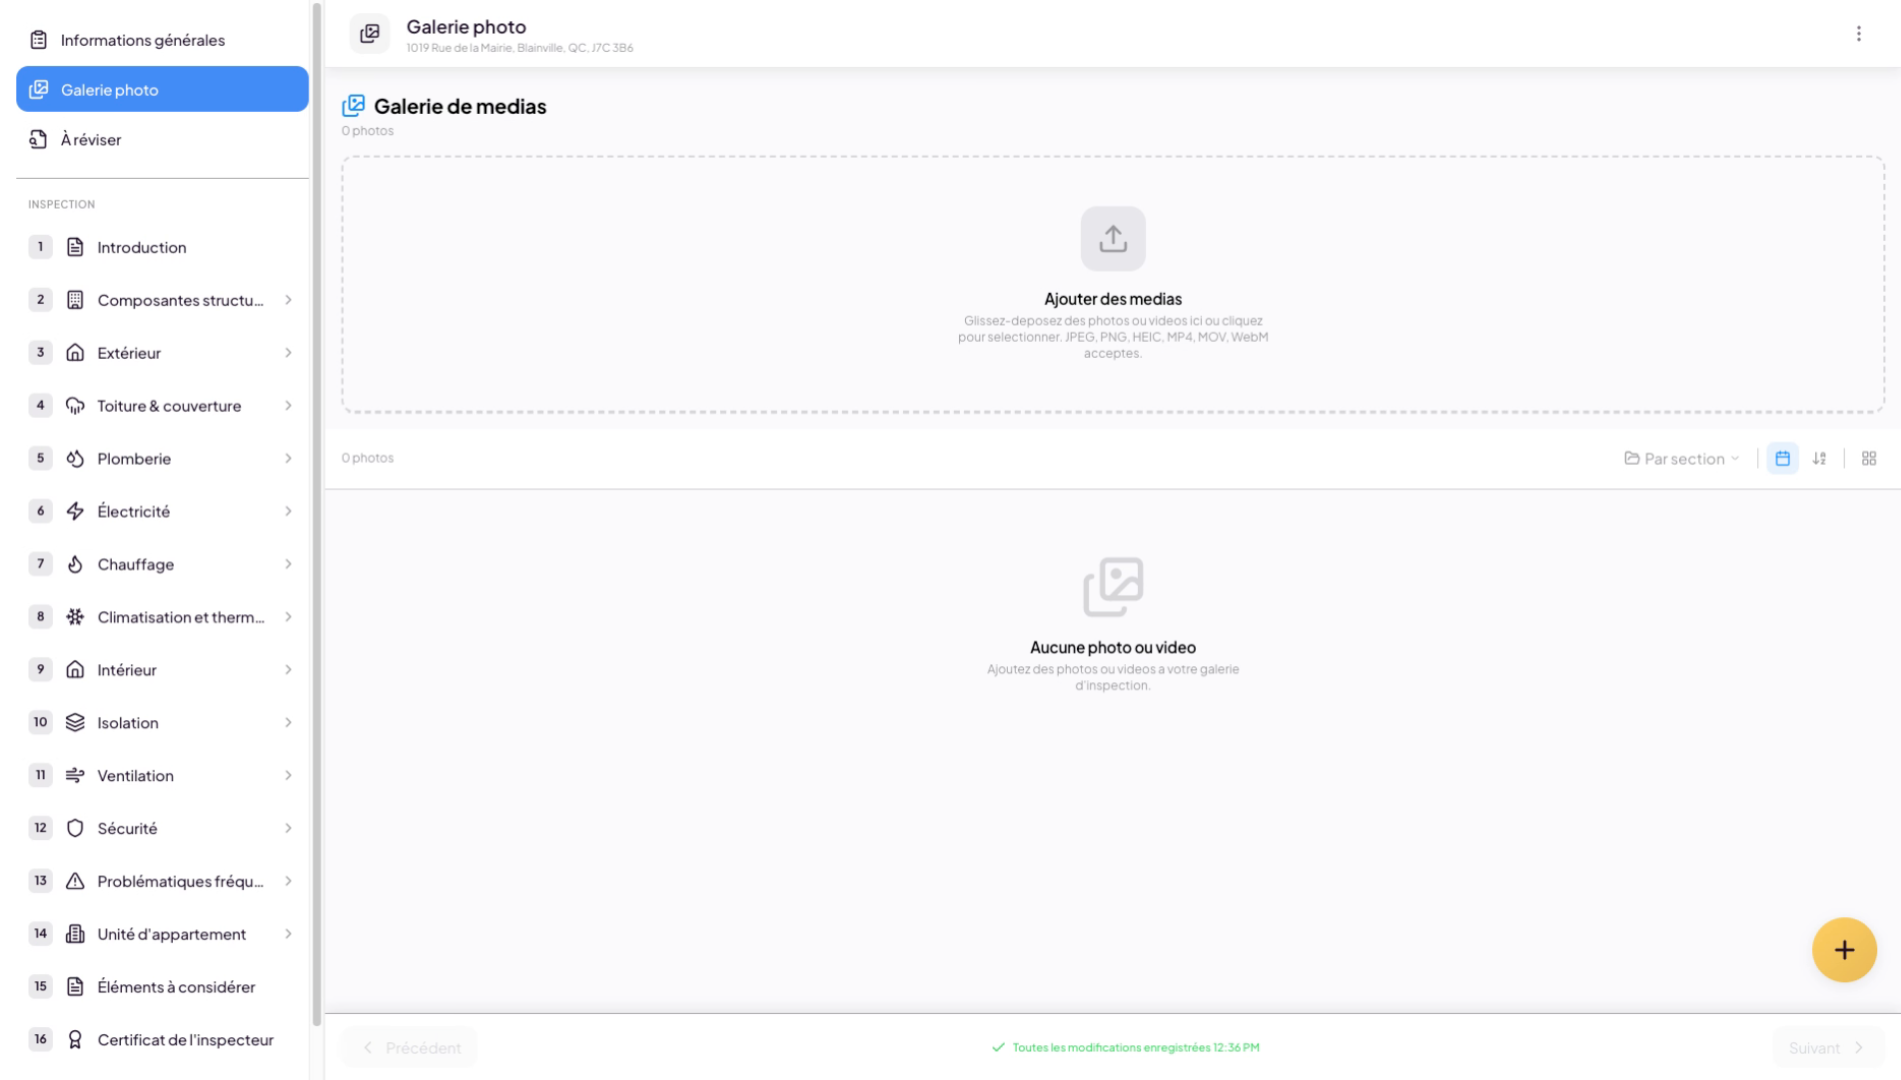
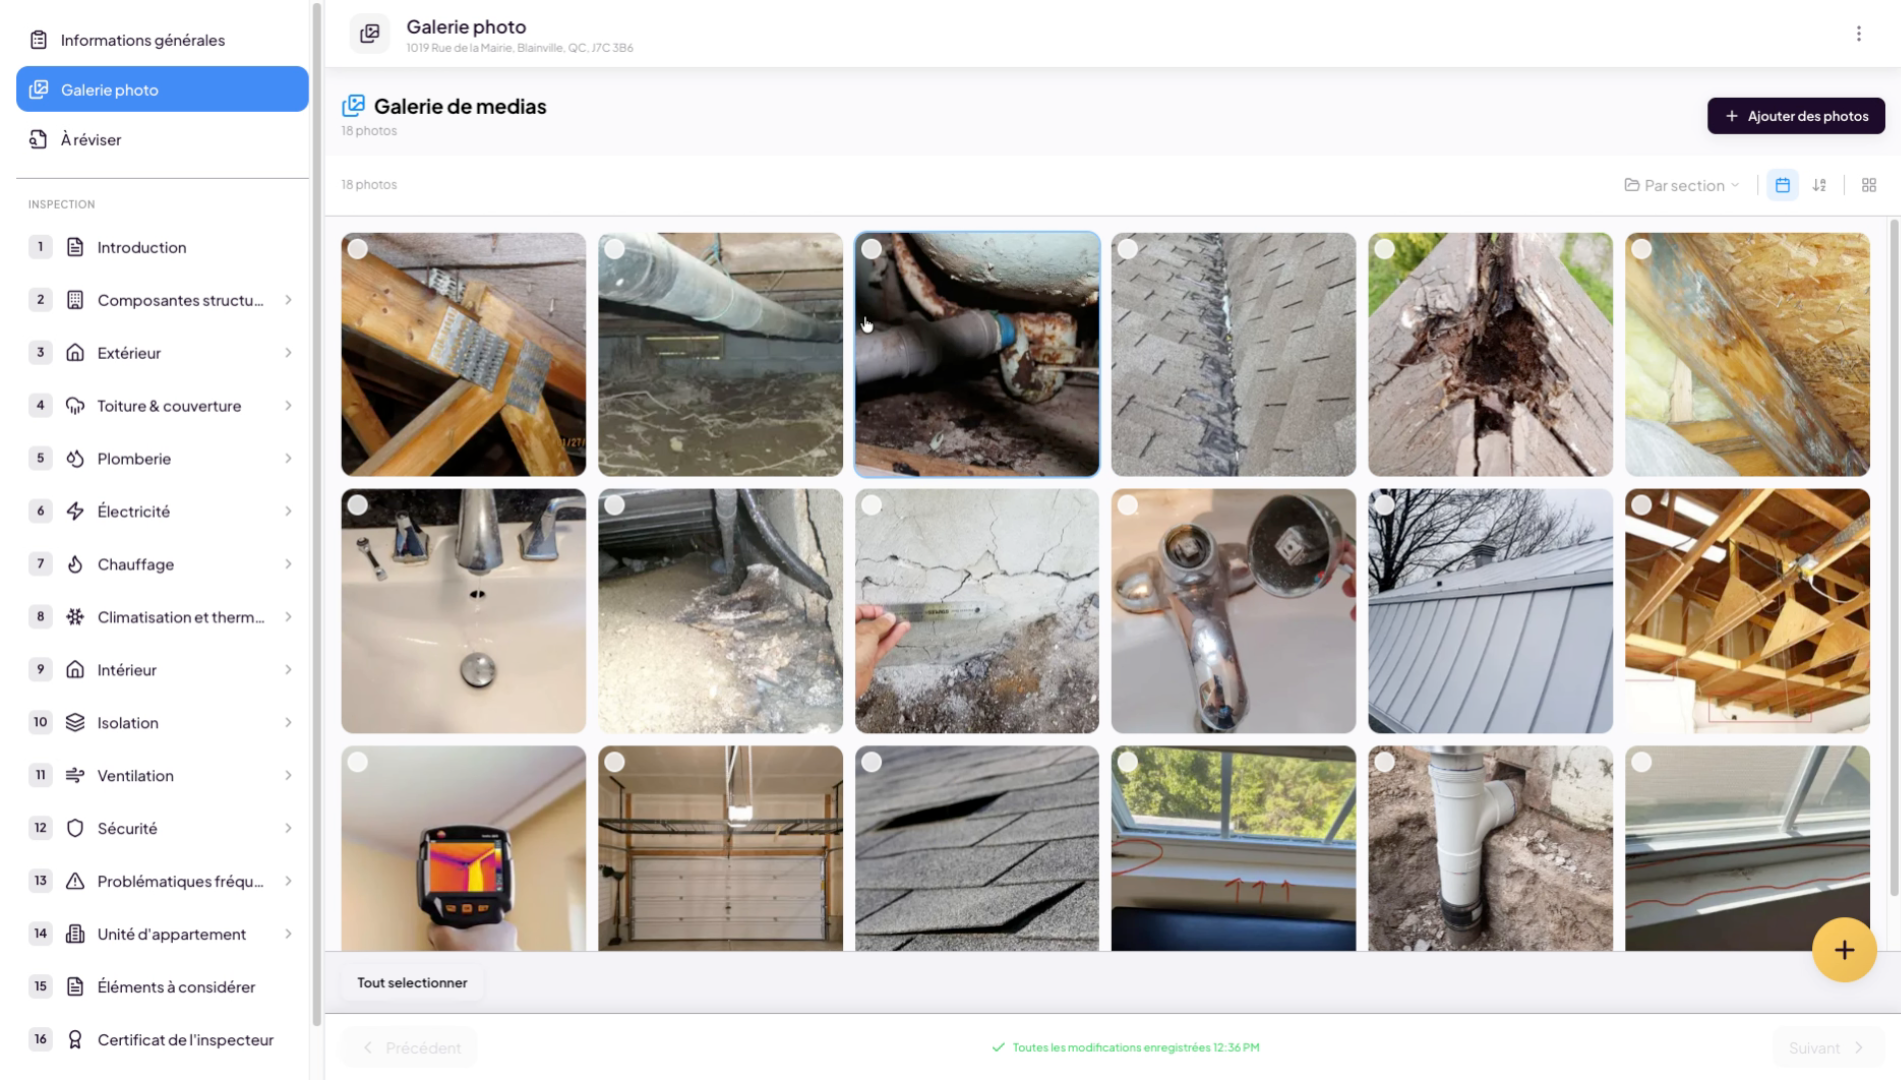
2. Open the Photo Gallery tab
Click on the Photo Gallery tab to access images and videos associated with the inspection.
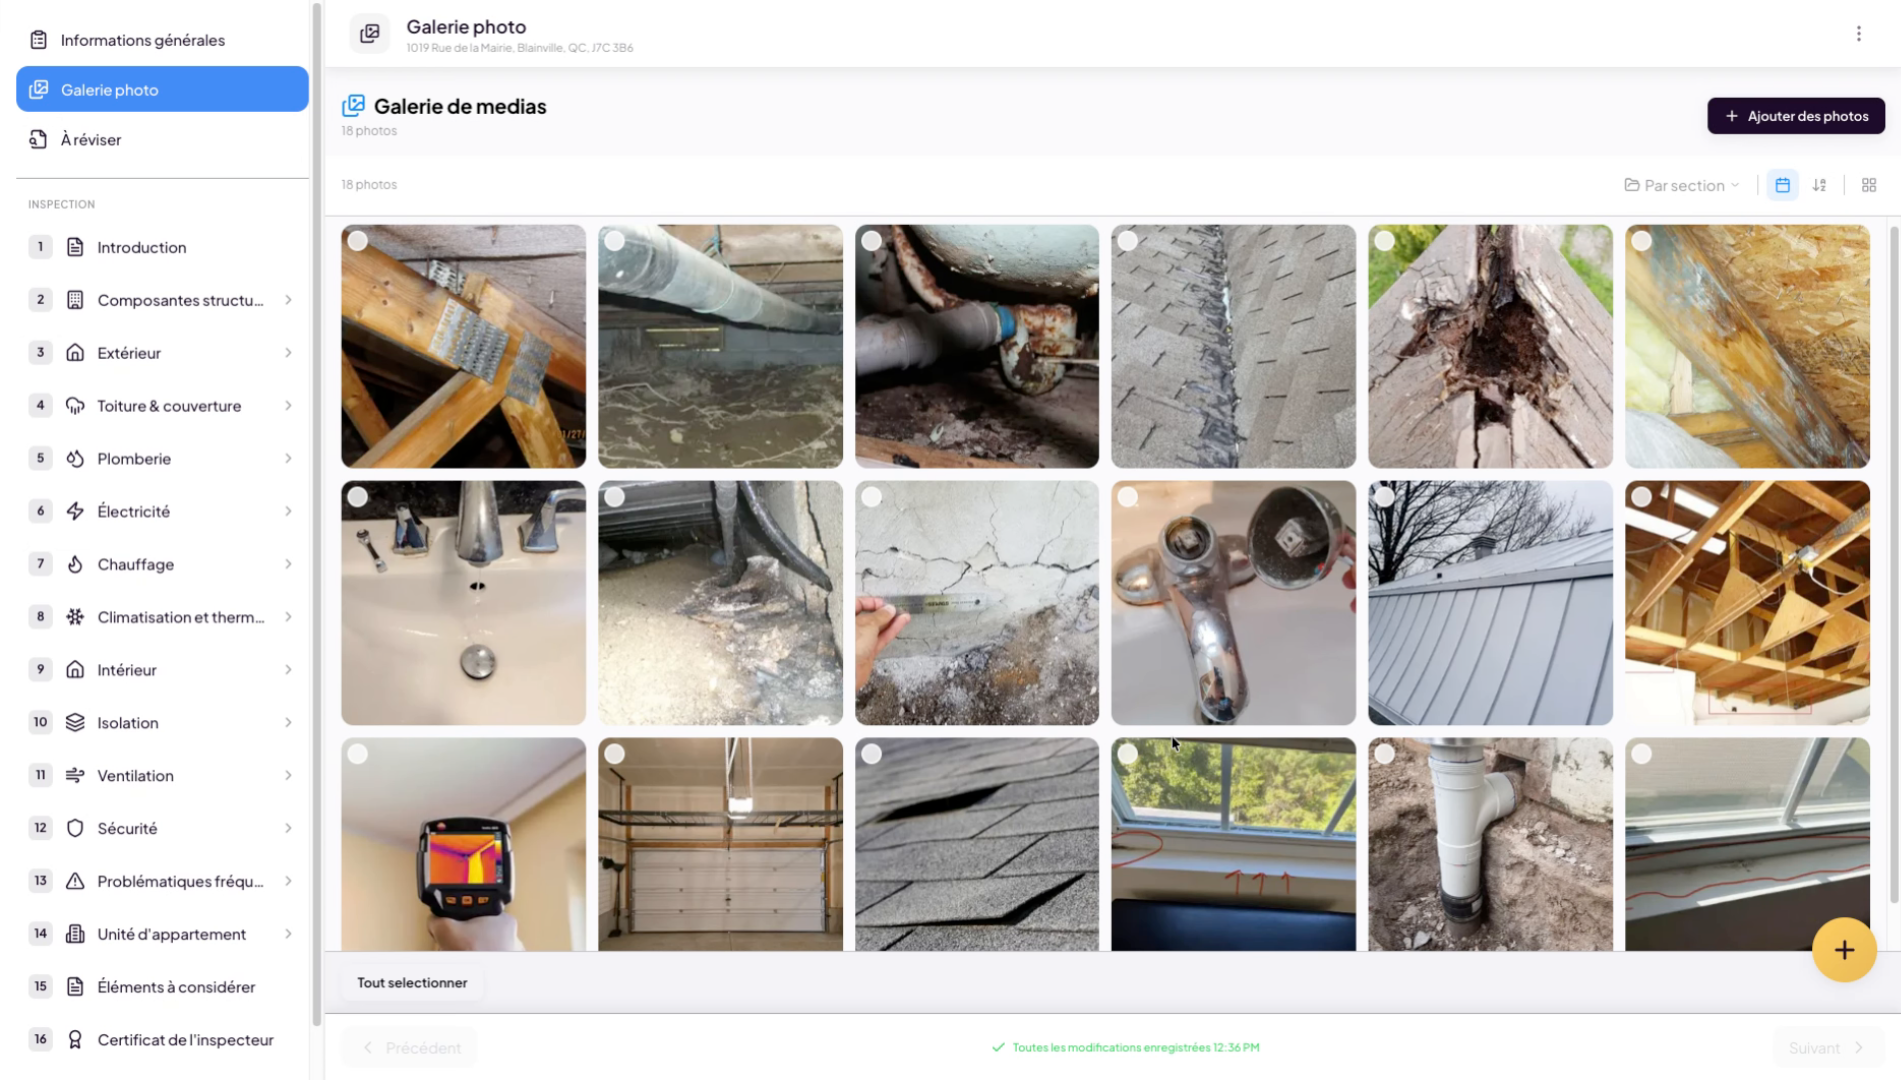
3. Upload and optimize images
Most standard image formats are supported. The system will upload your images to your inspection report. Lumos’s algorithm will optimize your images in terms of size and weight so that your inspection reports are lightweight and easy to share.
4. Navigate the photo gallery
5. Select an image
Click on the arrows or use your keyboard arrows to easily navigate between photos.

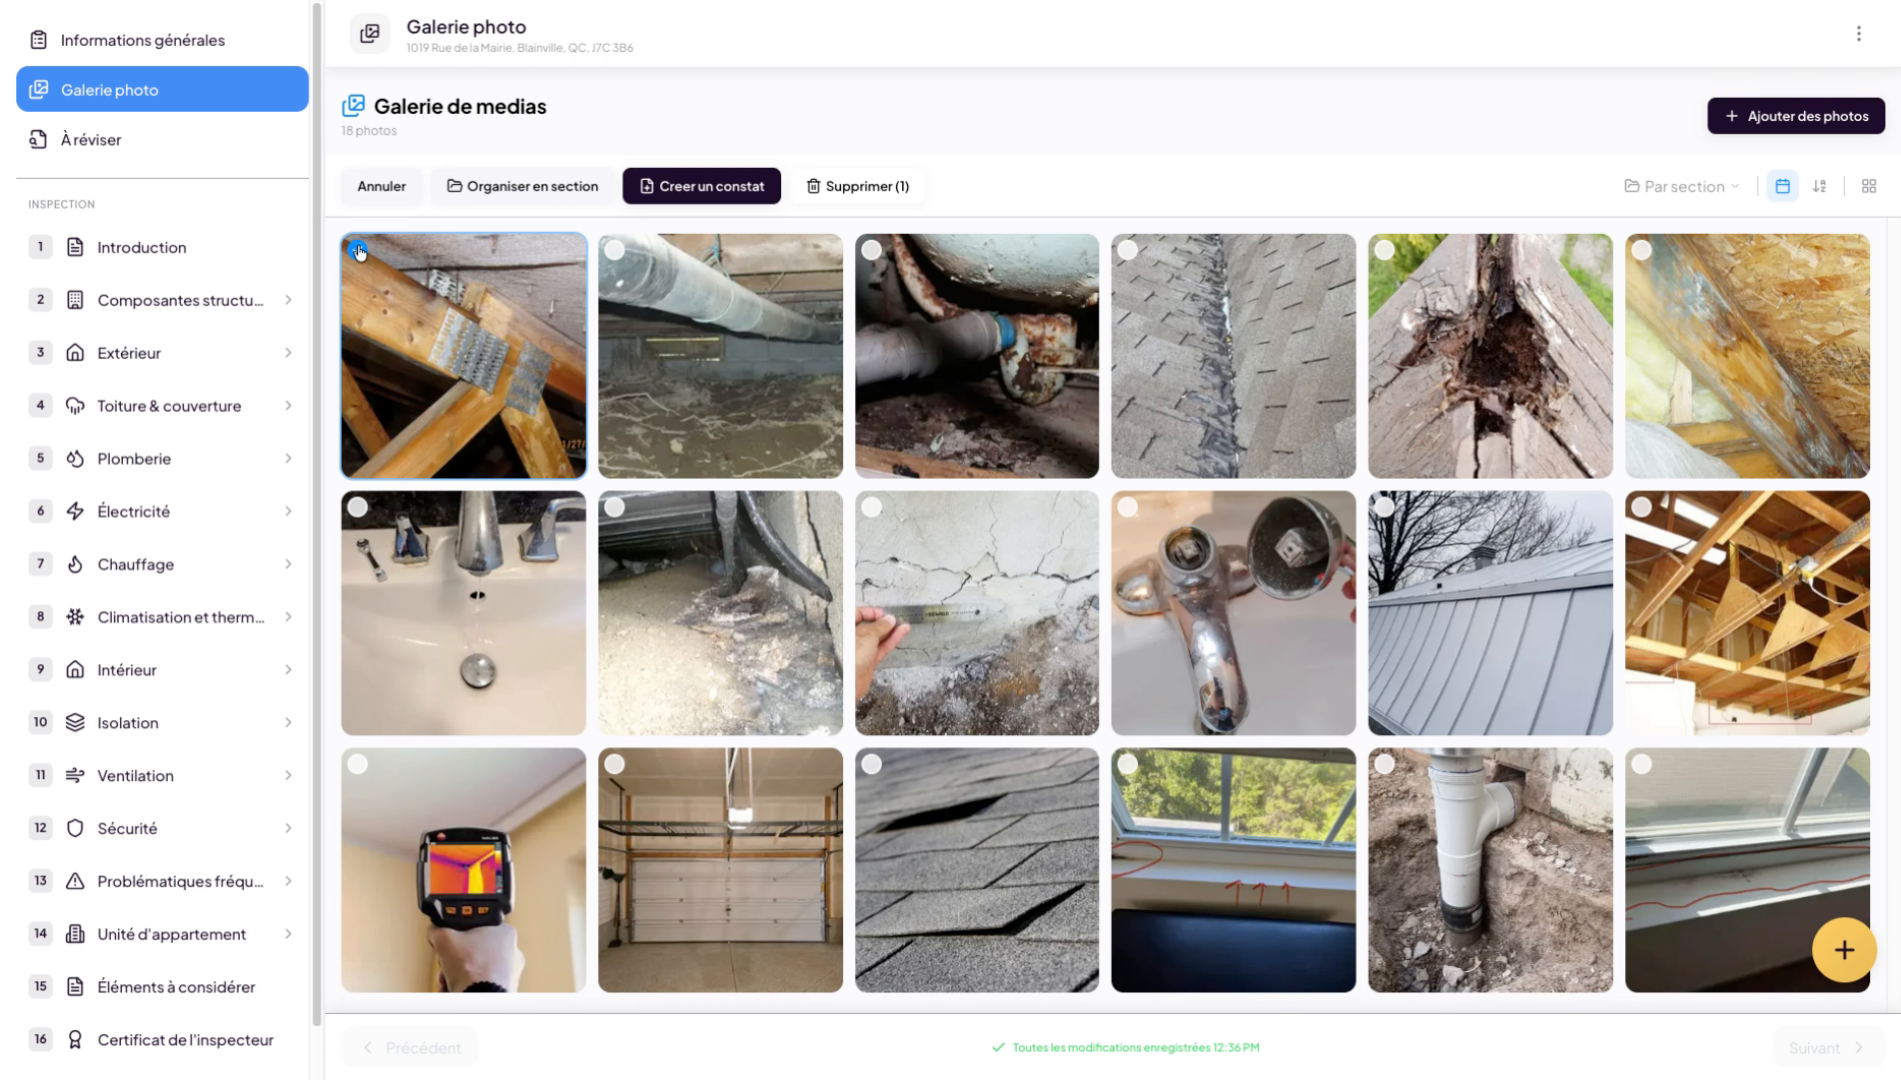
6. Organize by roadmap section
You can organize your images by section relative to your roadmap.
7. Access image organization
Click to access image organization options in the gallery.
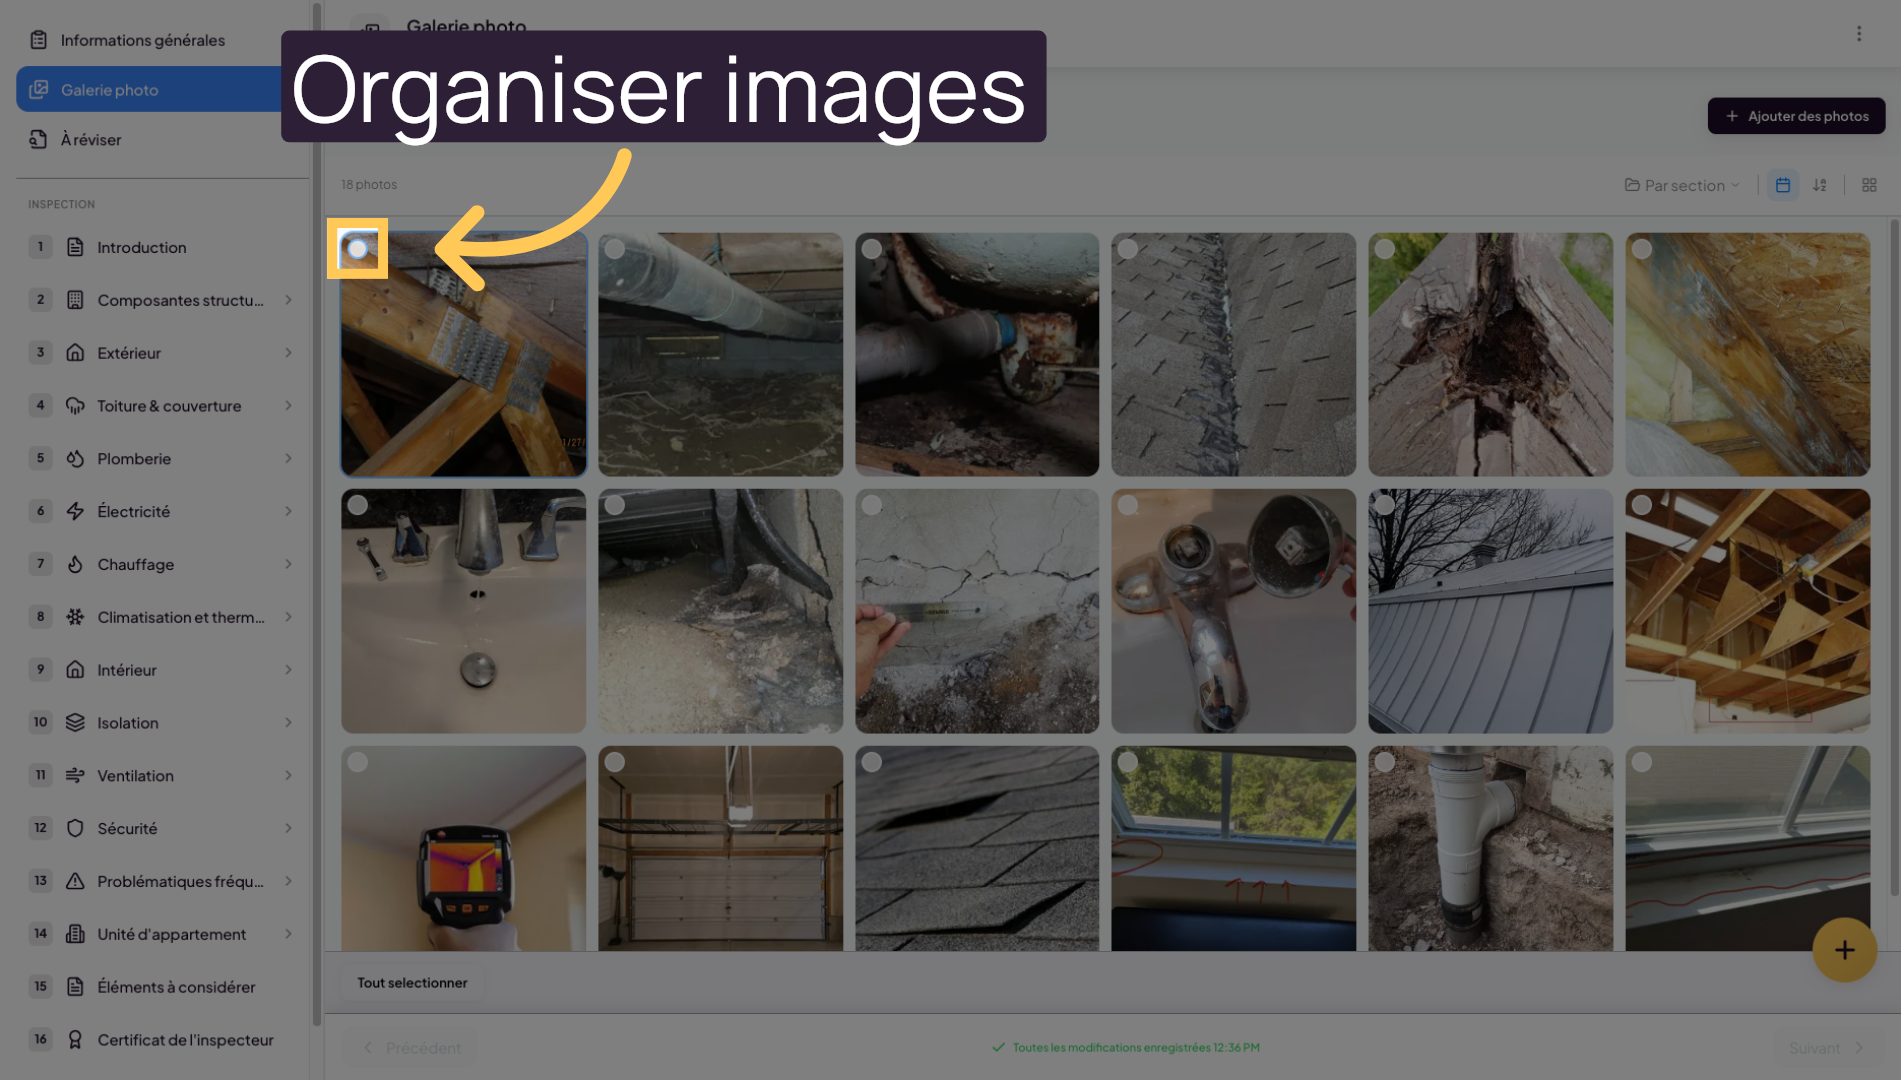
8. Select and organize images
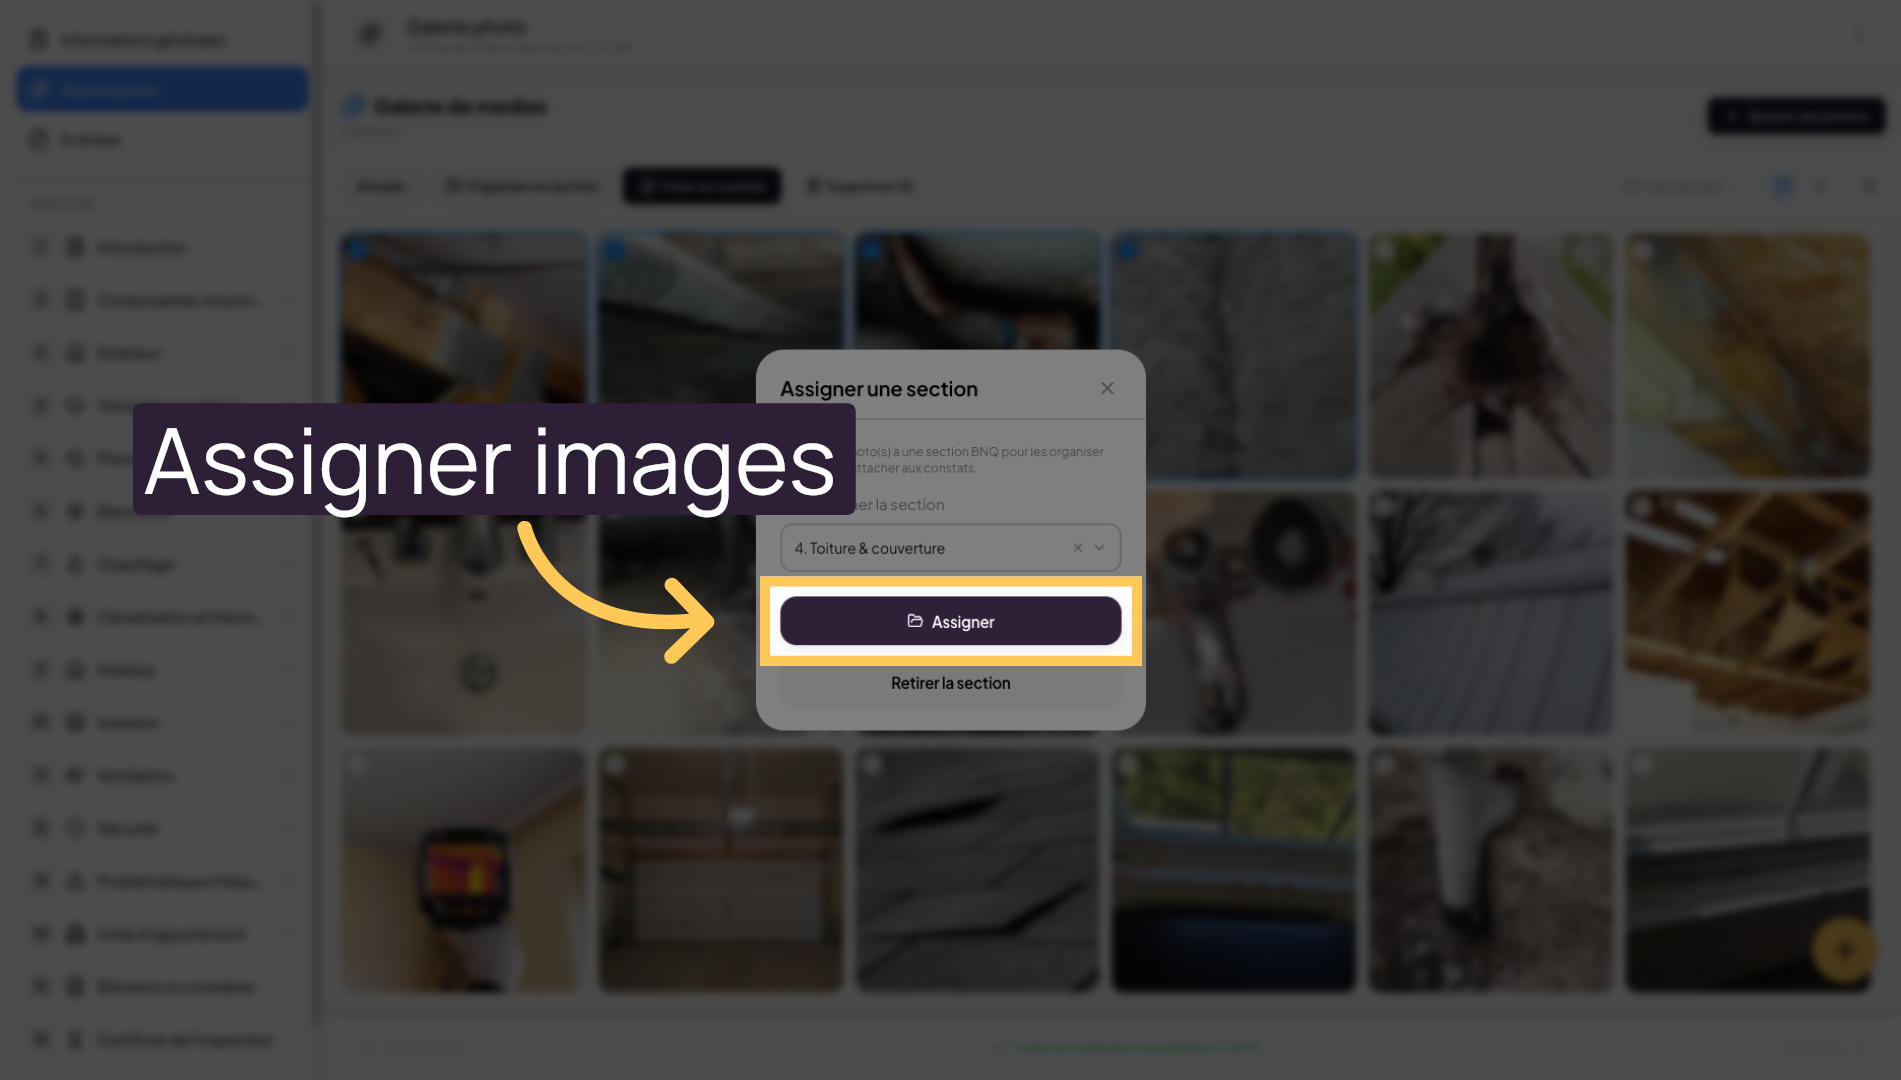
9. Choose a section for images
Select the section where you want to insert your images.
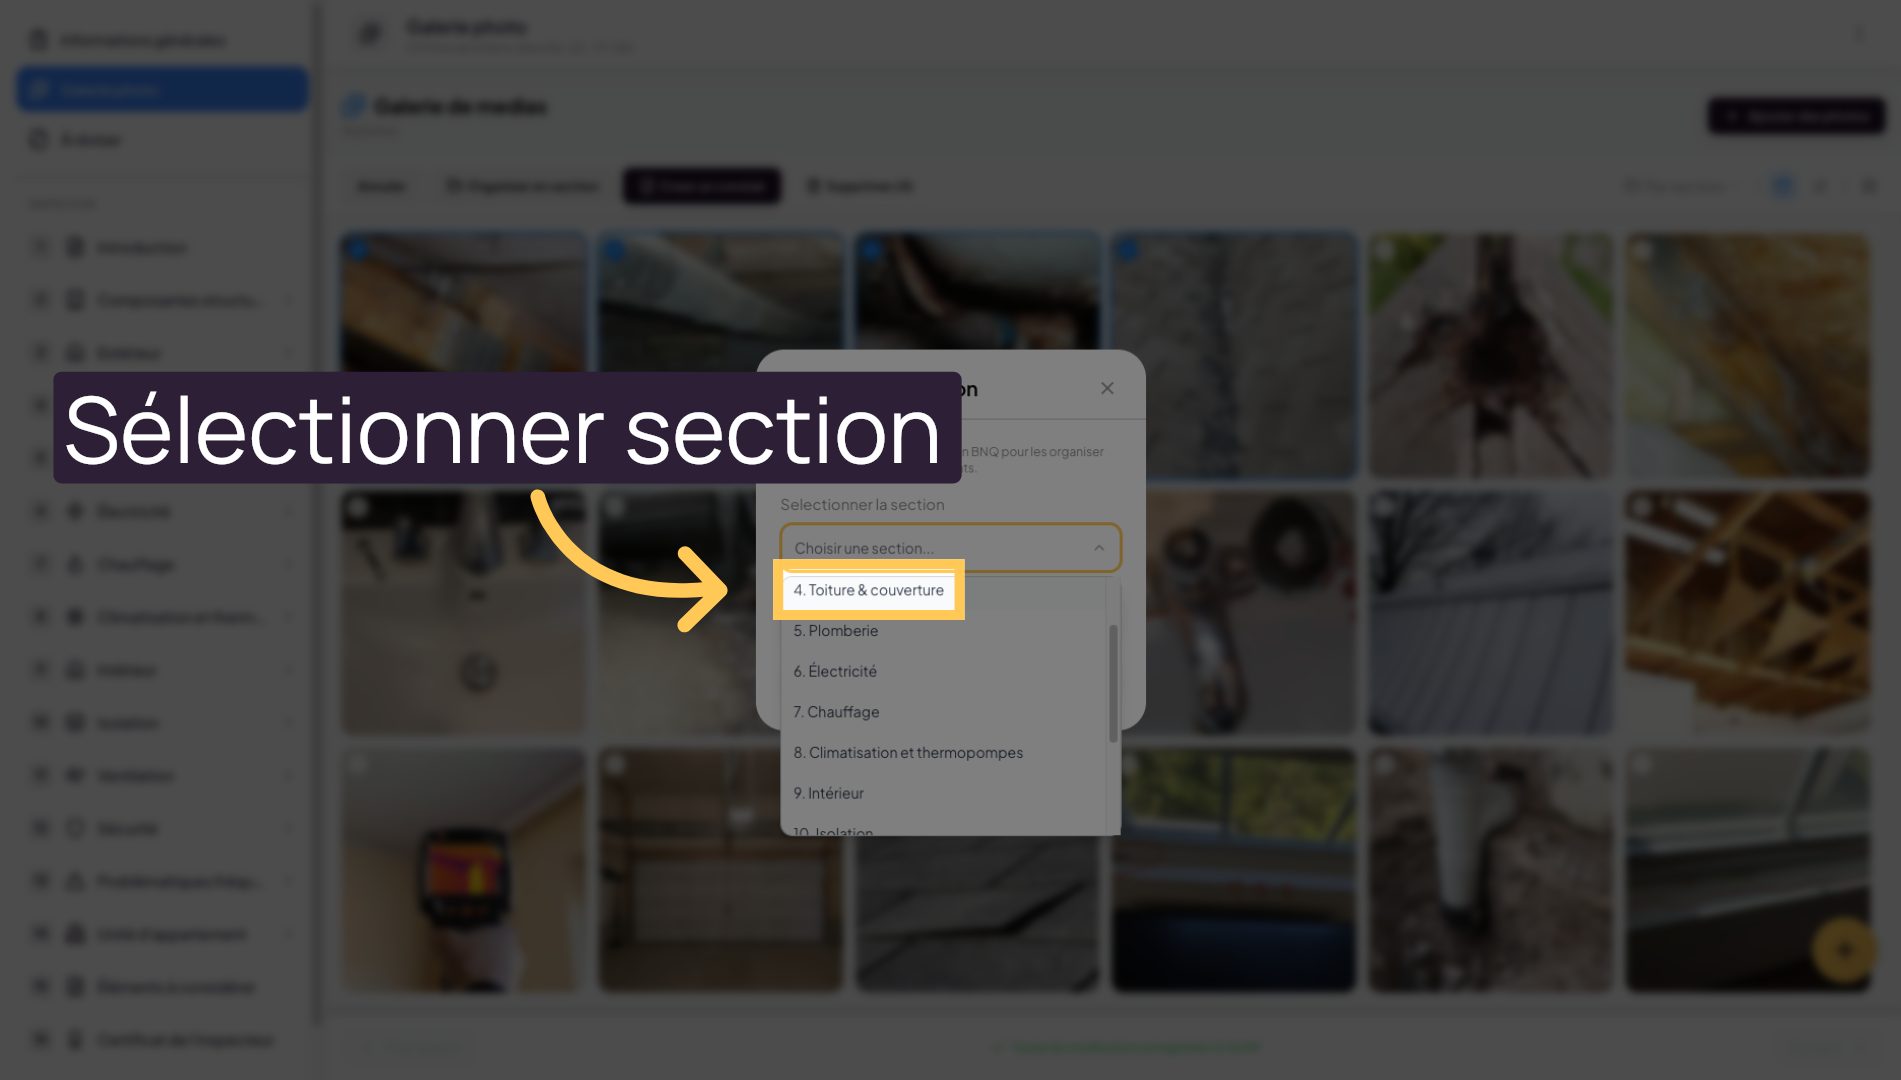
10. Assign images to the section
Click Assign to confirm the image organization in the chosen section.
11. Display selected images

12. Display all sections
Click on “All sections” to view all images without filters.

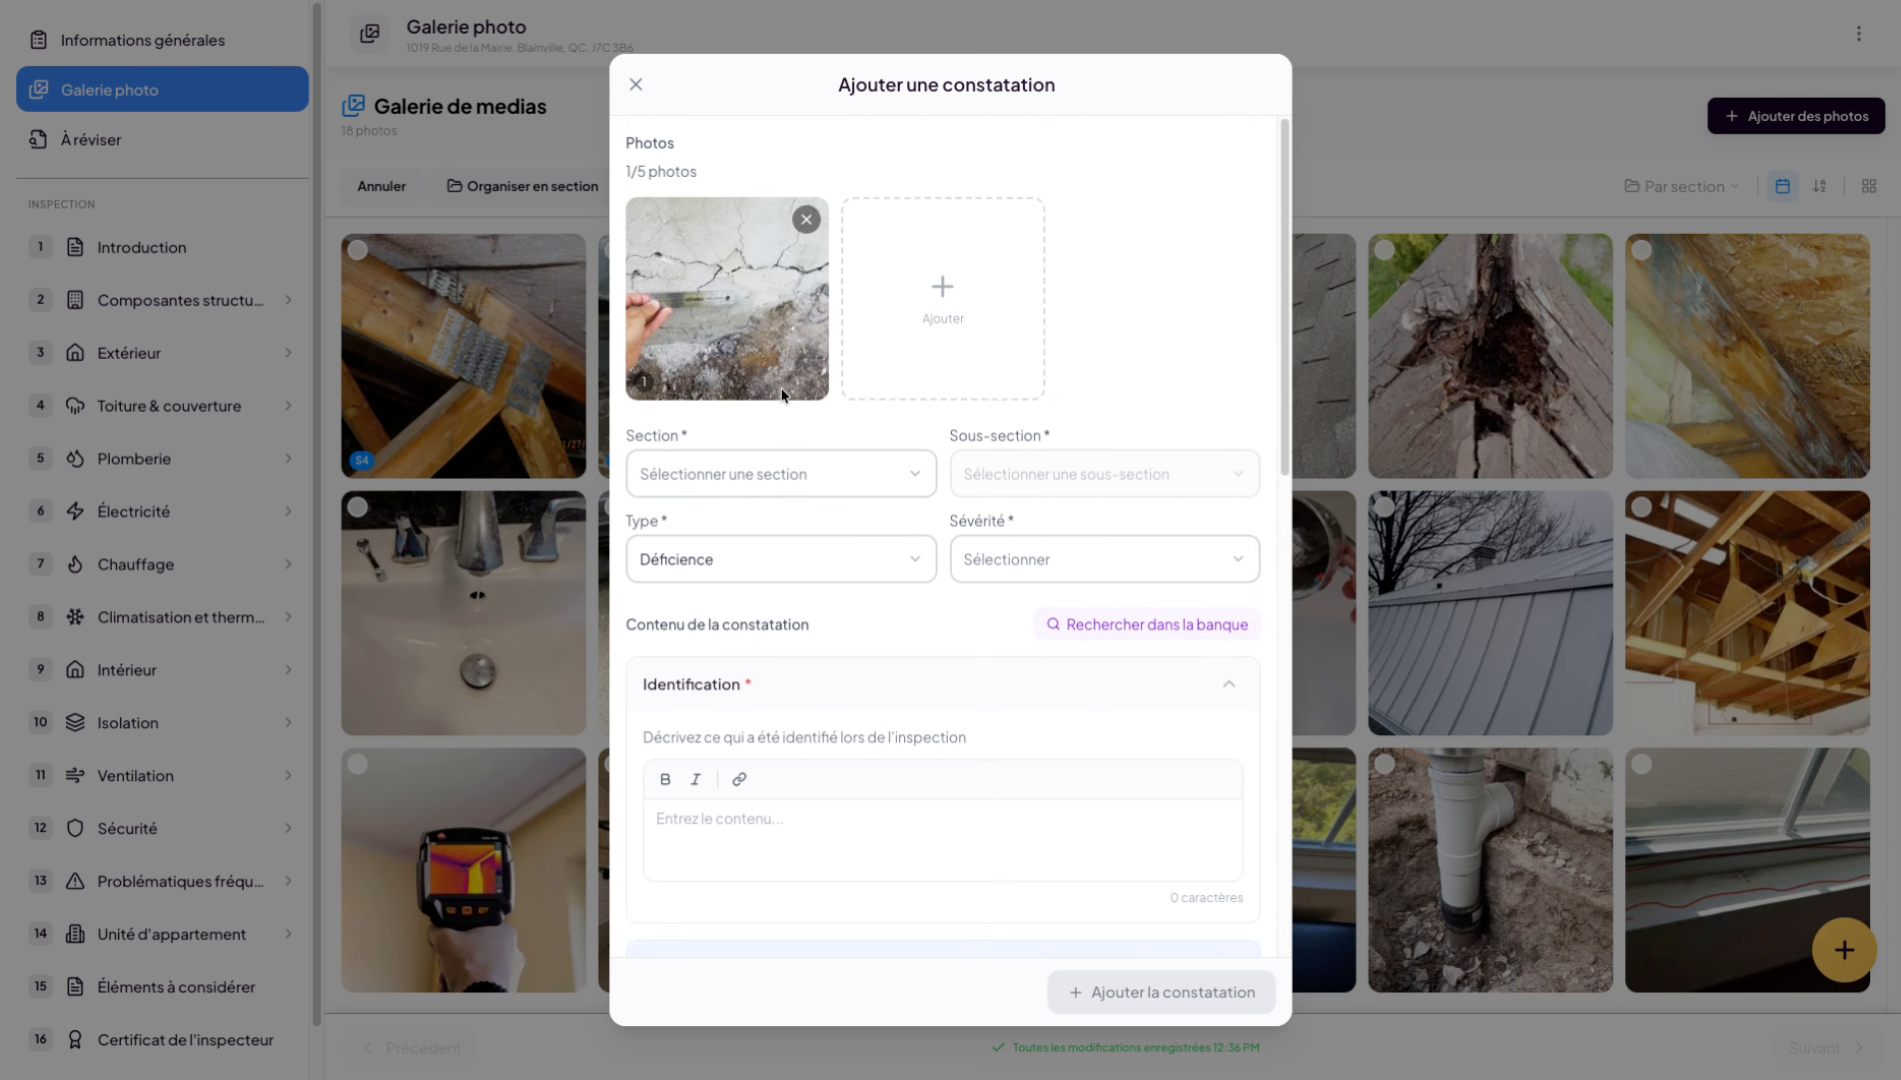
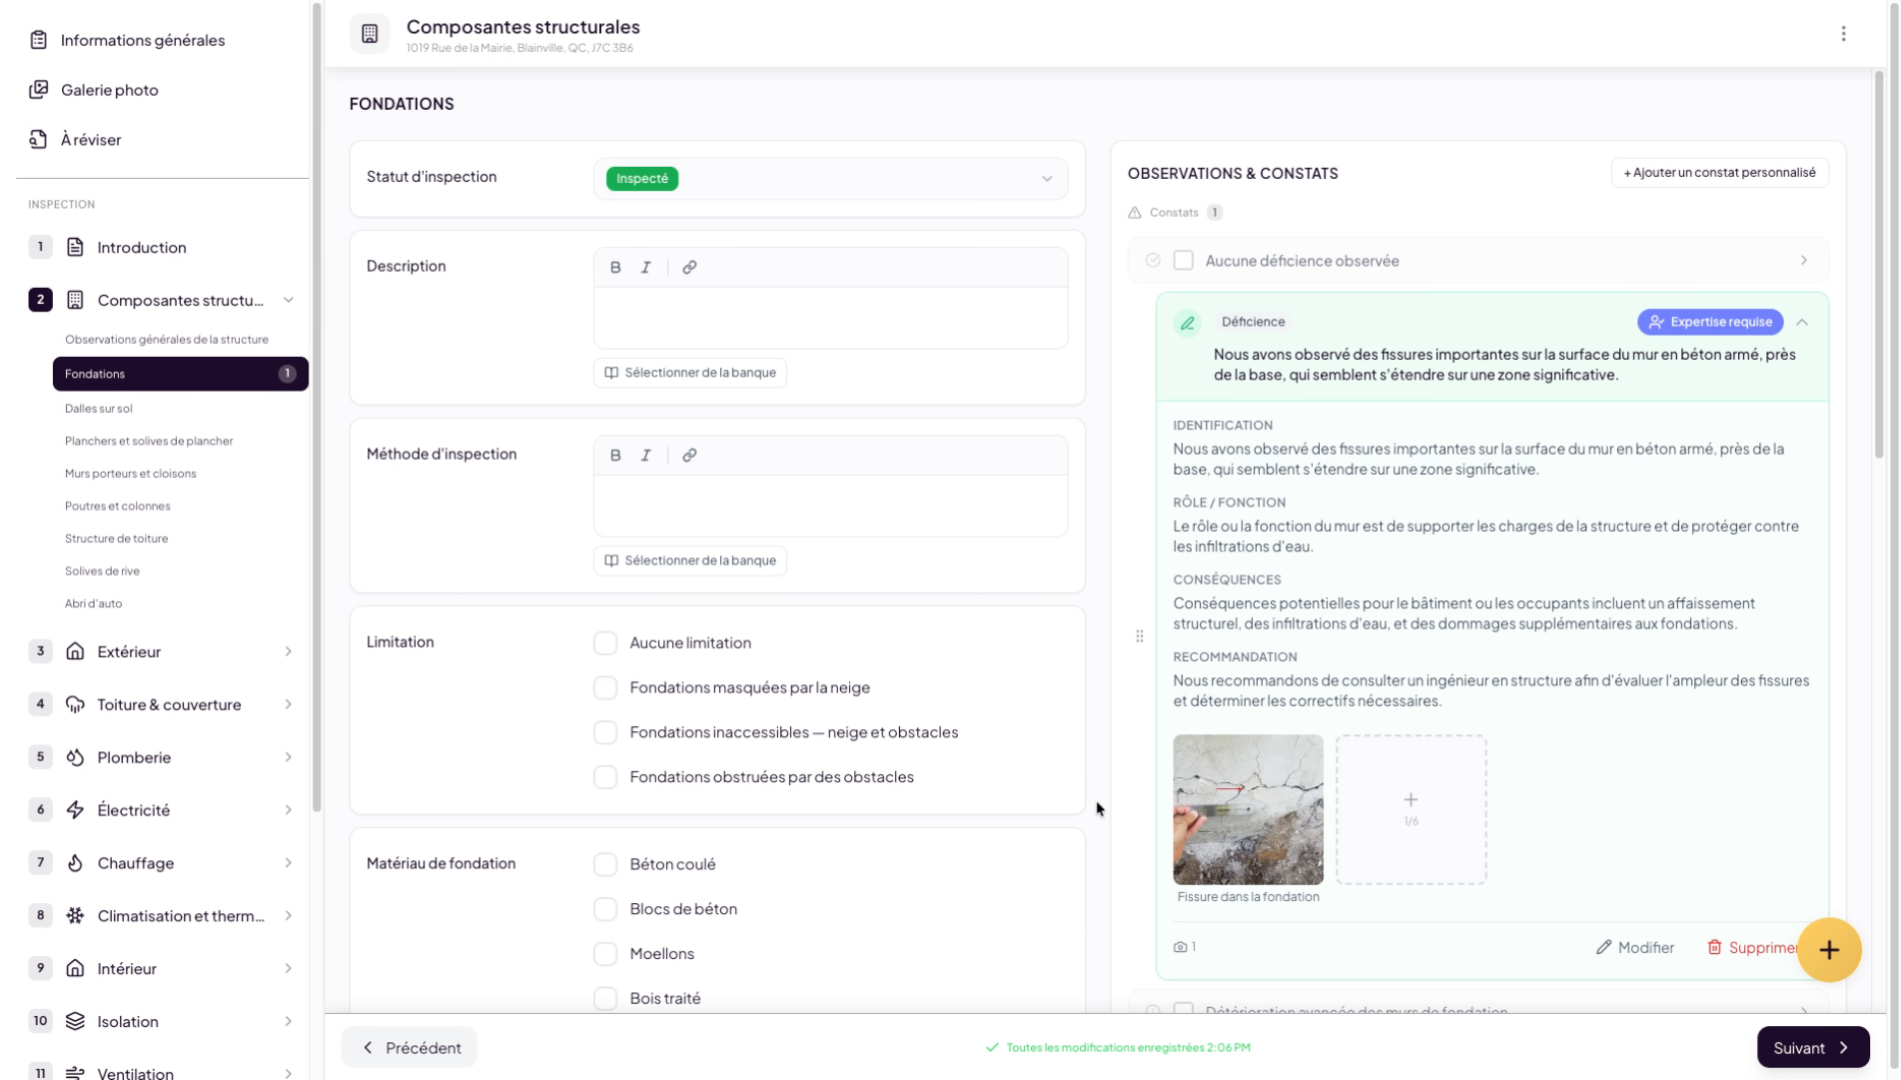
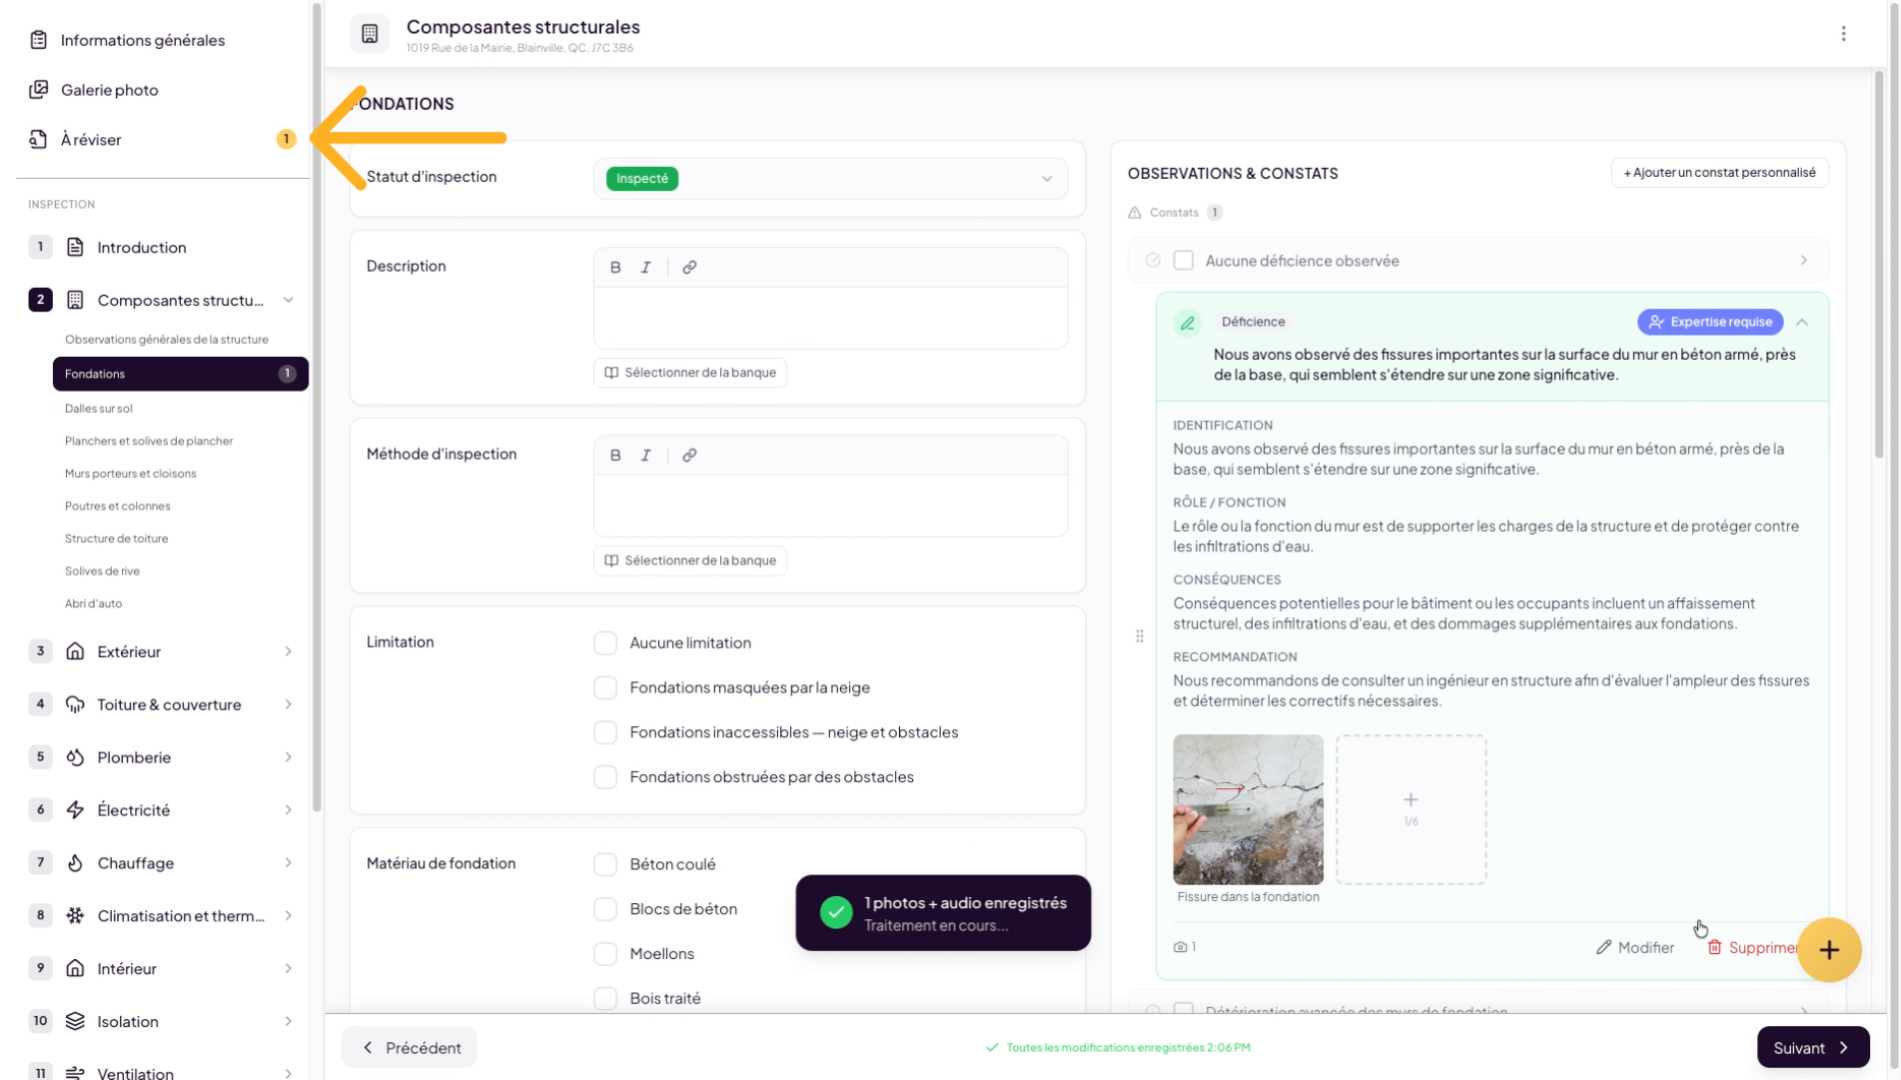
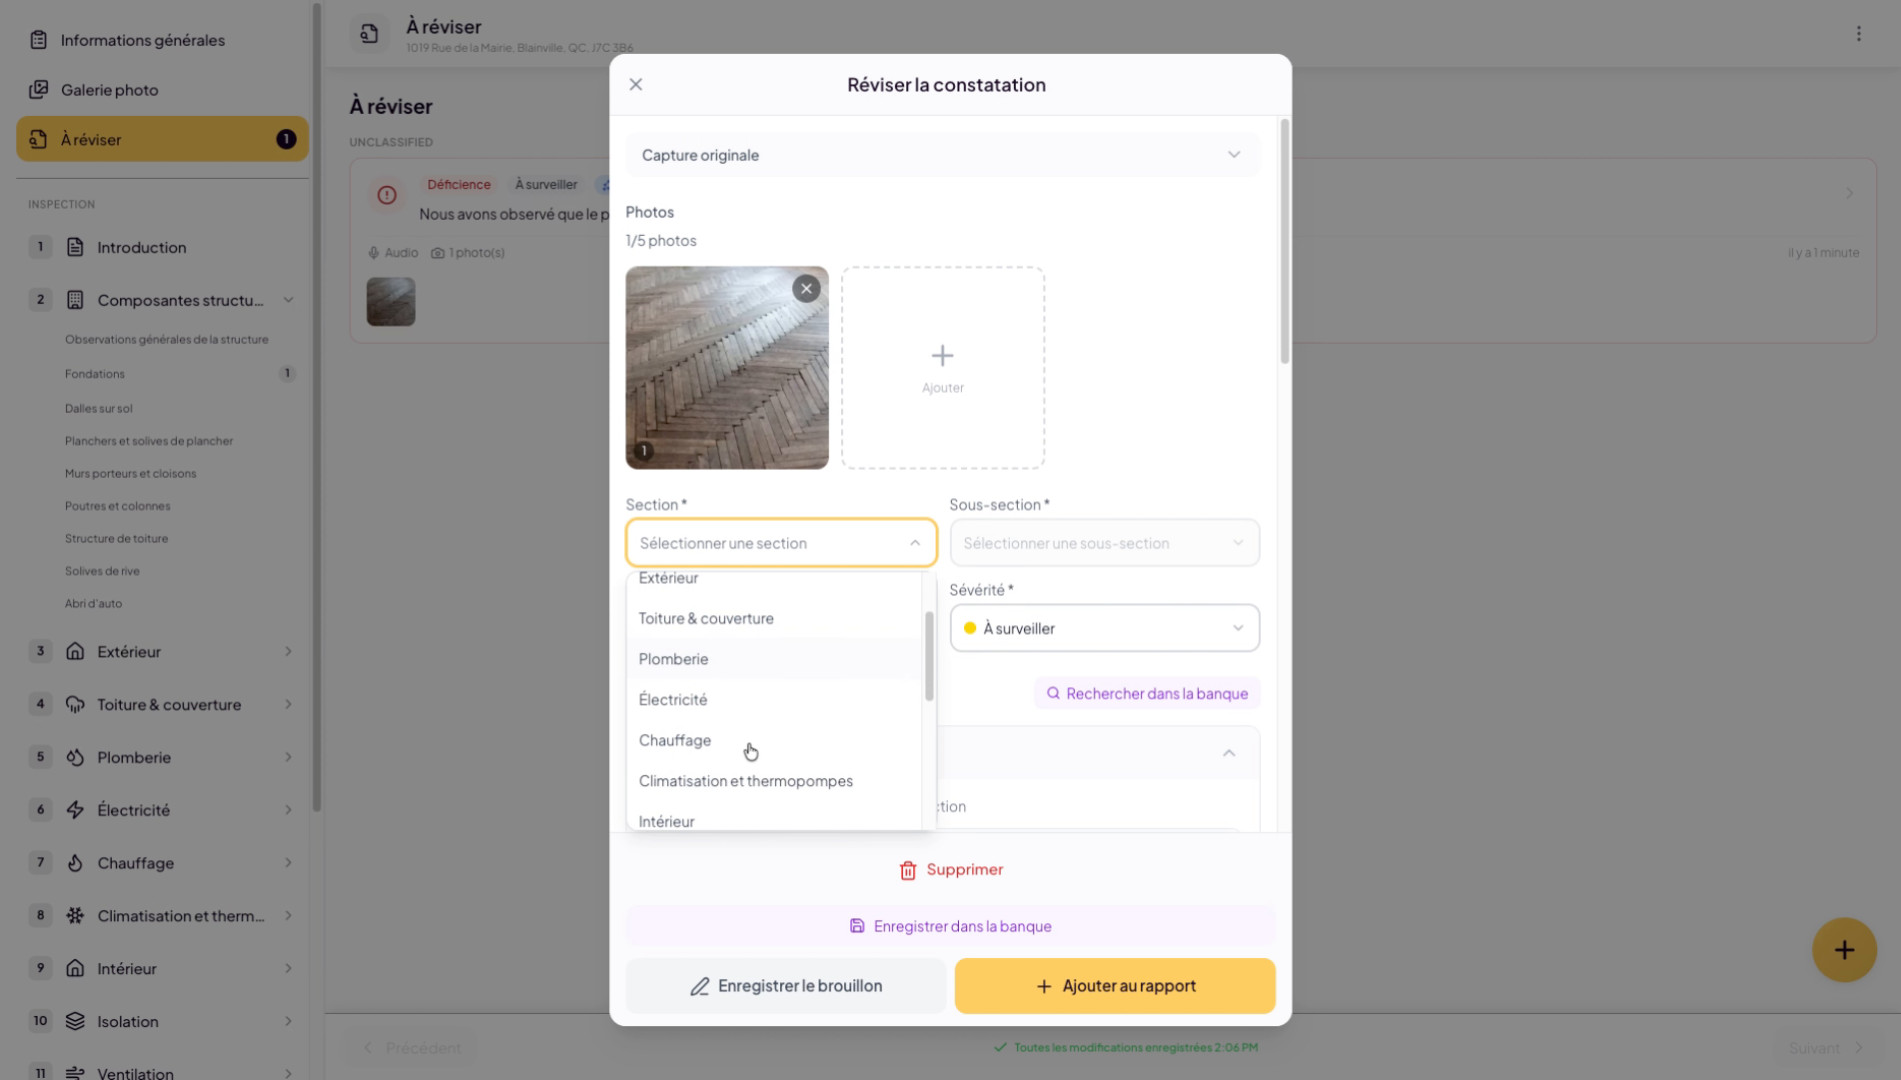
13. Create a finding from an image
You can also create findings directly from an image. Select one or more images, click “Create a finding”, and generate your finding.

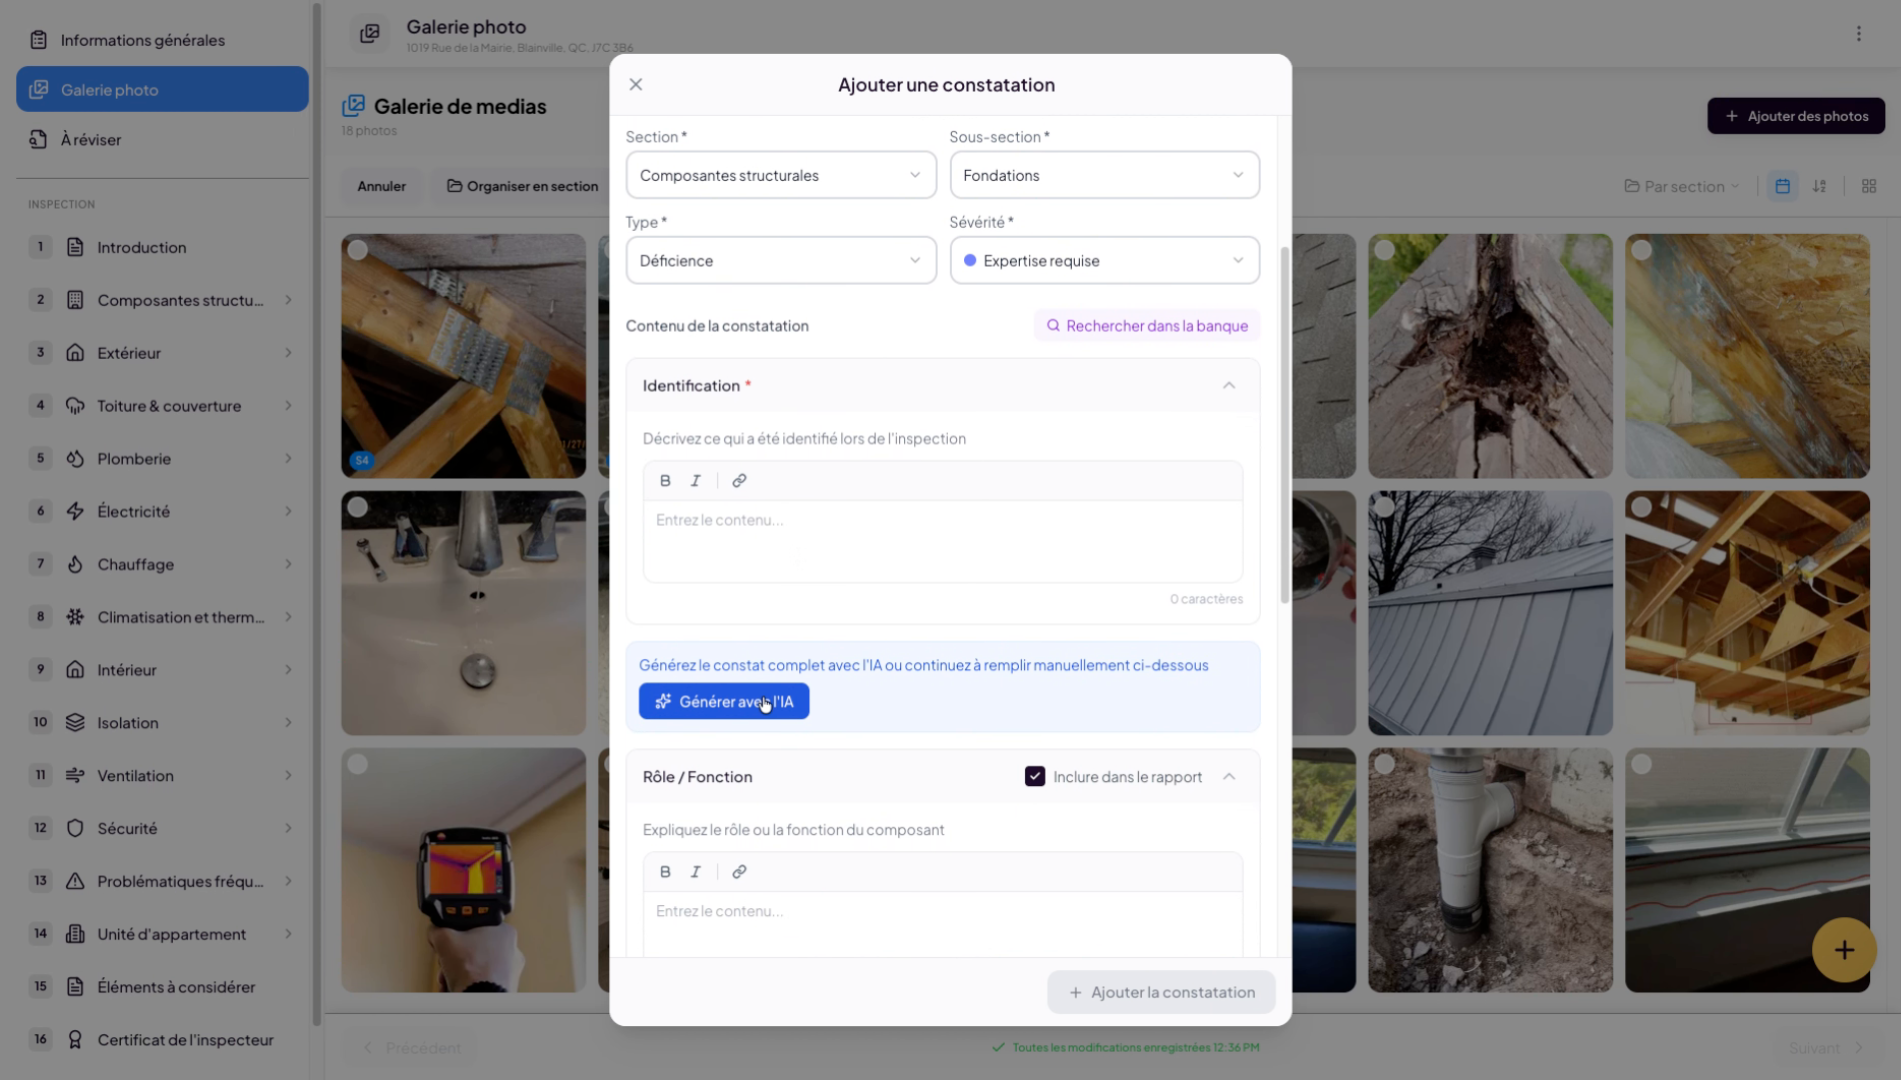
14. Configure finding parameters
To generate your finding, select the relevant details such as the section, subsection, finding type (in our case a deficiency), and finally the severity.
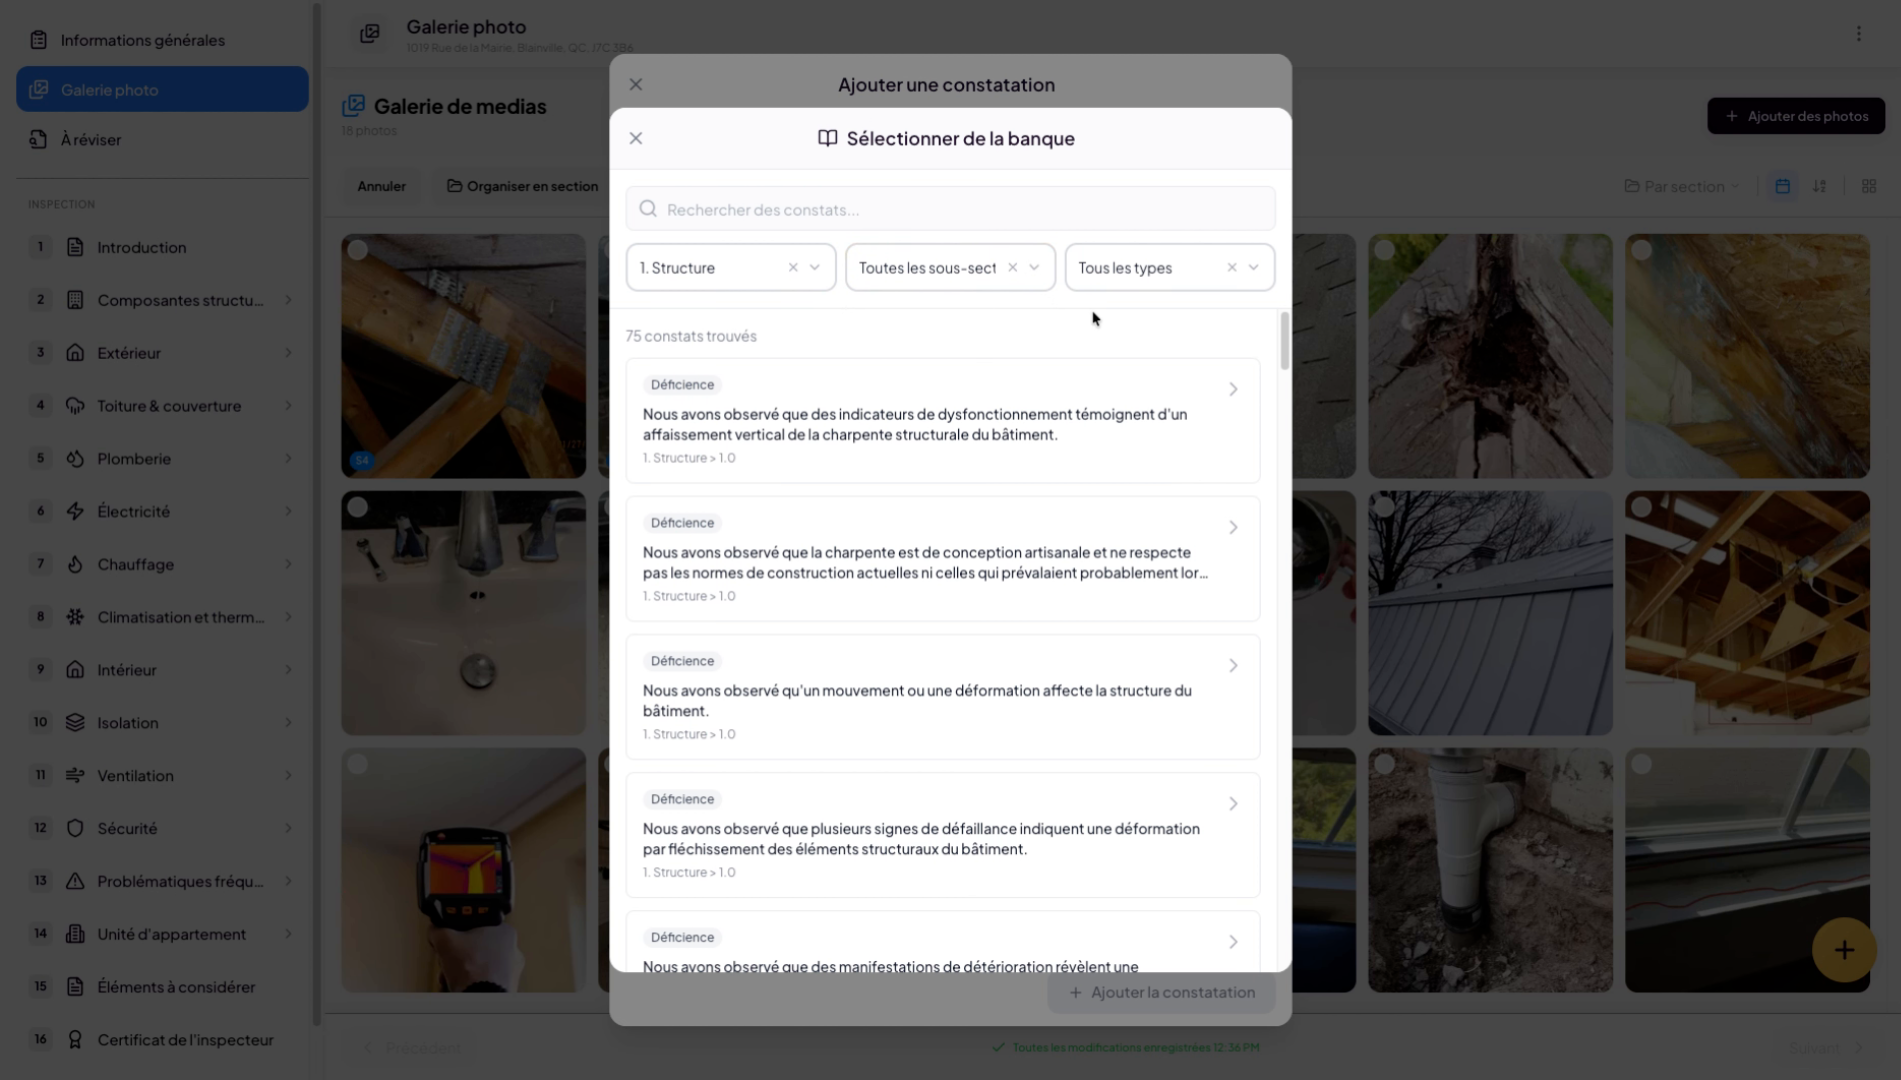
15. Search for pre-existing findings
You can then search for findings in your pre-existing findings bank. In this bank you will find Lumos findings, as well as any findings you may have saved previously.
16. Search for pre-existing findings (continued)
You can then search for findings in your pre-existing findings bank. In this bank you will find Lumos findings, as well as any findings you may have saved previously.
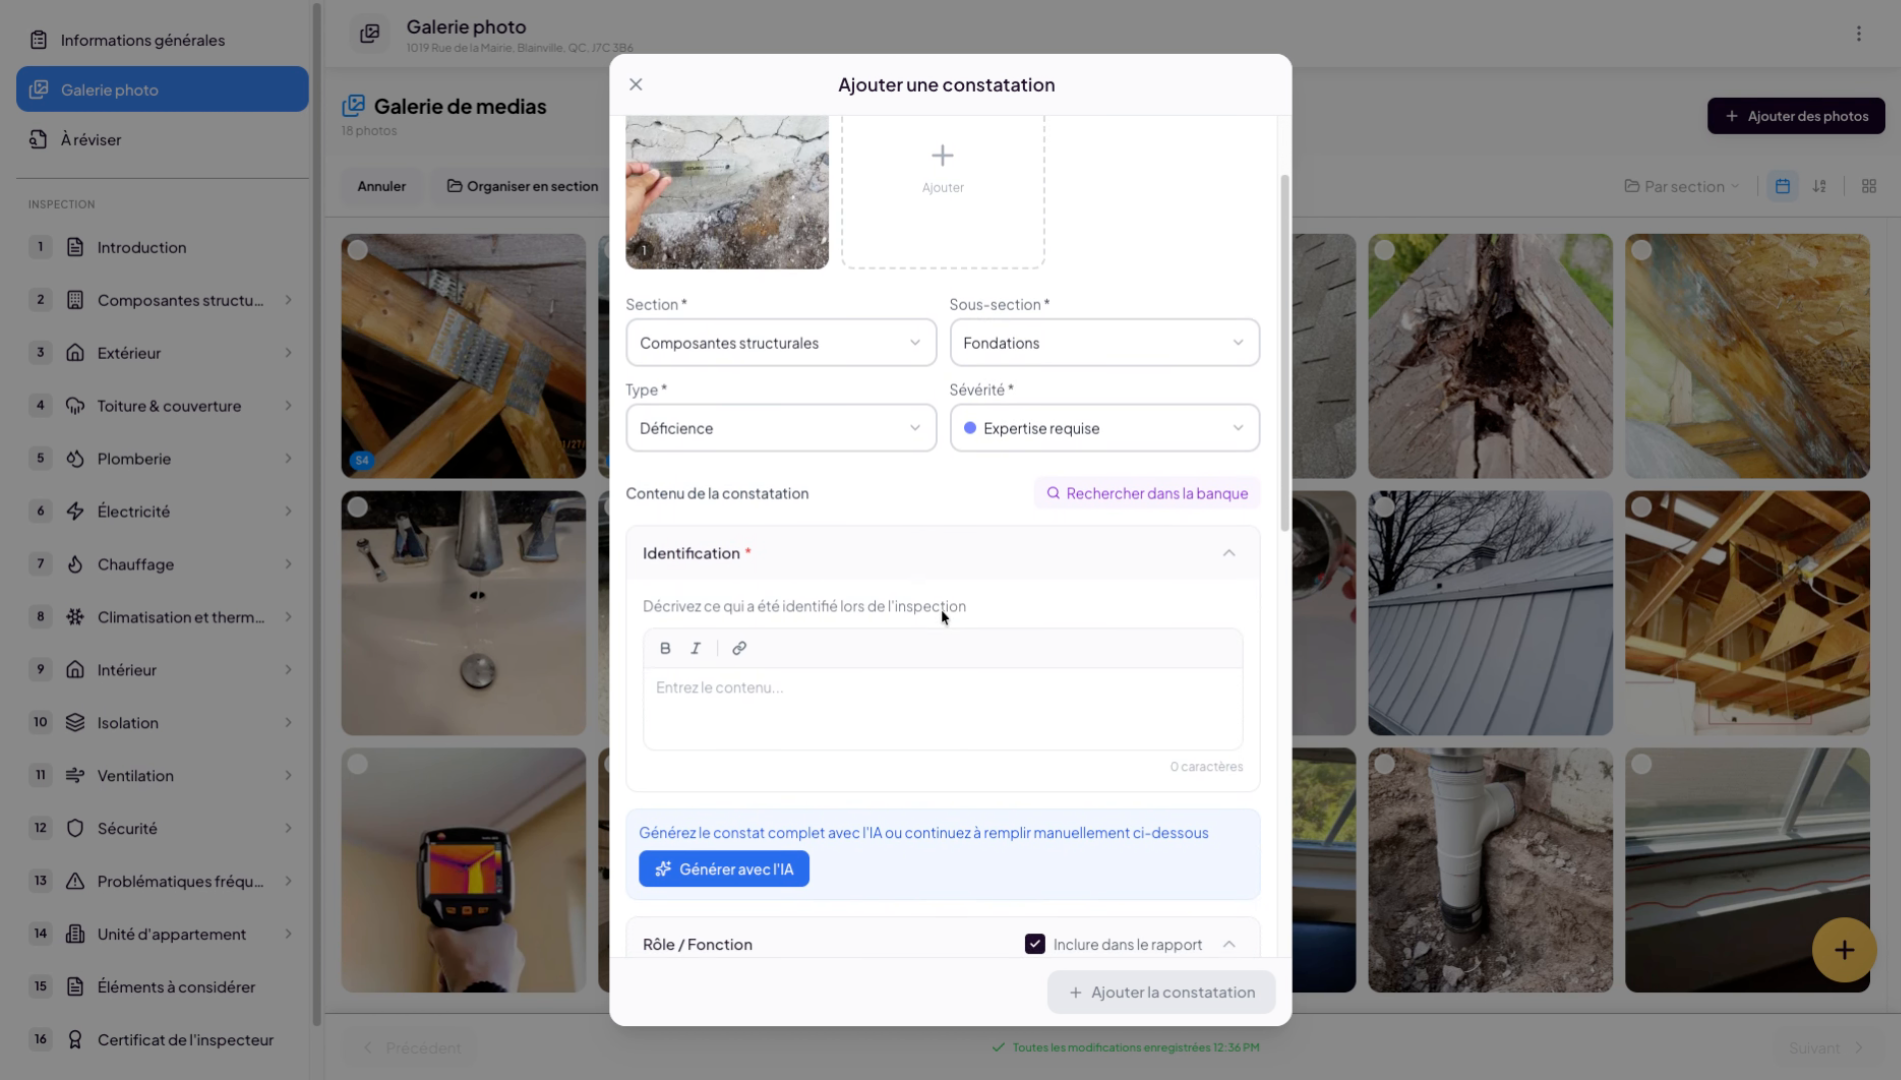
17. Generate a finding with AI
If you wish, you can use Lumos’s artificial intelligence to generate the text of your finding based on the image or details you have started entering in the identification area. The system will analyze your image and try to generate the most accurate finding based on what it sees in the photo. For complex cases or unclear photos, we strongly recommend reviewing and adjusting the findings. In all cases, you are responsible for the content you produce for your clients.
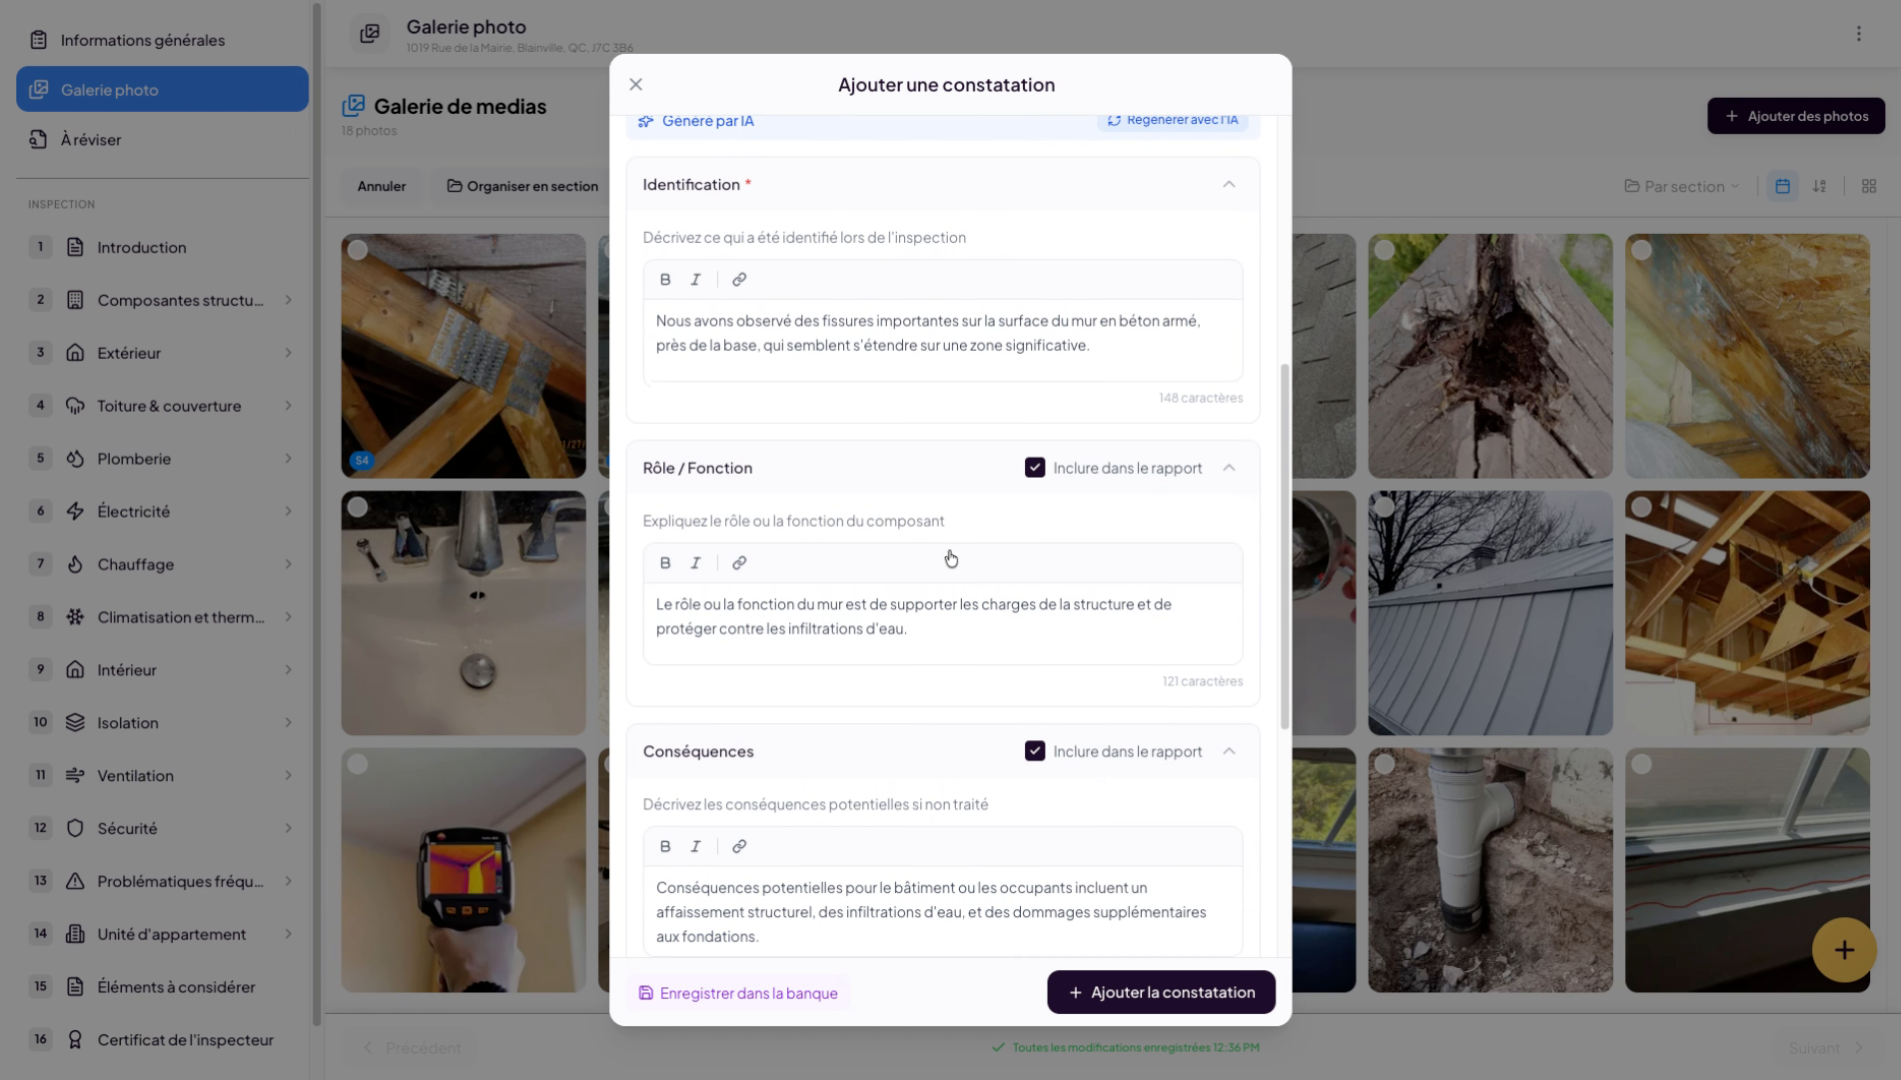
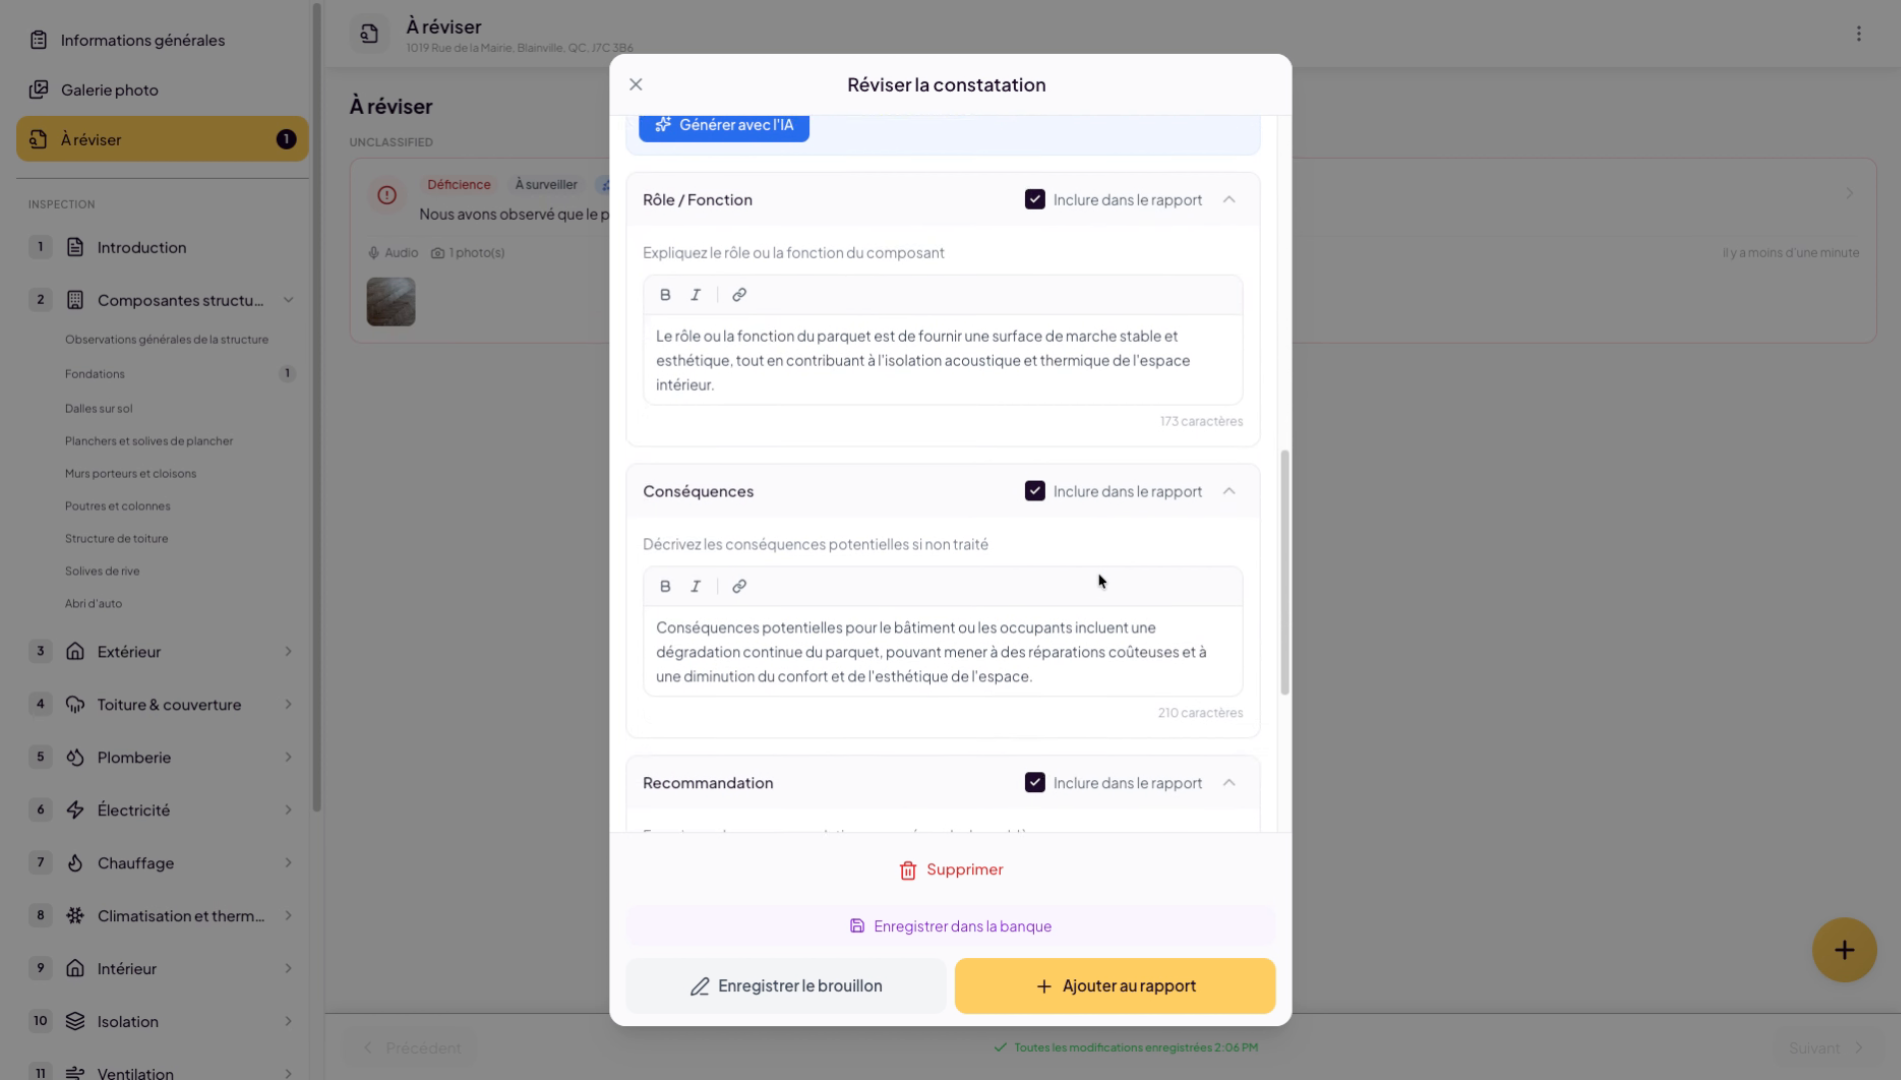
18. Optimize the AI-generated finding
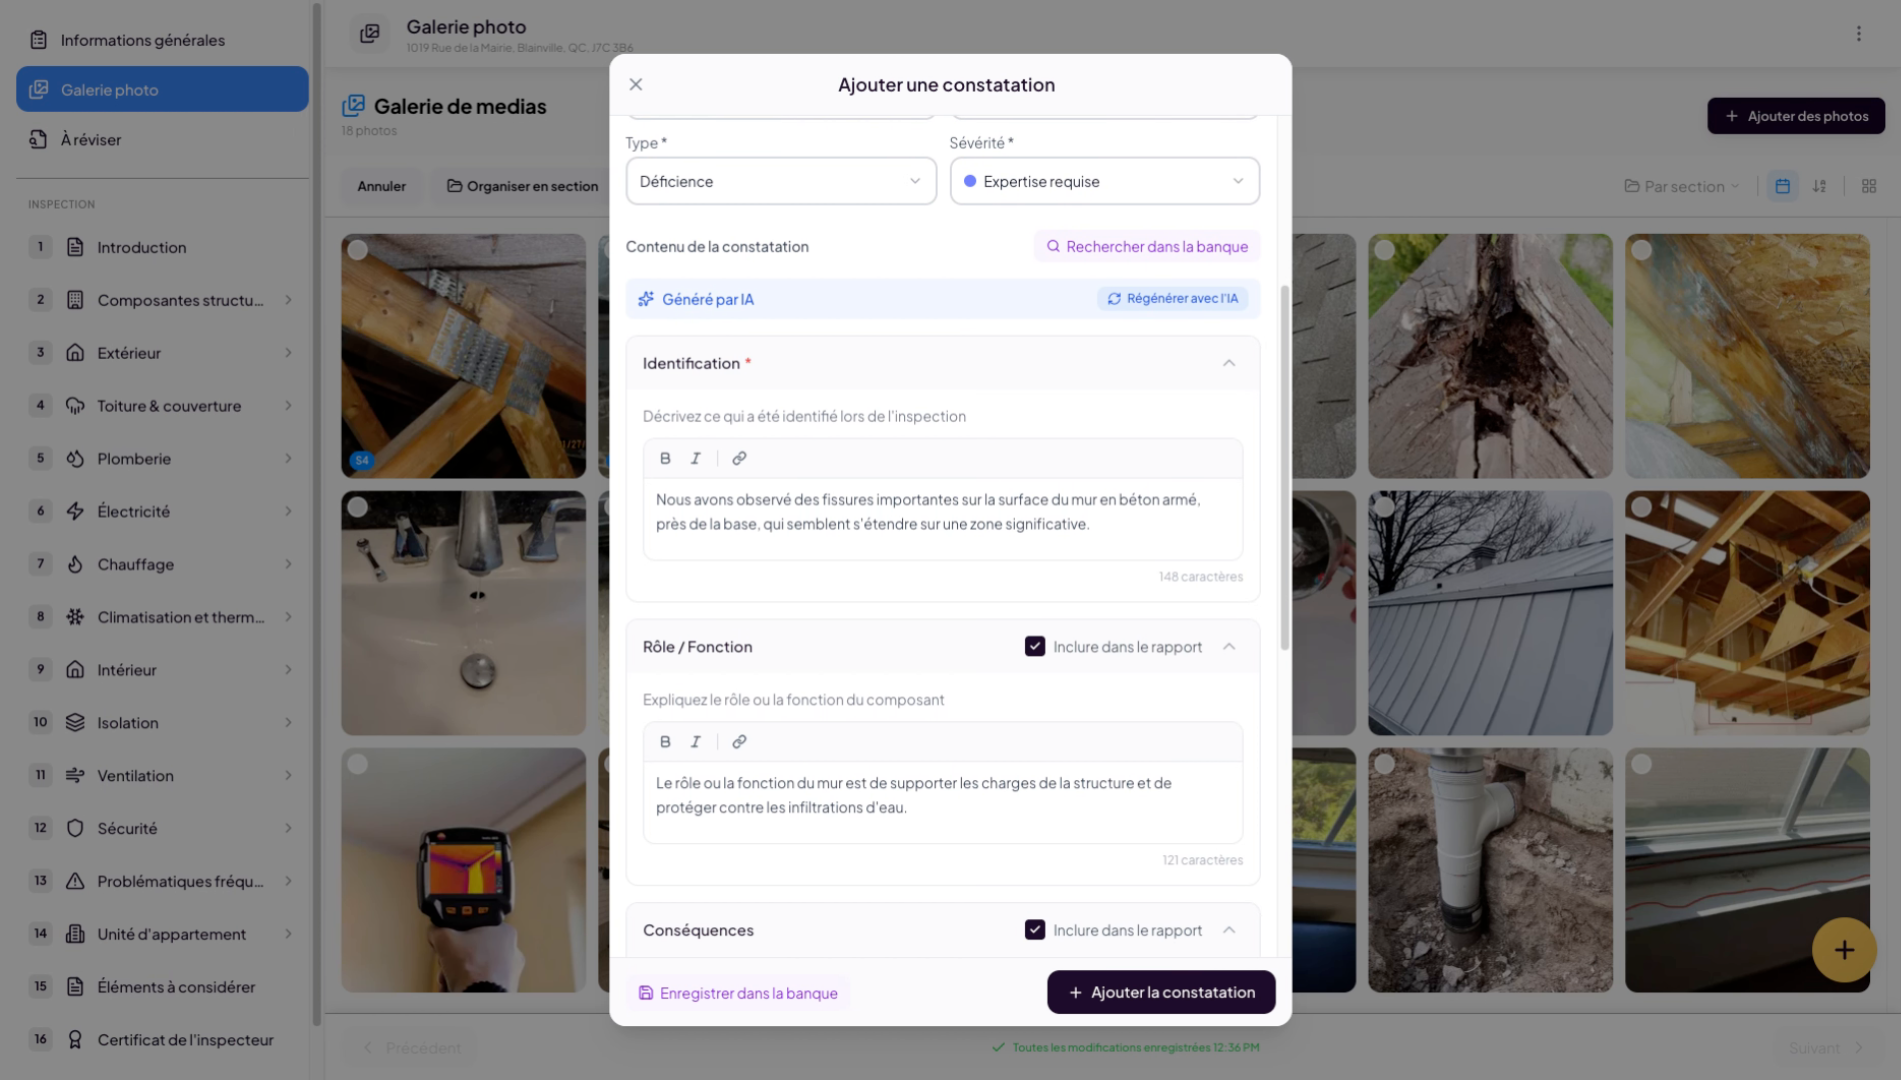
19. Display and add finding portions
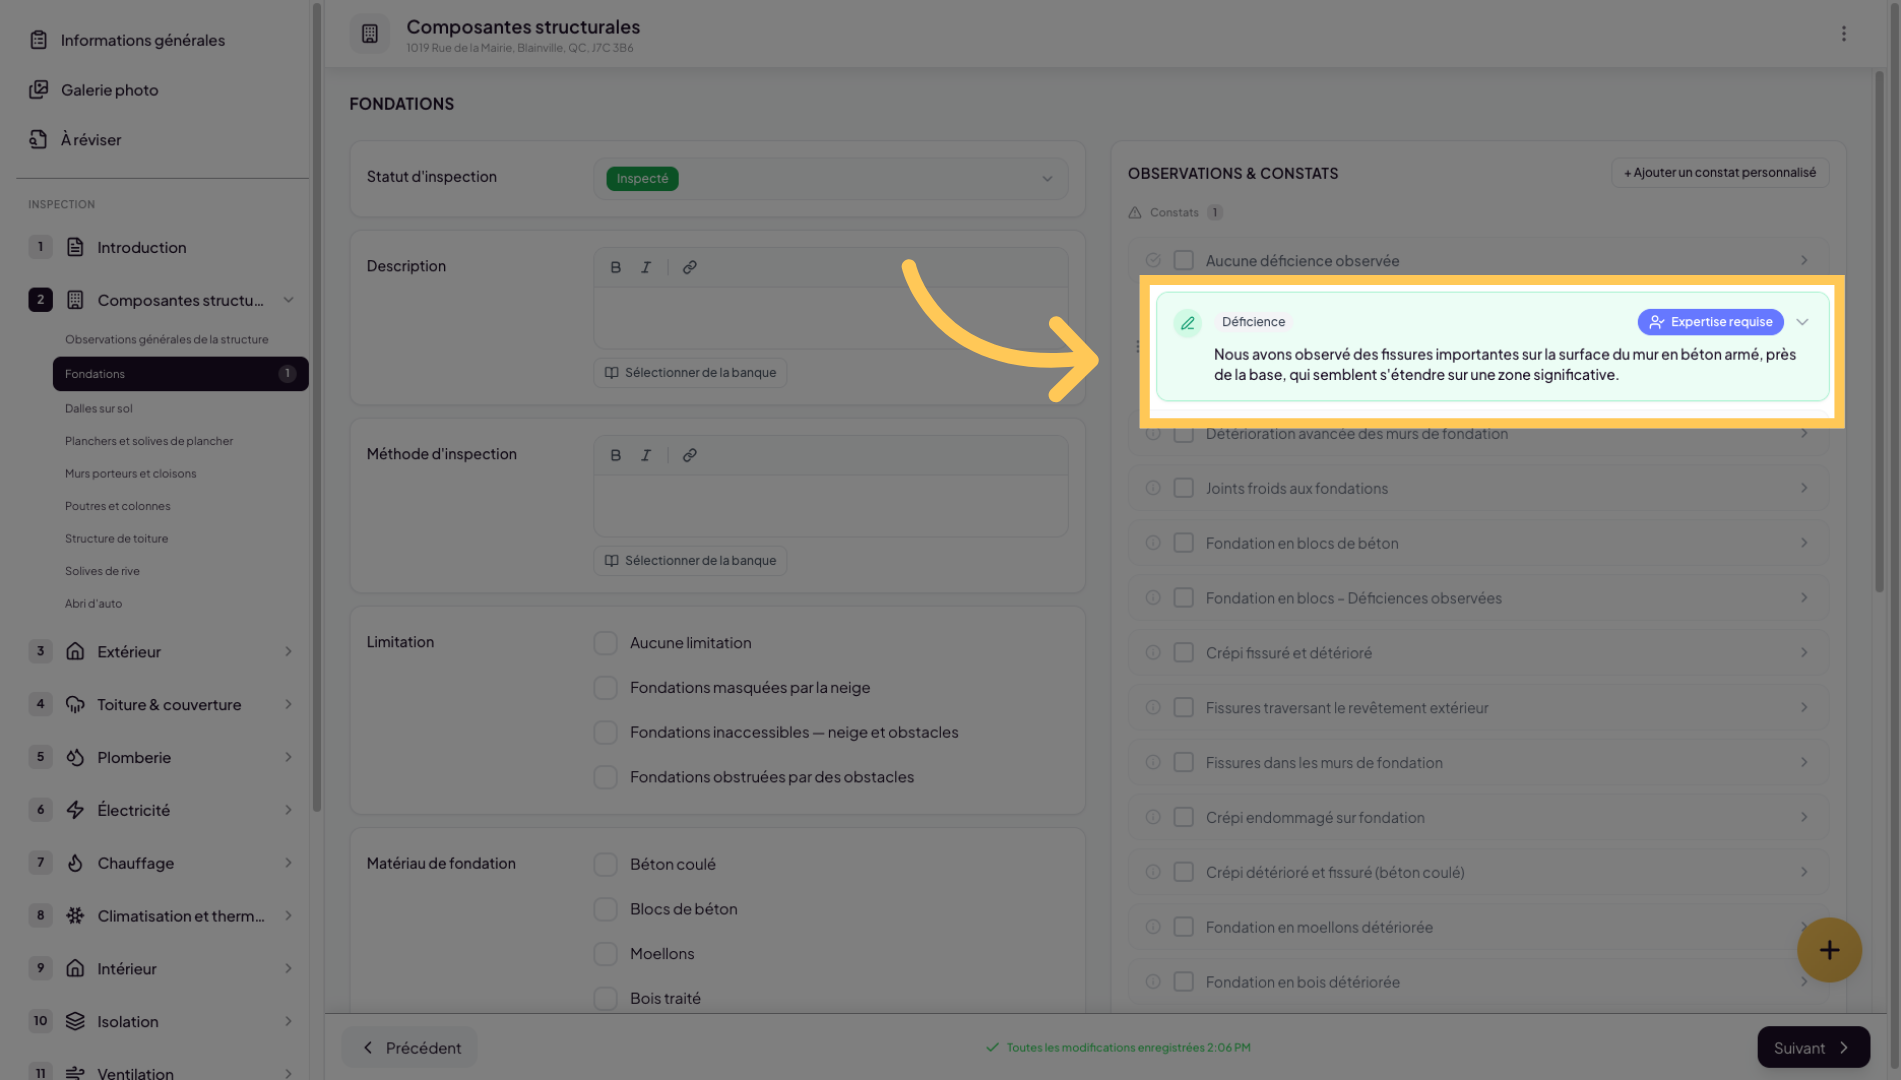
20. View the added finding
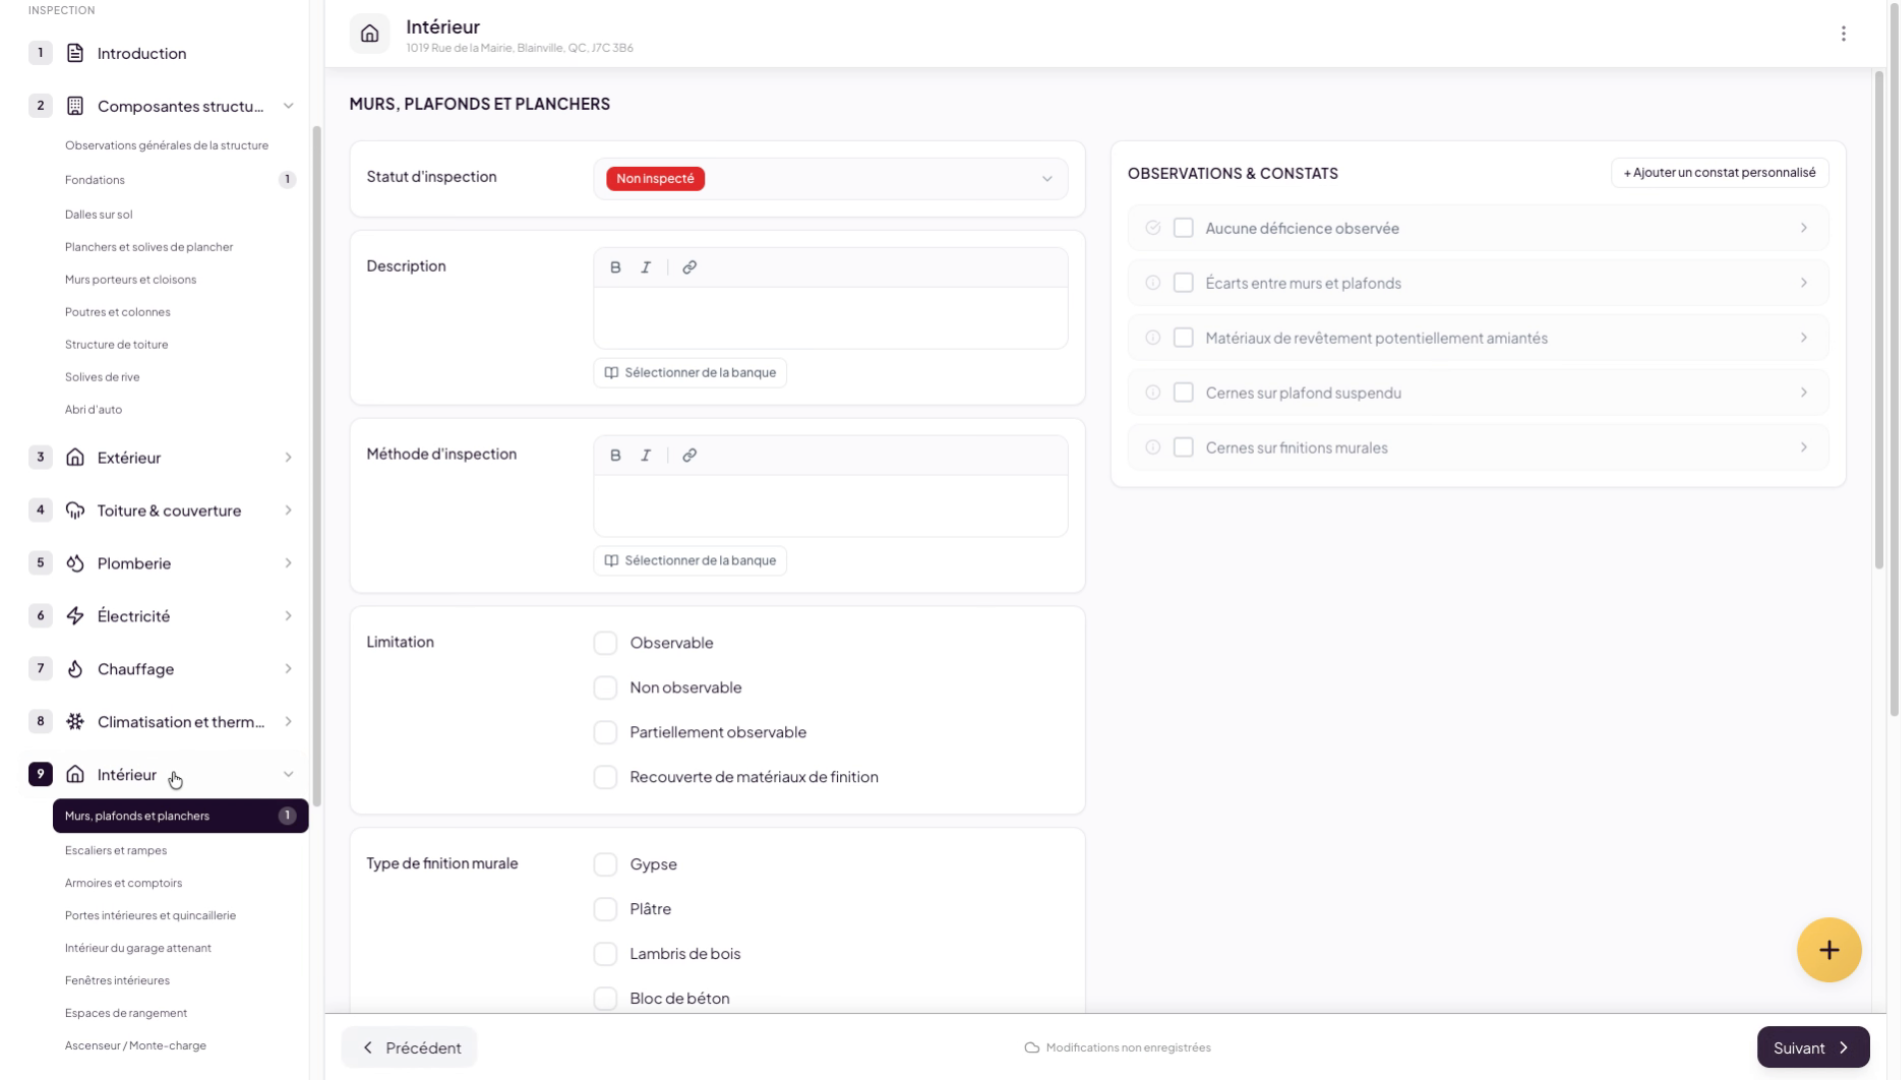
Now, if we navigate to the roadmap where we added the finding, we will see a small “1” appear, and we will find the finding we generated.

21. Select a generated finding
Select the generated finding corresponding to the observation in the photo.
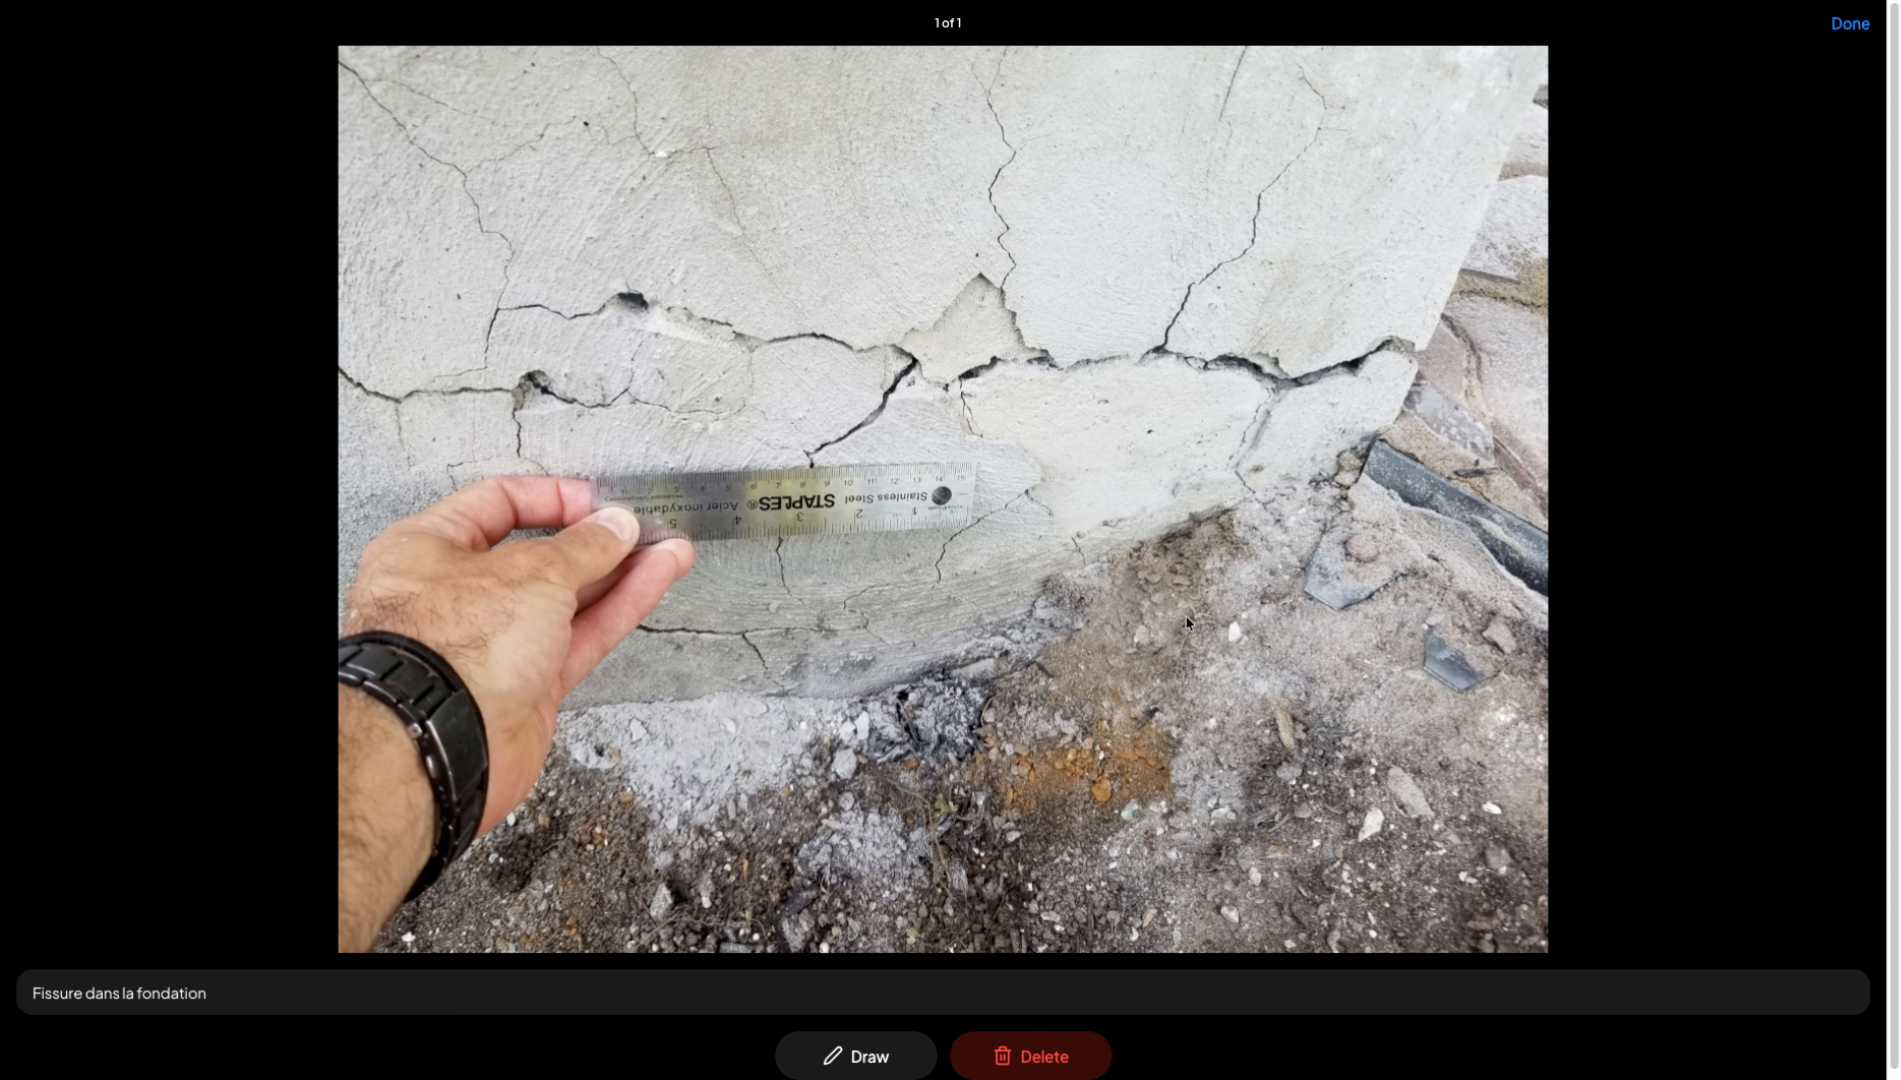
22. Edit the photo description
You can edit a photo’s information, such as its description. These captions will appear in your inspection report.

23. Add drawings and shapes on image
You can also add drawings and shapes on your image to make it more visually clear and understandable for your clients.
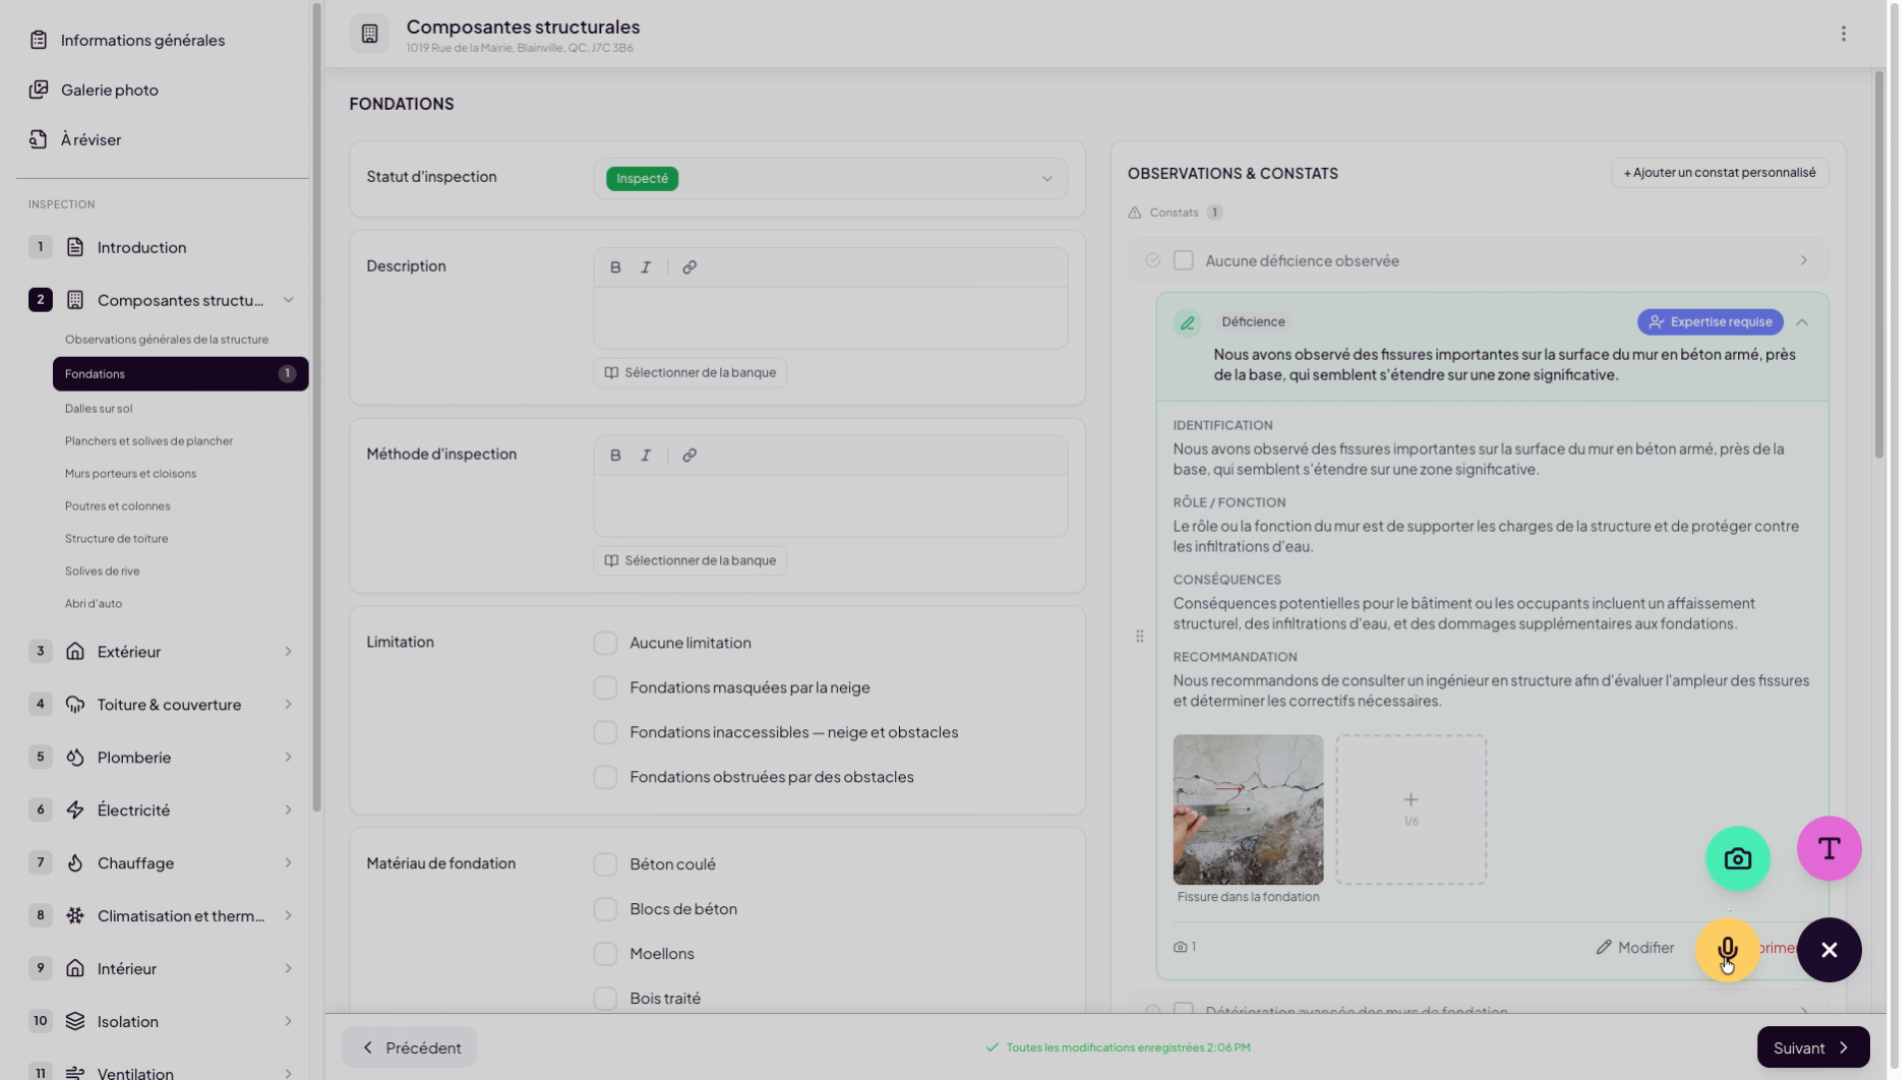
24. Add images via mobile button
Another option for adding images is to use the “plus” button at the bottom right of your screen. When using it on your mobile phone, you can use your phone camera to add images directly while doing inspections in the field.
25. Add audio or text notes
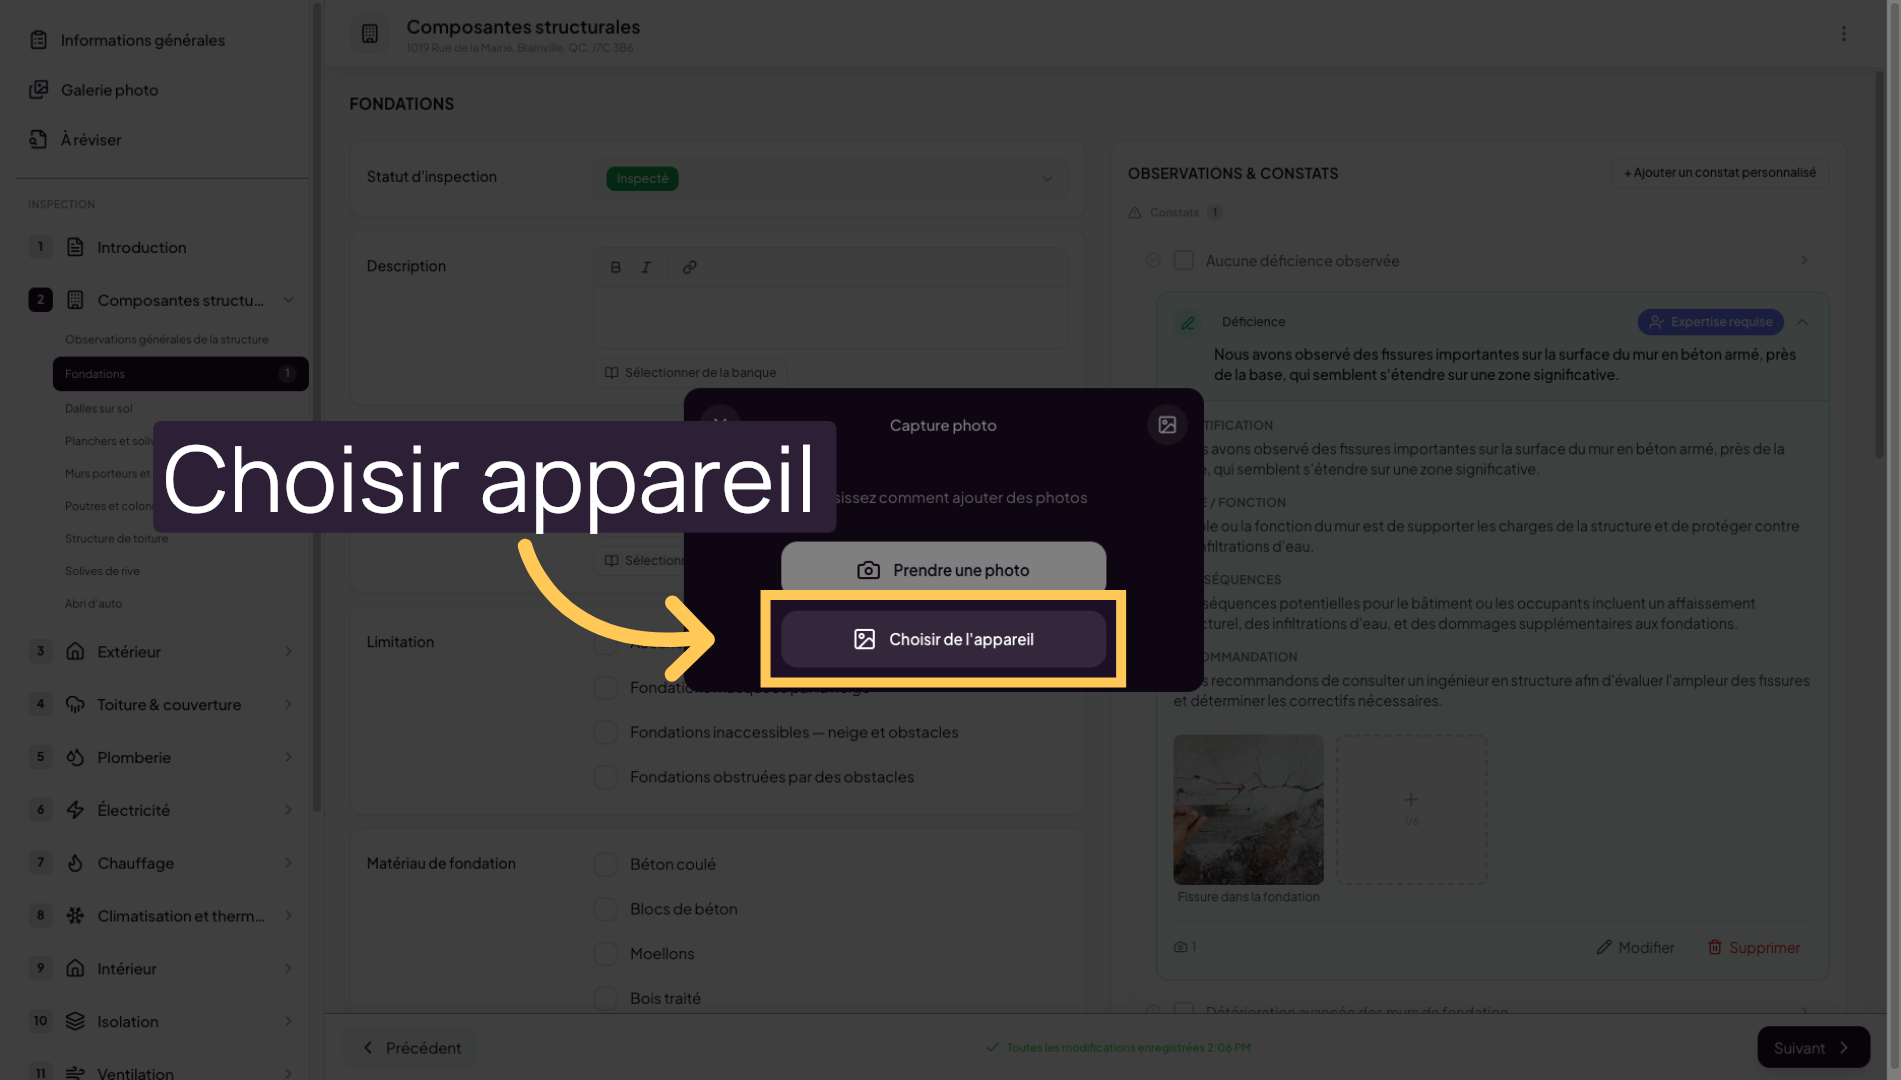
26. Choose the device source
Click on “Choose from device” to select the import source for your media.
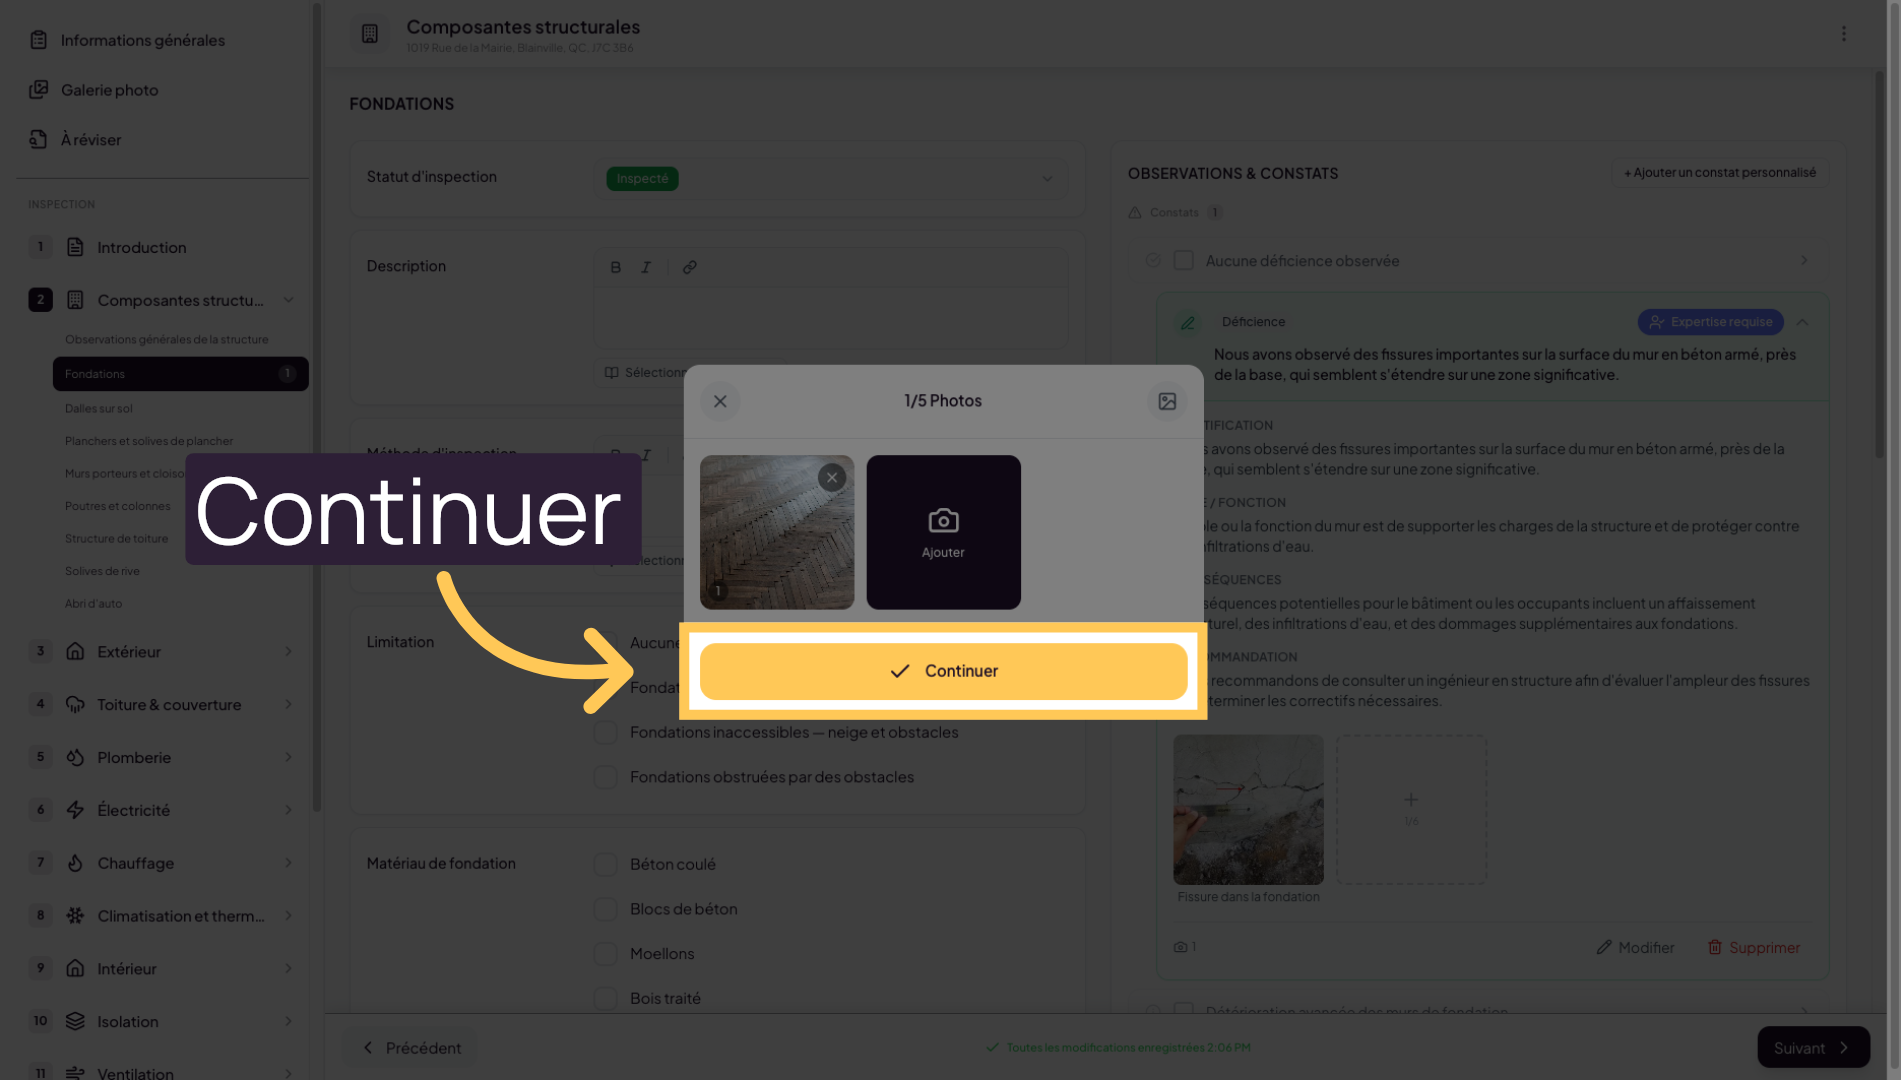
27. Continue the adding process
Add more photos or click Continue to proceed with the finding creation process.
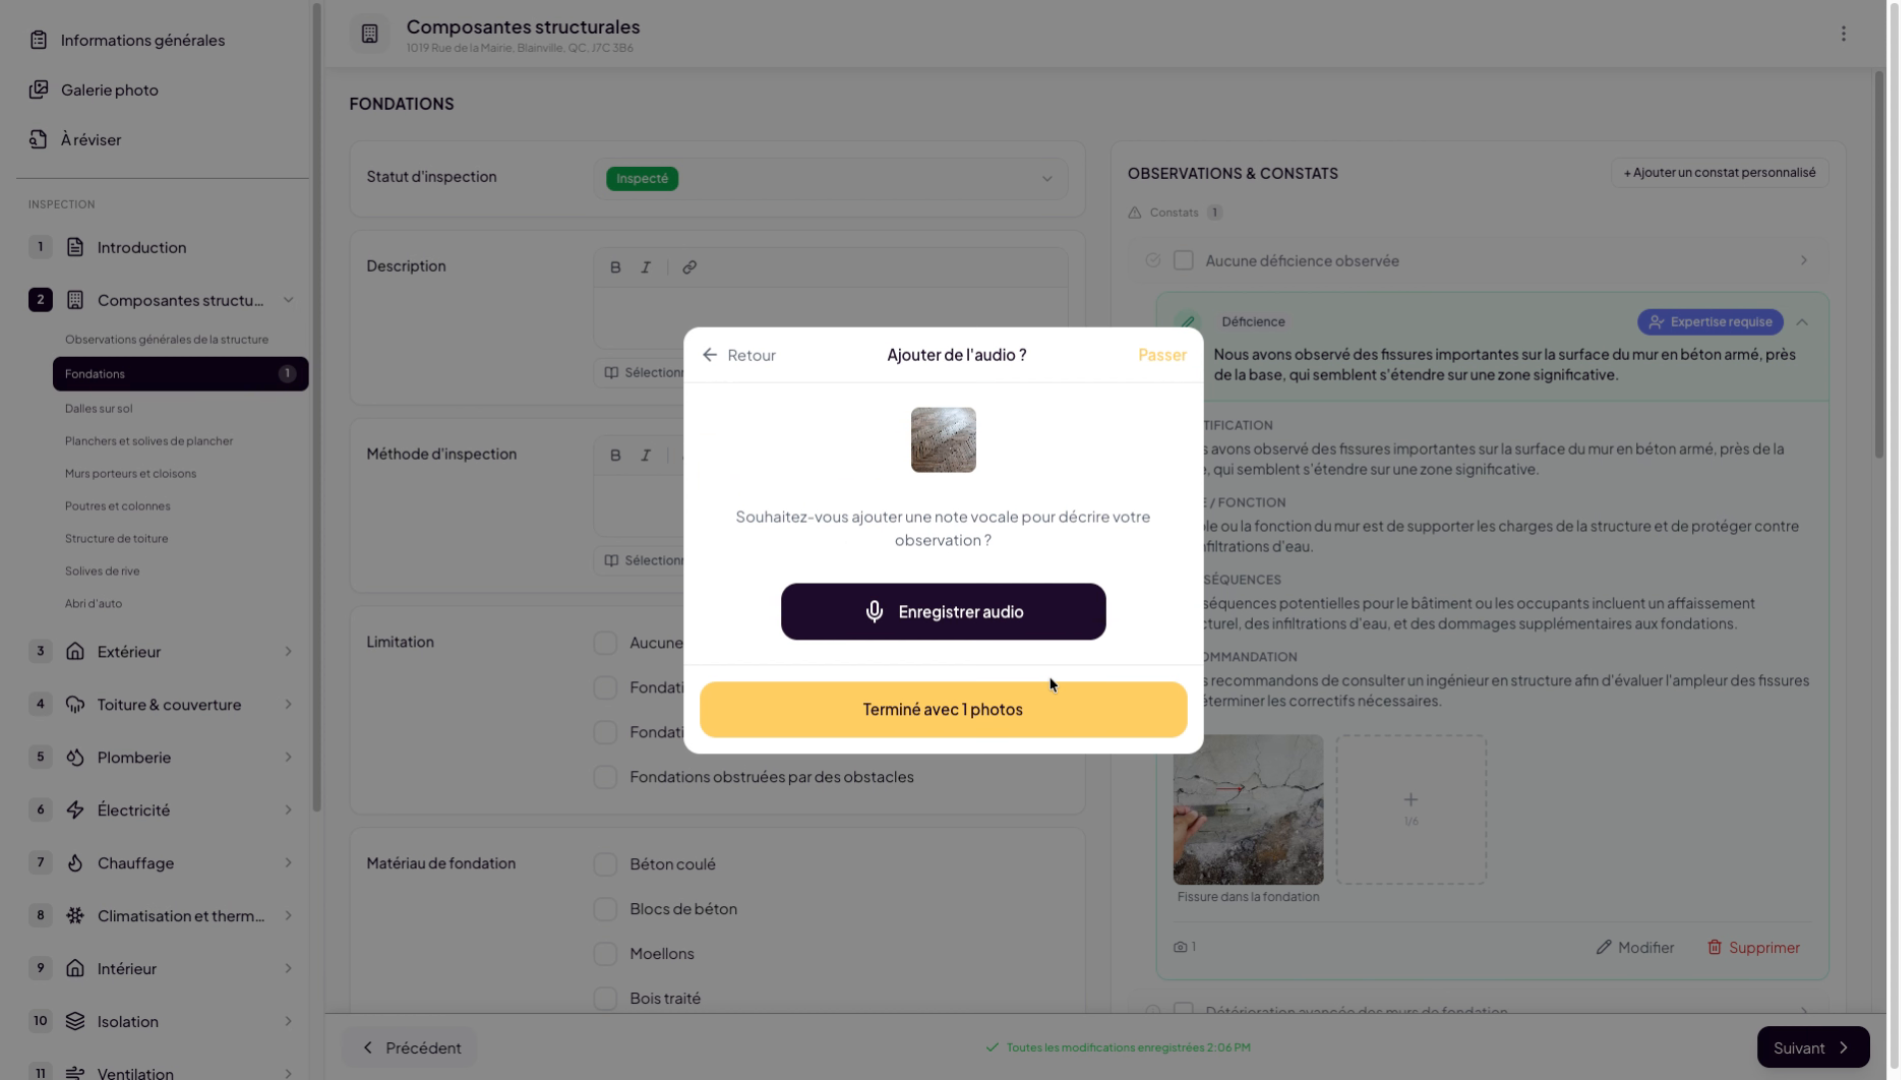
28. Add an audio note example
You can optionally add audio notes to help Lumos’s artificial intelligence create your finding. In our case, I will dictate something like: “We noticed that the floor showed signs of advanced wear.”
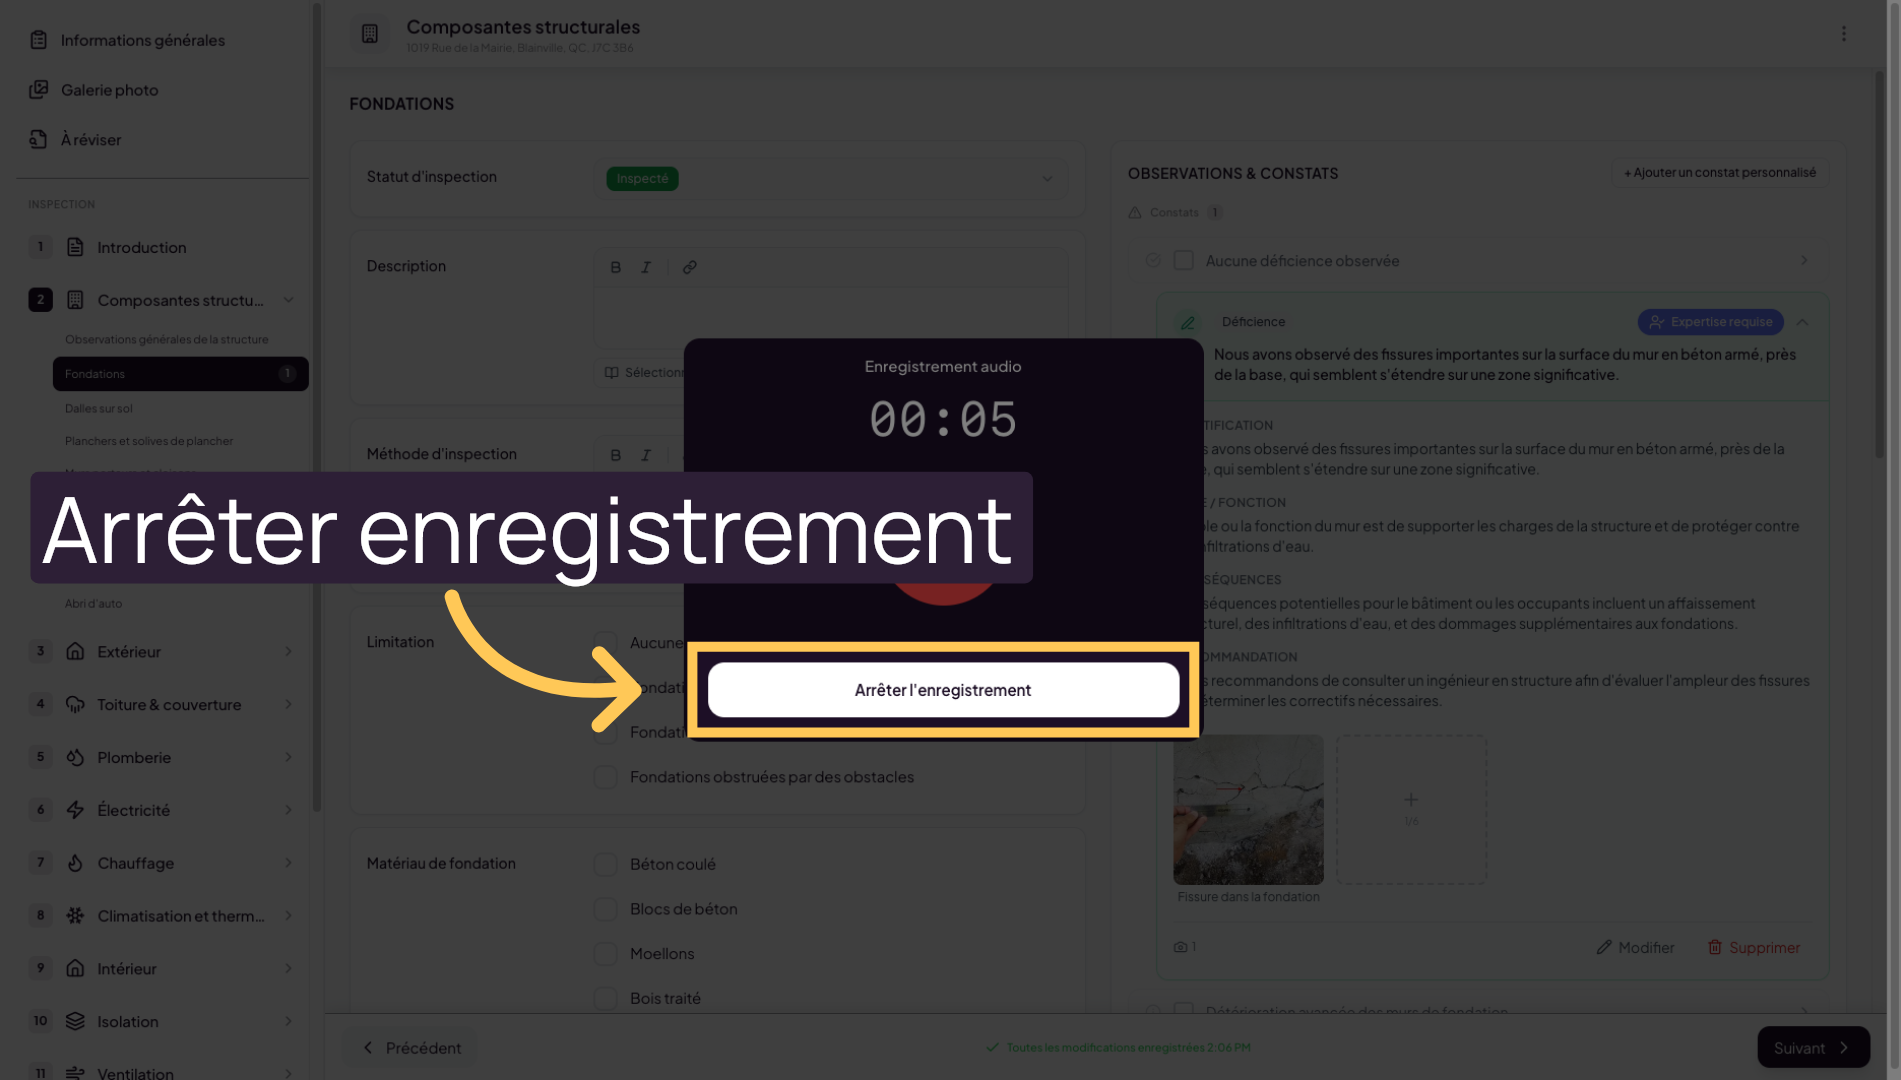
29. Stop the audio recording
Click Stop Recording to finish capturing your audio note.
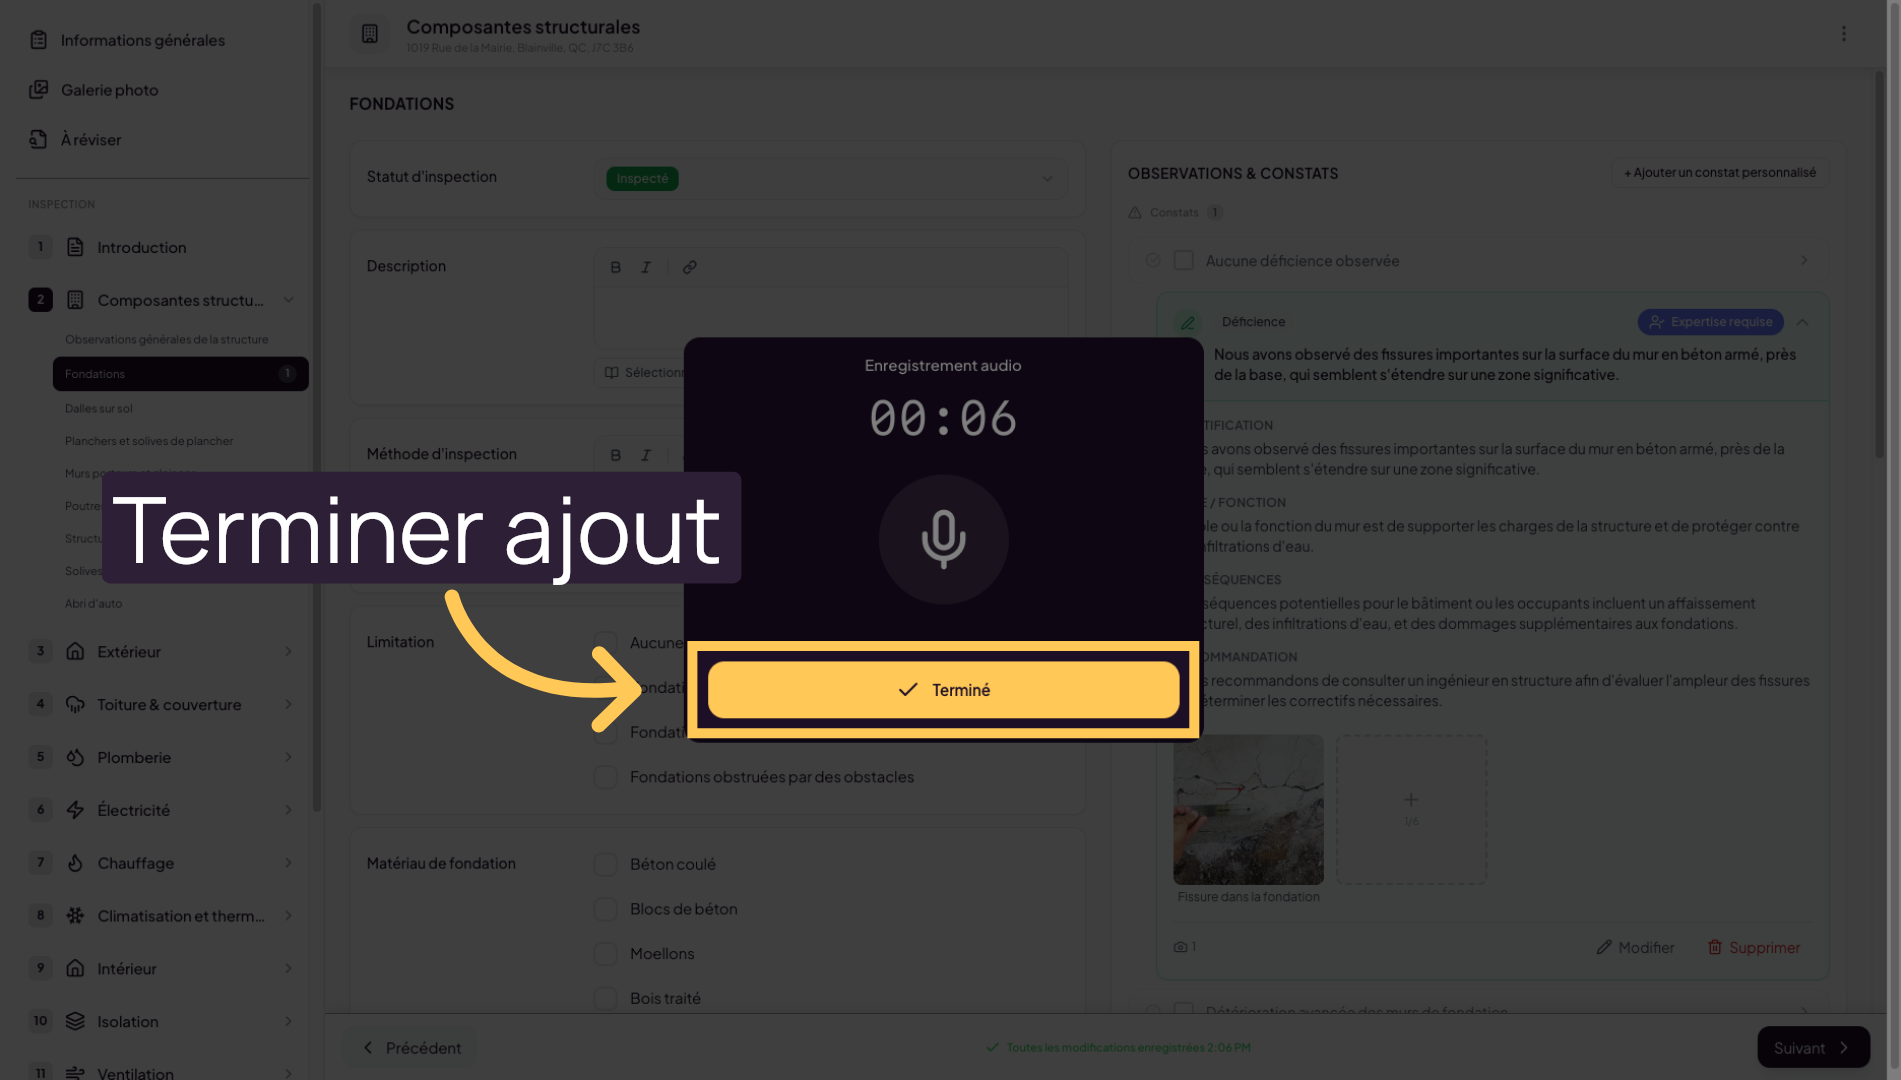
30. Finish adding media
Click Done to finalize adding your media to the gallery.
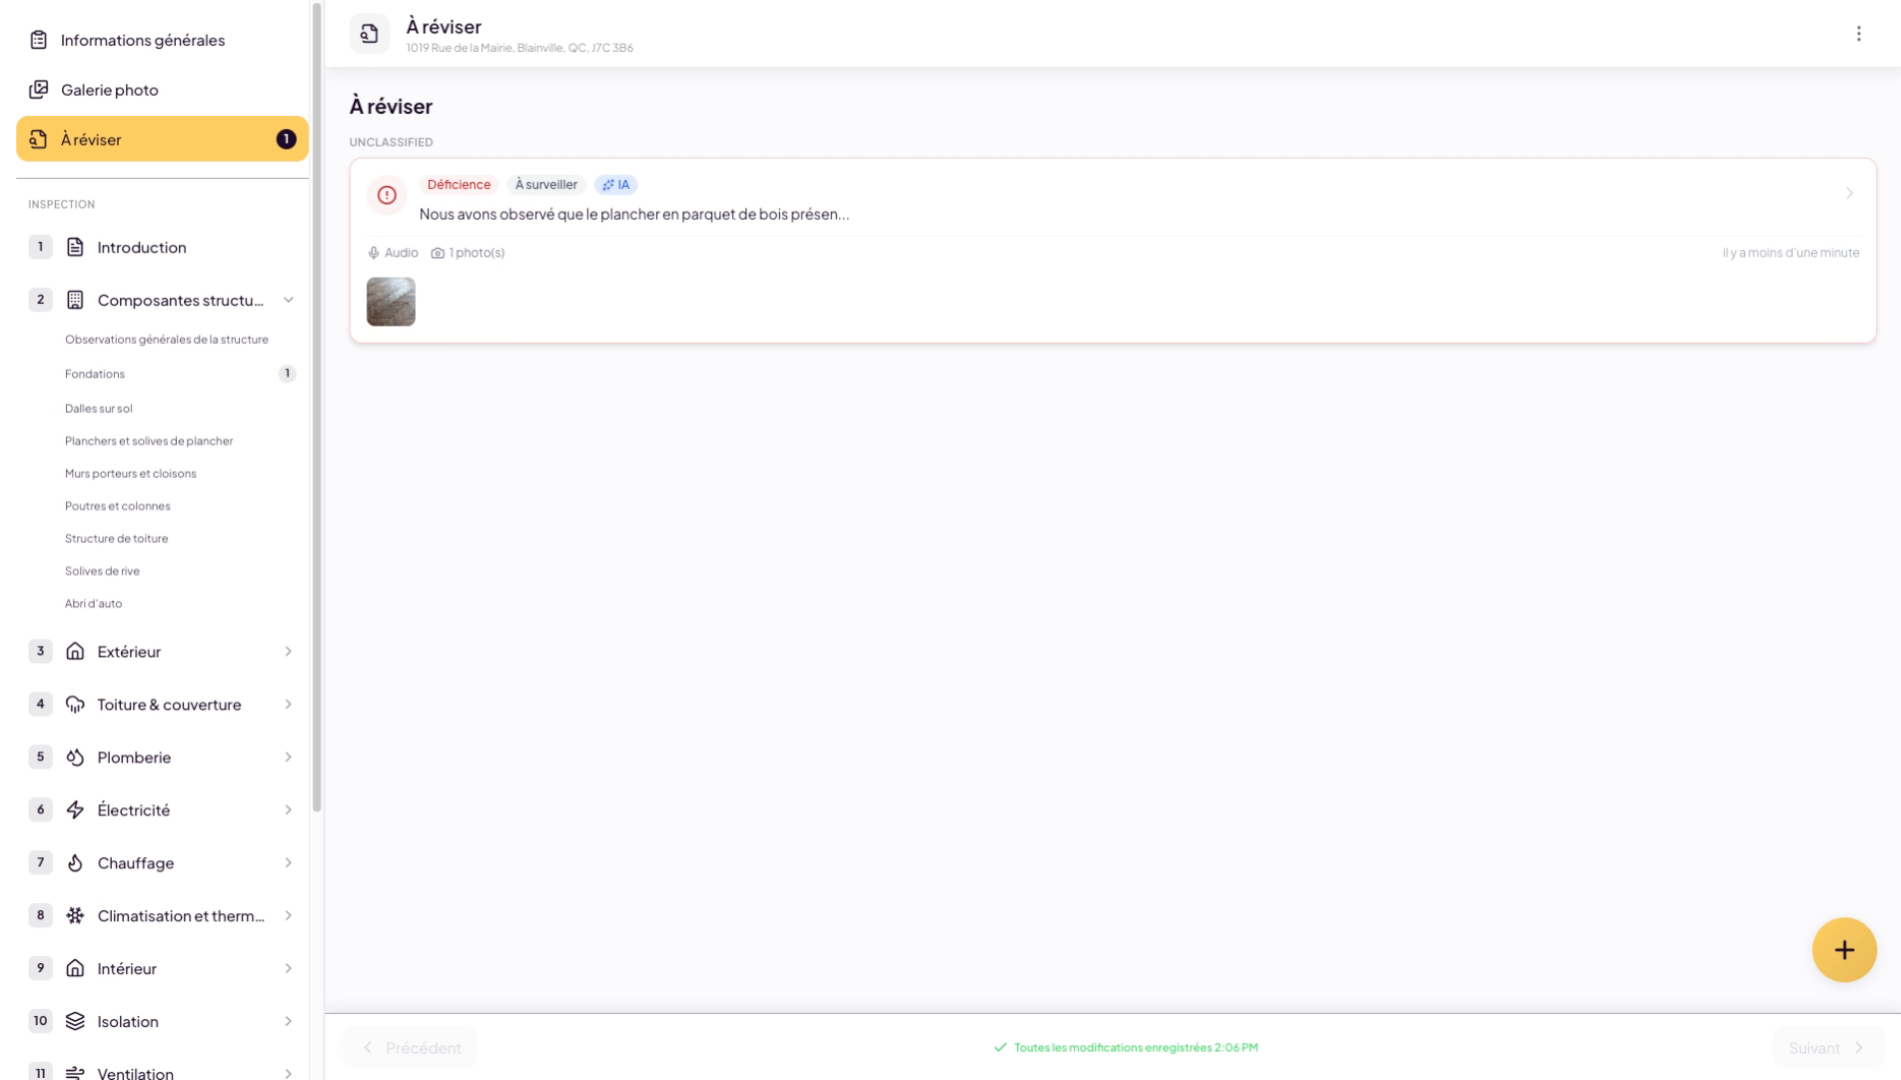
31. Position the added element
The element added through this process will be placed in the “To Review” tab, where Lumos’s artificial intelligence will process it.
32. AI processing of image and audio note
You will notice the system is processing the data from the image and audio note you added.

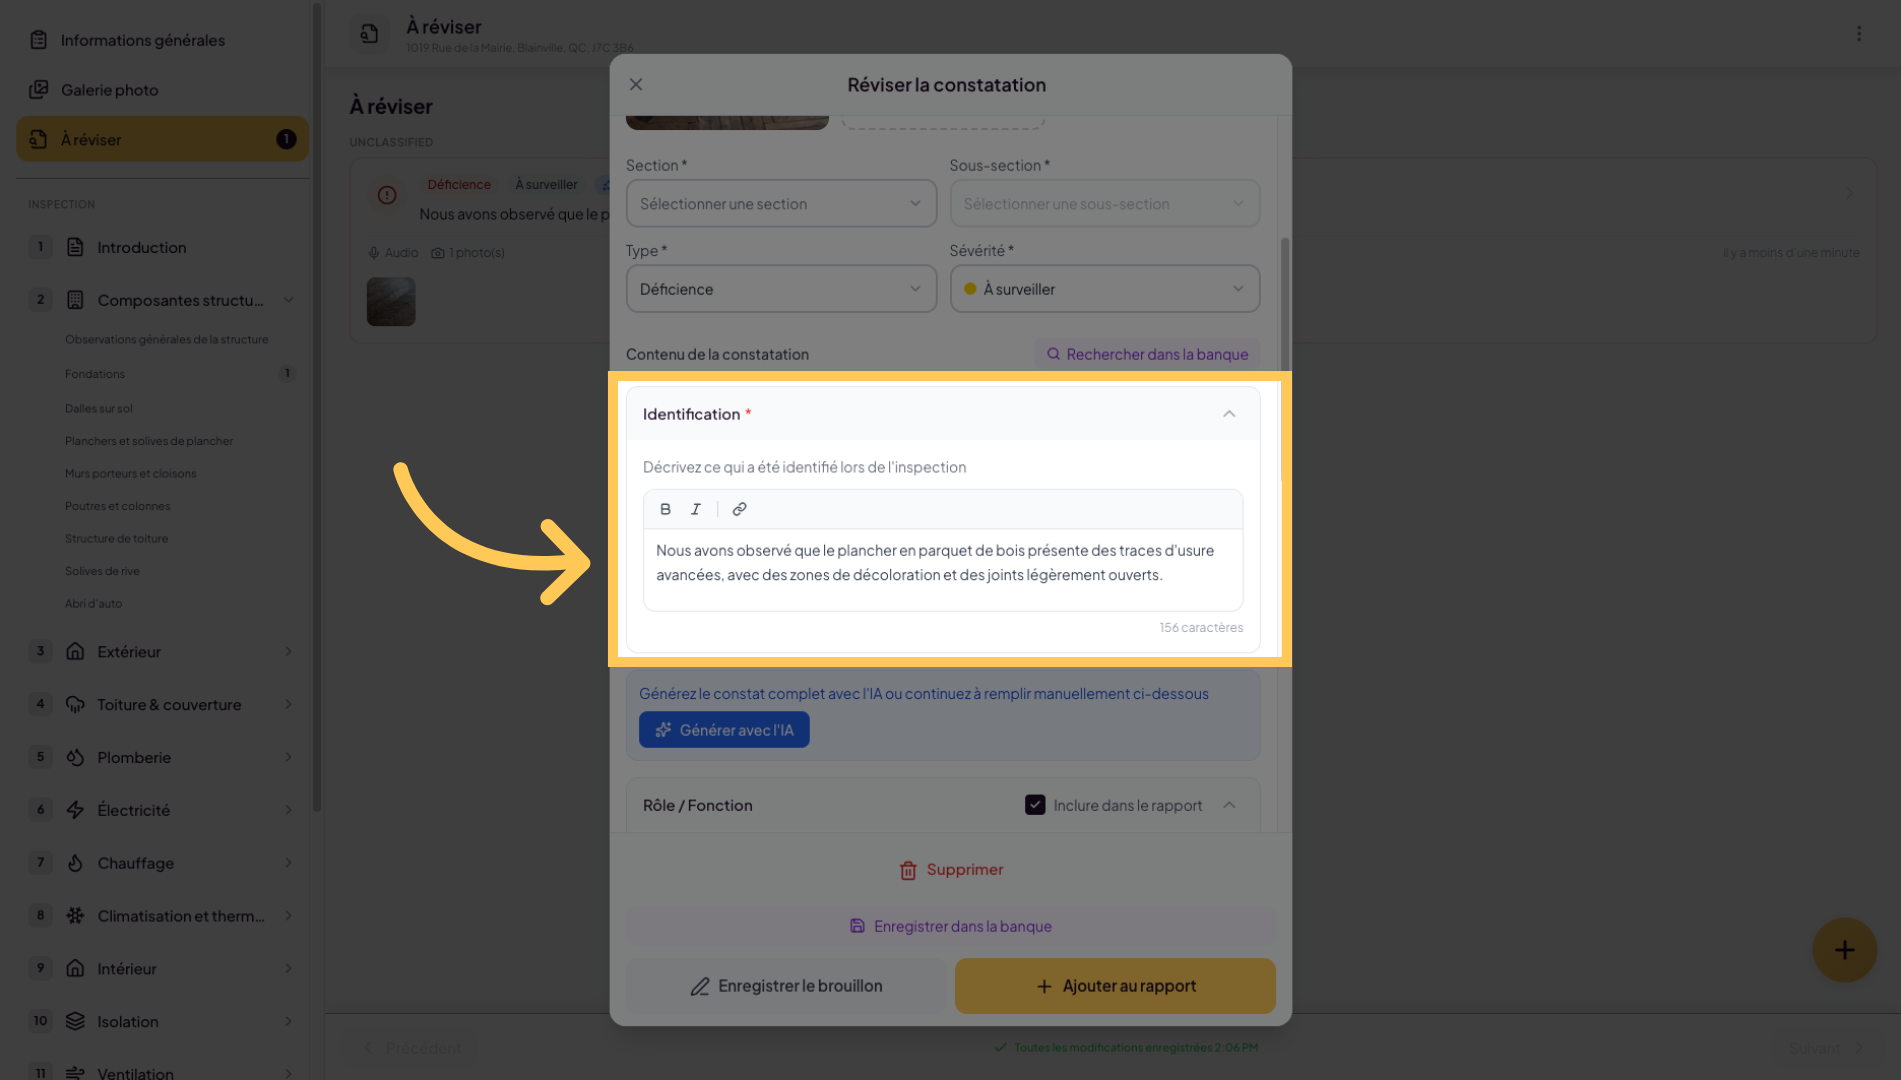
33. Generate AI finding from audio and image
The artificial intelligence will then try to generate the closest finding based on what it can see or hear in your audio.
34. Select AI-generated finding
Review the AI-generated finding. Make sure the final result meets your satisfaction criteria.
35. Edit the generated finding
You can always edit the finding.
36. Select section and add to report
Select the finding’s destination, the desired section and subsection, and add it to your inspection report.
37. Verify the finding was added correctly
Verify that your finding was added as expected.
38. New finding in interior category
You have learned how to add, organize, and manage photos in your inspection reports, as well as create and edit associated findings. To go further, explore advanced report management and audio note integration.