Create a Proposal or Quote for an Upcoming Inspection
This tutorial guides you through creating a complete inspection proposal from an existing project. You’ll learn how to configure the information, select the necessary options, and send the proposal by email.
Visit inspector.lumos.property
1. Initial pause

2. Access proposal creation
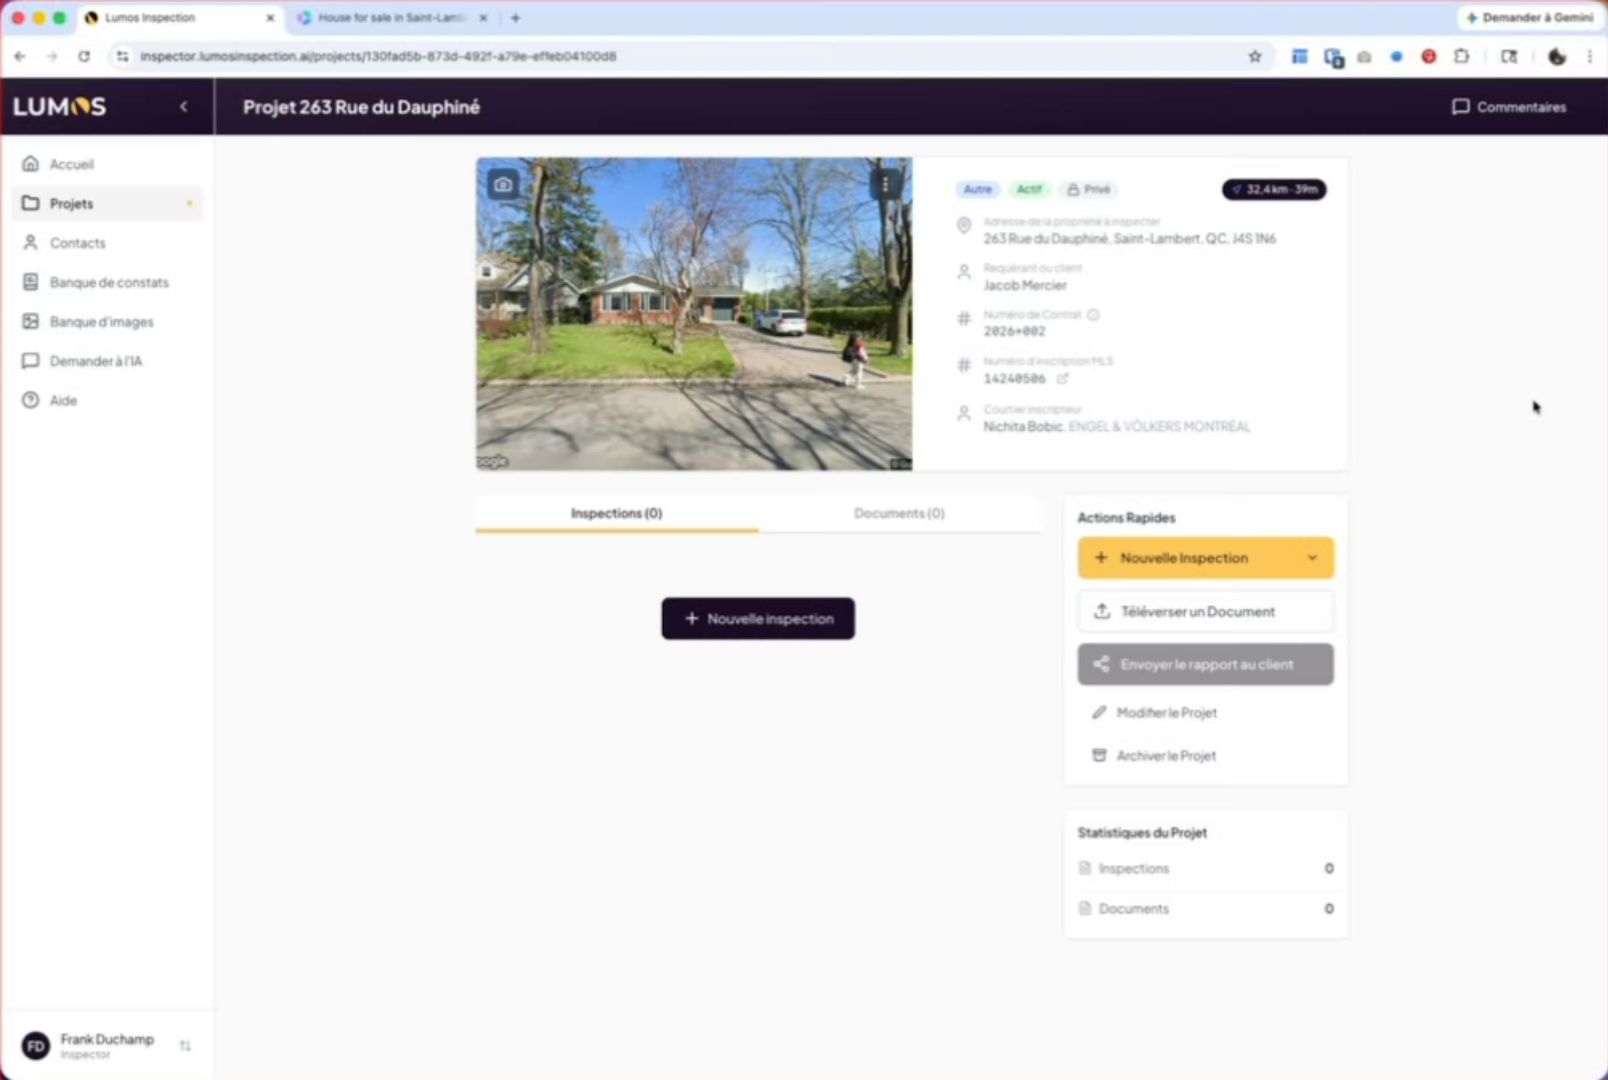
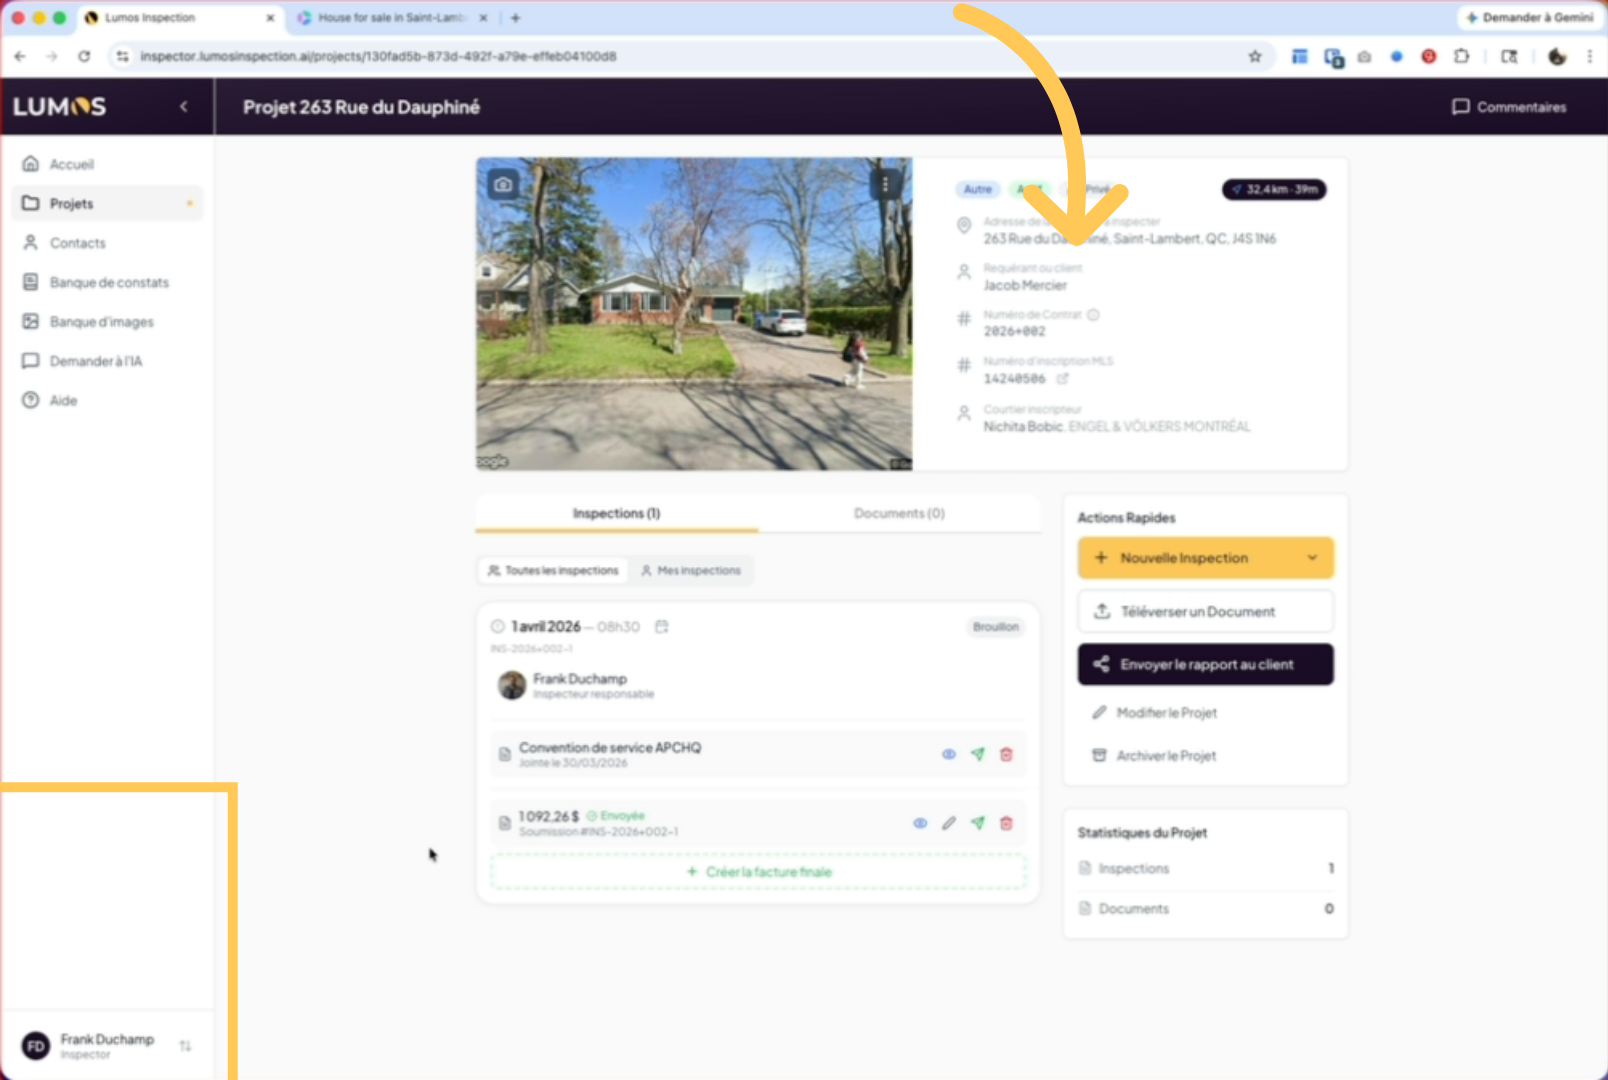
To create a proposal for a new inspection project, go to one of your projects and click the “New inspection” button on the right.
3. Choose an inspection template
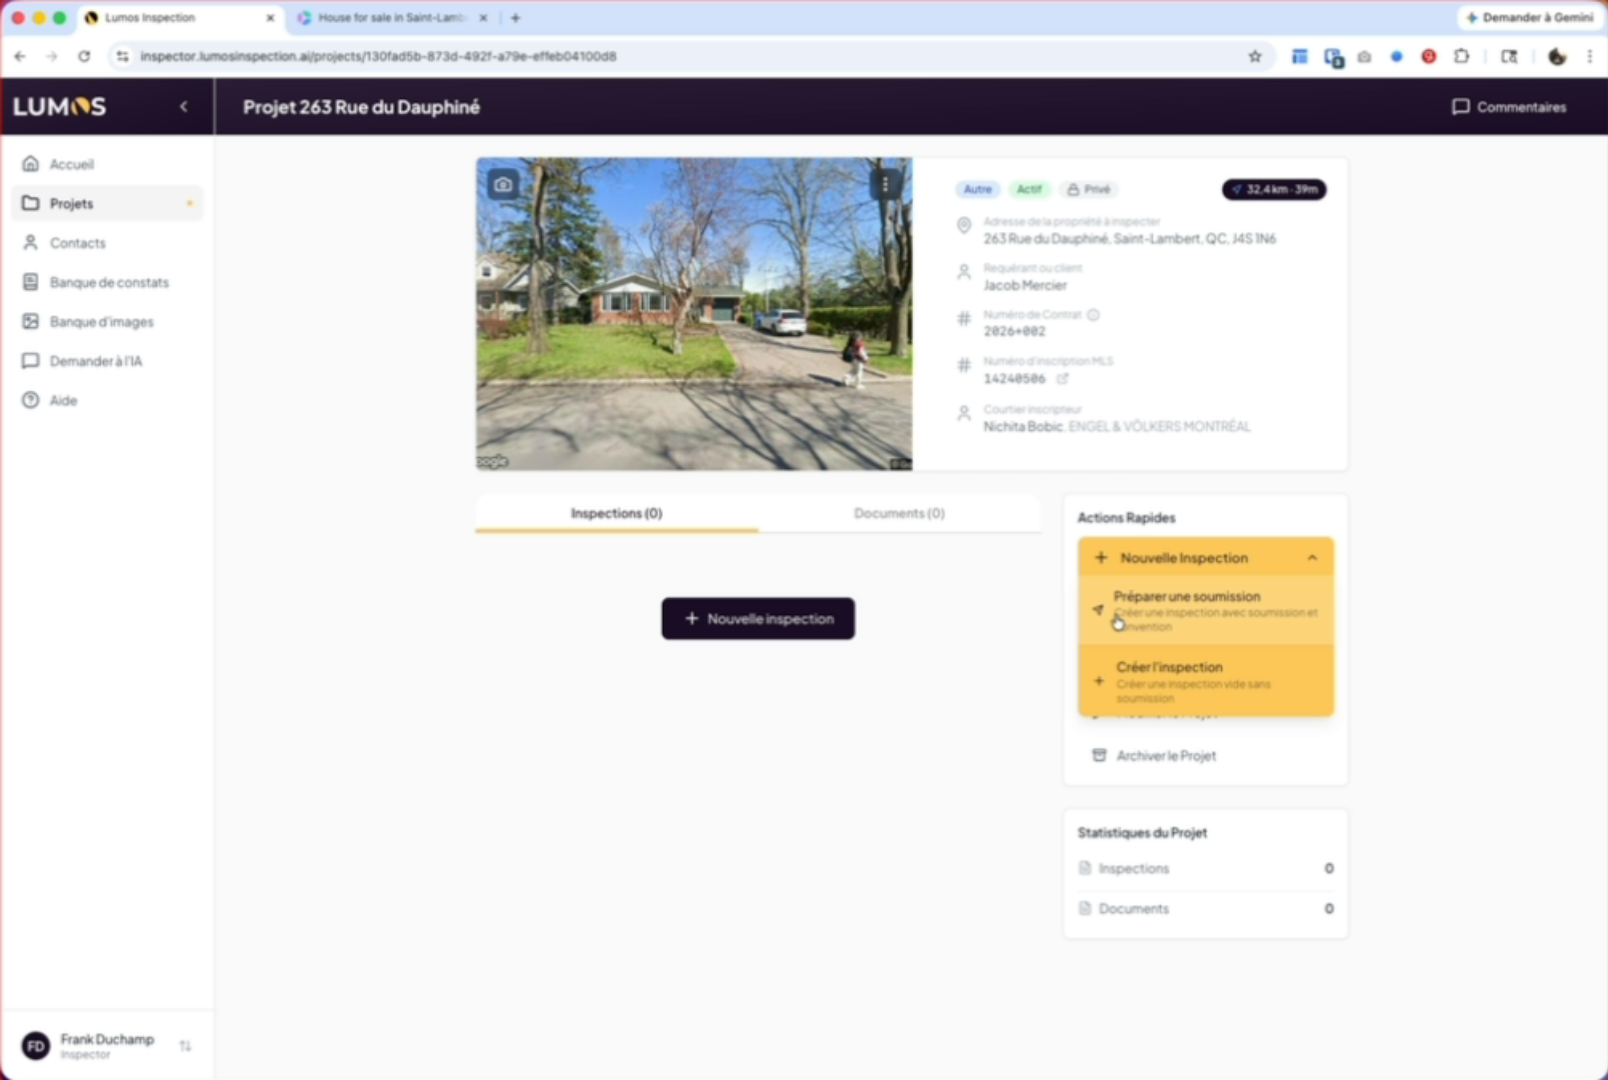
If you want to create an inspection without preparing a proposal, simply click Create Inspection. In our case, we’ll select the option with a proposal.
4. Use the selected template
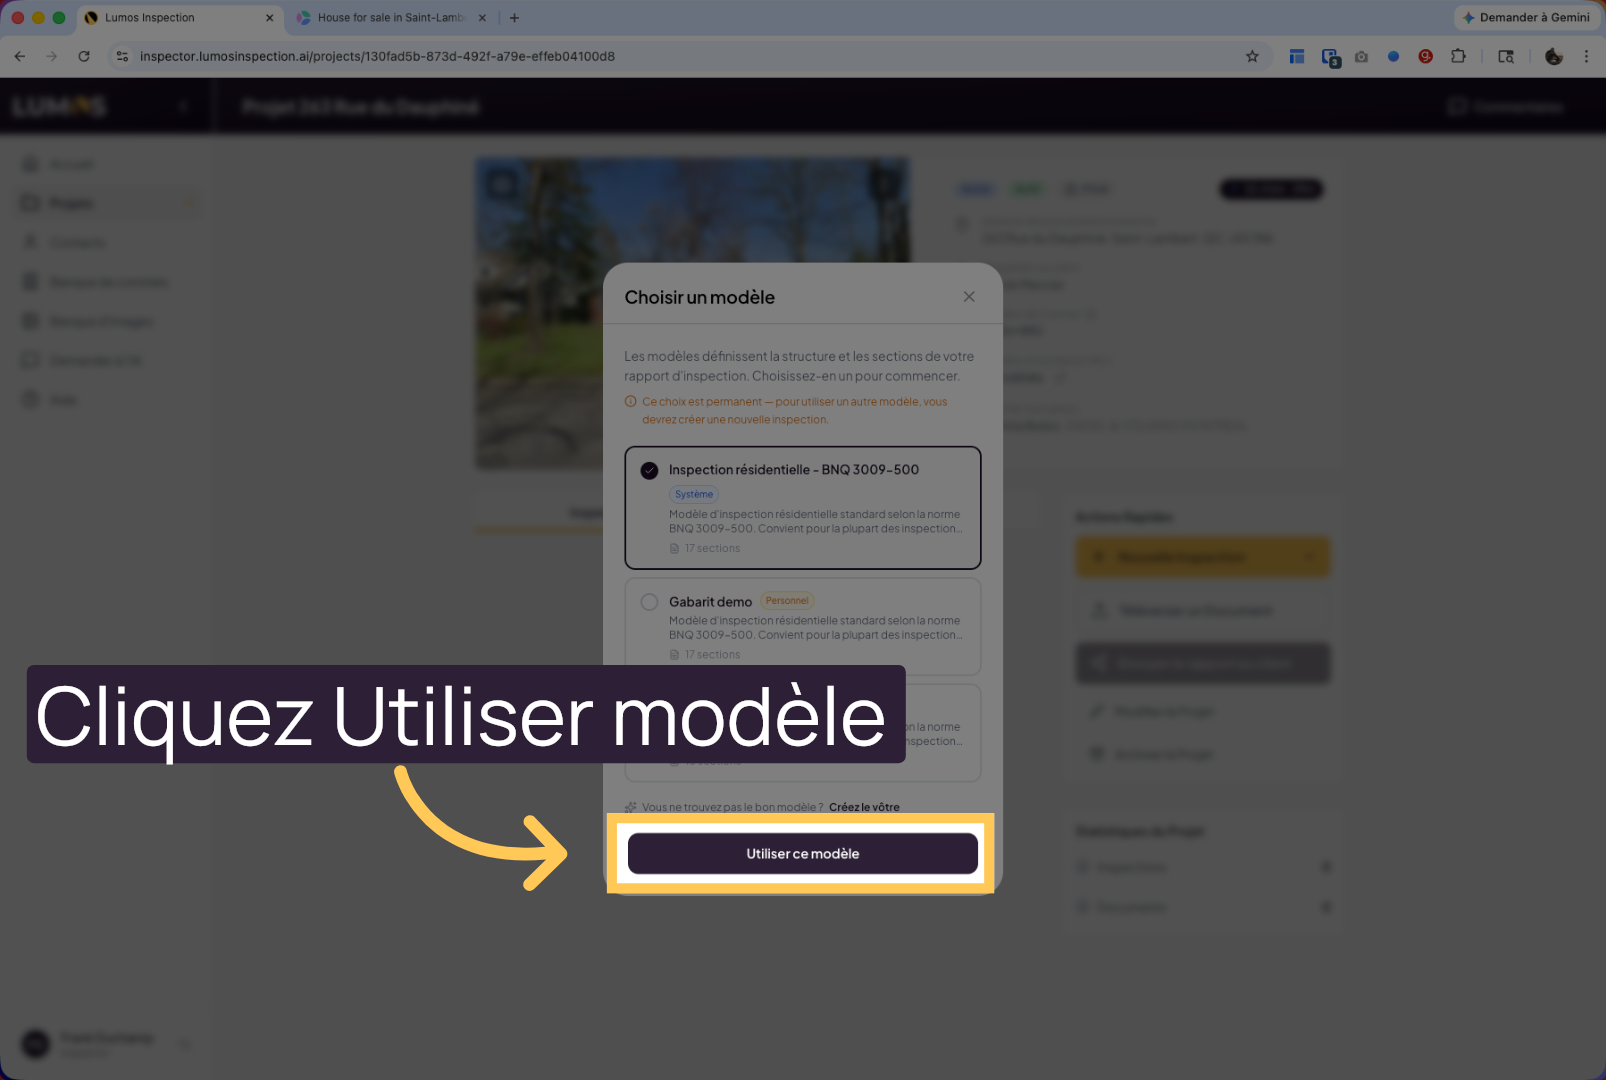
Click “Use this template” to apply the chosen template to your inspection. Remember that the inspection template defines the report format, and you can create multiple templates in “Settings > Report Templates”.
5. Enter inspection information
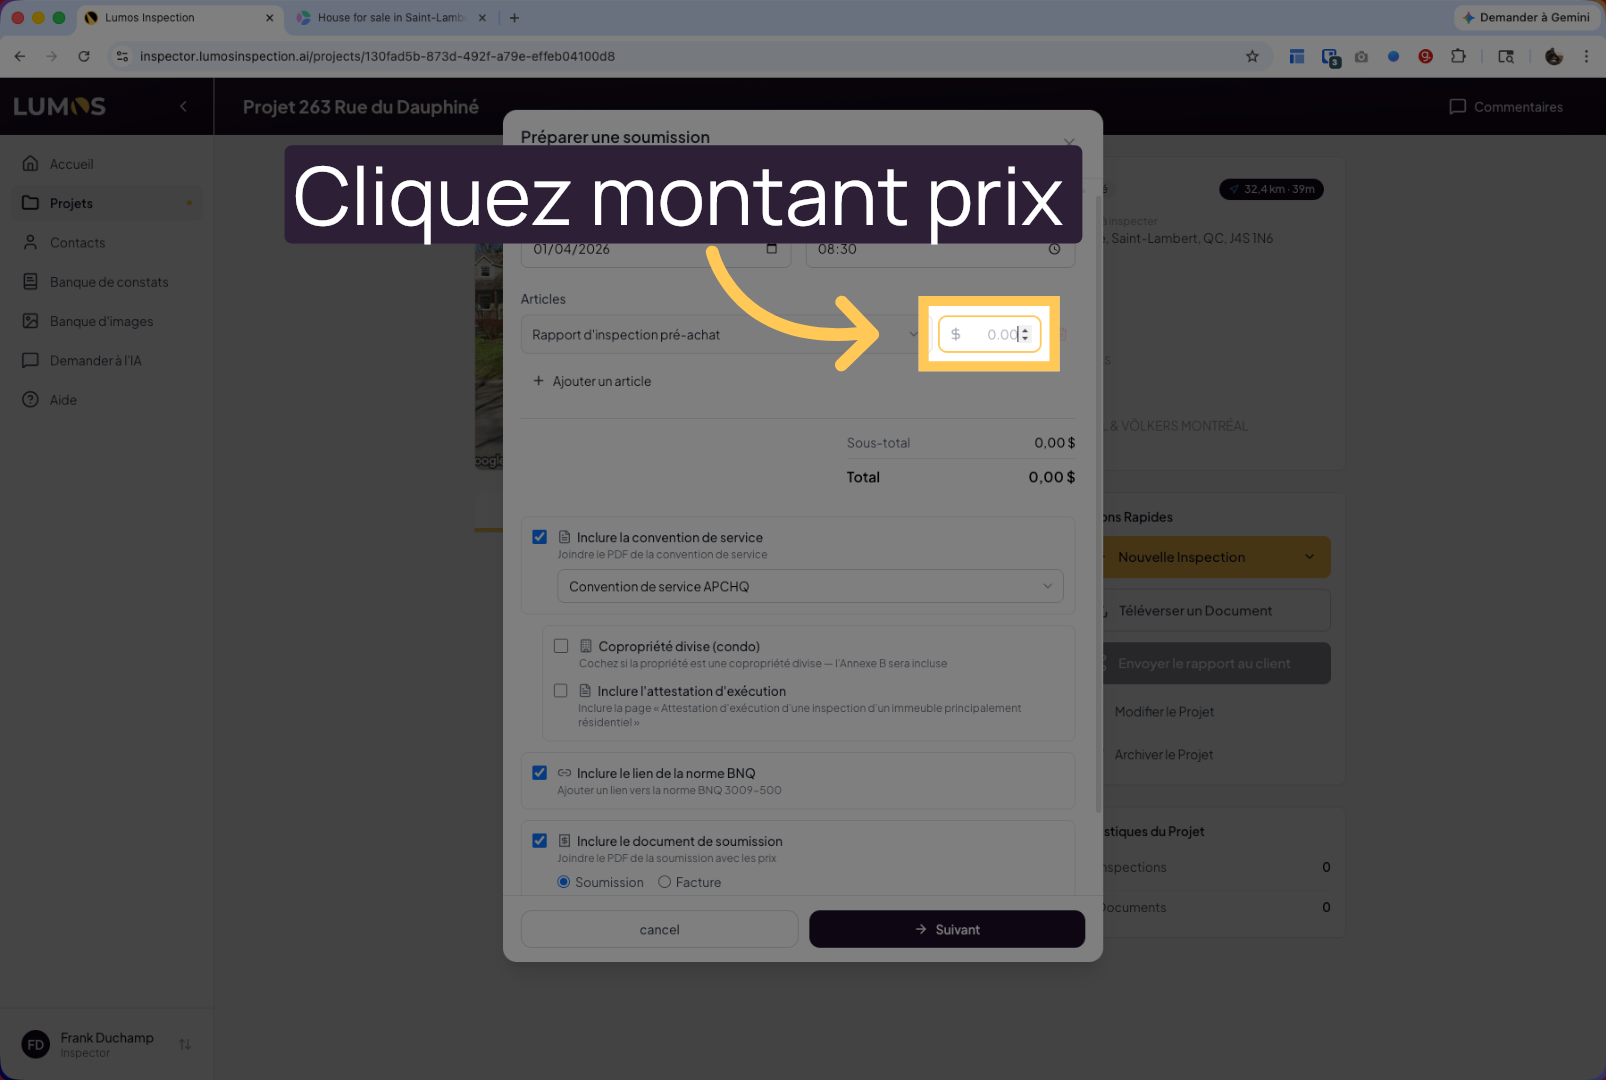
Enter the inspection details: date, time, and price of the inspection.

6. Open the price details
Click on the displayed amount to edit or view the inspection price details.
7. Select the service agreement
Choose the service agreement you want to attach. In our case, we’ll choose the APCHQ service agreement, but you can select your association’s service agreement in your settings. Your choice will appear in the list here.

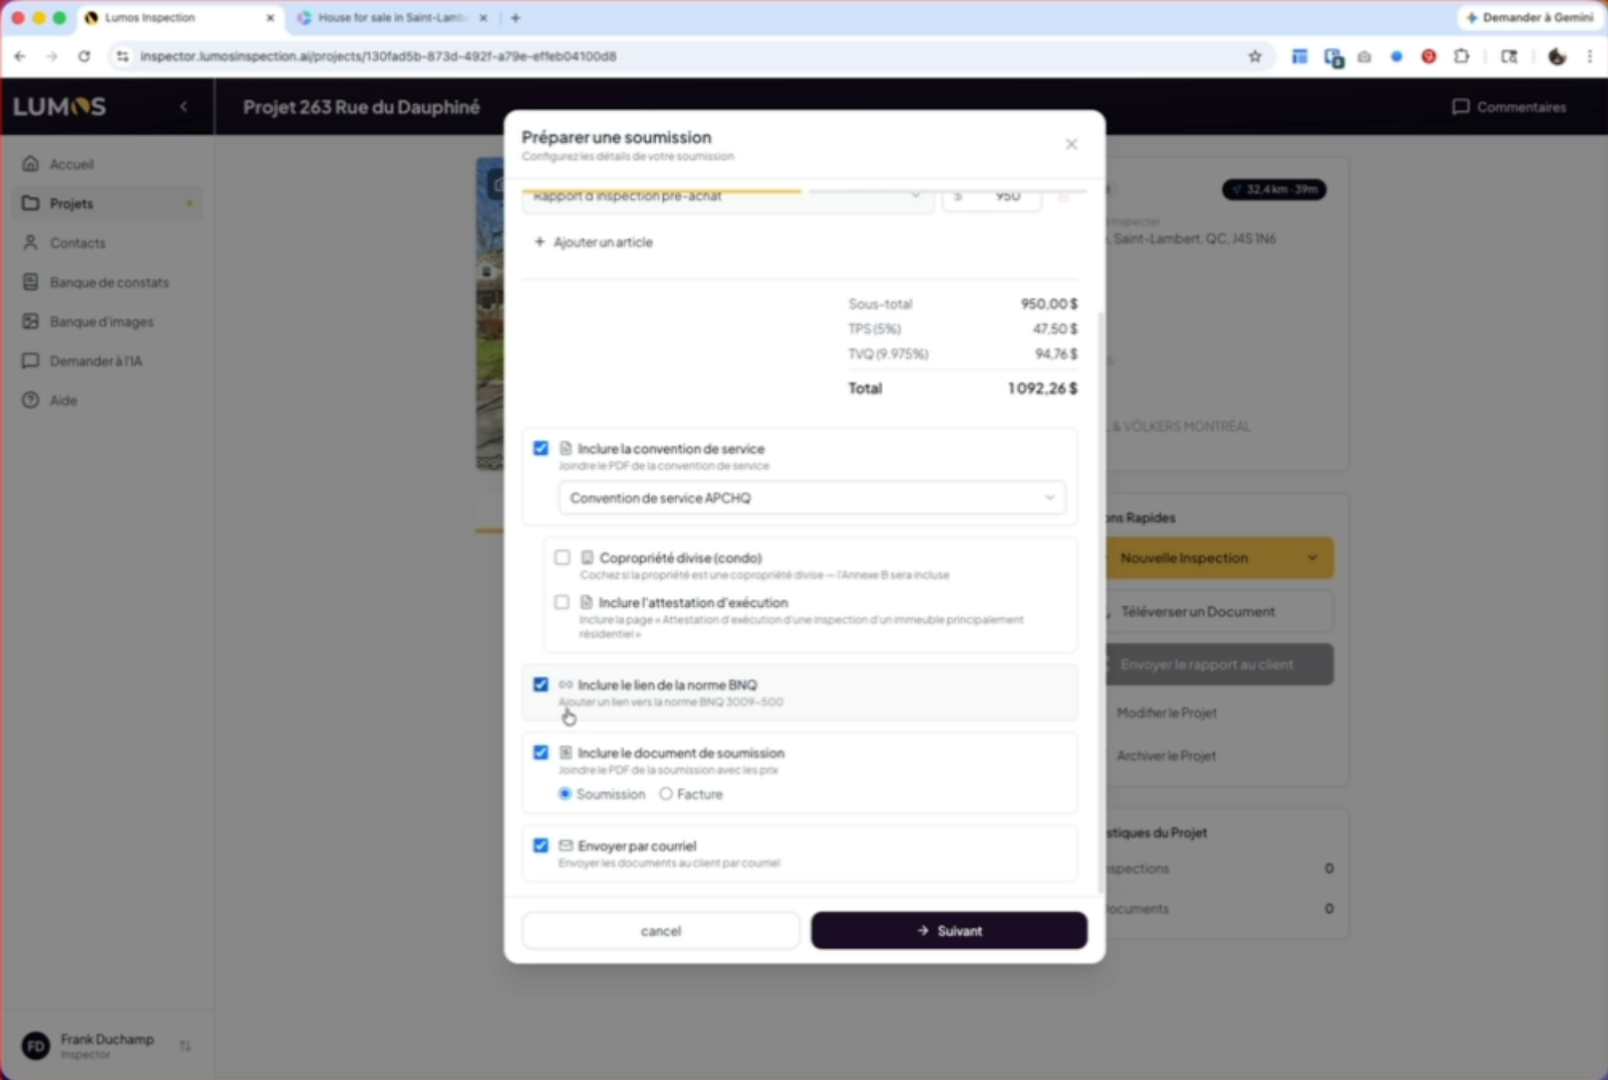
8. Configure condominium annex options
If it’s an undivided co-ownership, in the case of the APCHQ, you can choose to add Annex B. Check the box and fill in the following questions. You can also choose to include the execution attestation.

9. Include attestation and standard
You can include the BNQ standard link as recommended, and choose to include the document as a proposal or invoice. In our case, we’ll create a proposal. Finally, you can decide whether to send it by email automatically.
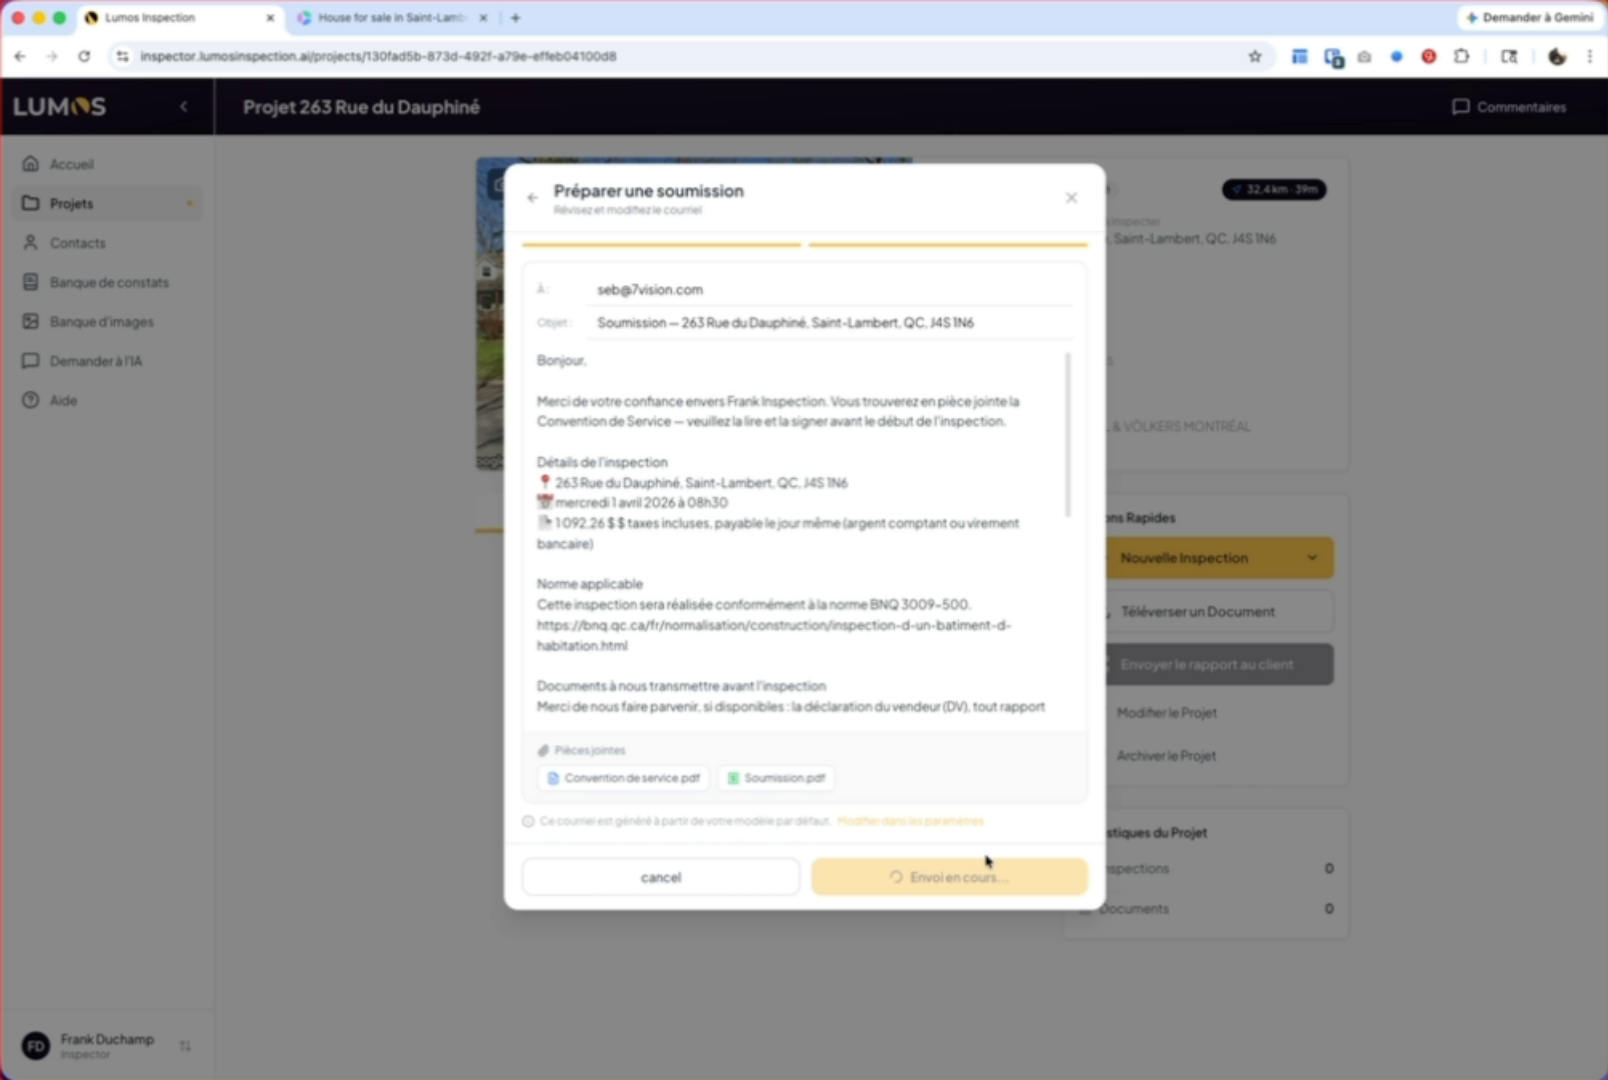
10. Configure the proposal email template
When you click next, you’ll see the email template to send to your client with the necessary information for your proposal. You can configure all these elements in your settings under the “Proposals & Invoices” tab.

11. Send the proposal by email
A link exists below the editing window. This link will take you directly to the proposal and billing settings page. When you click send the proposal, your client will receive by email the information you configured in this process.

12. Automatic inspection creation
The inspection will be created automatically and the necessary documents will be attached to the inspection.
13. Manage agreement and proposal
Here you’ll find the service agreement. You can view, send, or delete it. The same options are available for the proposal.
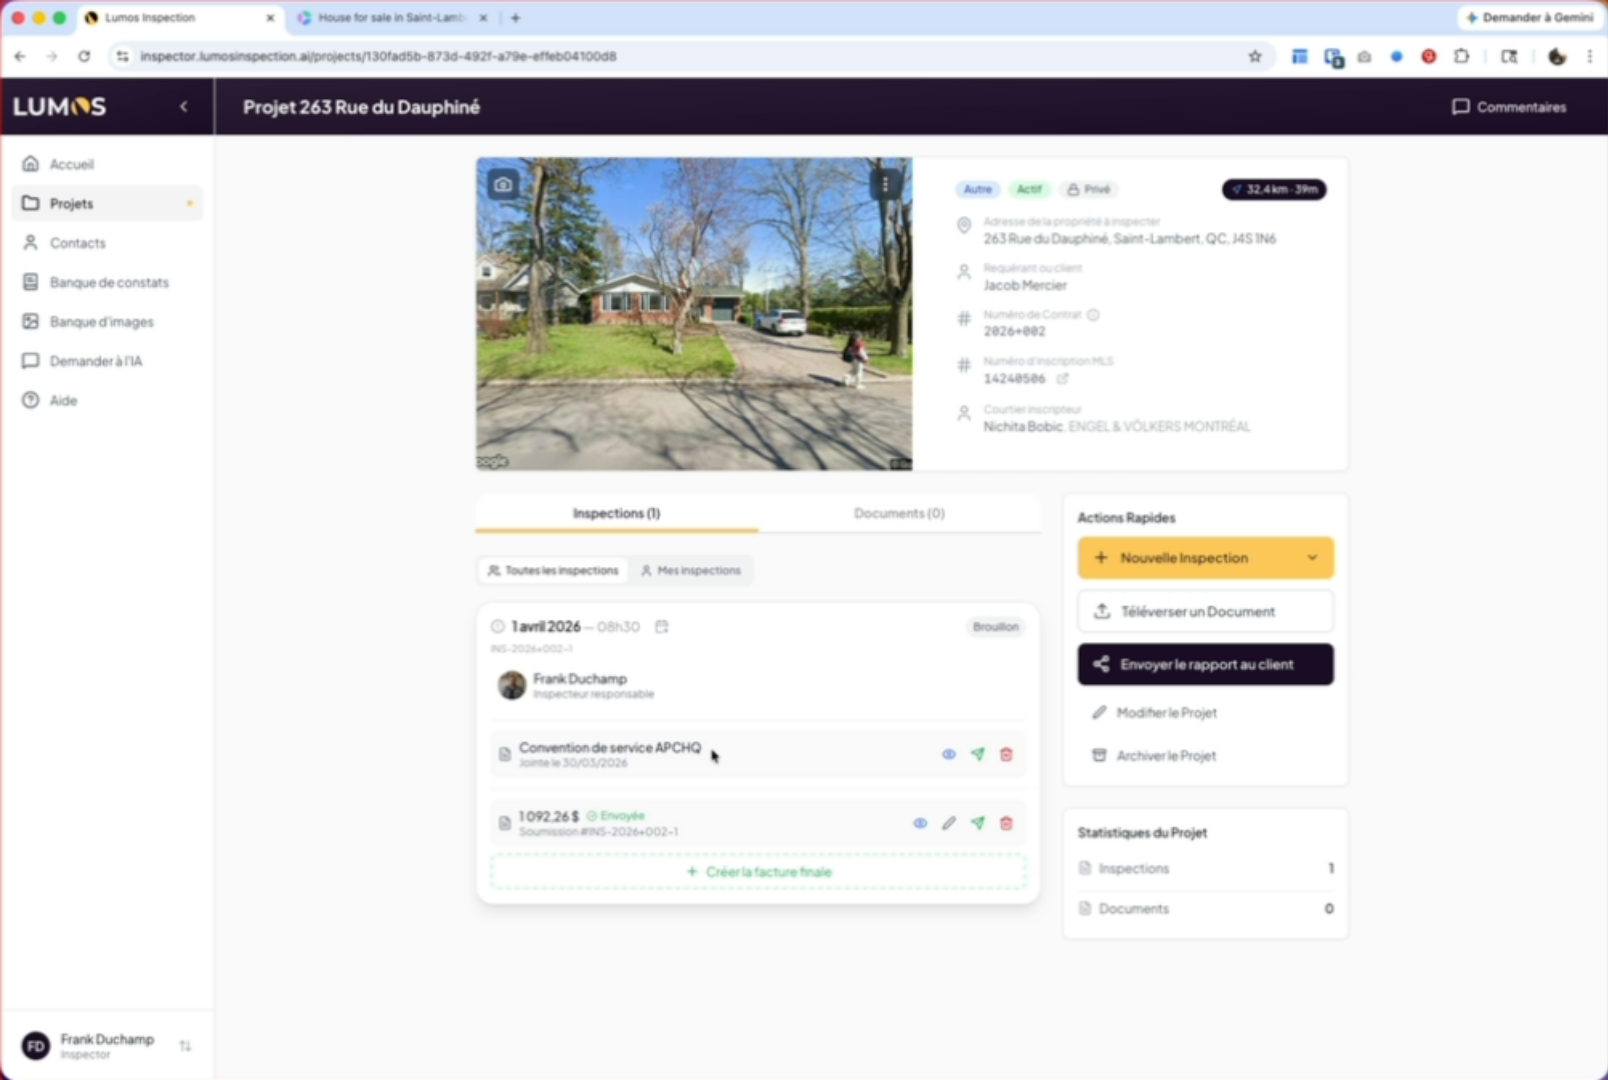
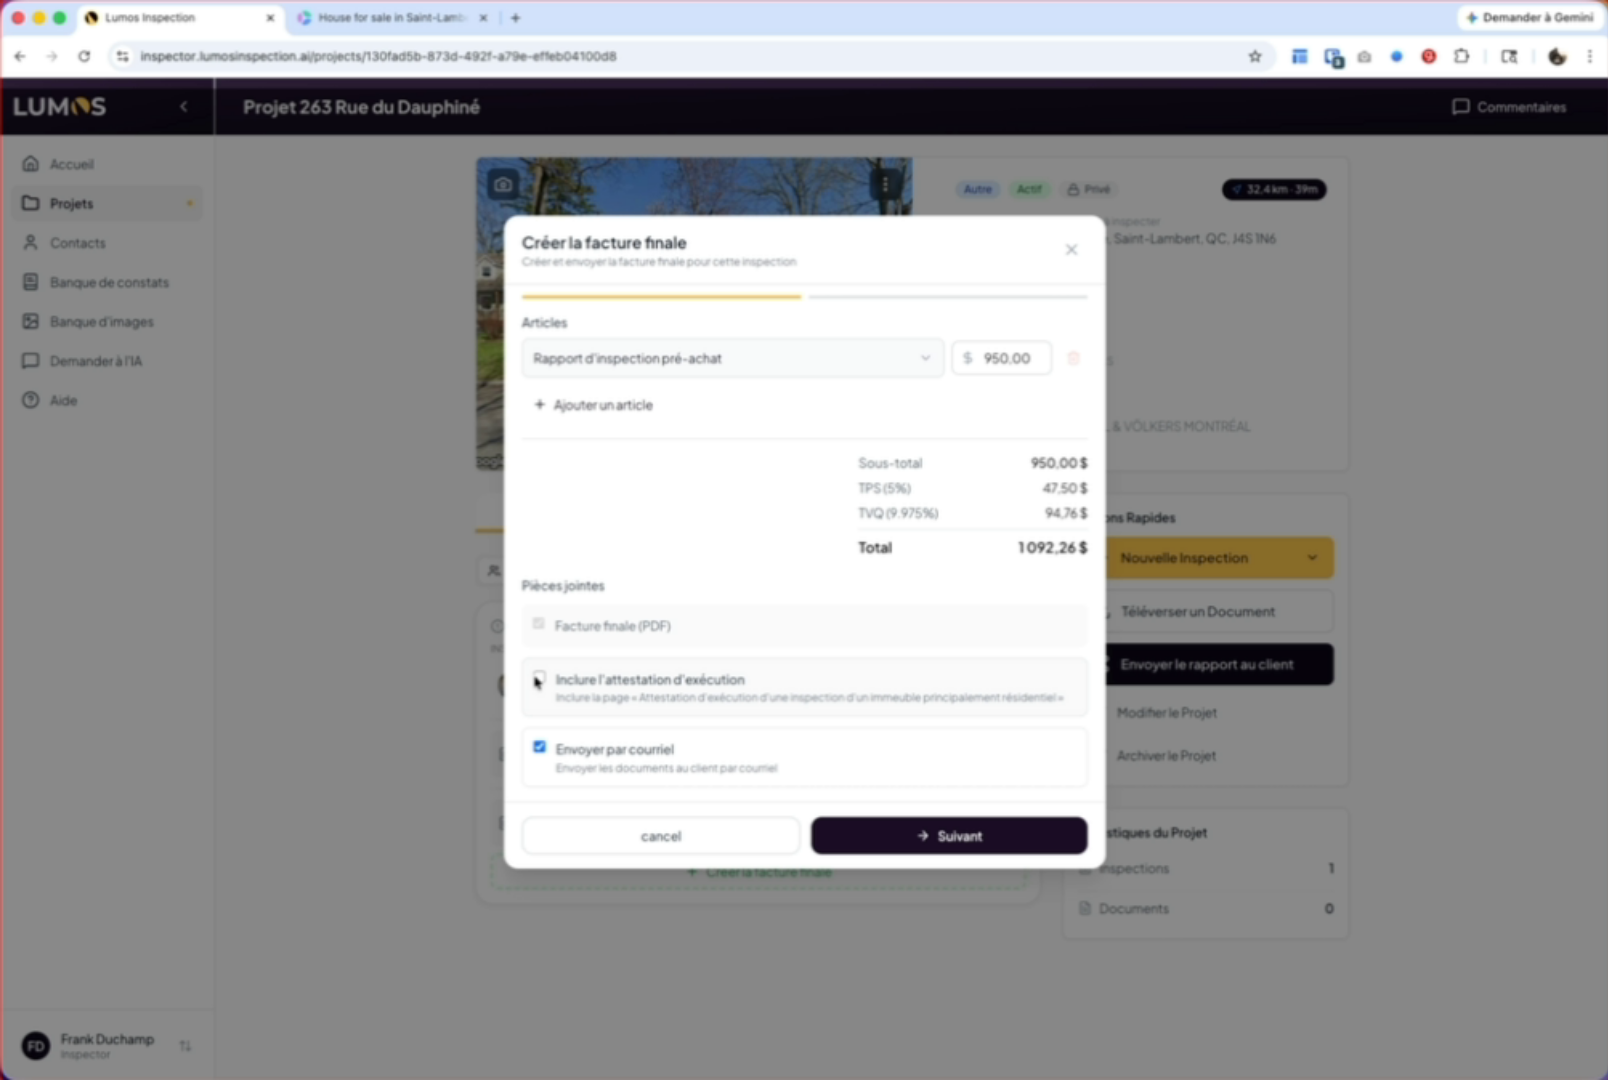
14. Create and edit the invoice
Once you’ve completed your inspection, you can also create the final invoice by clicking the create final invoice button. In this window, you’ll be able to adjust or modify the quote or proposal if needed before sending it to the client.

15. Send the execution attestation by email
You also have the option to include the execution attestation and send it by email.
16. Configure proposal and invoice text
To configure the default text for proposals and invoices, go to your settings, Company Configuration, Proposals & Invoices tab. There you can access the default email templates for both proposals and invoices.
You’ve created a complete inspection proposal by configuring the details, selecting the service agreement, and sending the proposal by email. You can now manage invoices and associated attestations, as well as customize the default text in your settings.