Configure and Use the APCHQ Service Agreement in Lumos
This tutorial helps you understand how to use the APCHQ service agreement in Lumos. You’ll learn how to configure your profile, prepare proposals, and manage associated inspections.
Visit inspector.lumos.property
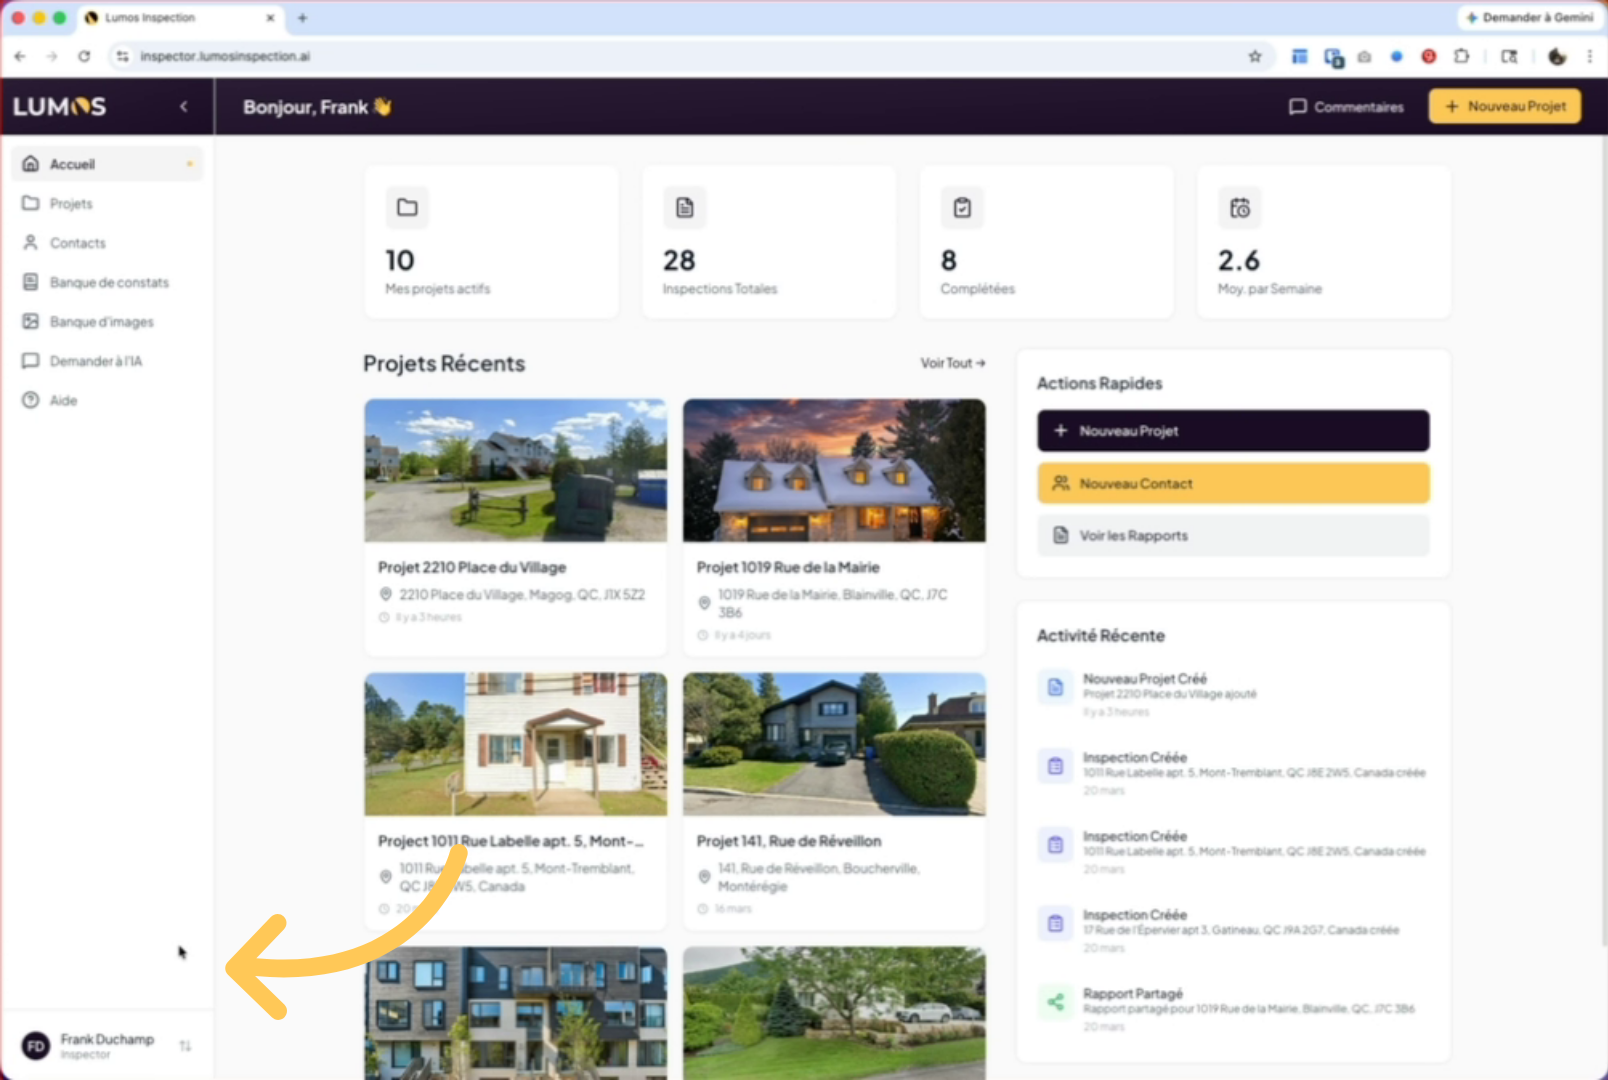
1. Access Lumos settings
If you’re an APCHQ member and want to use your association’s service agreement, you can configure it in the Lumos settings. Go to the settings tab and then to your profile.
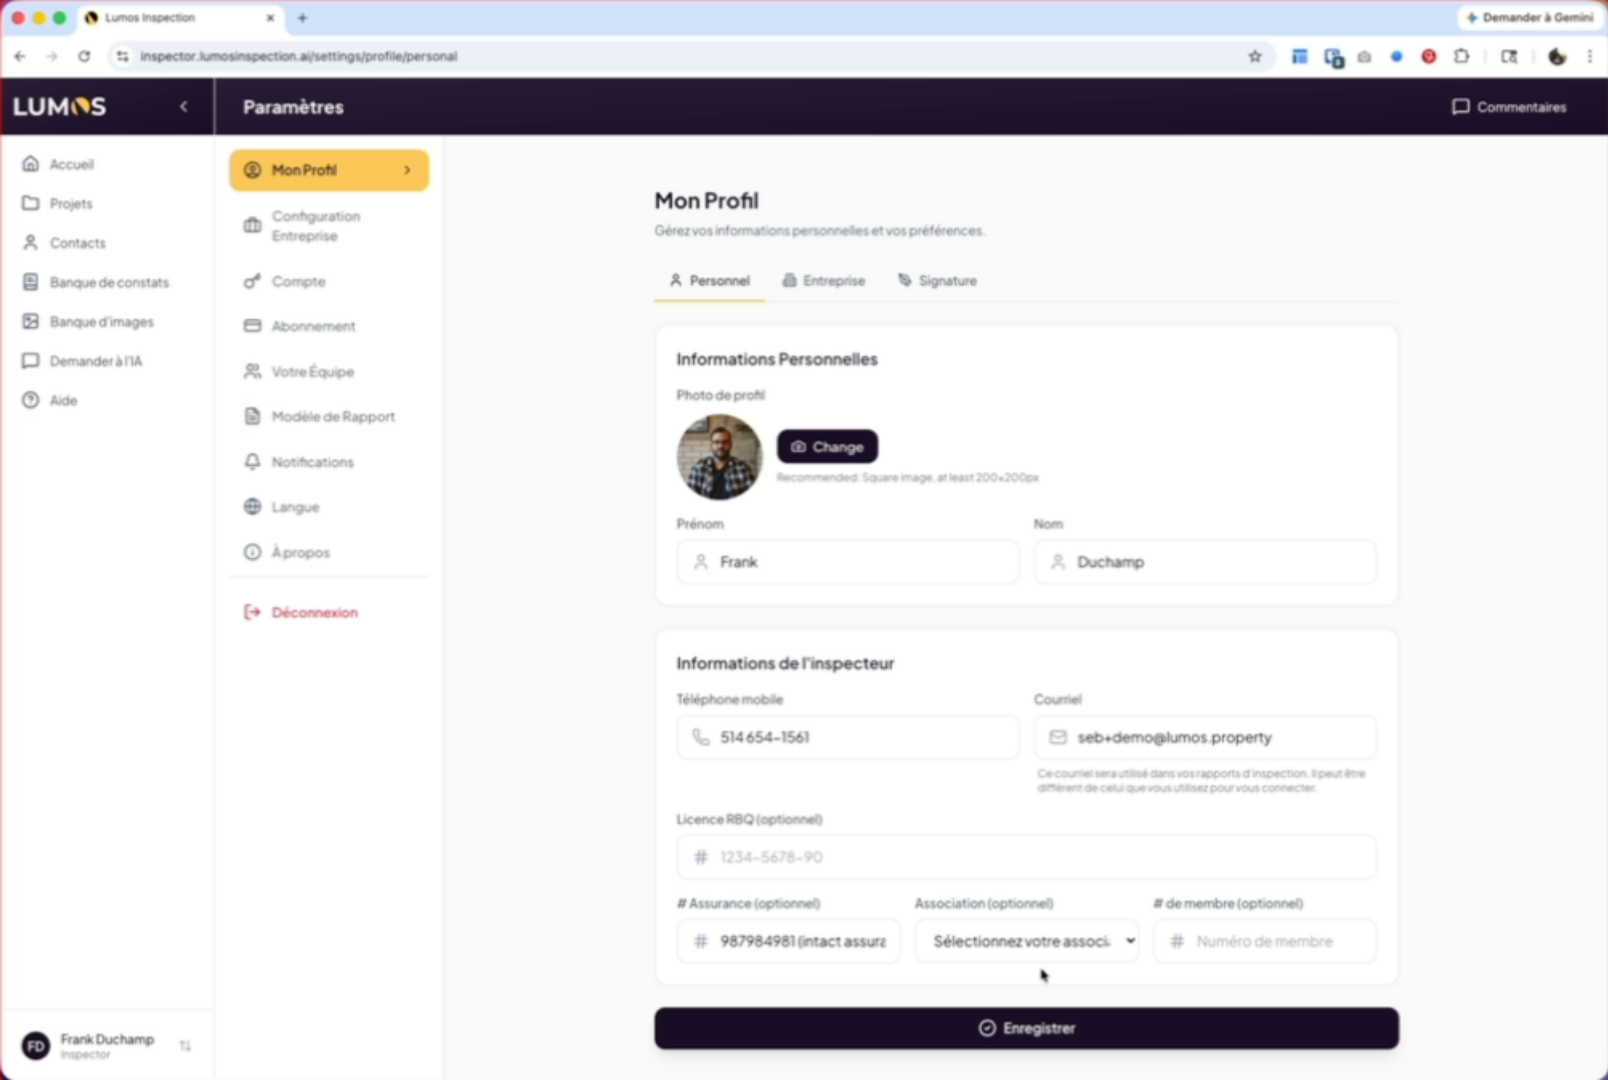
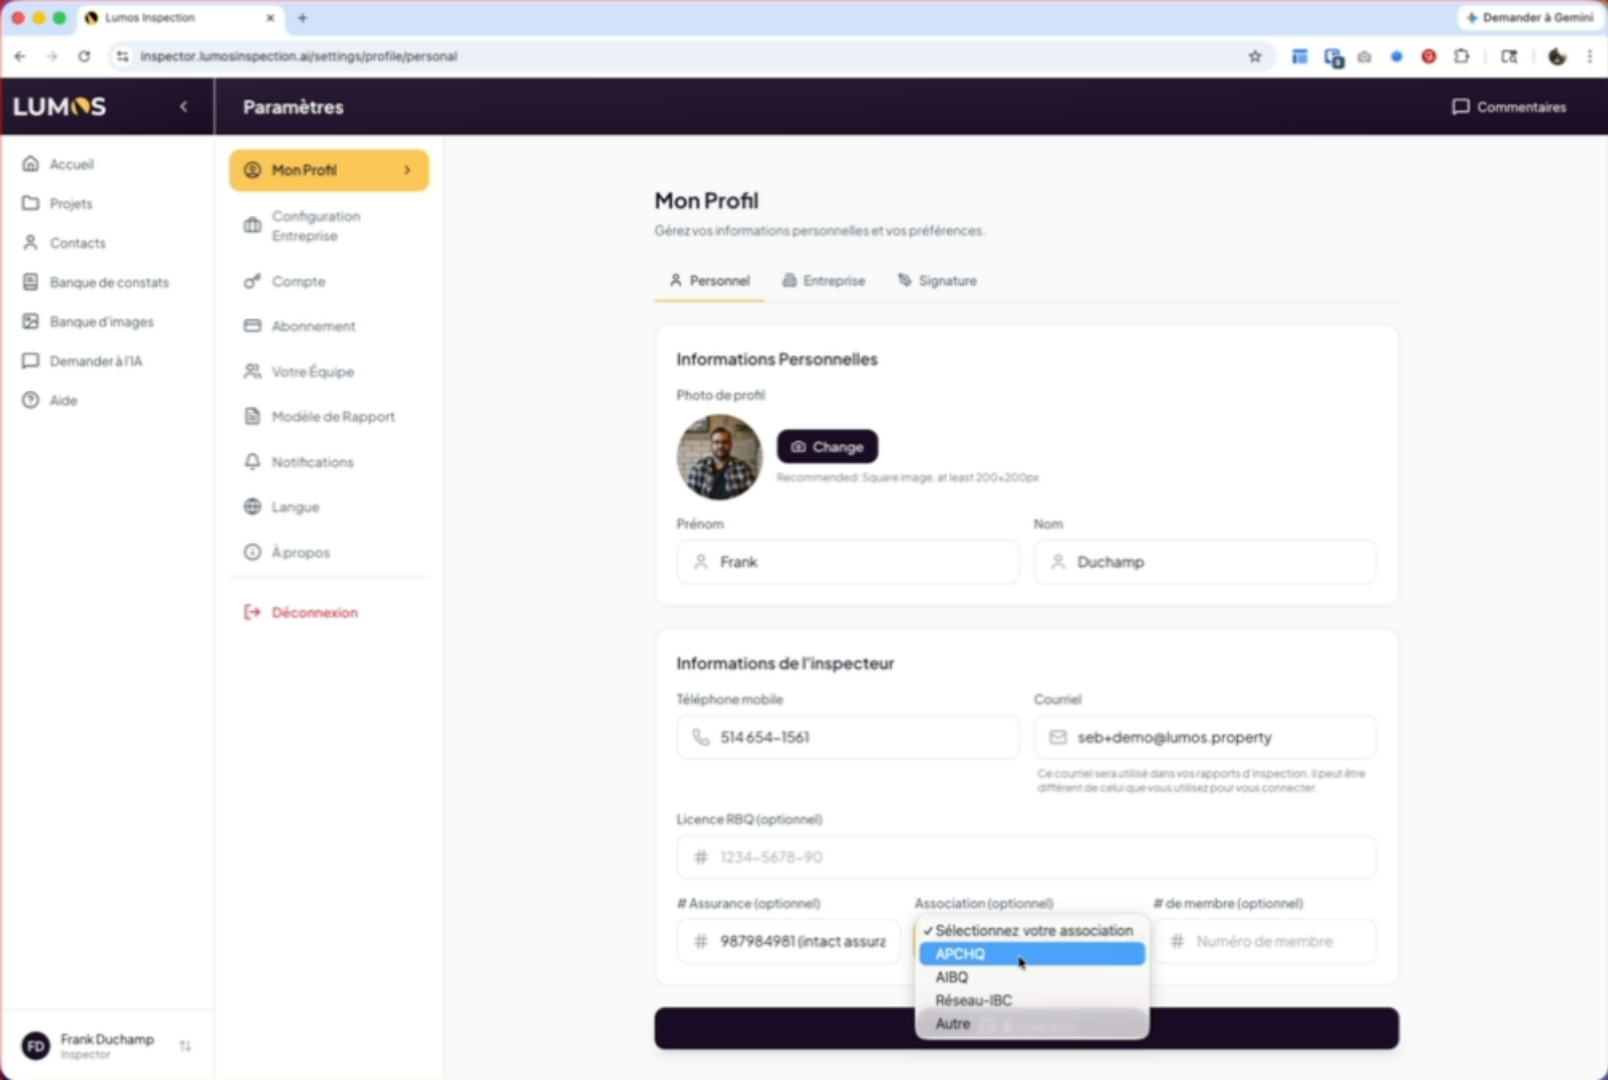
2. Select the association option
At the bottom of your profile, you’ll find the association option. Select the association you belong to.
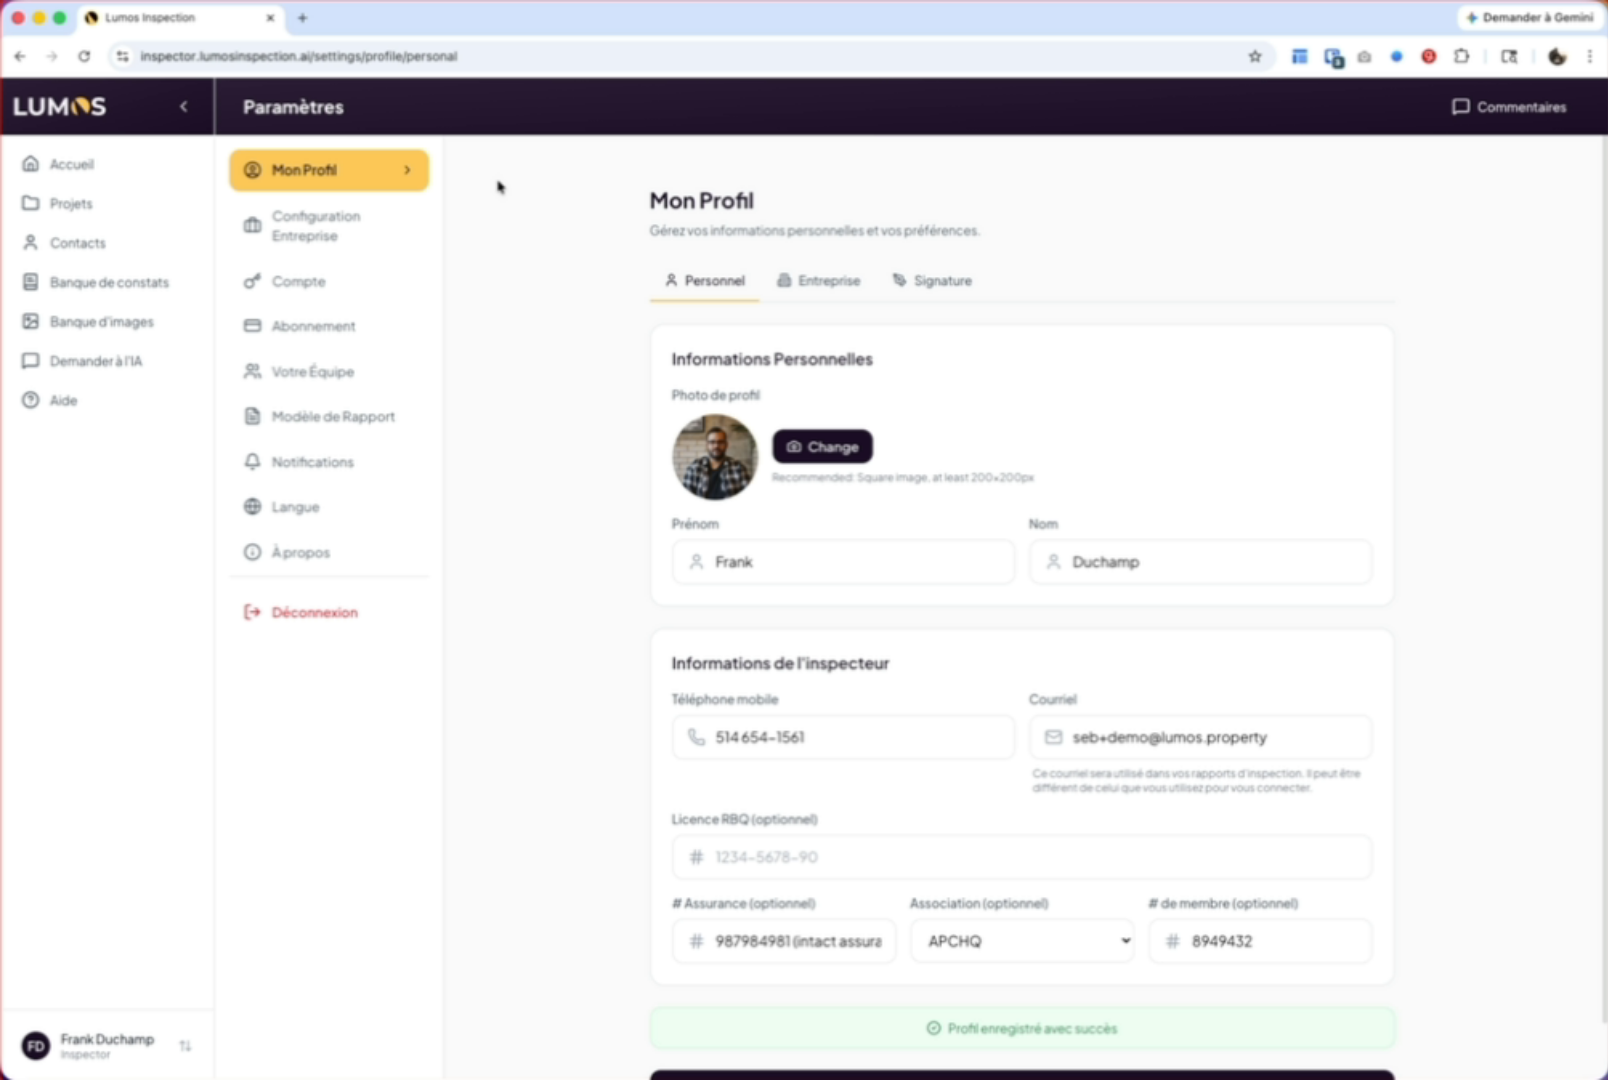
3. Enter your APCHQ member number
In our case, APCHQ. Enter your member number and save.
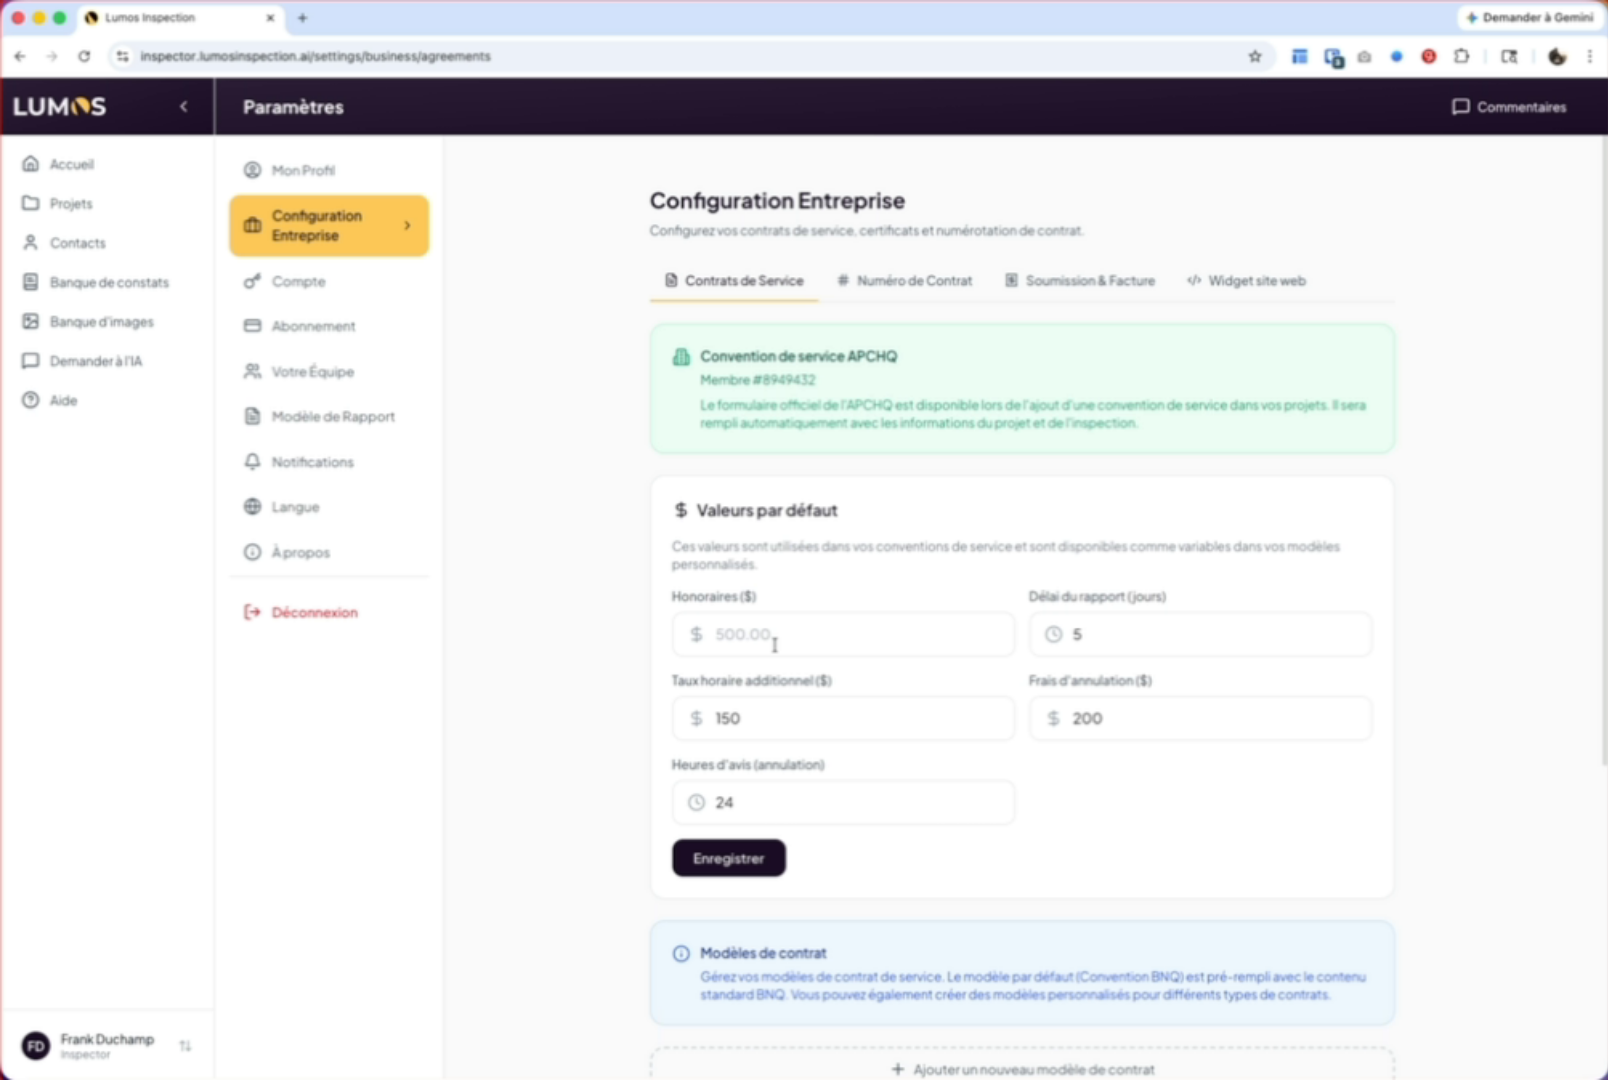
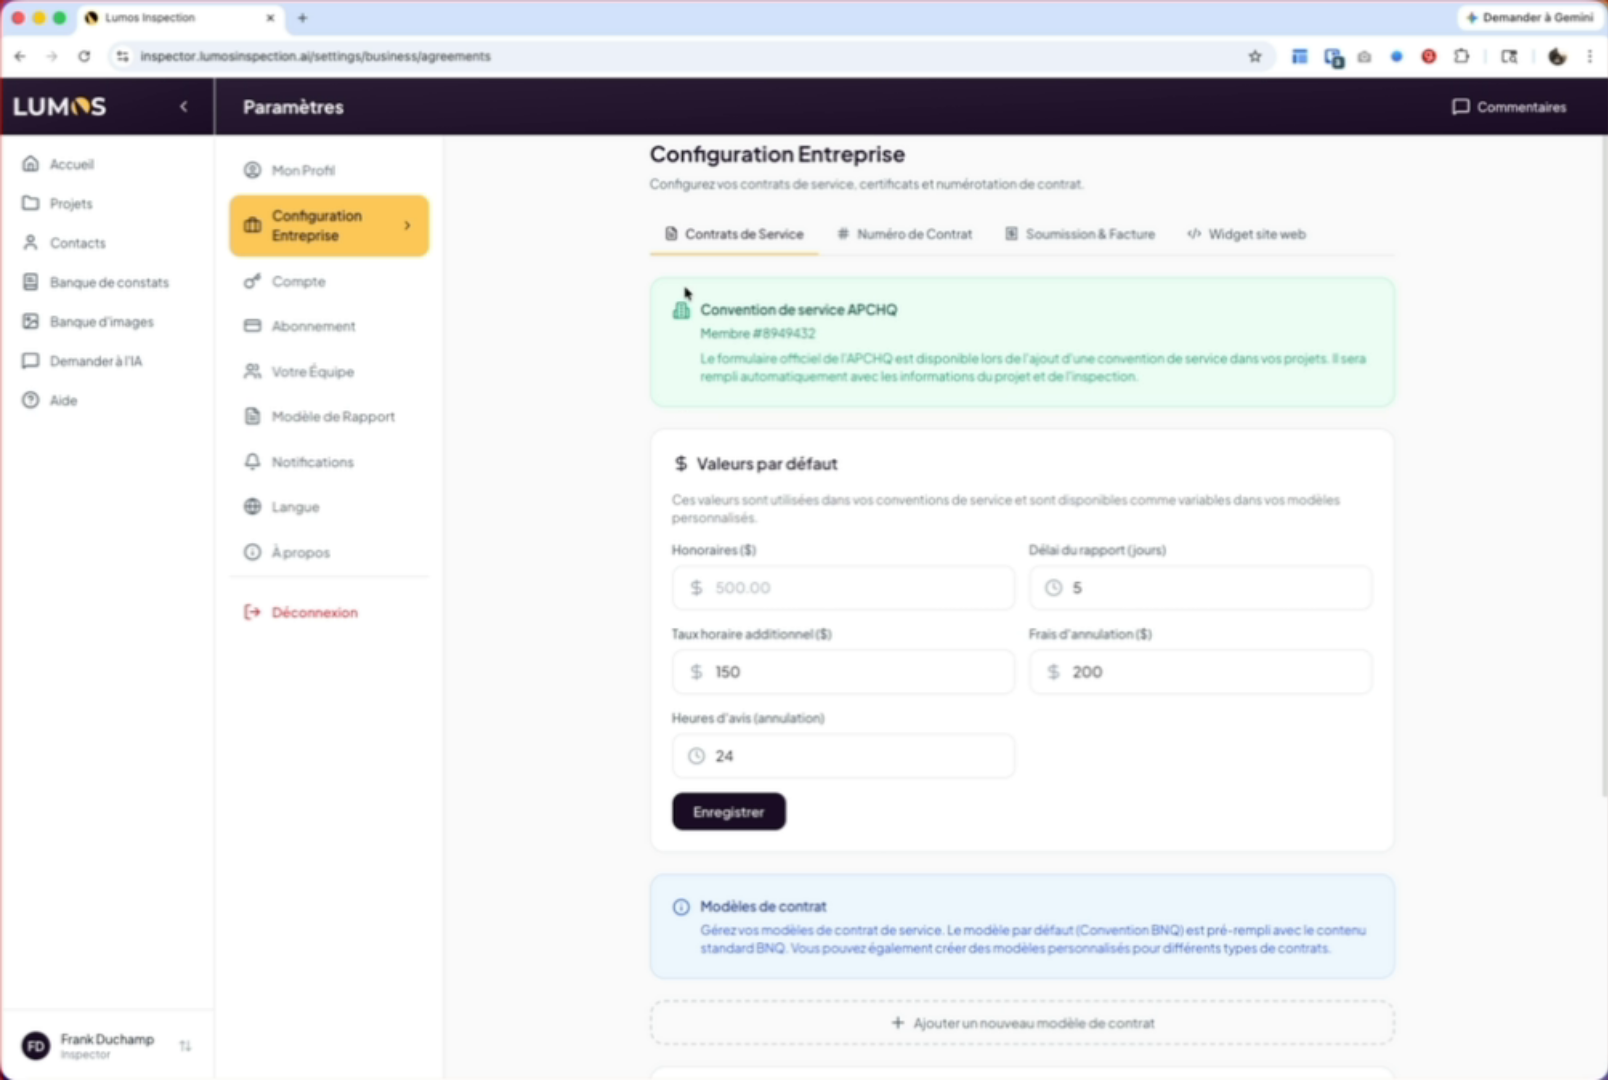
4. Verify the green confirmation box
Once saved, you’ll find a green box in the company configuration confirming the APCHQ service agreement.
5. Configure default values
Don’t forget to enter the default values — they’ll be needed to auto-fill your forms.
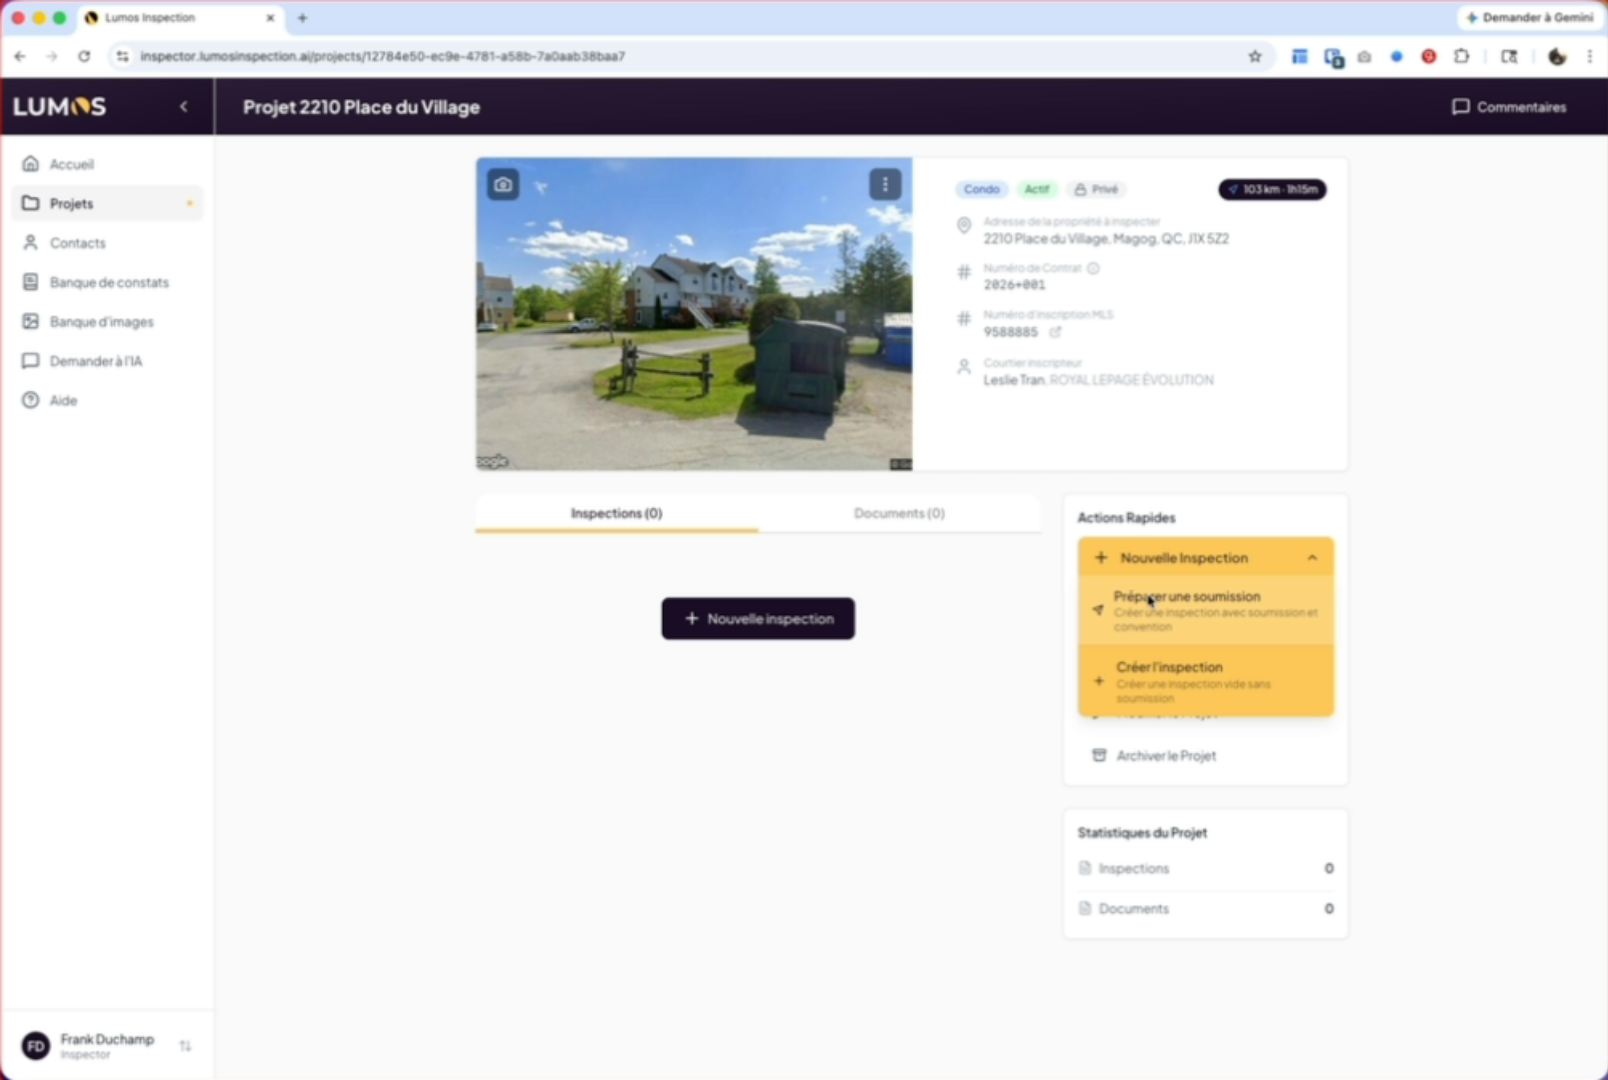
6. Create a new inspection
Once configured, when you go to your inspection project and create a new inspection, you can prepare a proposal with the APCHQ service agreement.
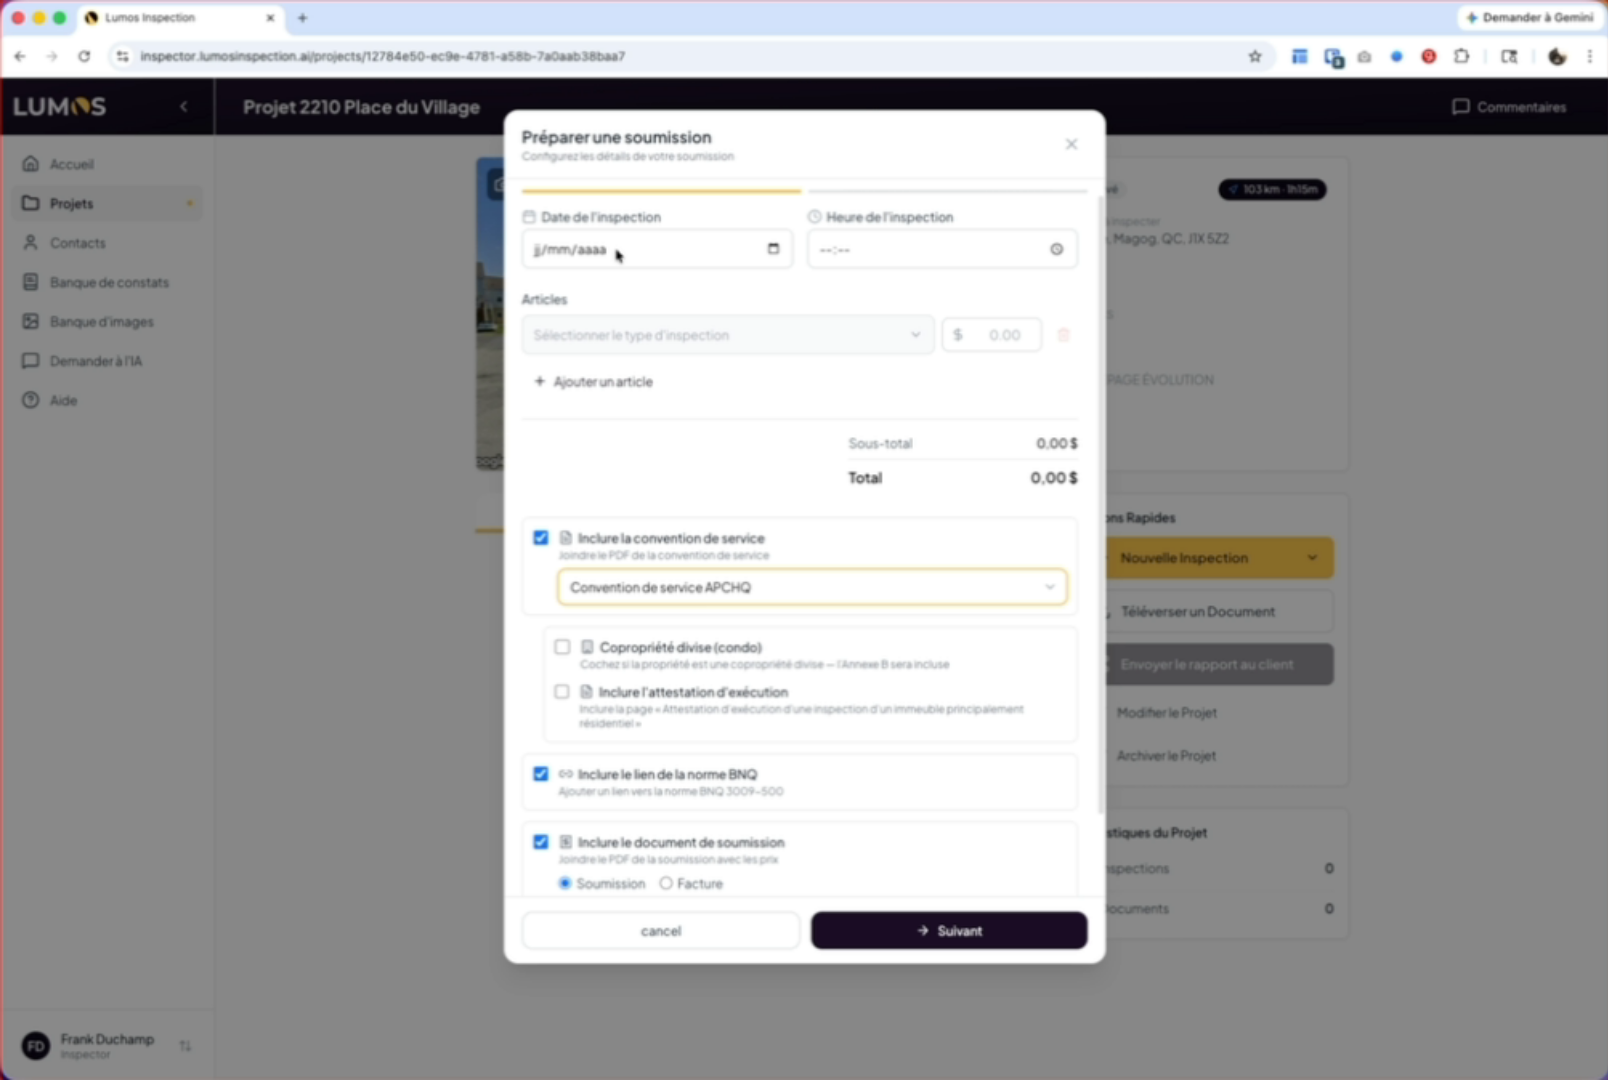
7. Prepare the proposal with agreement
Simply click “Prepare a proposal”. Select your template and inspection model. You’ll find your APCHQ service agreement pre-selected here.
8. Add Annex B or execution attestation
You have the option to add Annex B or the execution attestation.
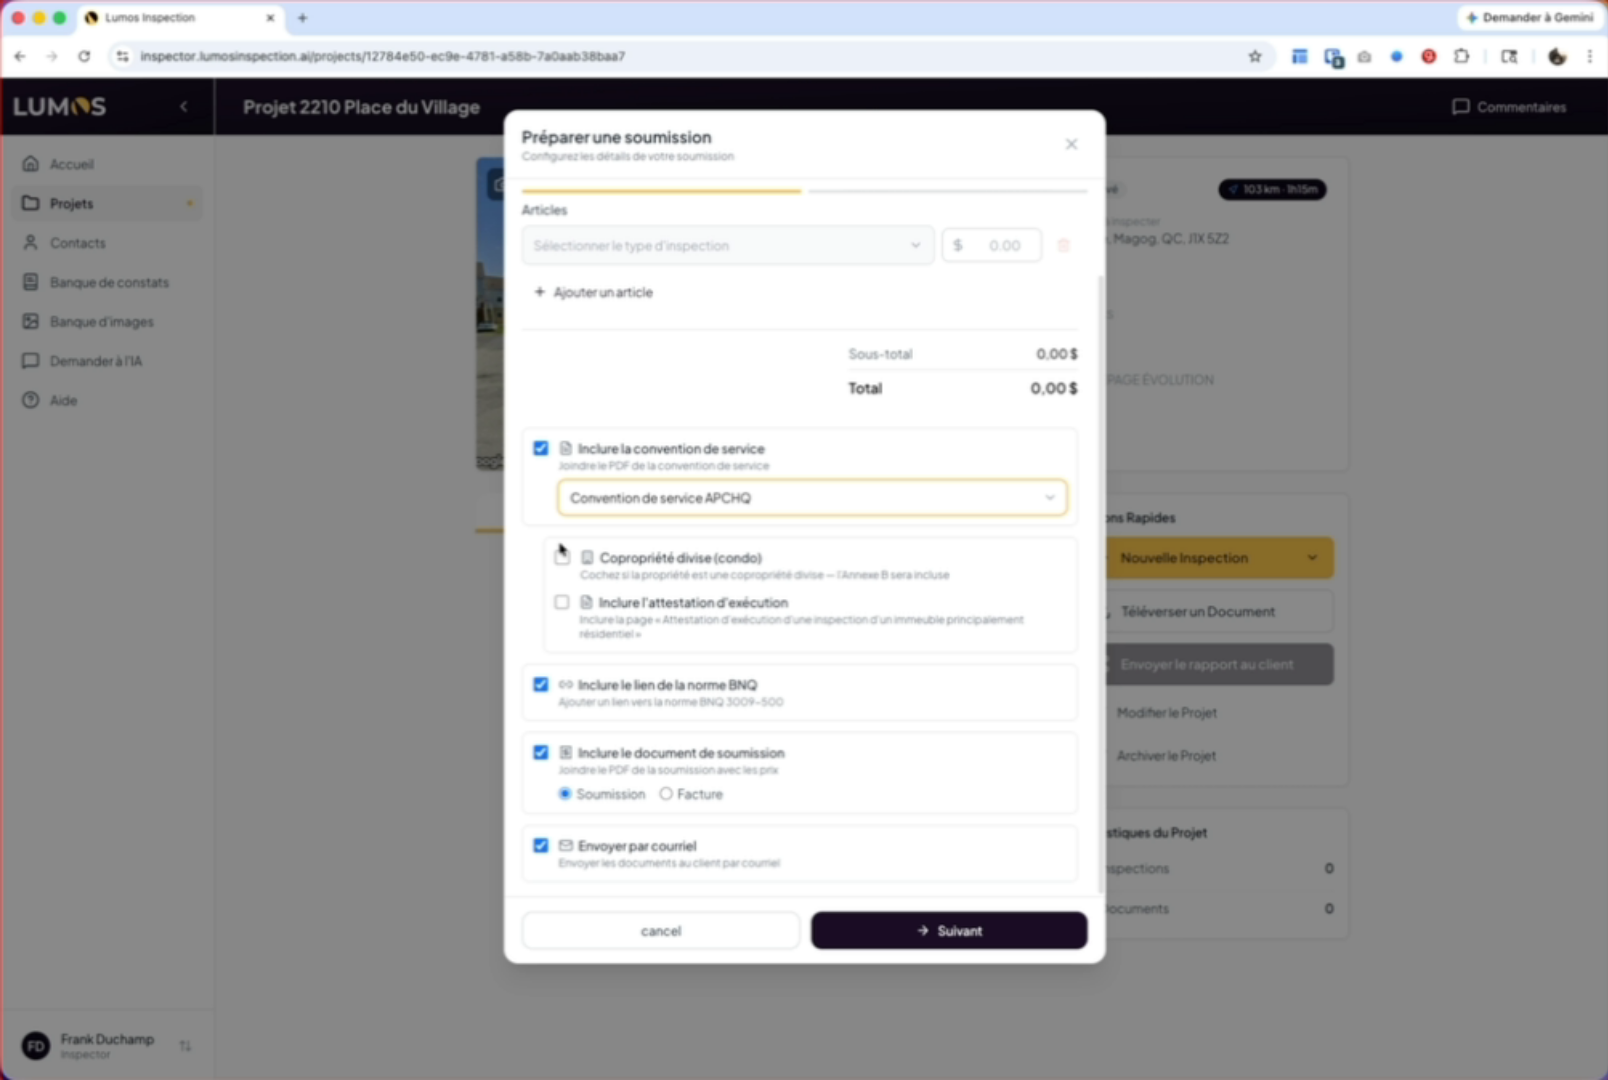
9. Select dates and options
To finalize your proposal and inspection preparation, select the dates and time for your inspection, the inspection type and price, and check the options you want. When ready, click the “Next” button.
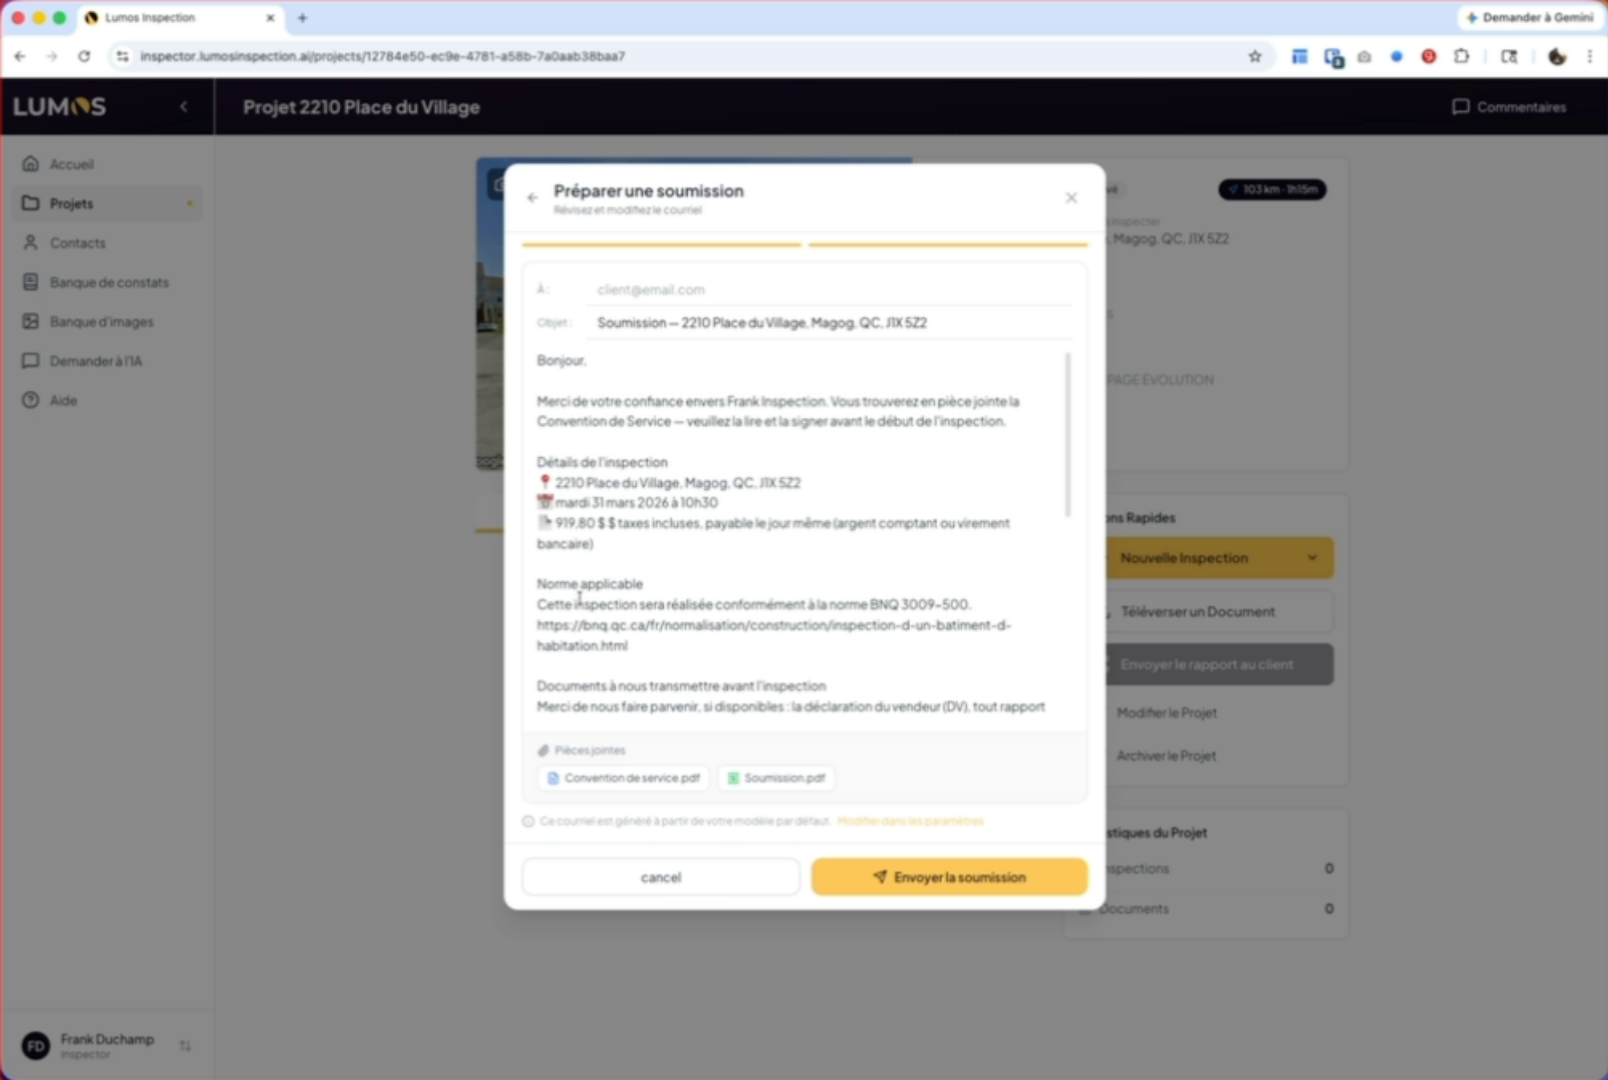
10. Send the email with agreement
When sending your email through the Lumos interface, the APCHQ service agreement will be automatically attached.
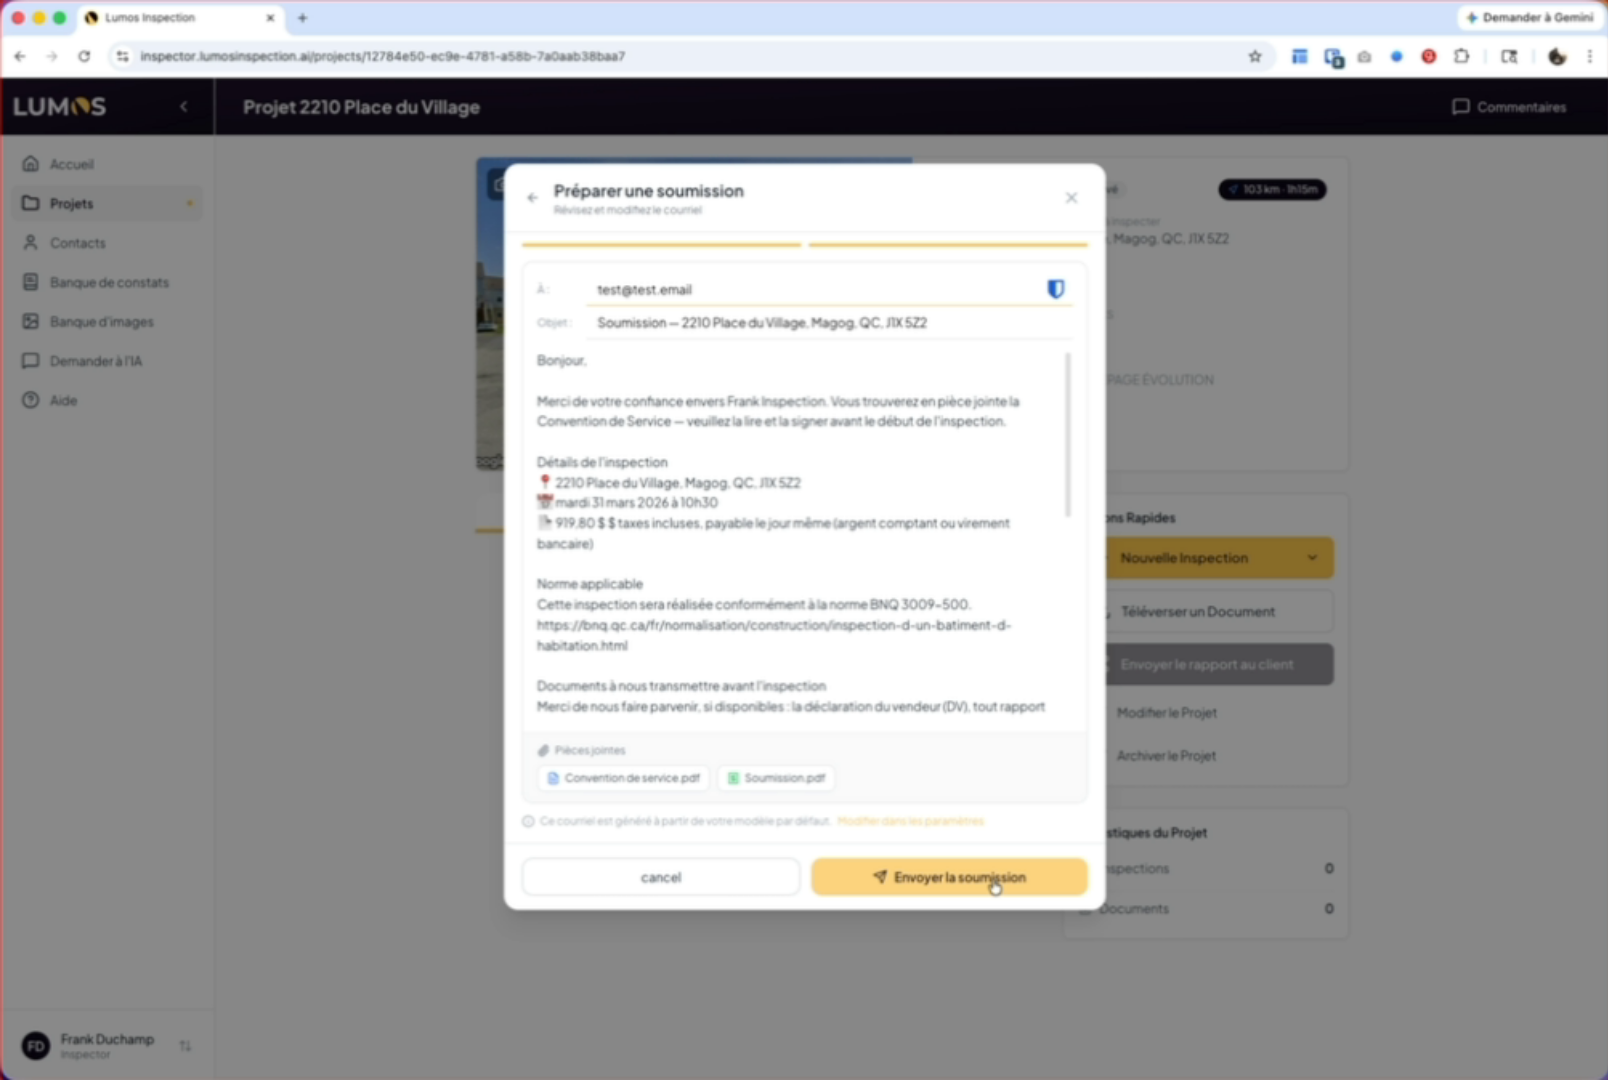
11. Enter the email address
If your client isn’t yet defined in your project, you can enter their email address directly here.

12. Inspection created automatically
When you send your proposal, an inspection is automatically created in your project.
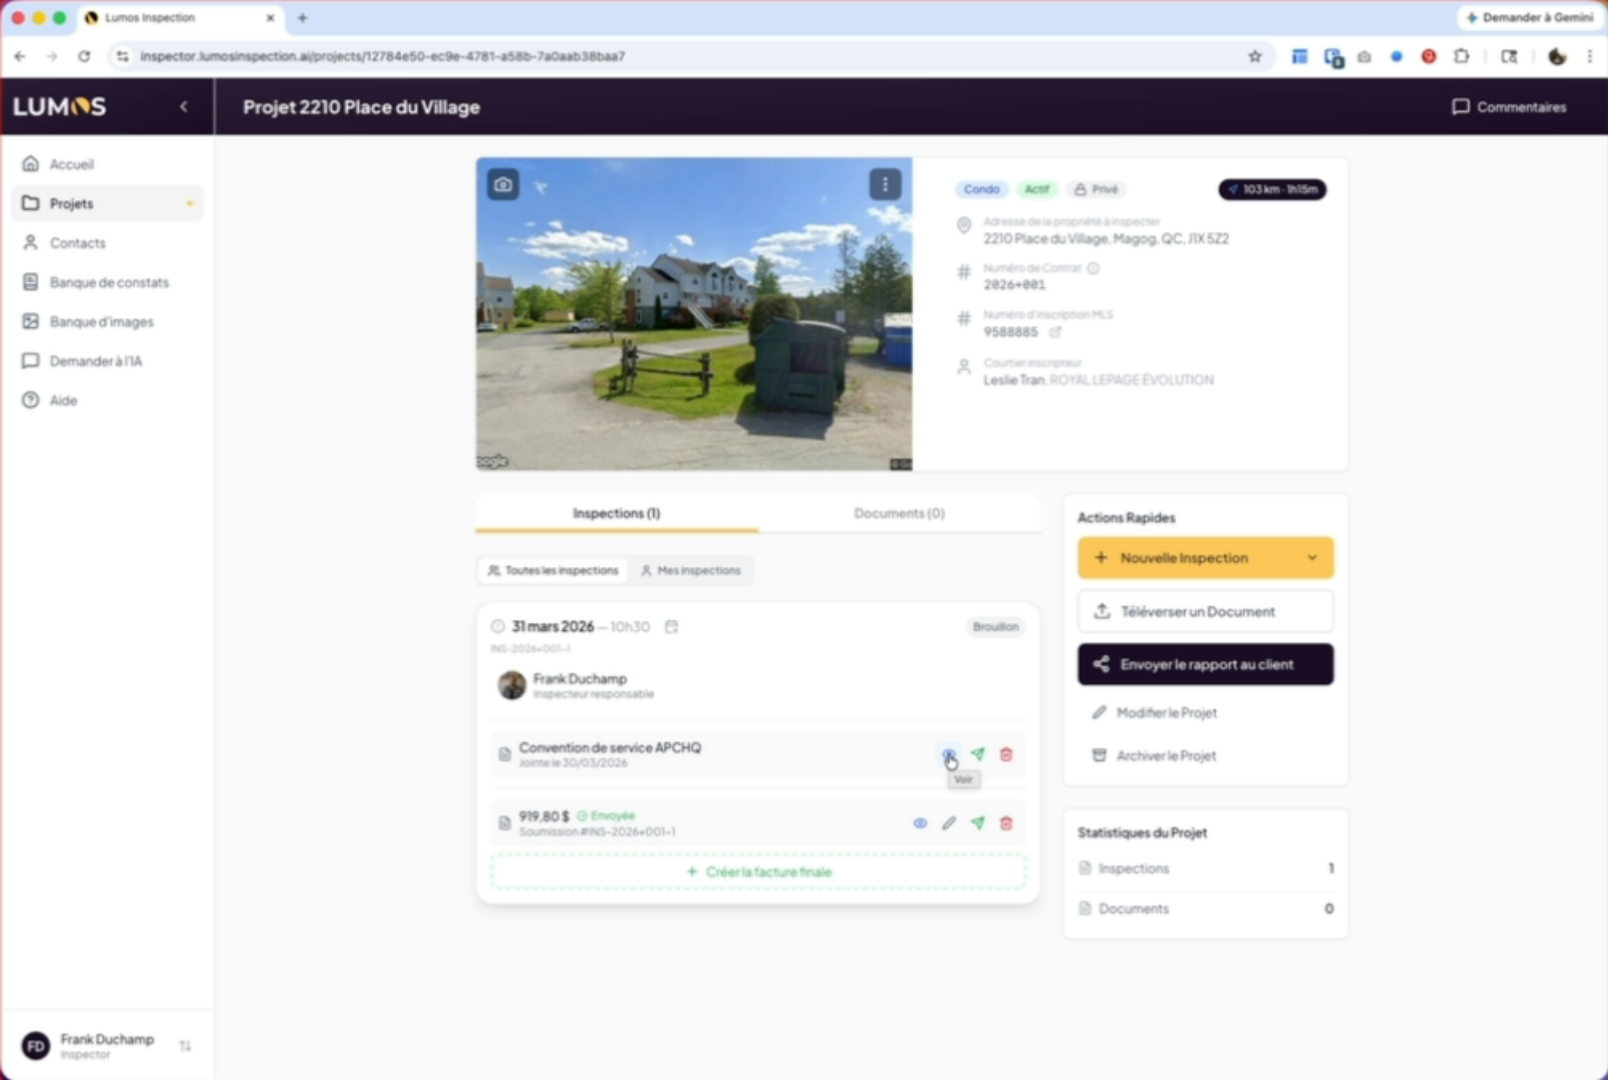
13. View the inspection contents
This inspection will contain the service agreement, the sent proposal, and the date.

14. Resend the agreement to the client
You can resend the service agreement to your client by clicking the send icon.
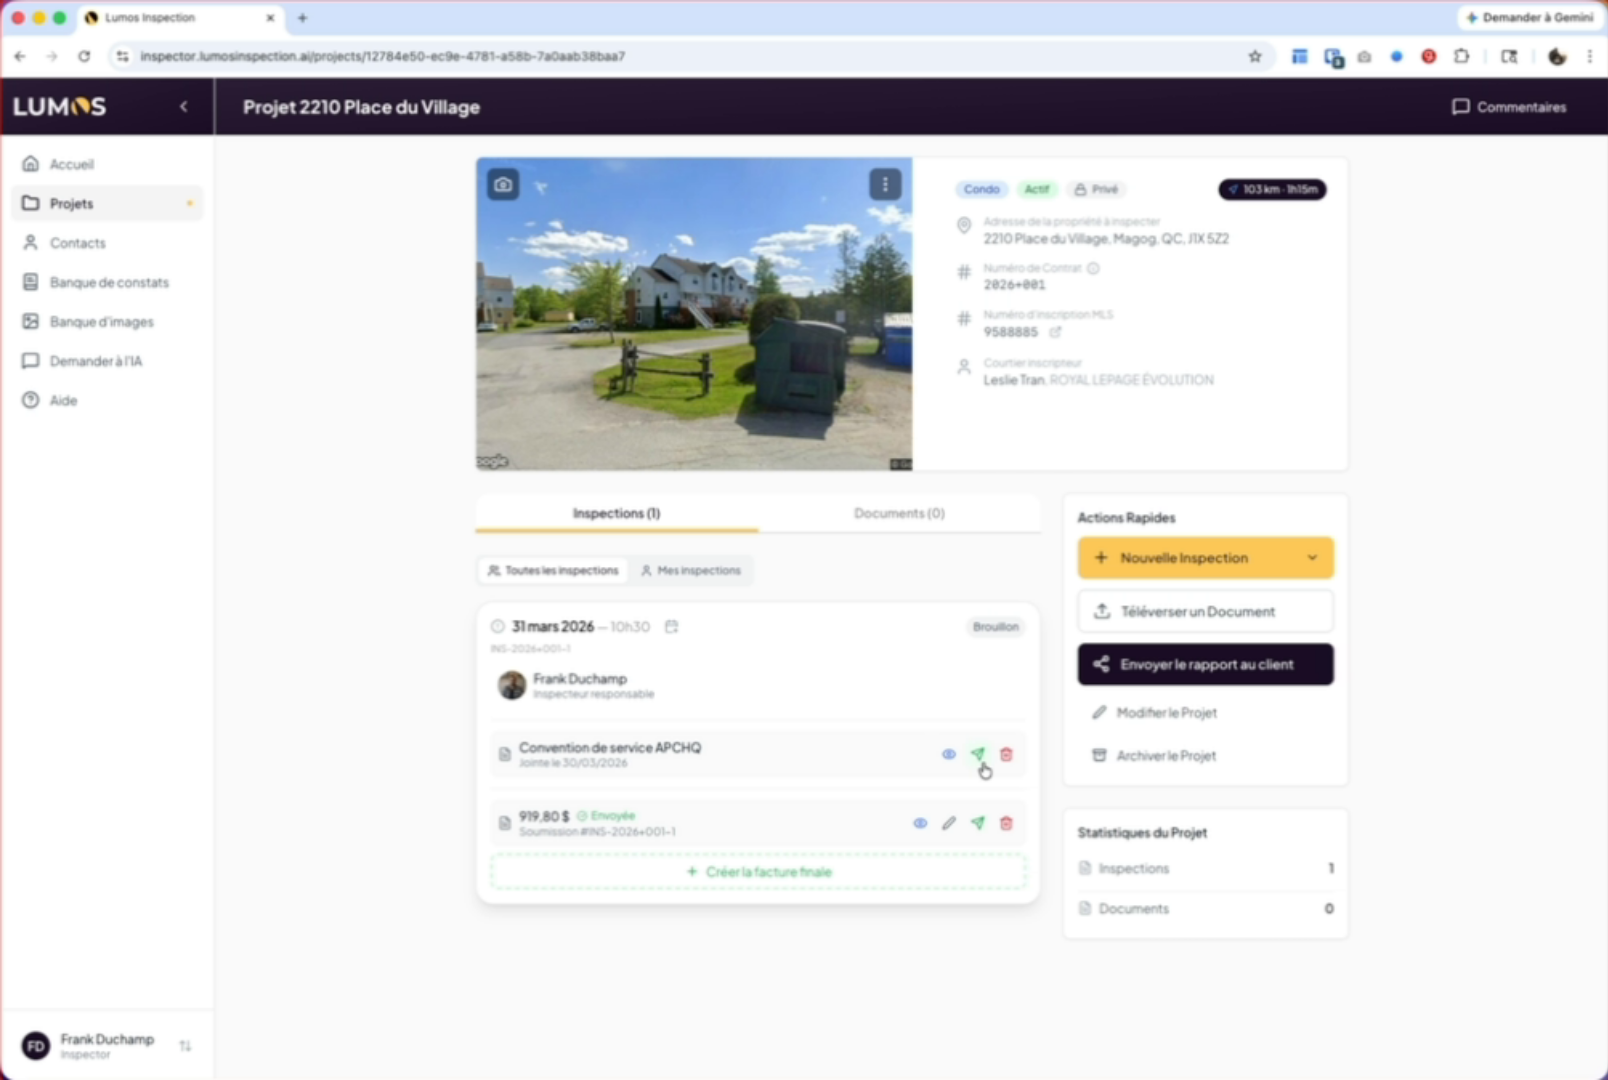
15. View or delete the agreement
You can view it by clicking the eye icon or delete it by clicking the trash icon.
16. Conclusion
It’s as simple as that. If you’d like to learn how to configure your APCHQ member number, please check our other video on this topic.

You’ve configured the APCHQ service agreement in Lumos, prepared and sent a proposal, and managed associated inspections. You can now resend, view, or delete the agreement as needed.