Configure and Manage Inspection Tools
This tutorial guides you through configuring and managing the tools used during your inspection in the Lumos application. You will learn how to select, add, and customize the tools needed for your inspections.
Visit inspector.lumos.property
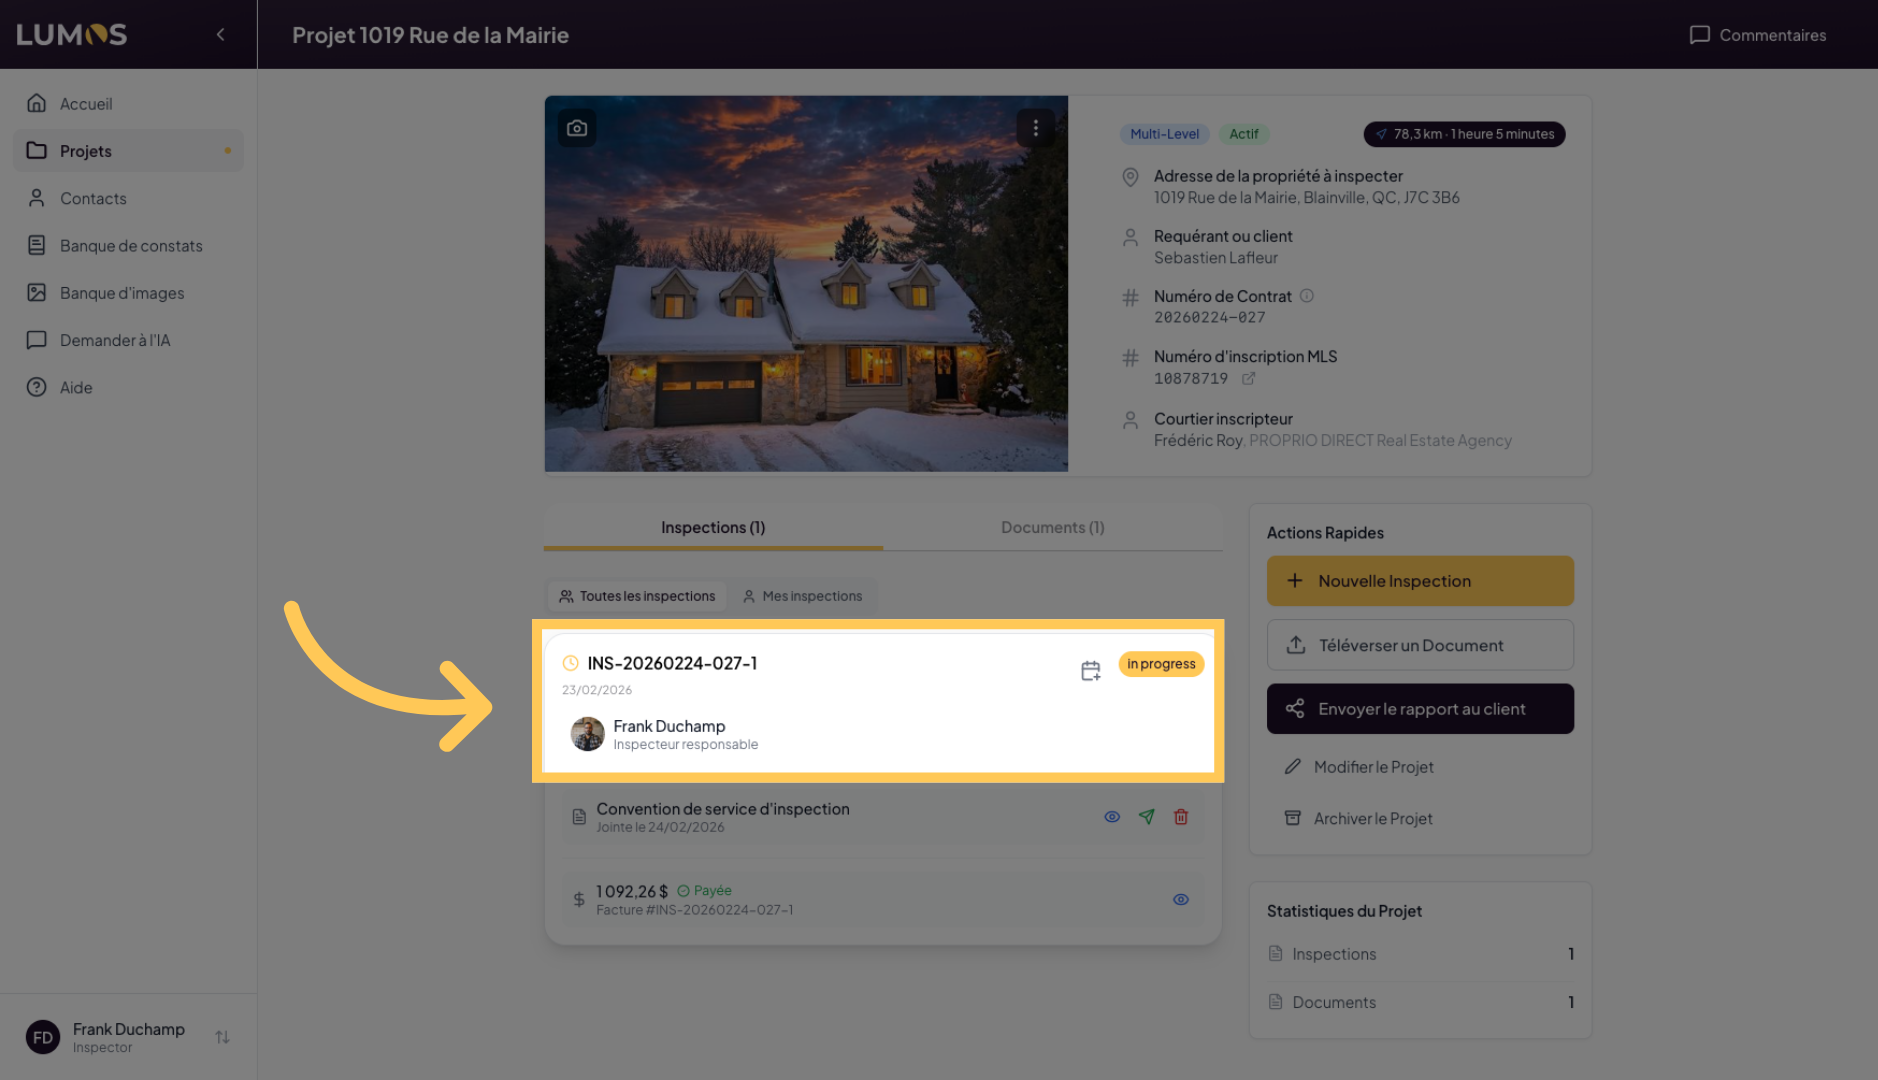
1. Access the Specific Inspection
Click on the inspection in question to open the corresponding report.
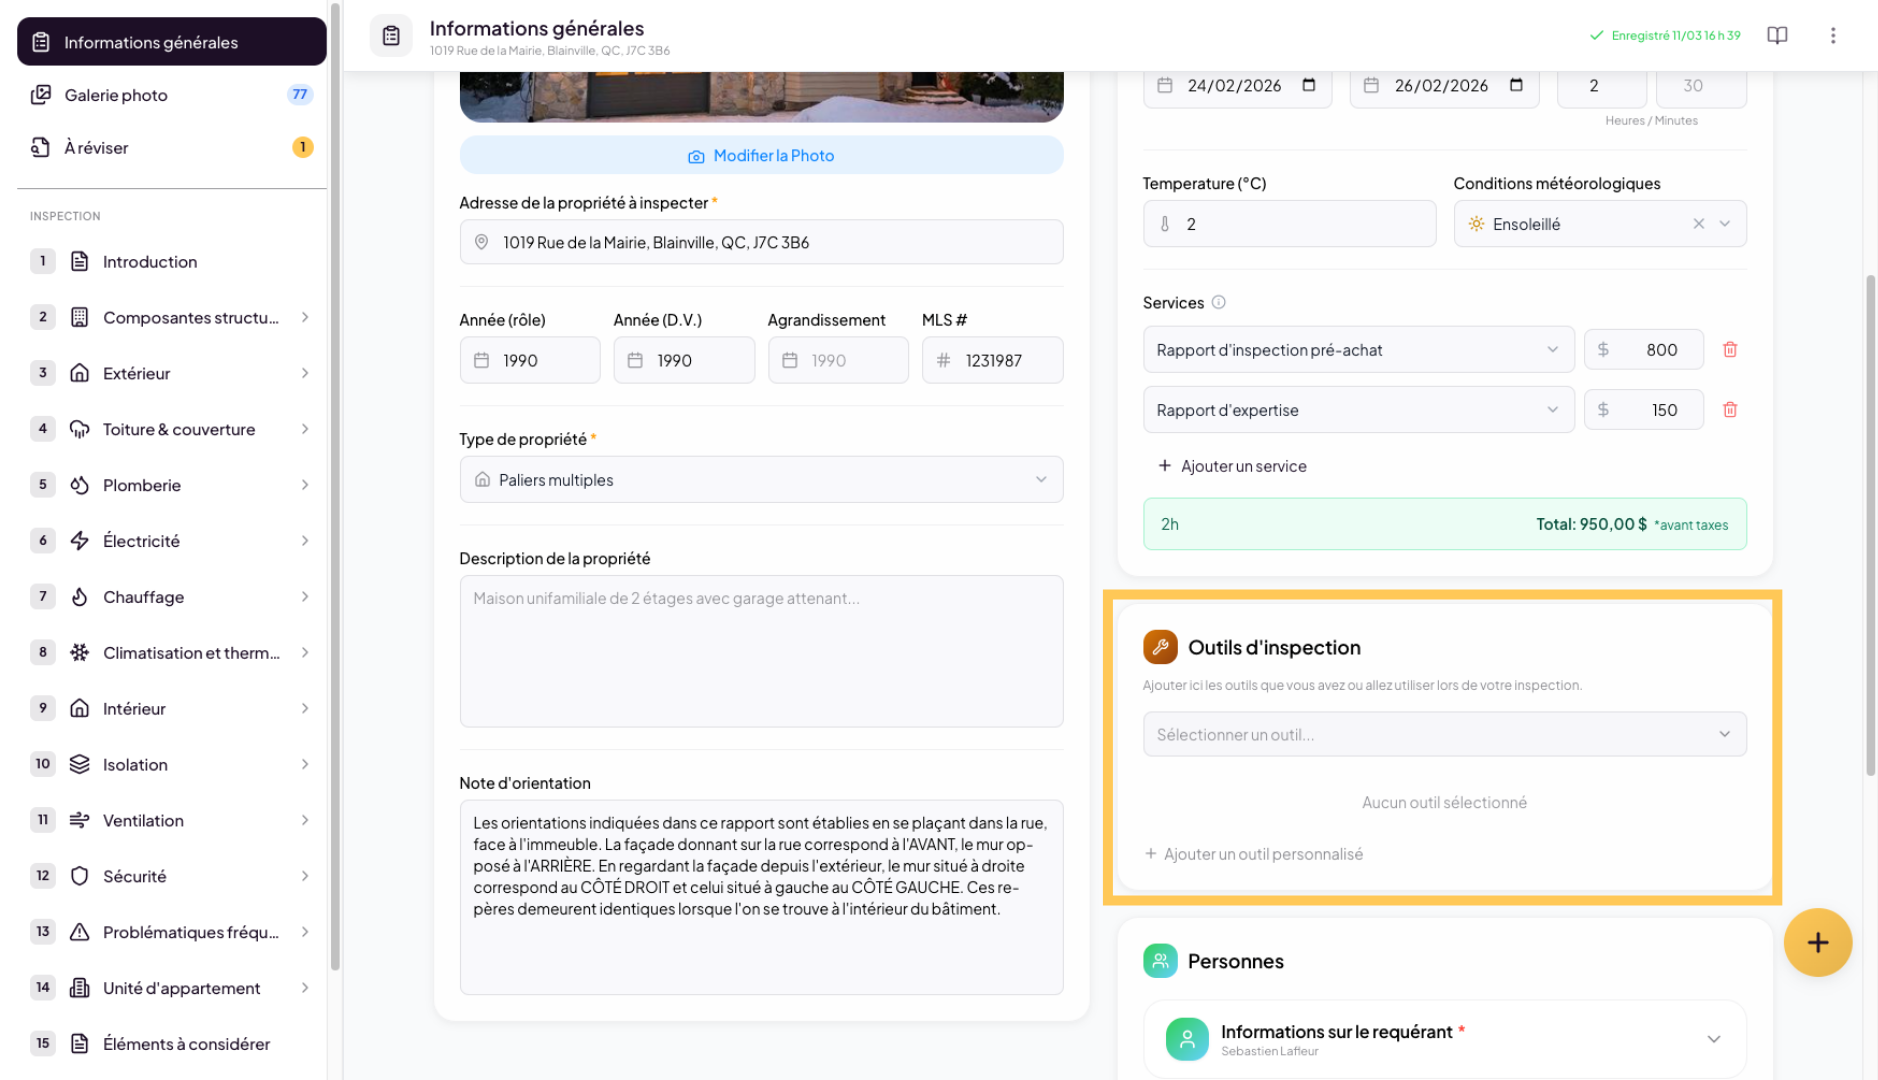
2. Discover the Tools Section
In the “General Information” tab, you will find an “Inspection Tools” section, which allows you to configure the list of tools used during the inspection.
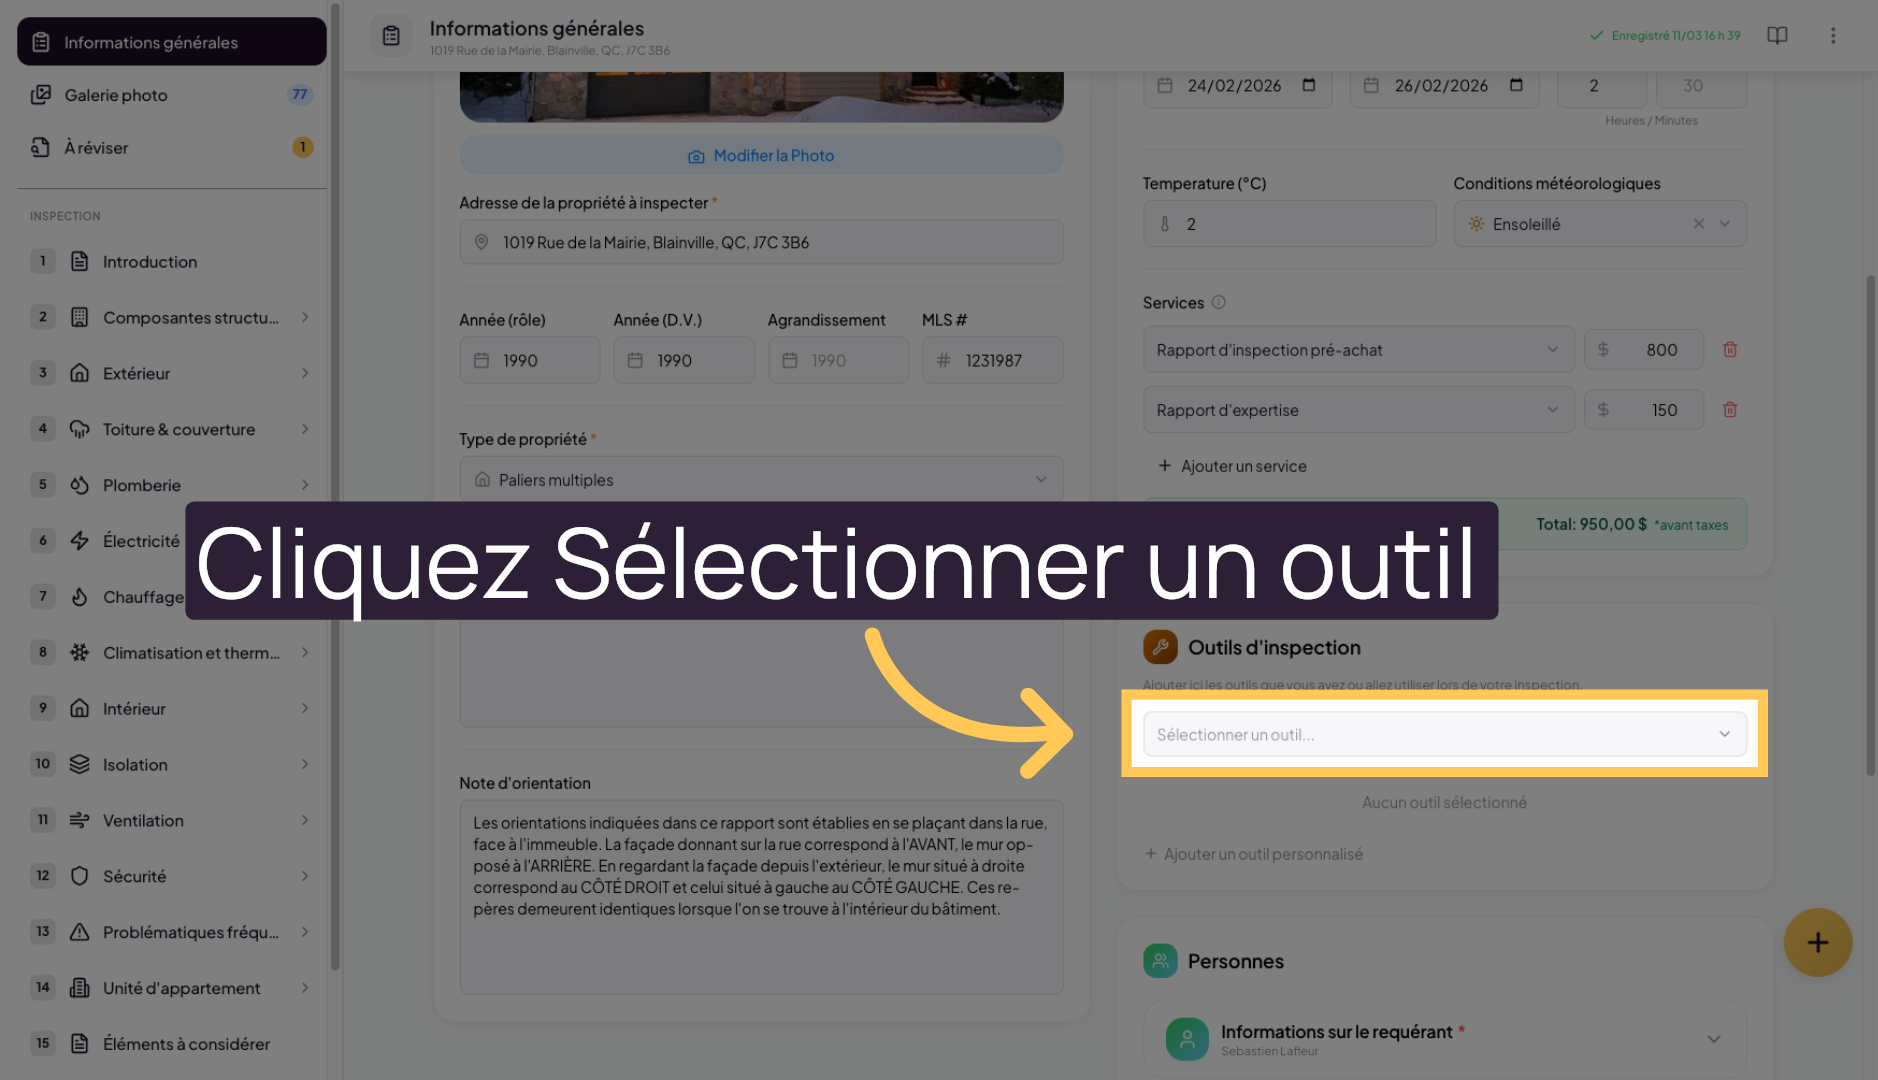
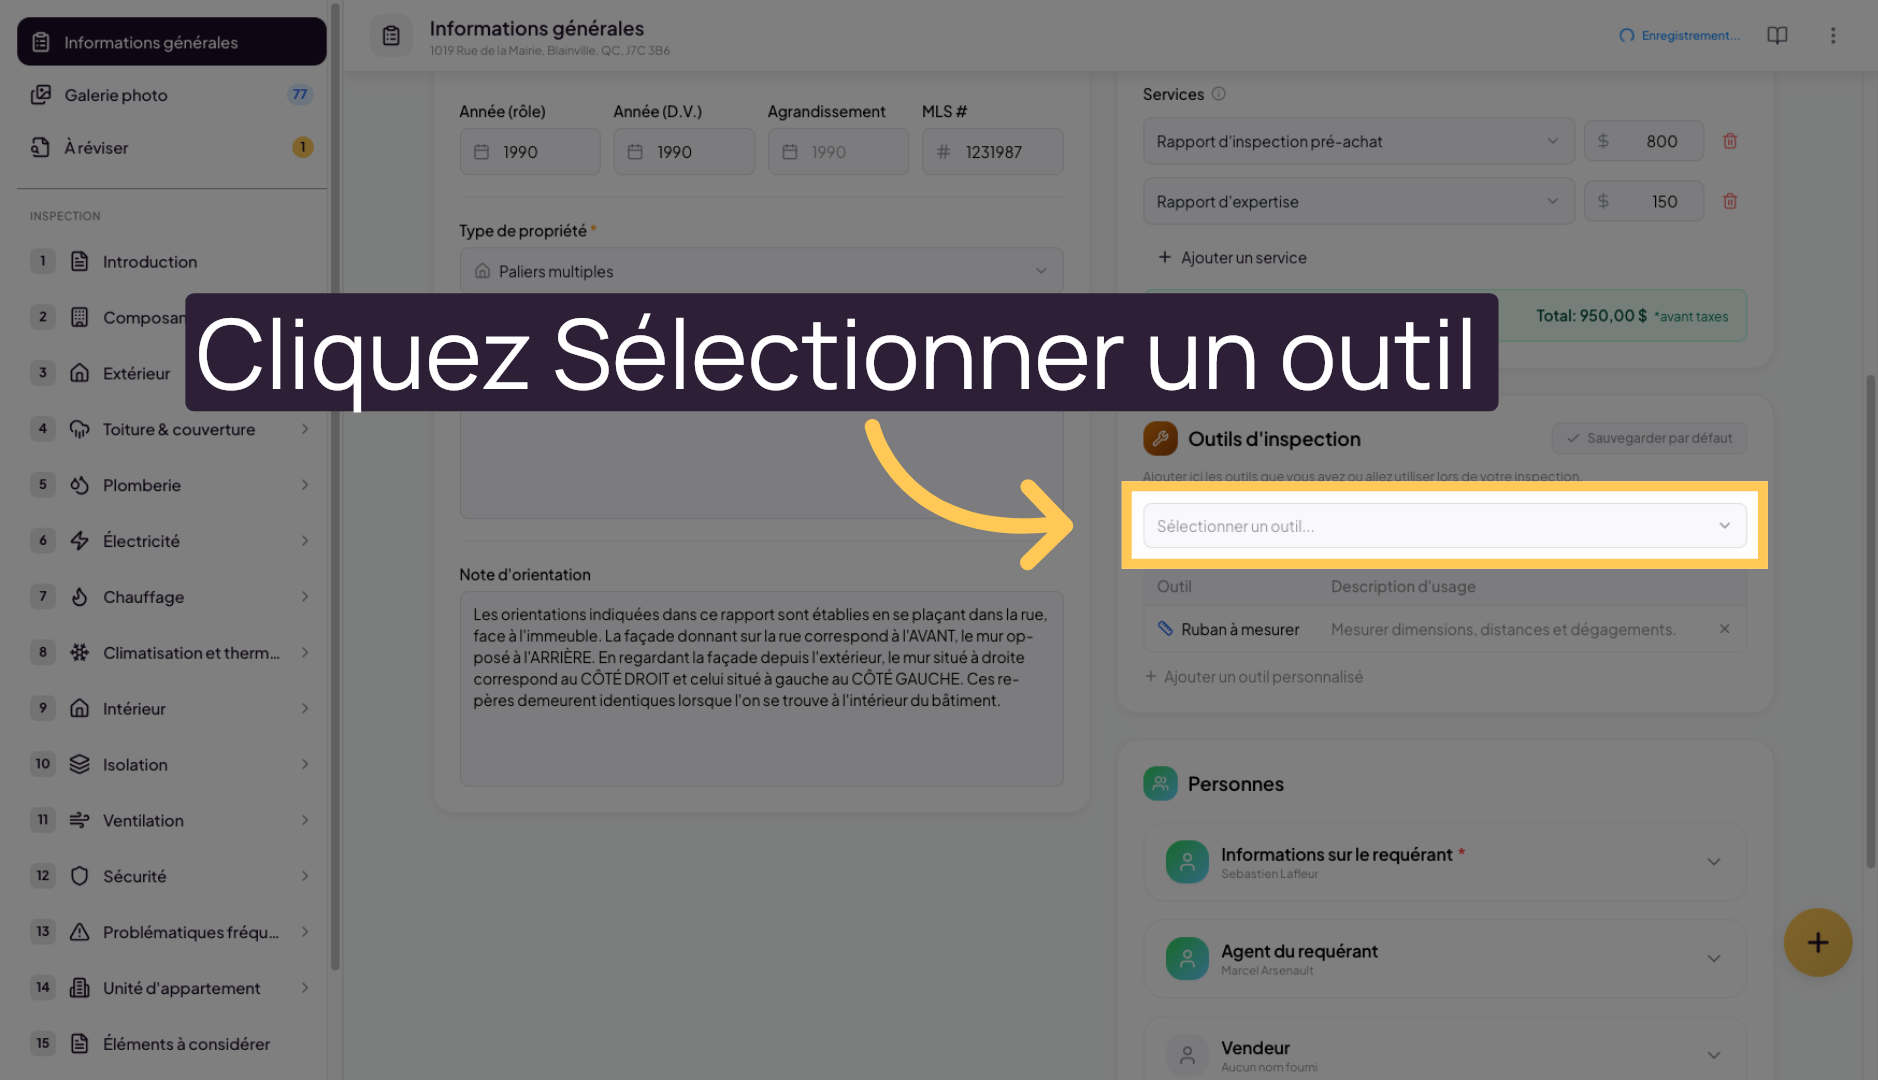
3. Open the Tool Selector
To add a tool to the list, click on “Select a tool…” to display the available tools.
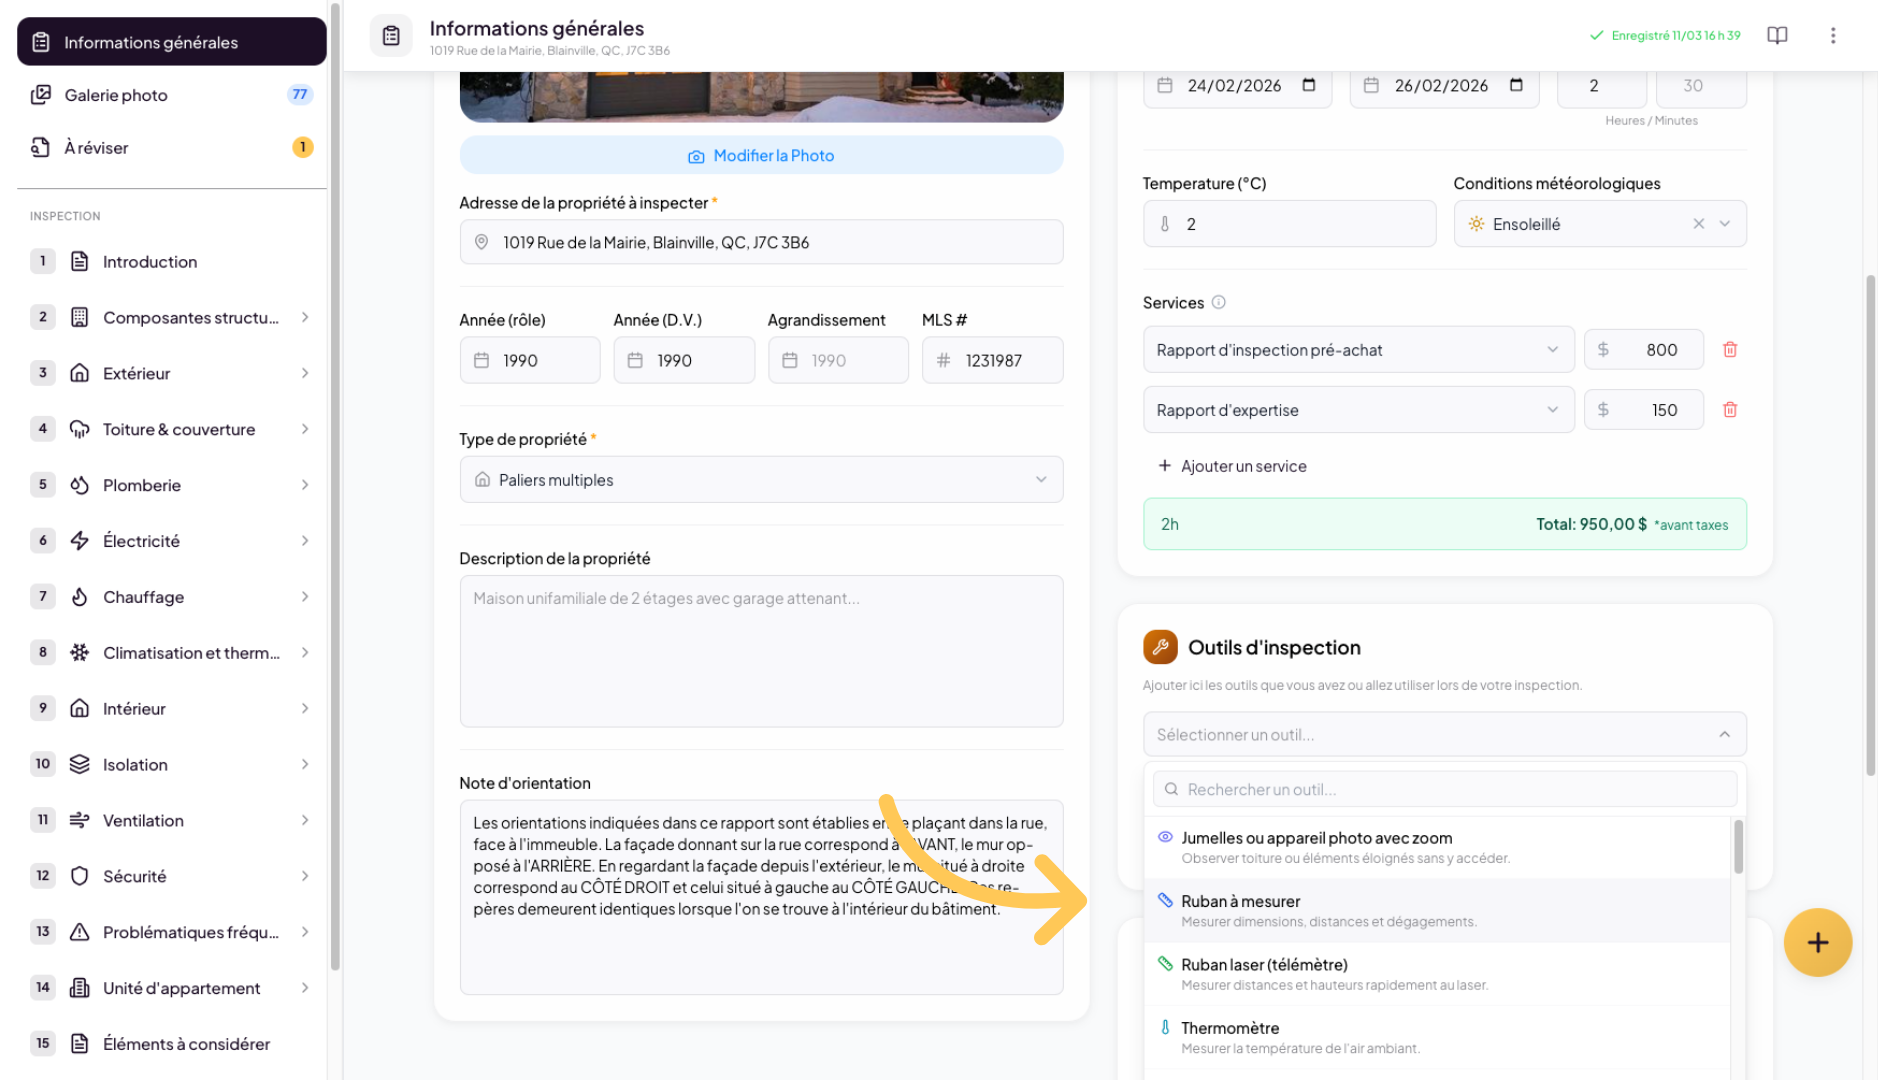
4. Choose the Measuring Tape
Select the tools you want to add to the list of tools you actually used during your inspection.
5. Reopen the Tool Selector
Open the “Select a tool…” list again to add another tool.
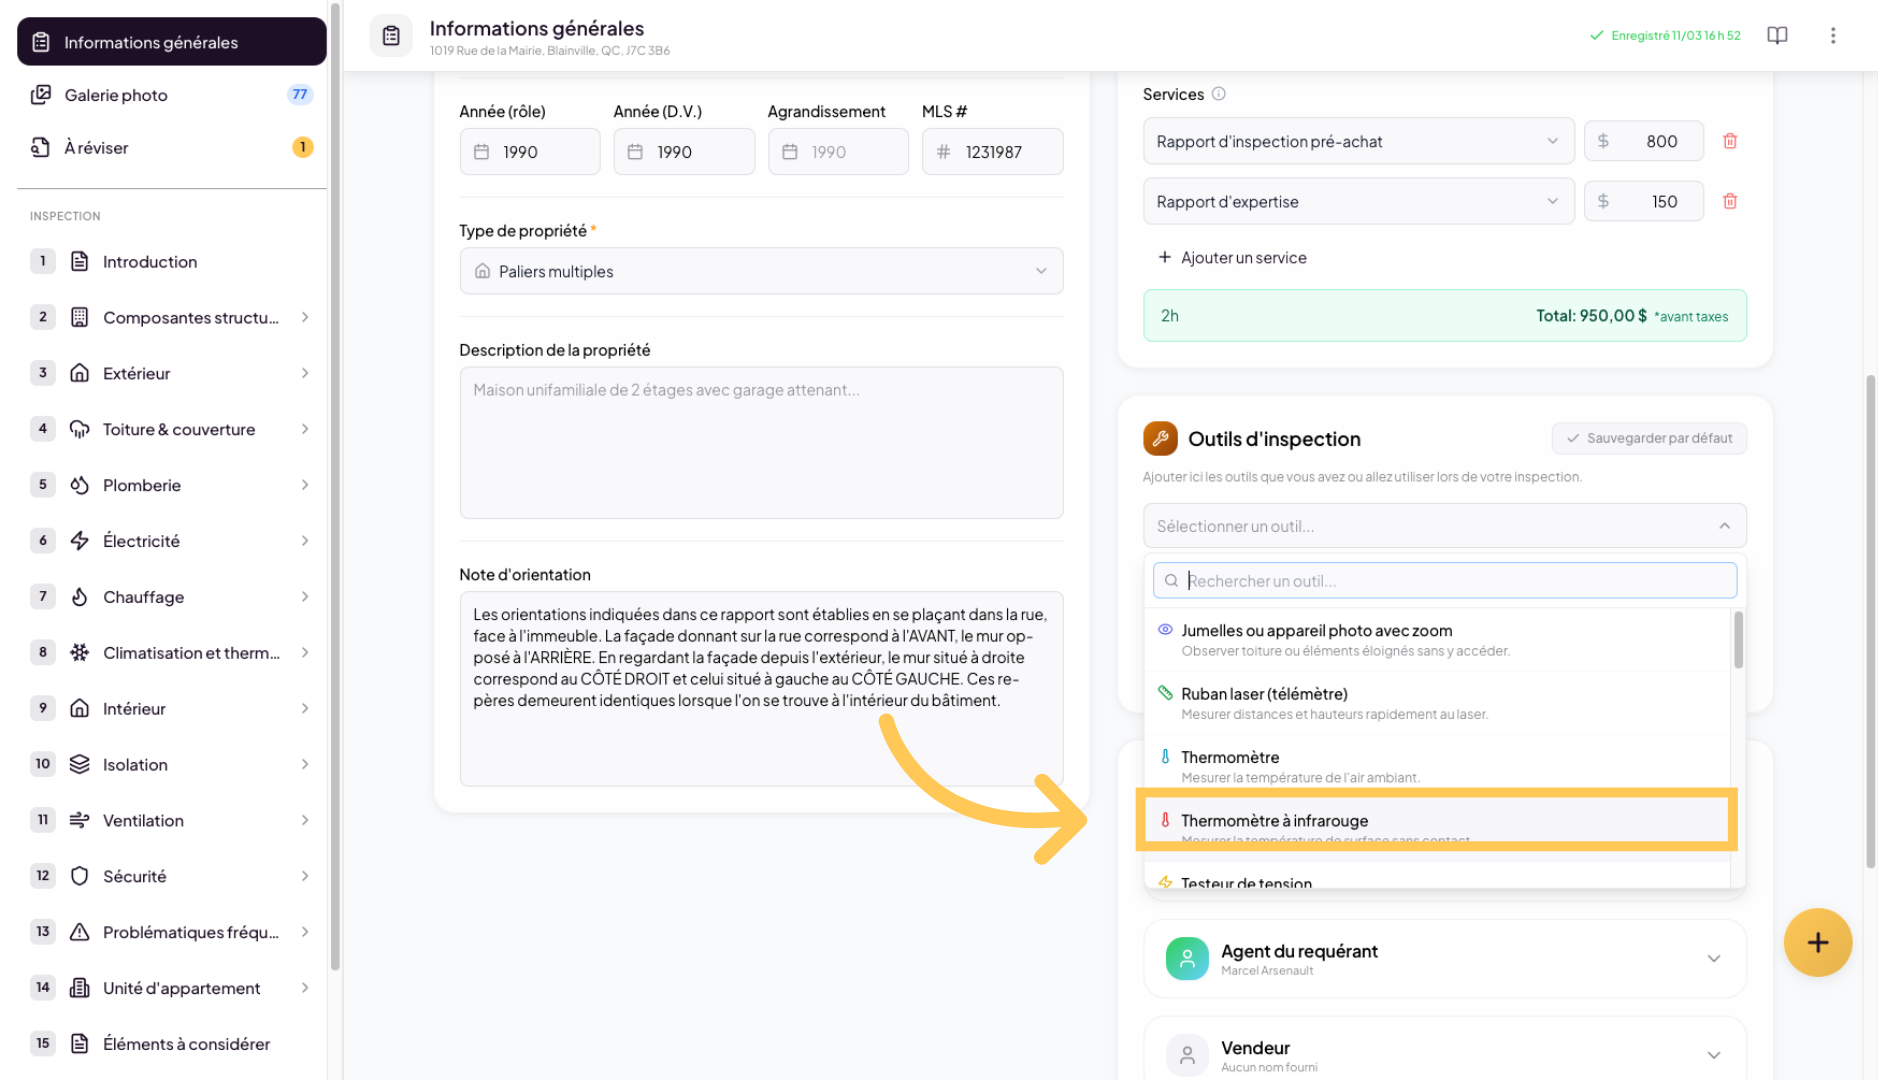
6. Select the Thermometer
Click on “Infrared Thermometer” for example to add it to your tool list.
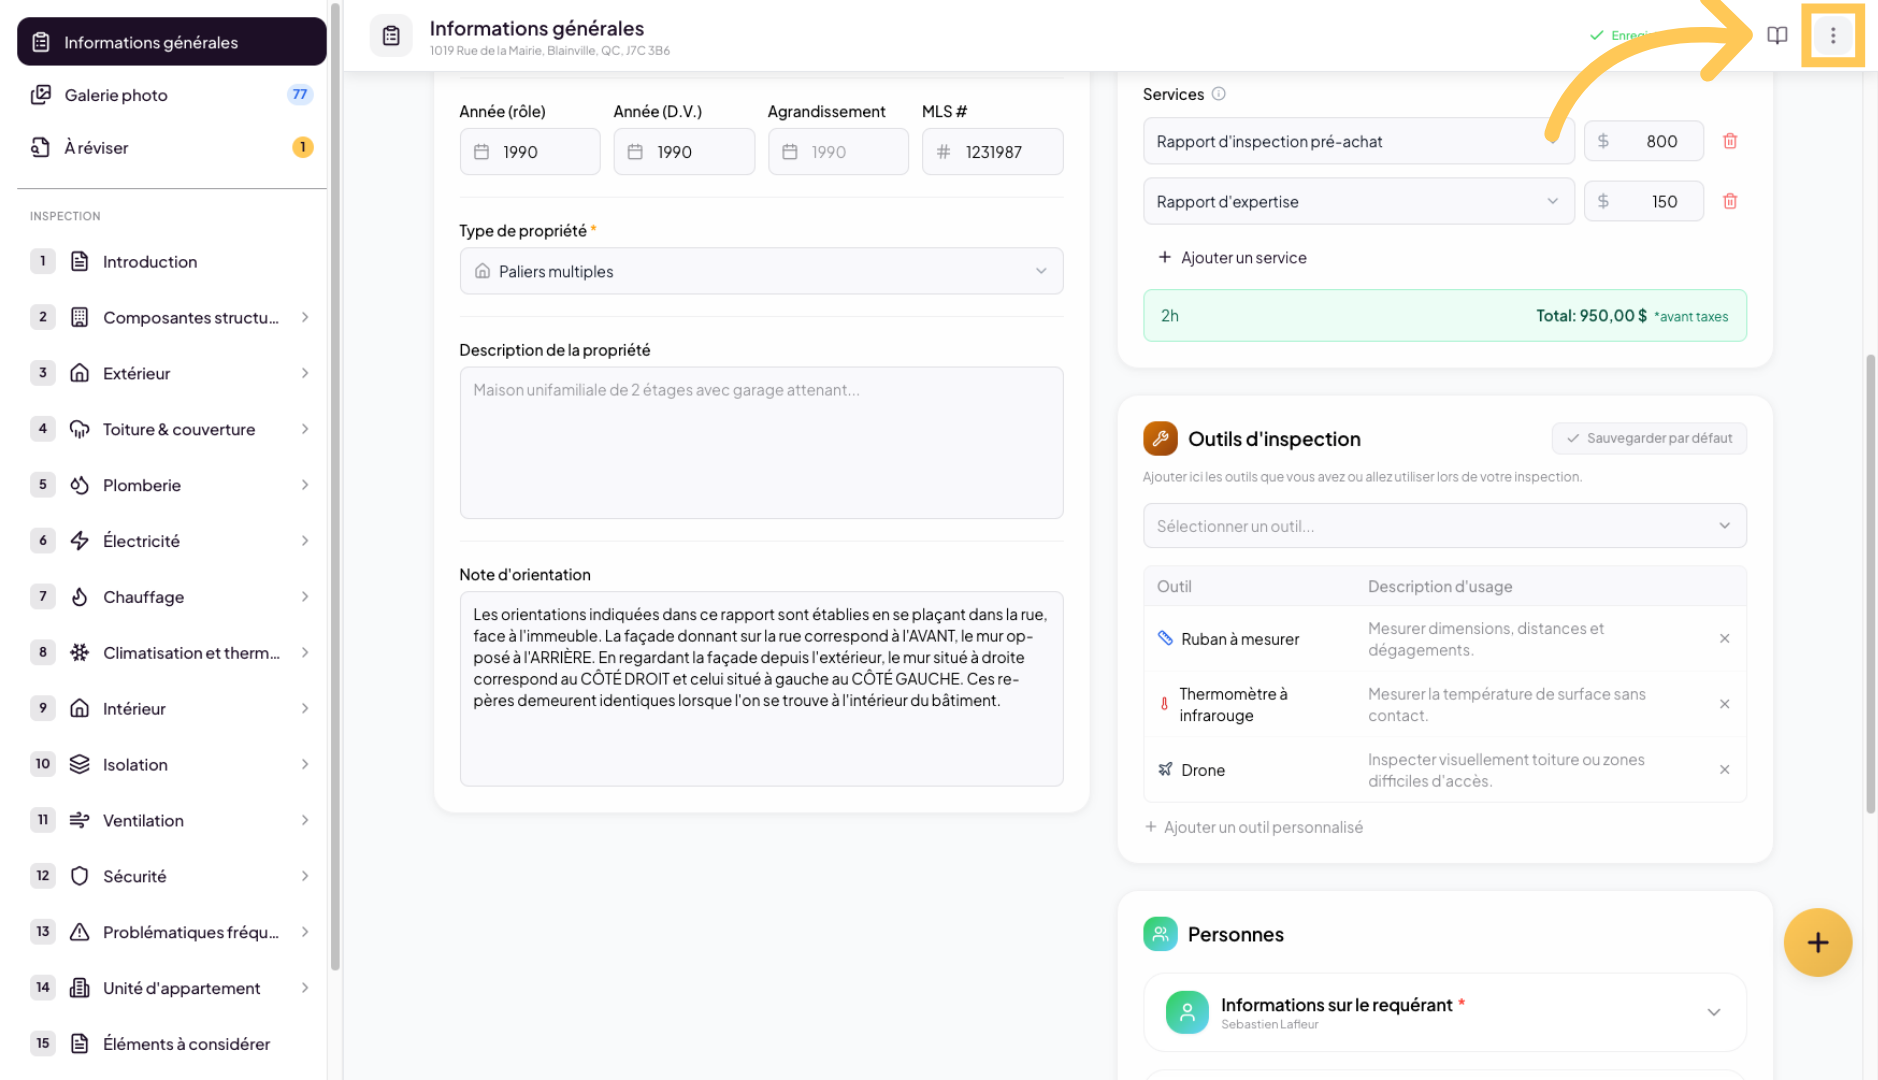
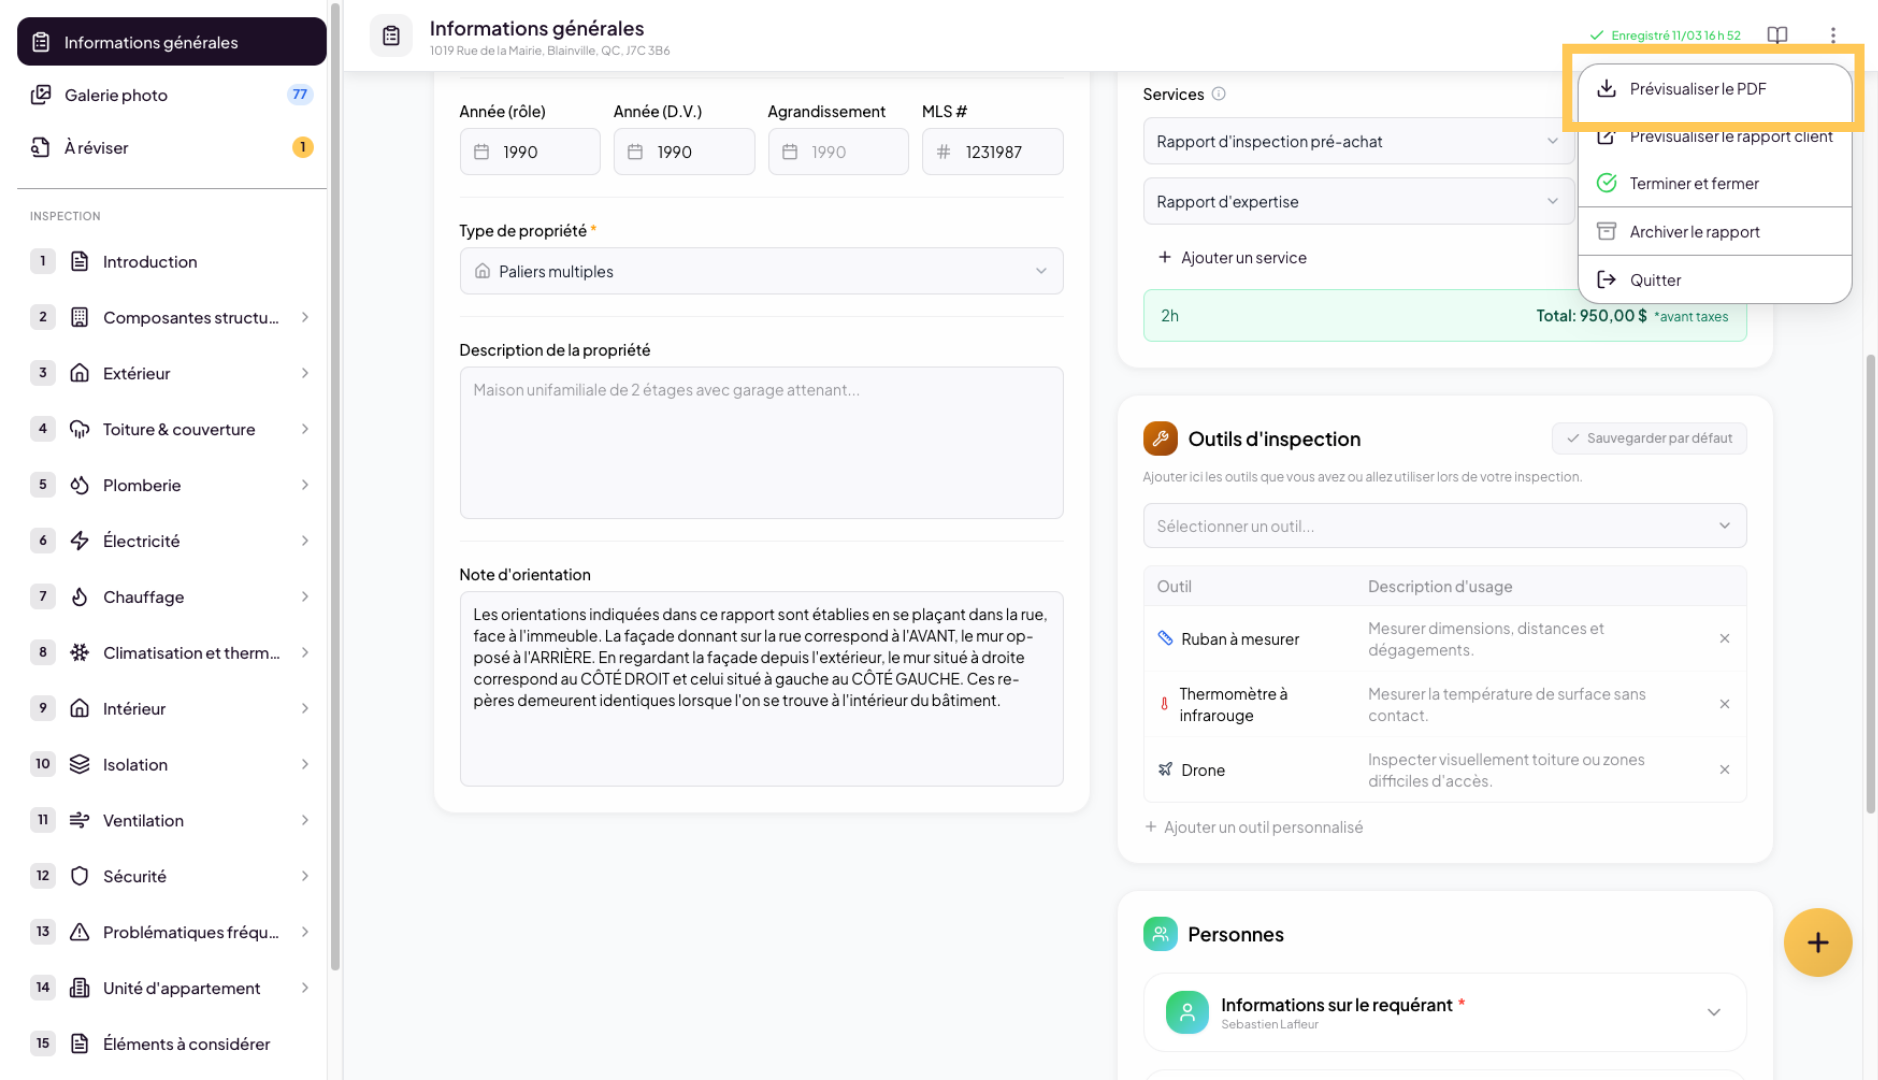
7. Preview the PDF
Whenever you wish, you can click on the three-dot menu in the top-right corner to preview the PDF report.
8. Open the PDF
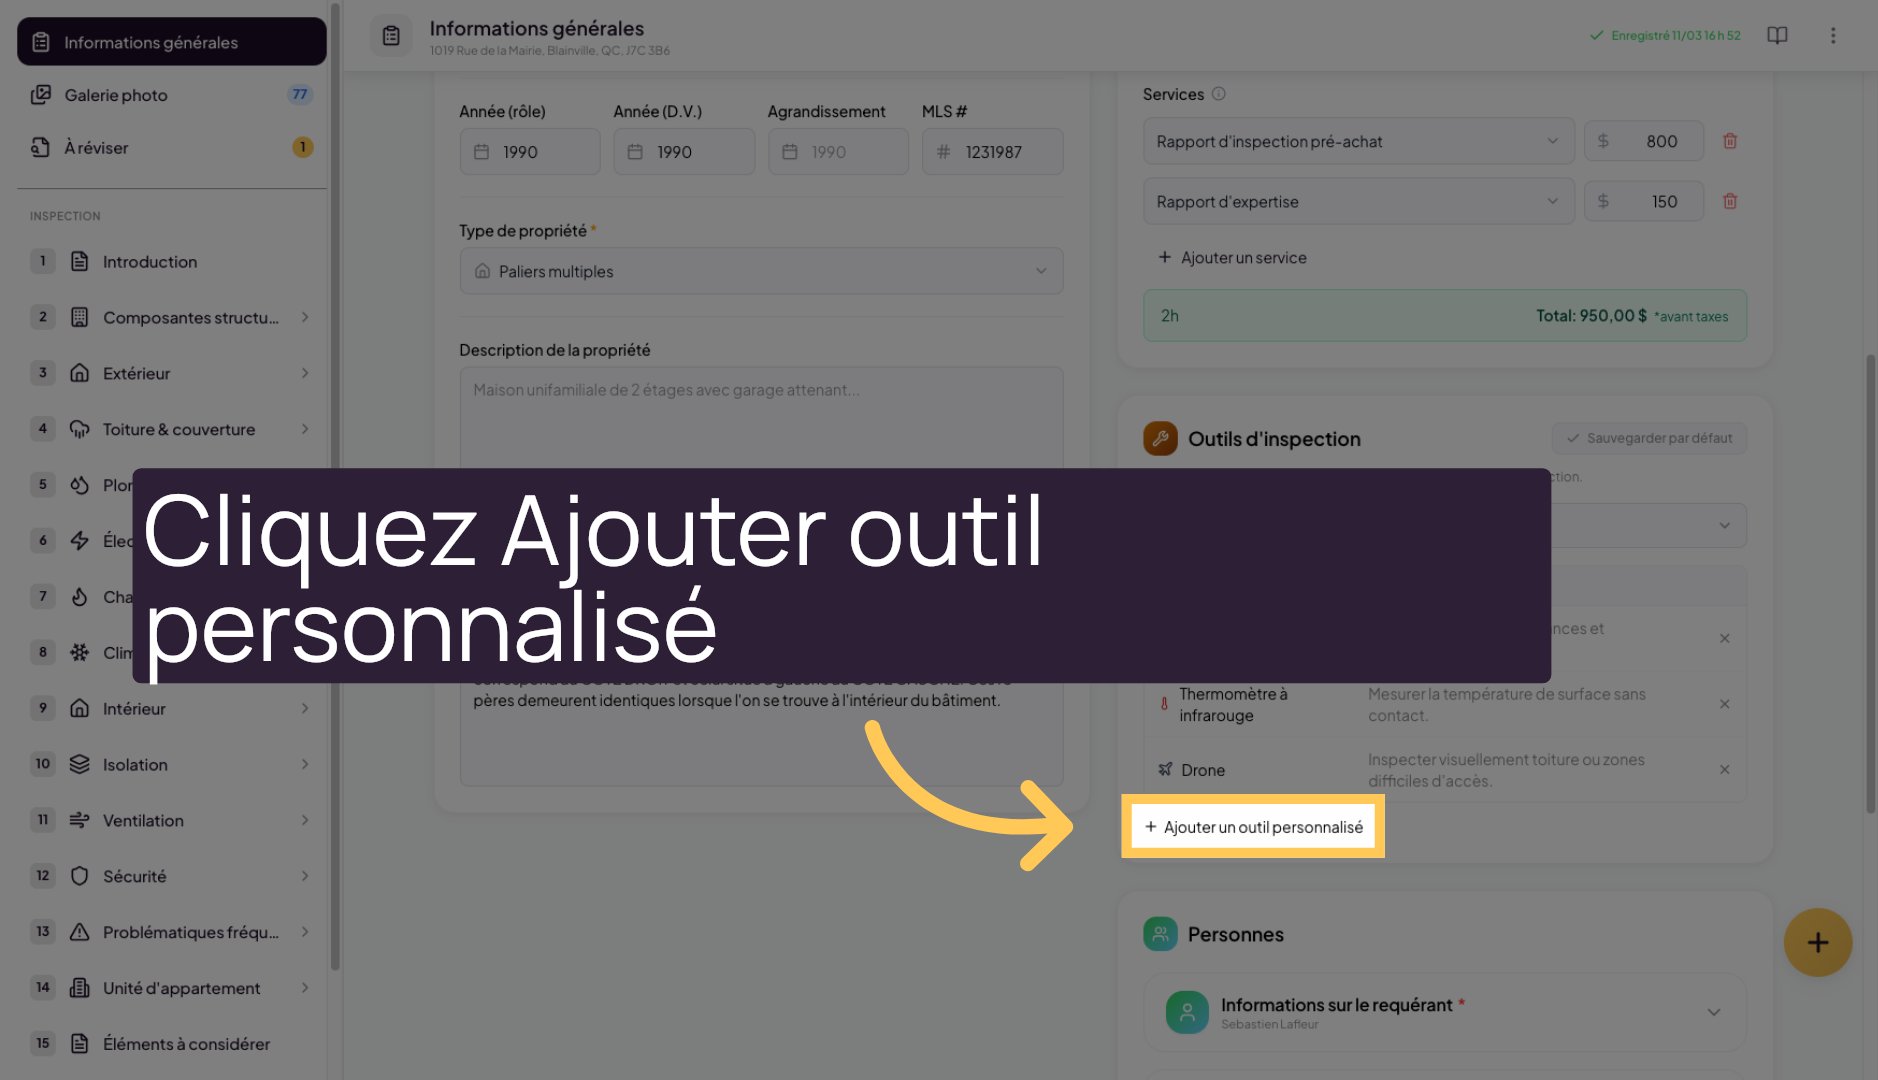
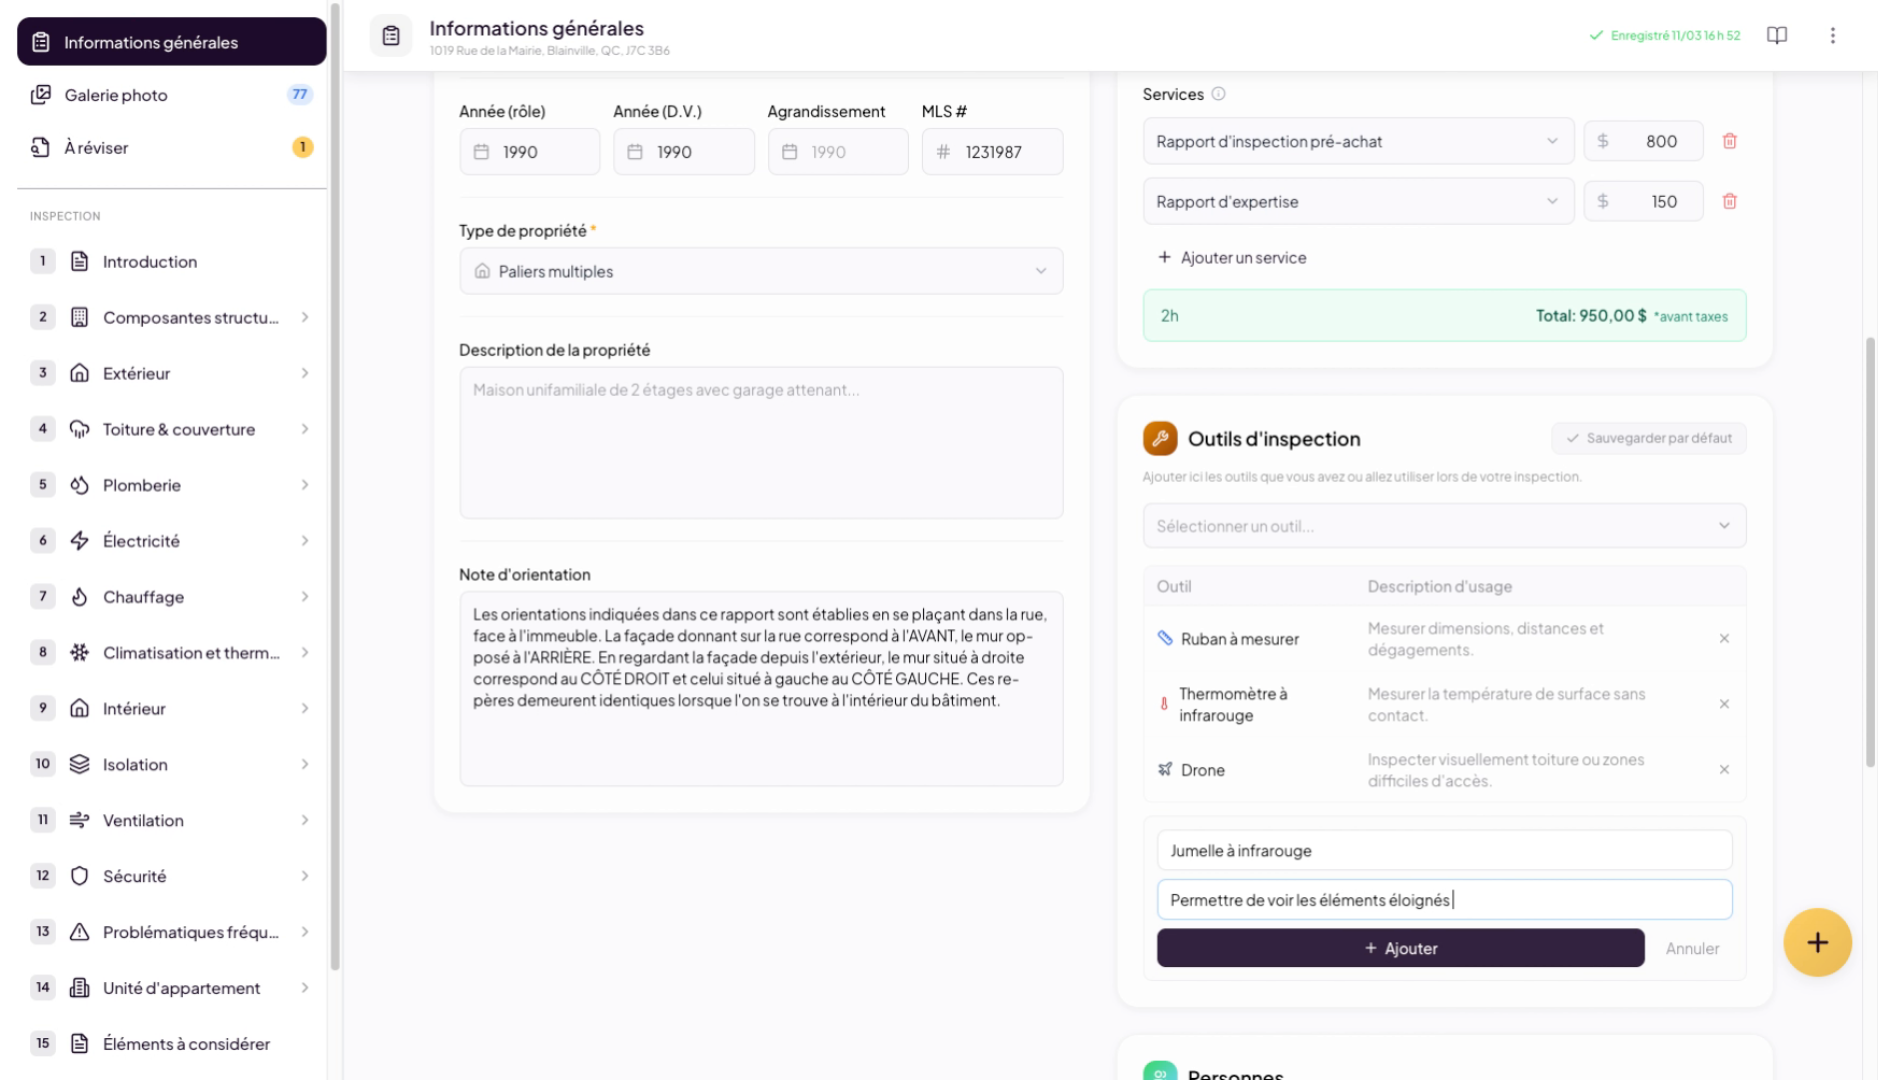
9. Add a Custom Tool
If you wish, you can also click on “Add a custom tool” to create a new tool tailored to your needs.
10. Name the Custom Tool
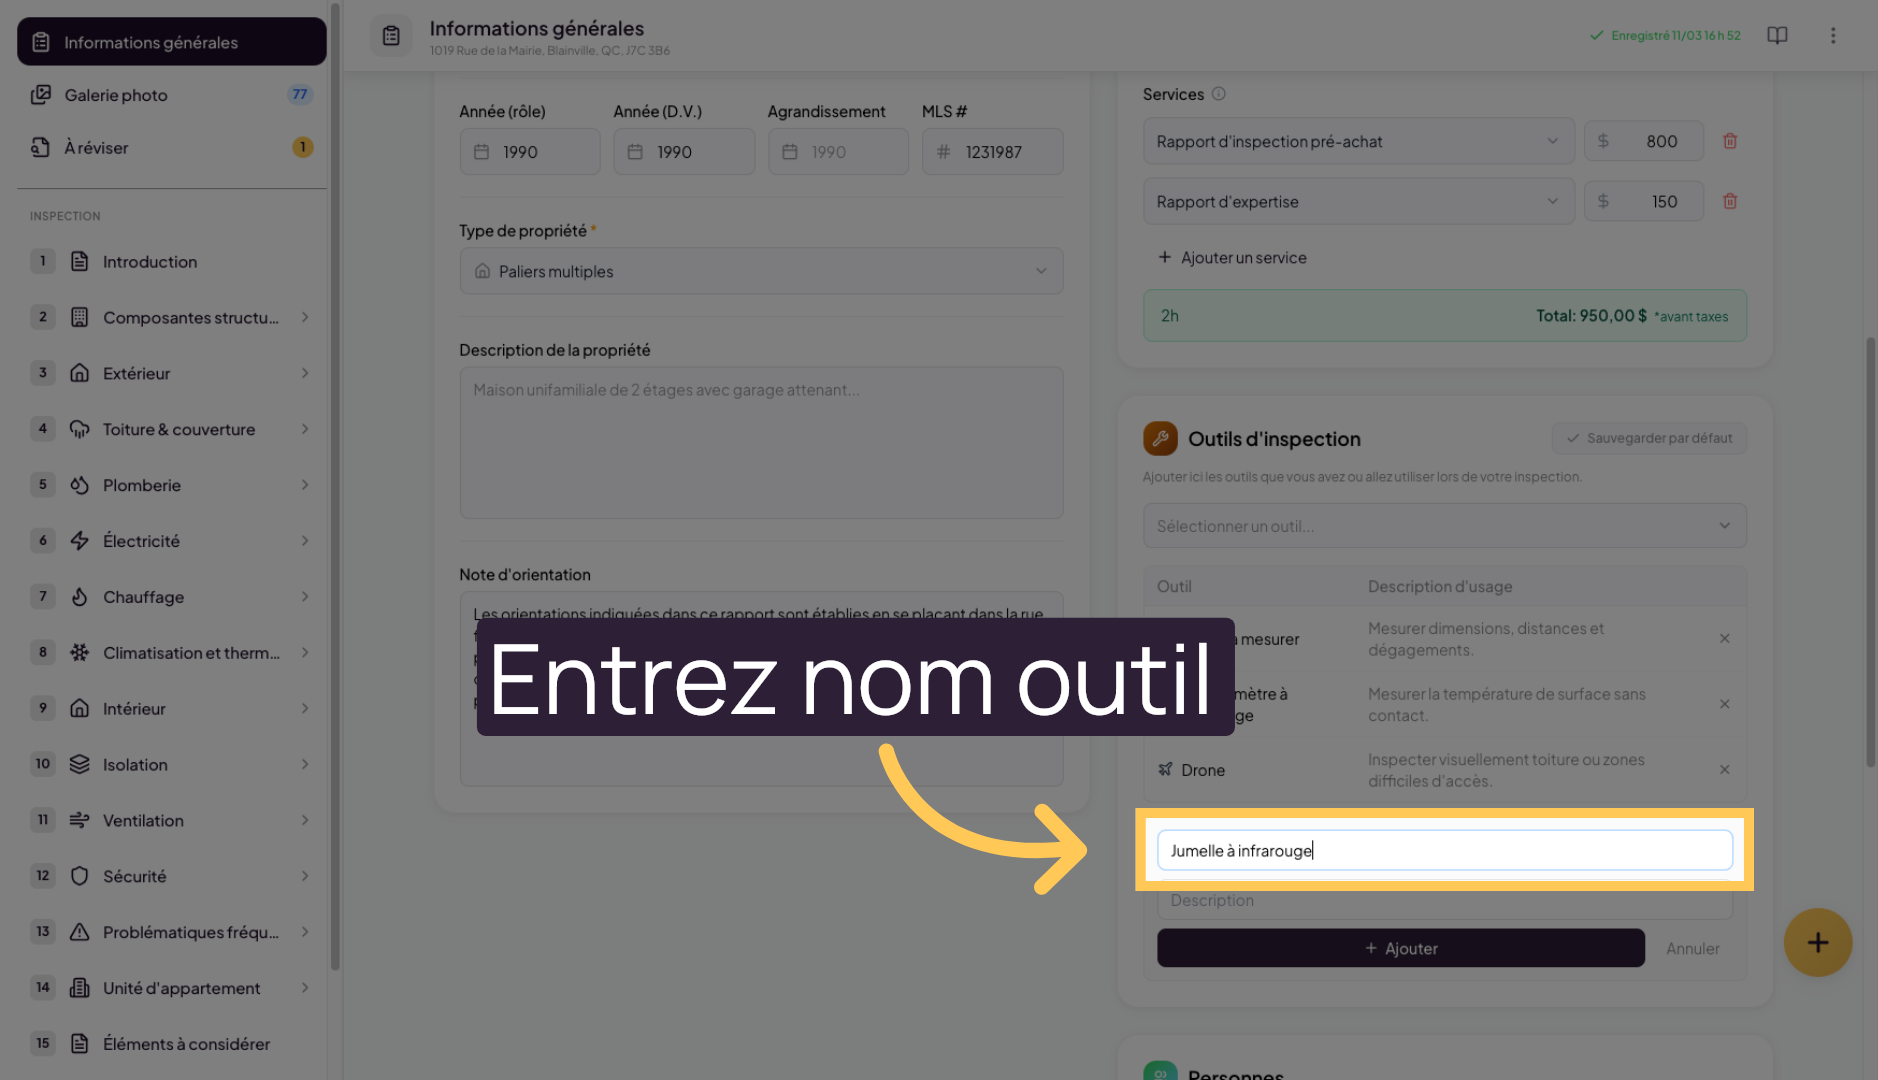
Click on “Tool name” to enter the name of your new tool.
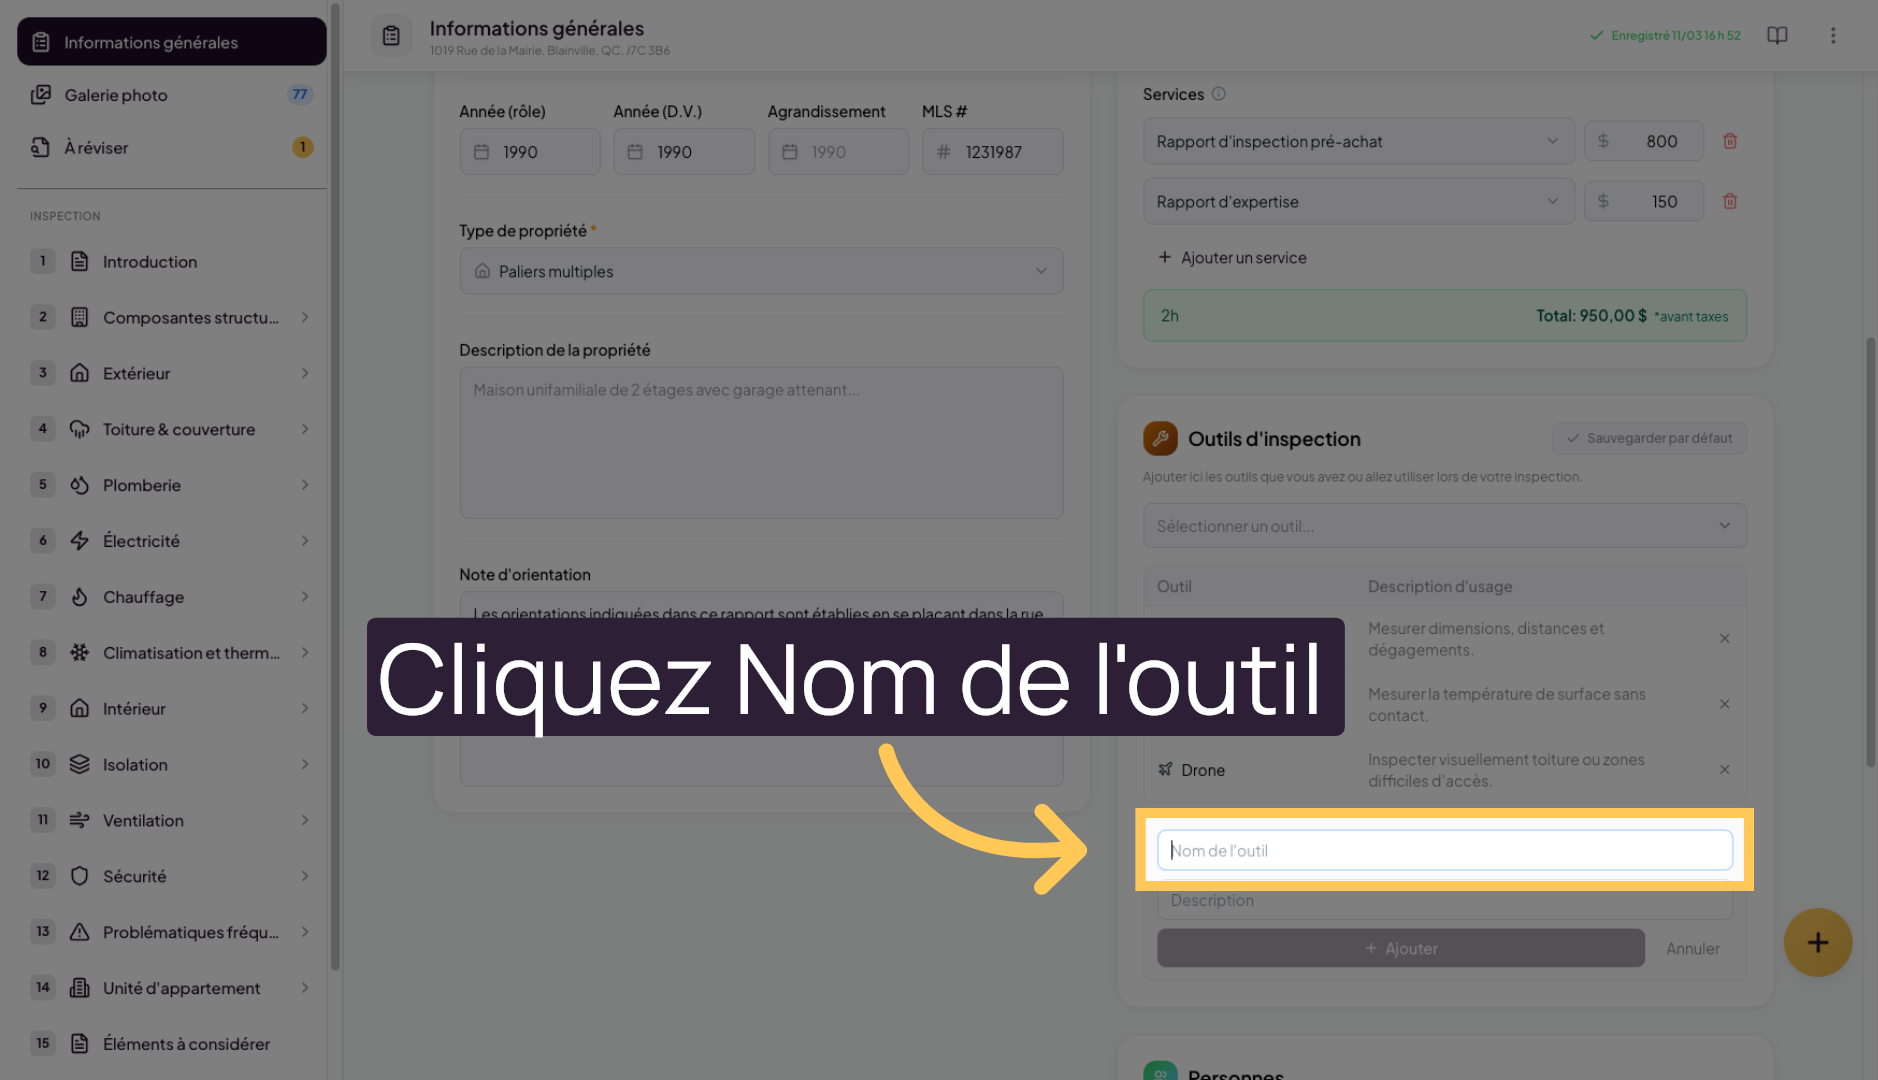
11. Enter the Tool Name
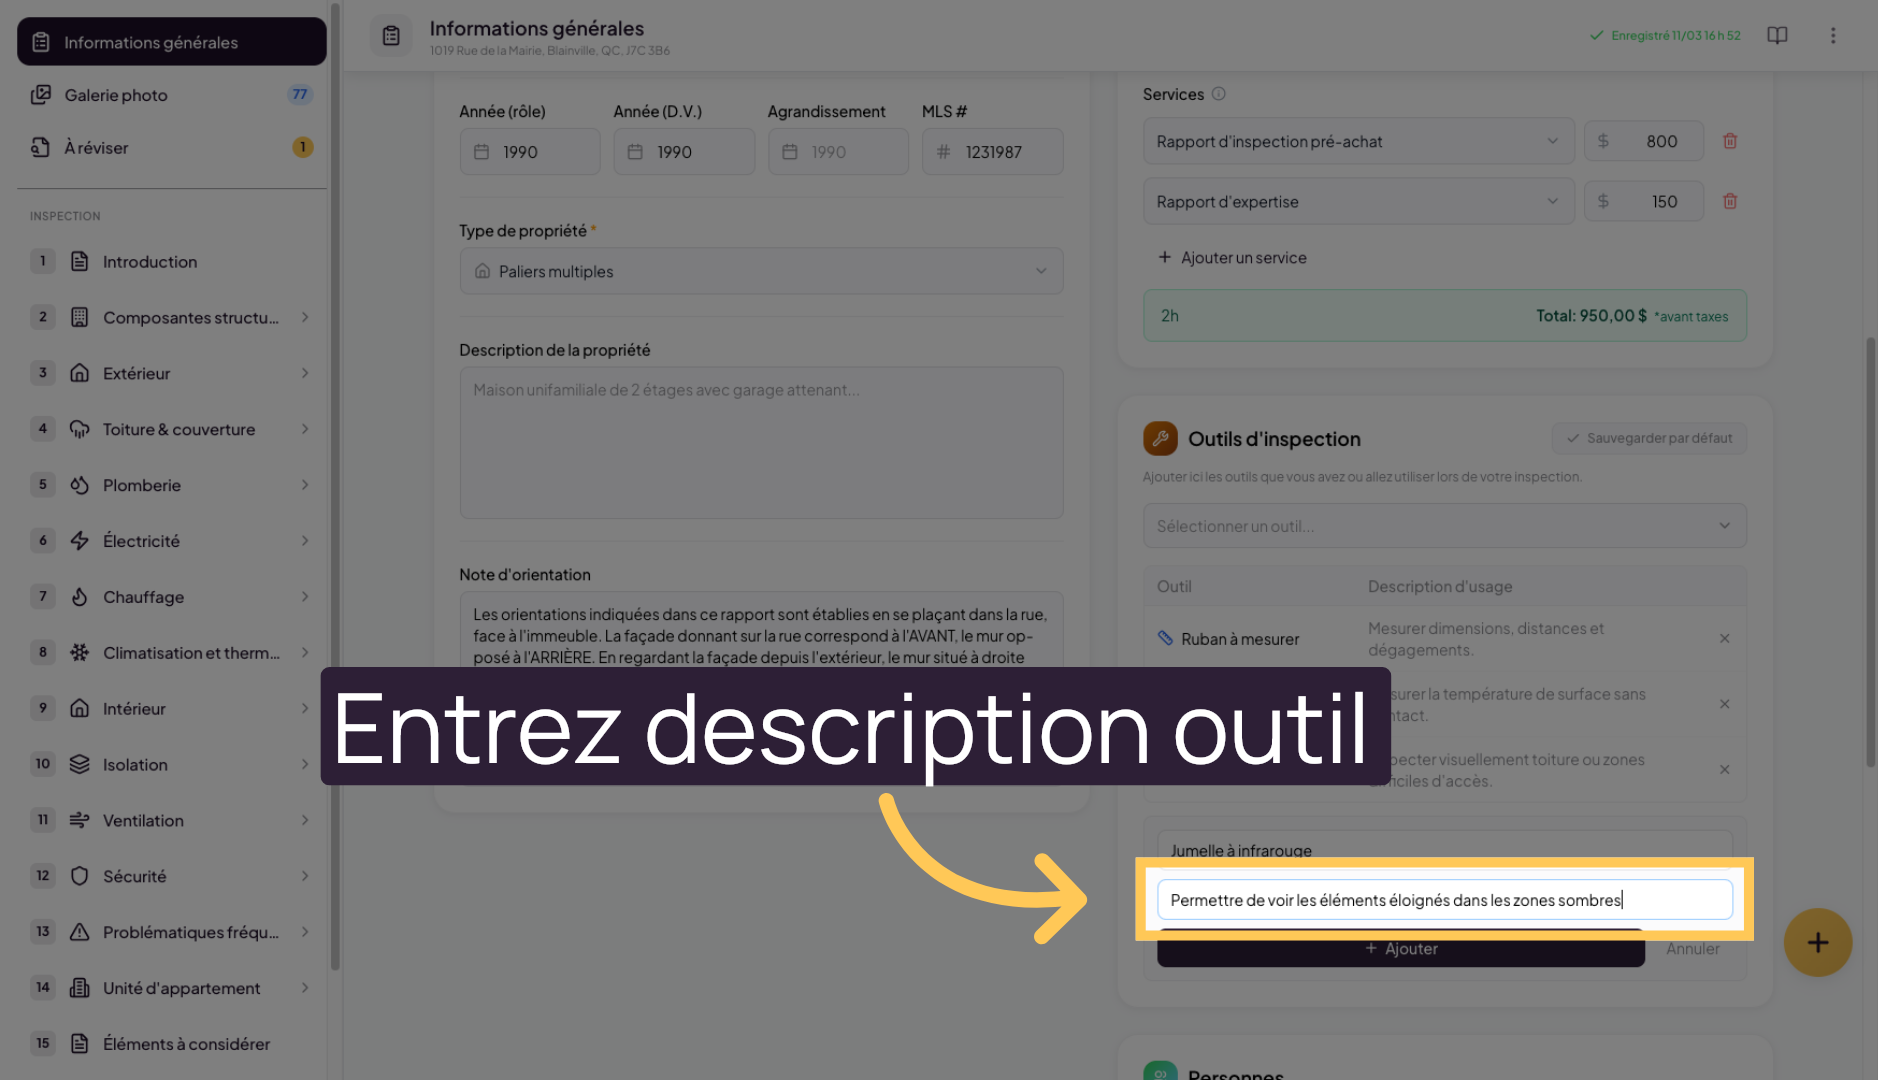
12. Access the Description
Then click on “Description” to add details about the custom tool.

13. Describe the Custom Tool
14. Confirm the Tool Addition
Click “Add” to save the custom tool to the list.
15. Custom Tool Added
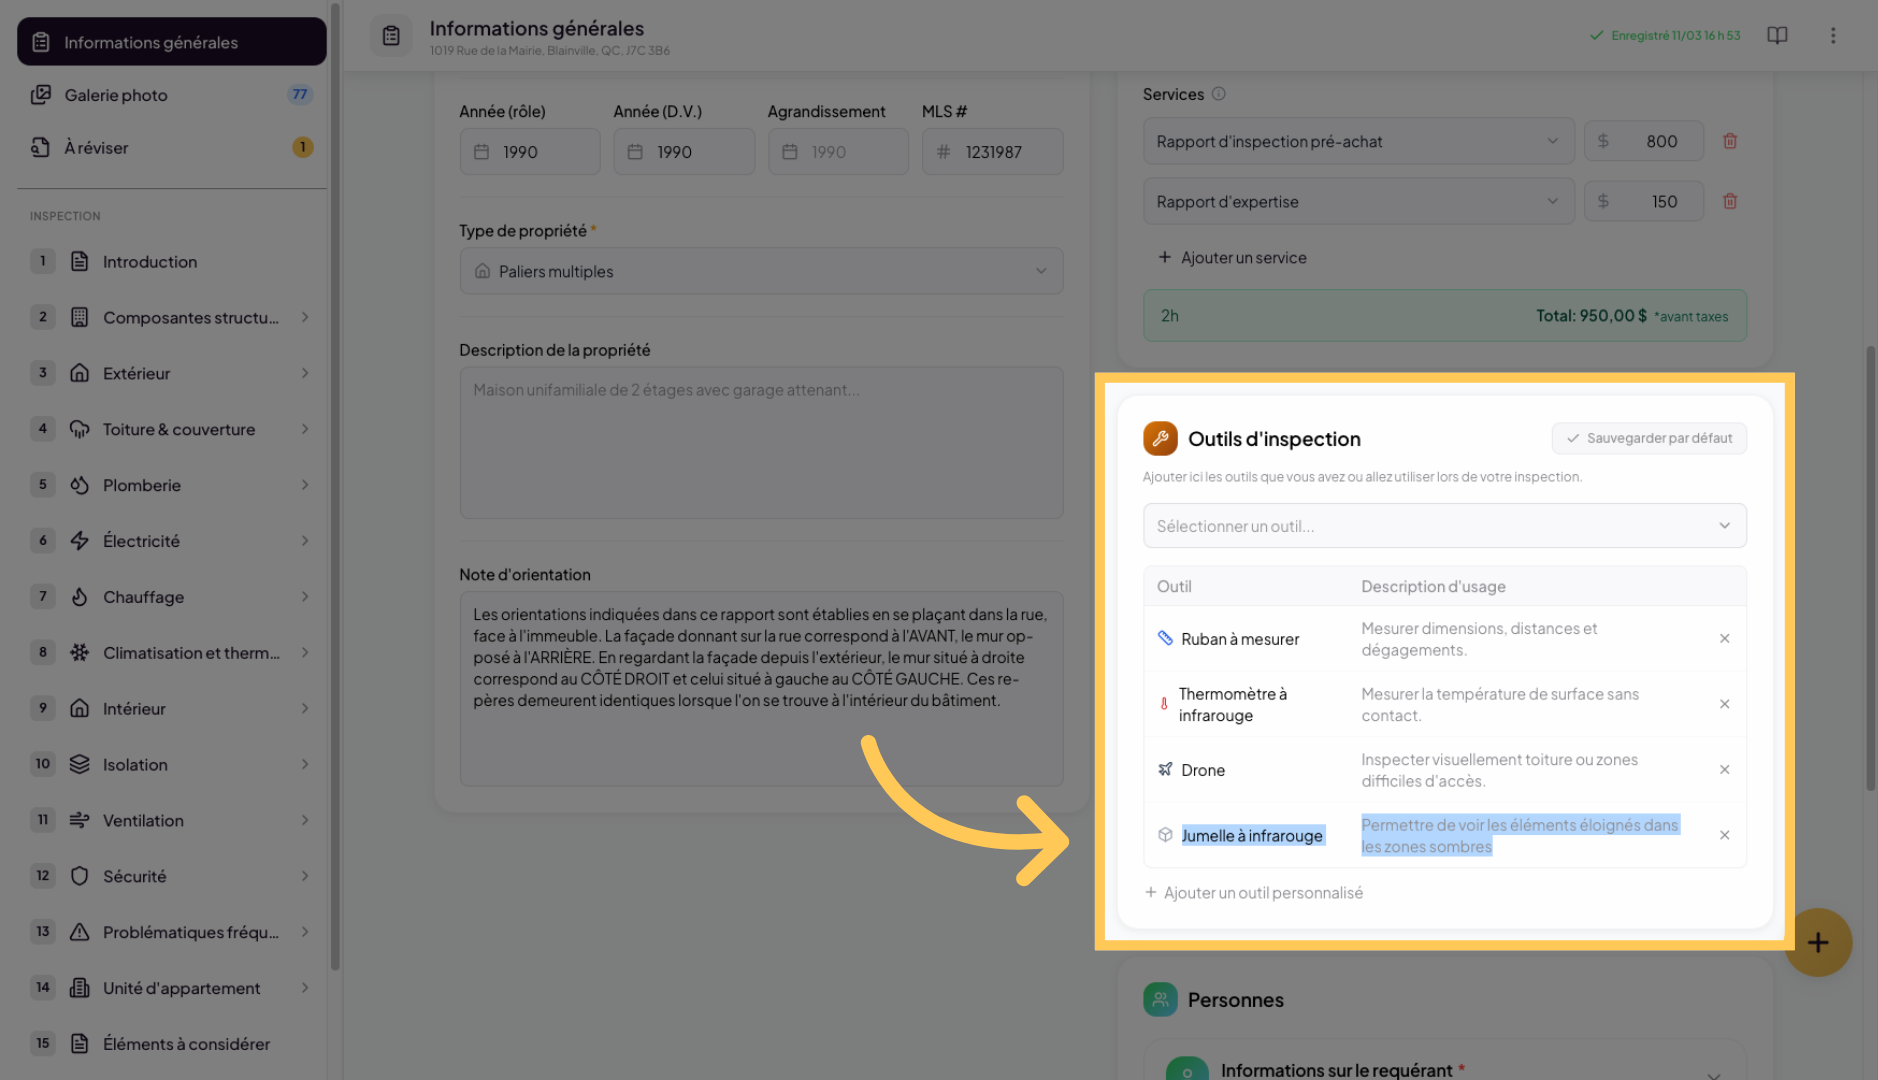
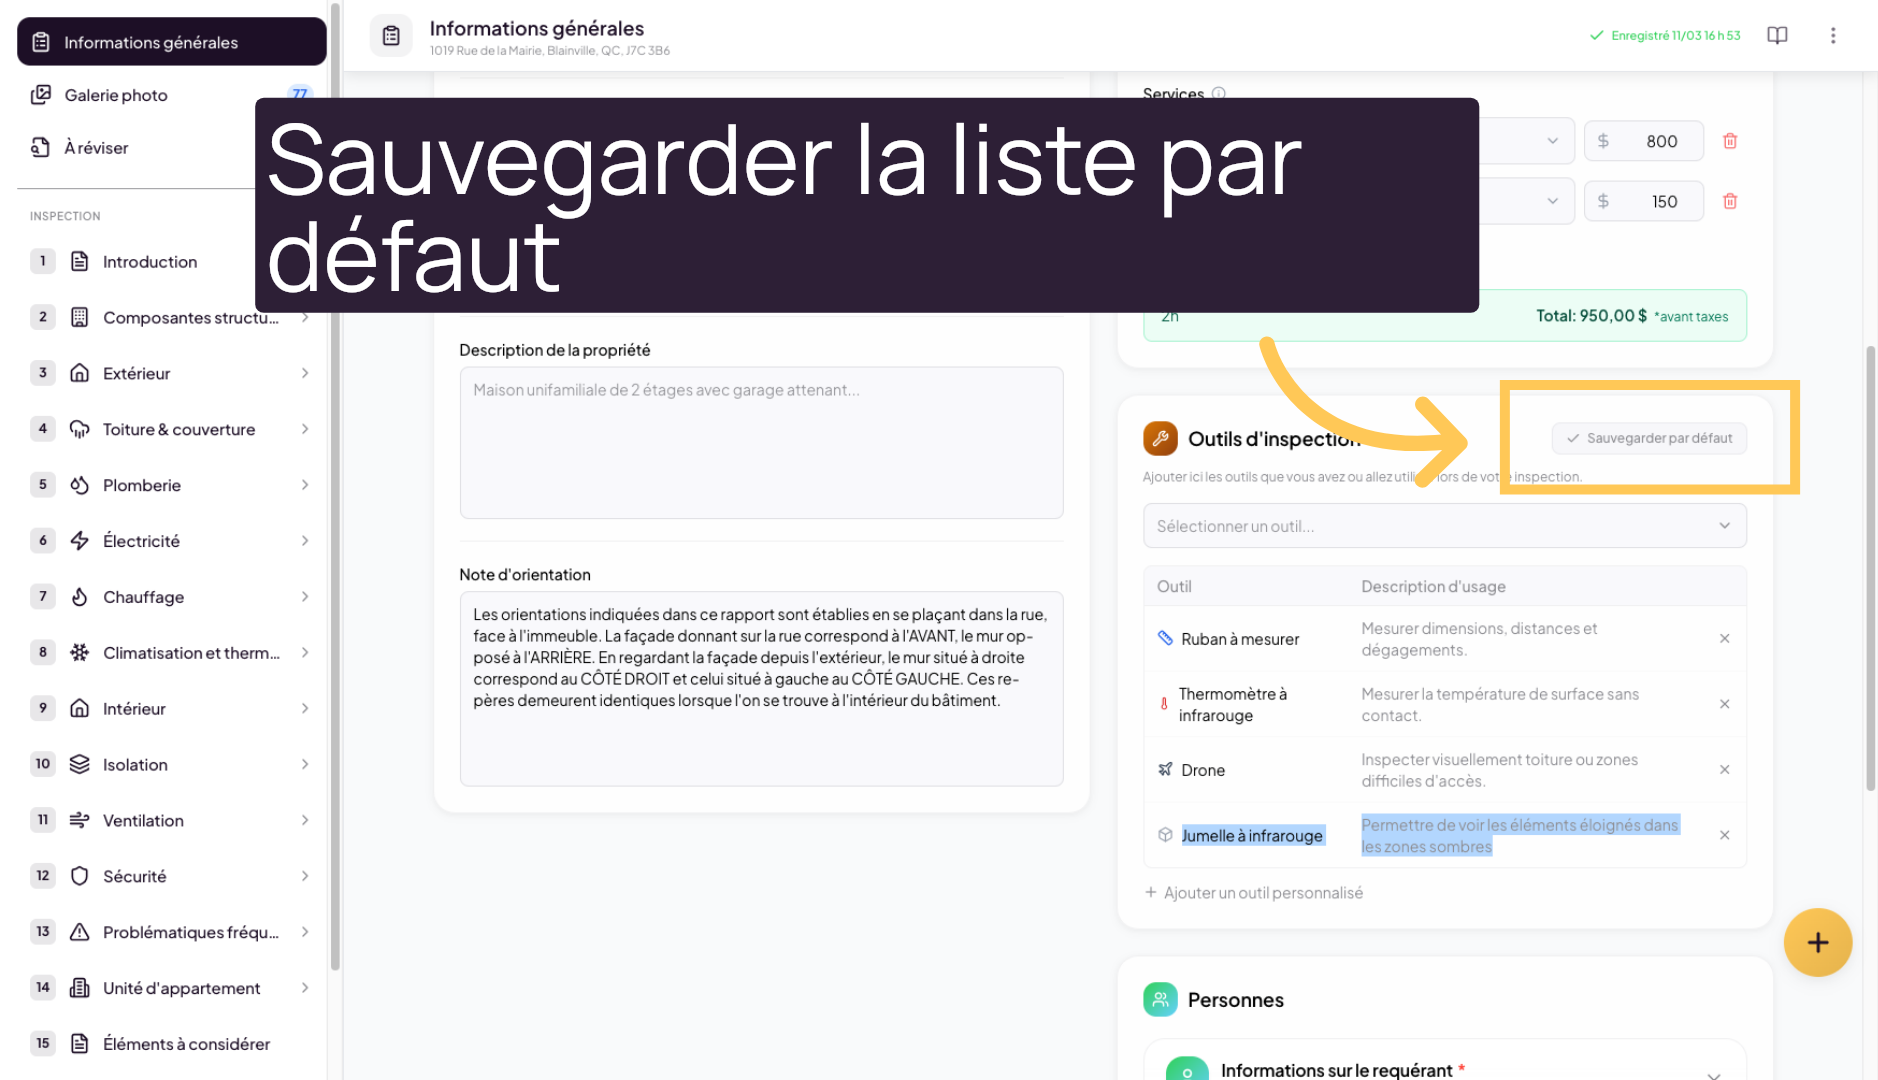
16. Save a Default List
You can save a default tool list that you always want in your inspection reports. By clicking “Save as default”, you will save this list as the one you always want pre-configured in your future inspection reports. This way, you won’t have to select it for each new report.
You can modify or replace it at any time.
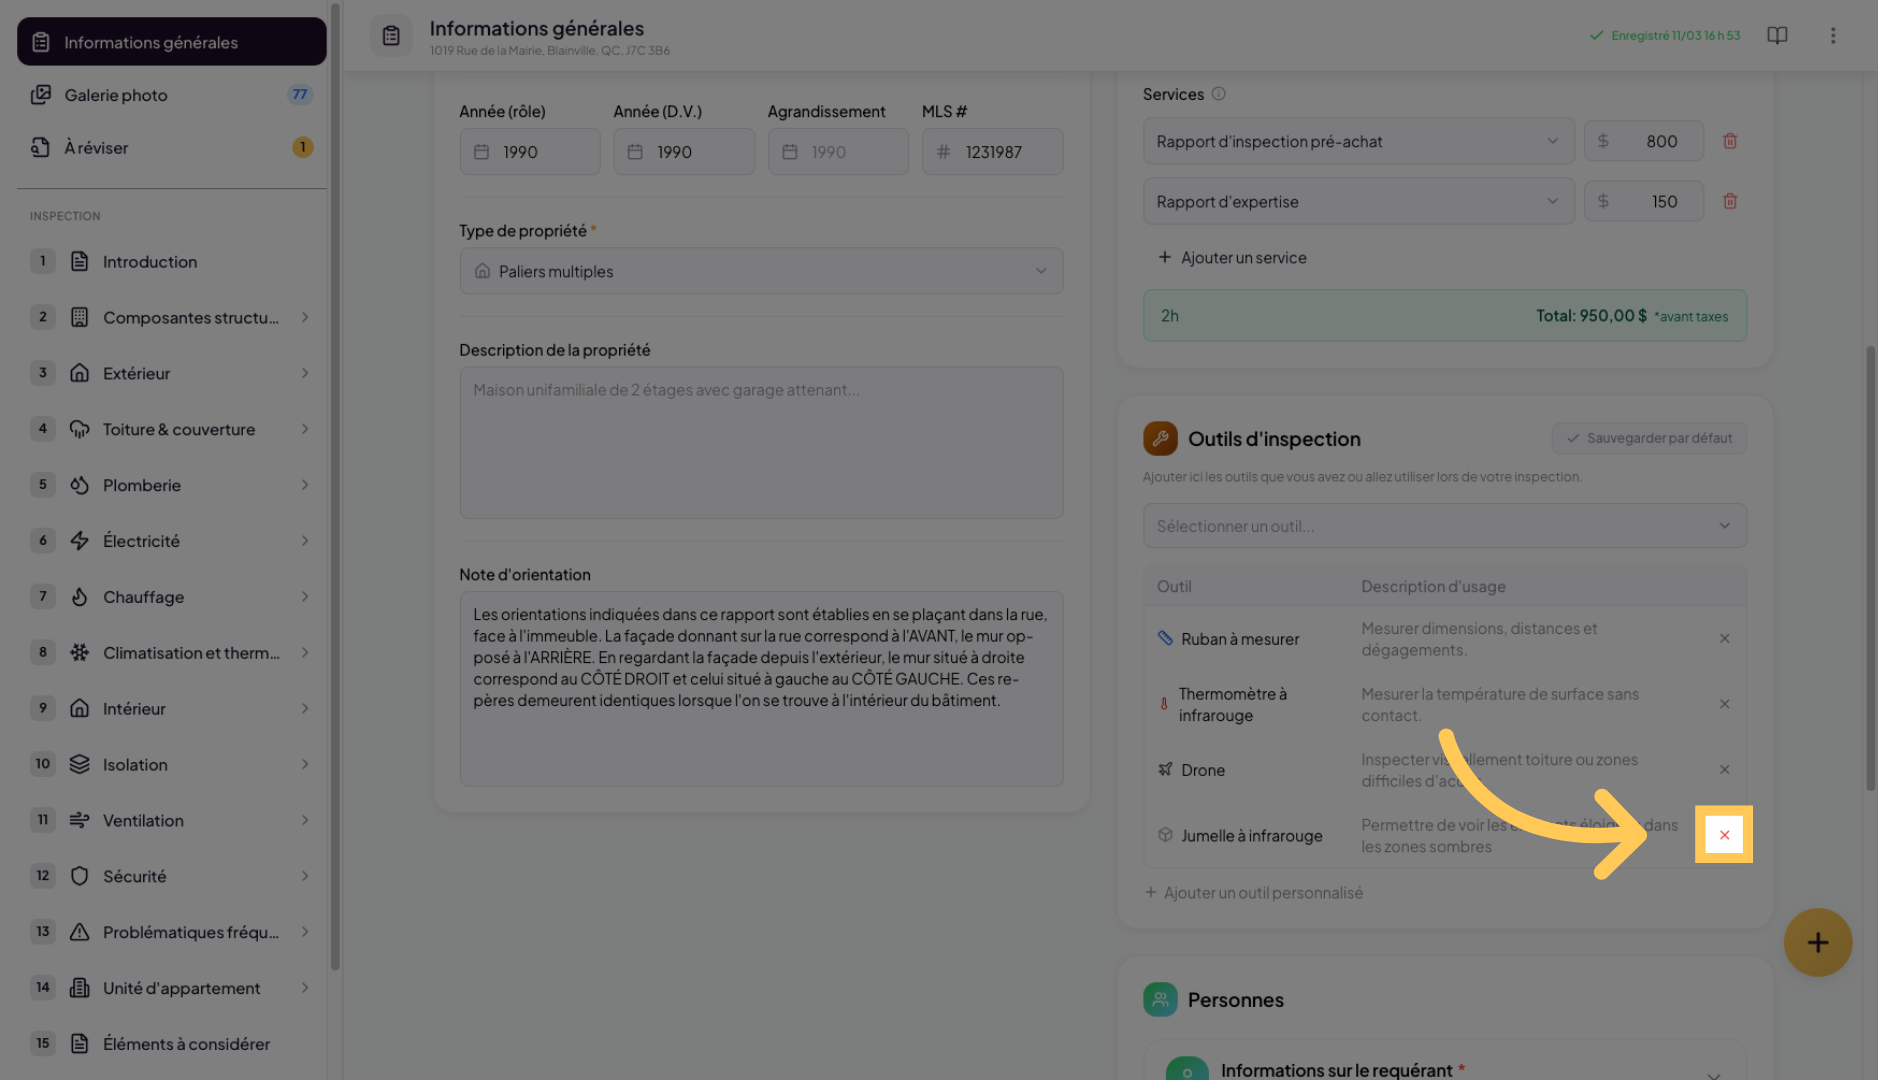
17. Finalize the Configuration
Finally, if you want to remove a tool from the list, click on the small X to the right of the tool.
You have successfully configured and customized the inspection tools in Lumos. You can now use these tools to perform accurate inspections tailored to your needs.