Using the Lumos Inspection Findings Bank
This guide walks you through using the Lumos platform, specifically its findings bank designed for inspectors. You’ll learn how to access, filter, customize, and insert findings into your inspection reports.
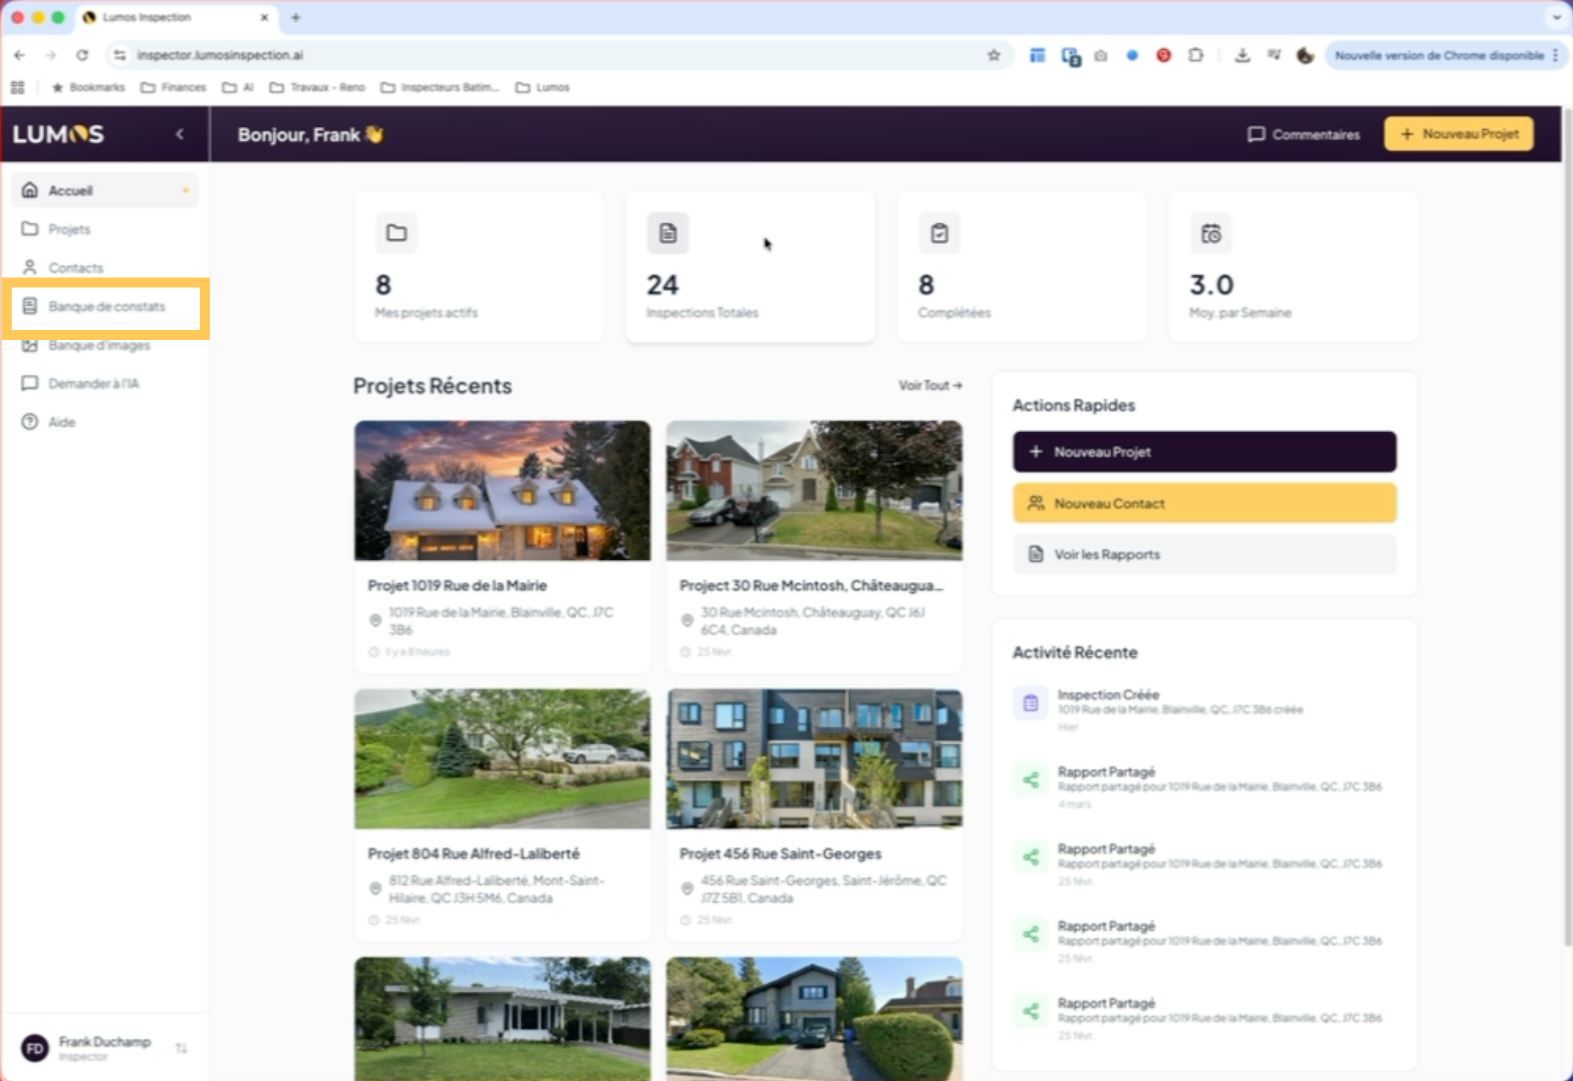
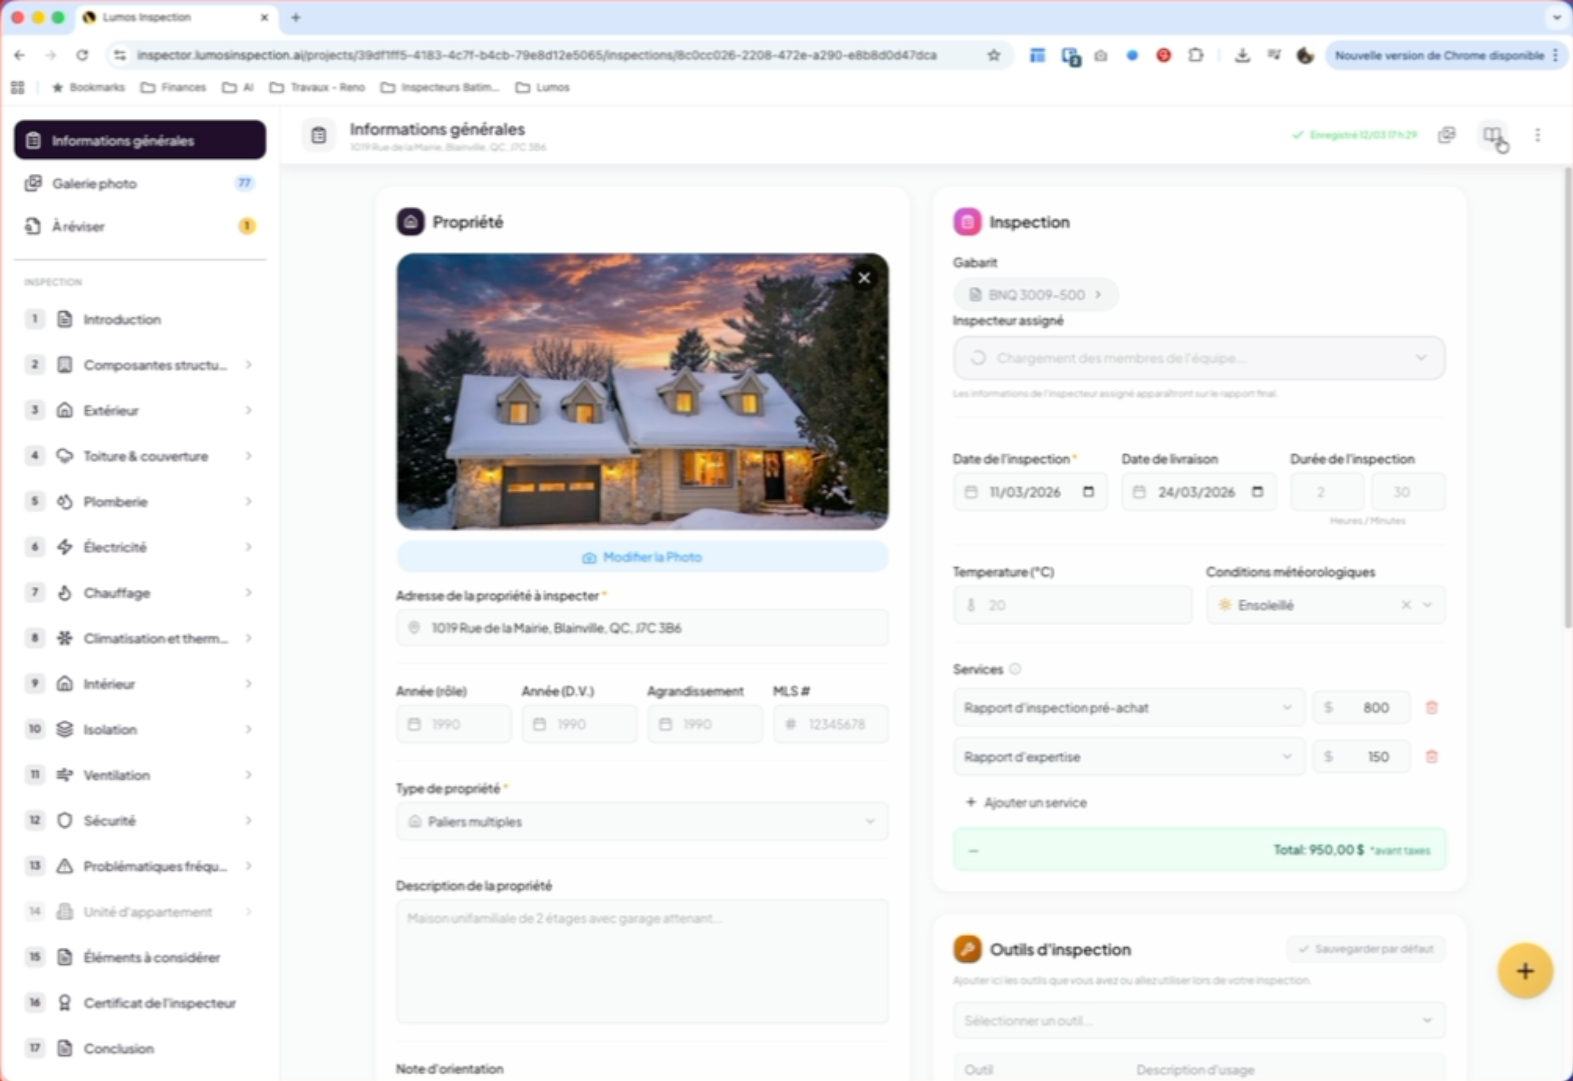
1. Introduction to the Lumos Platform
The Lumos platform for inspectors comes with a default findings bank.

2. Access the Findings Bank
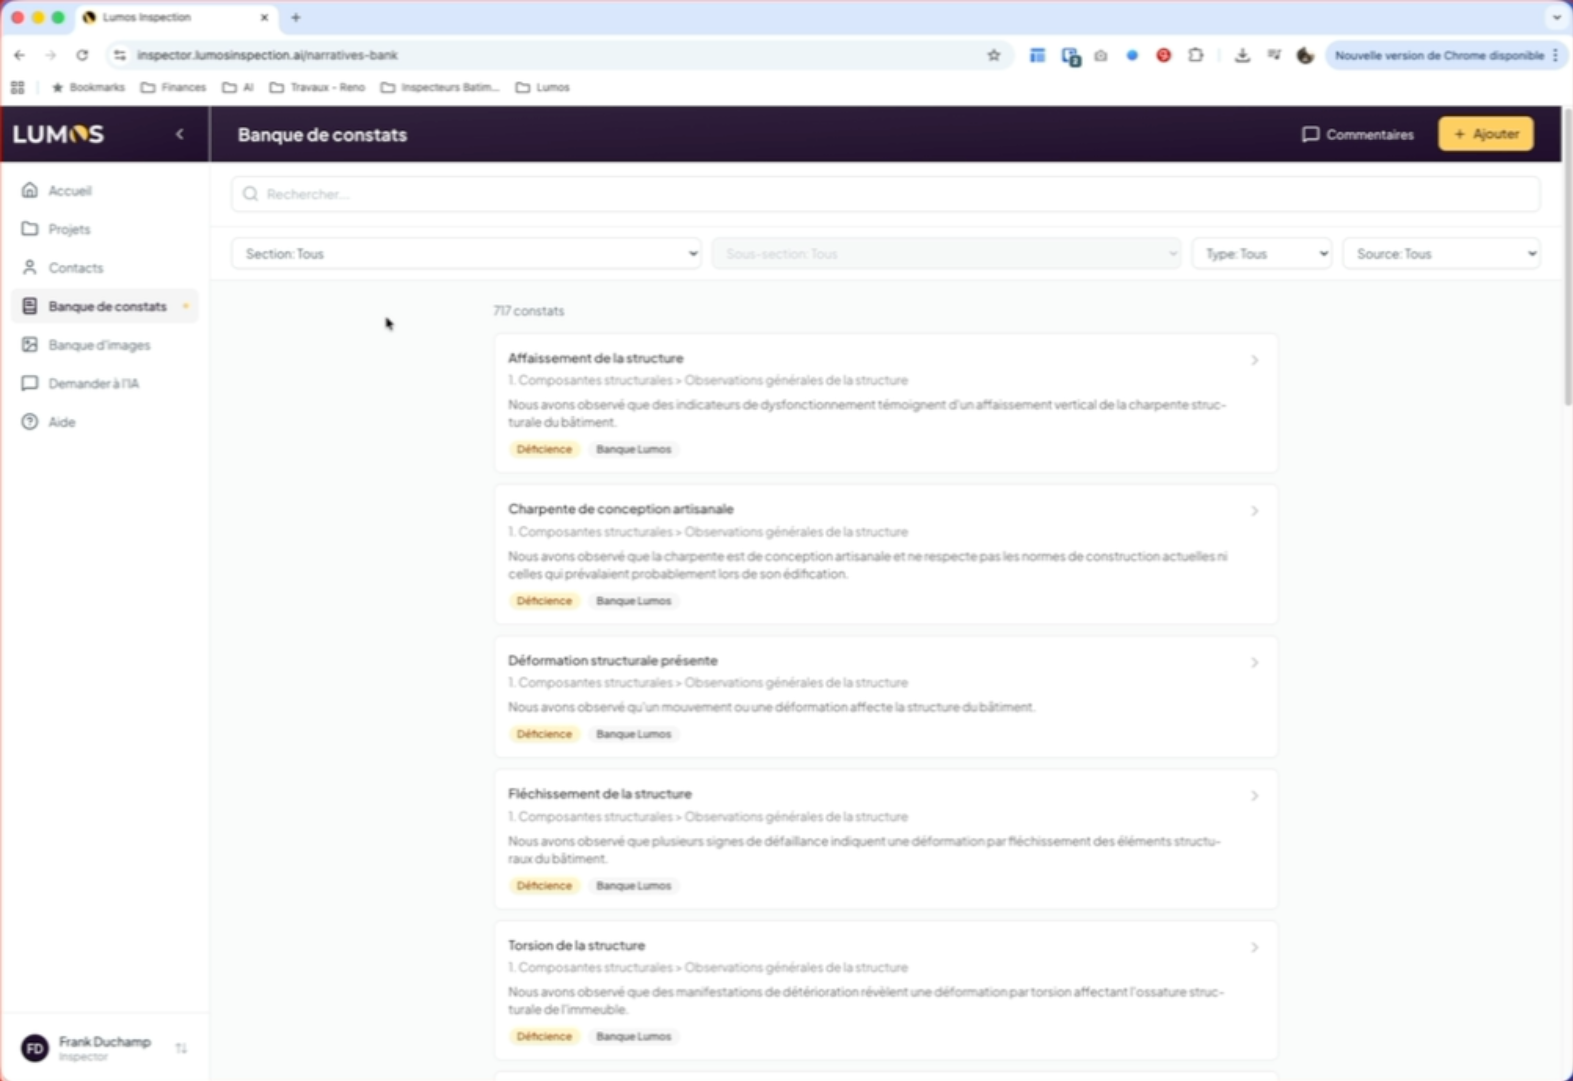
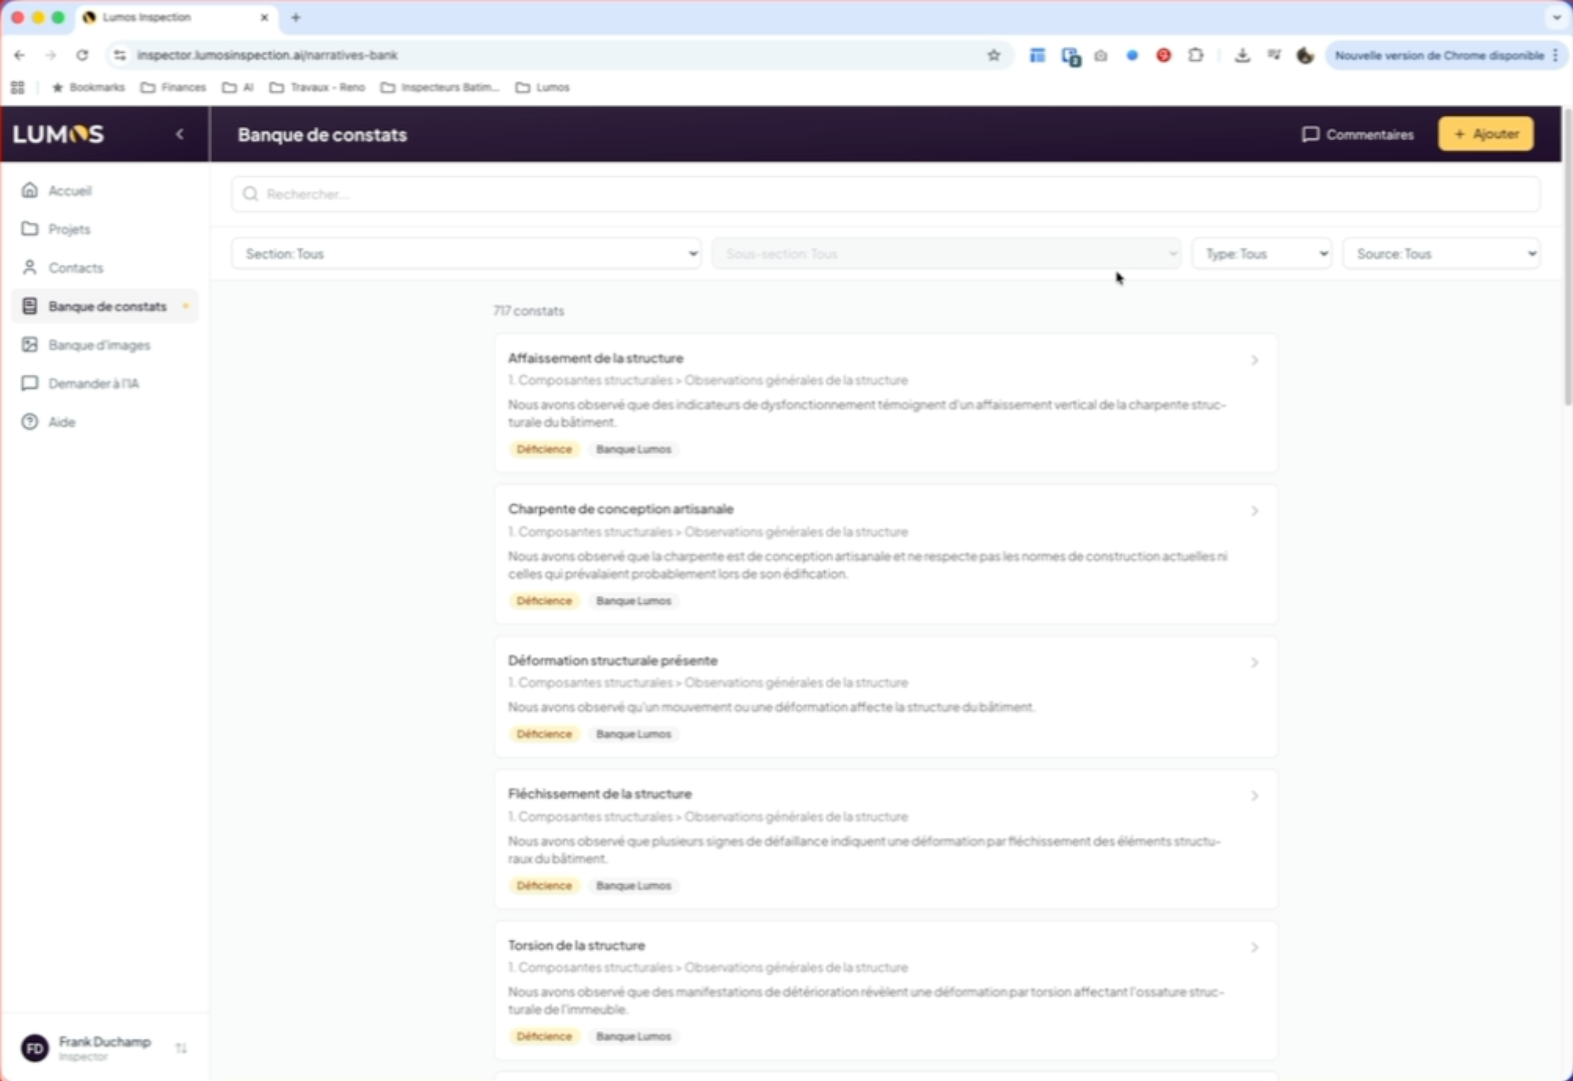
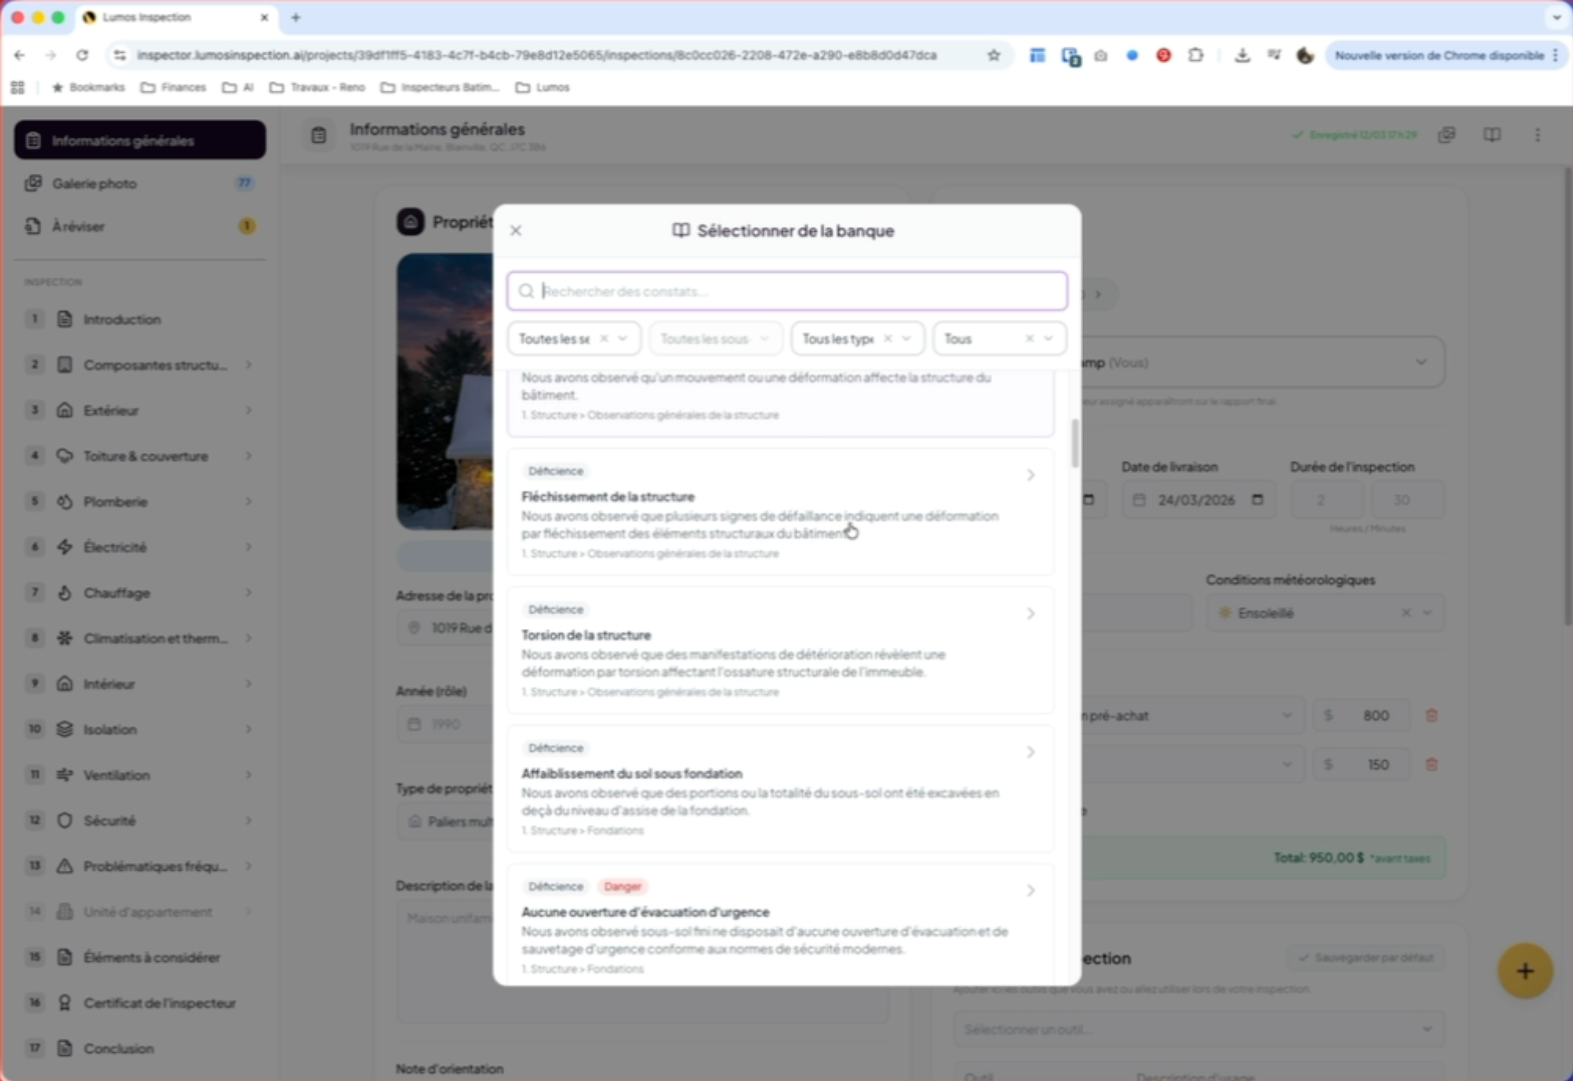
3. Discover the Bank of 700 Findings
You’ll find a bank of approximately 700 findings provided by default to all users. In this findings bank, you’ll find the default findings, but you can also use your own findings, create new ones, modify them, and share them.

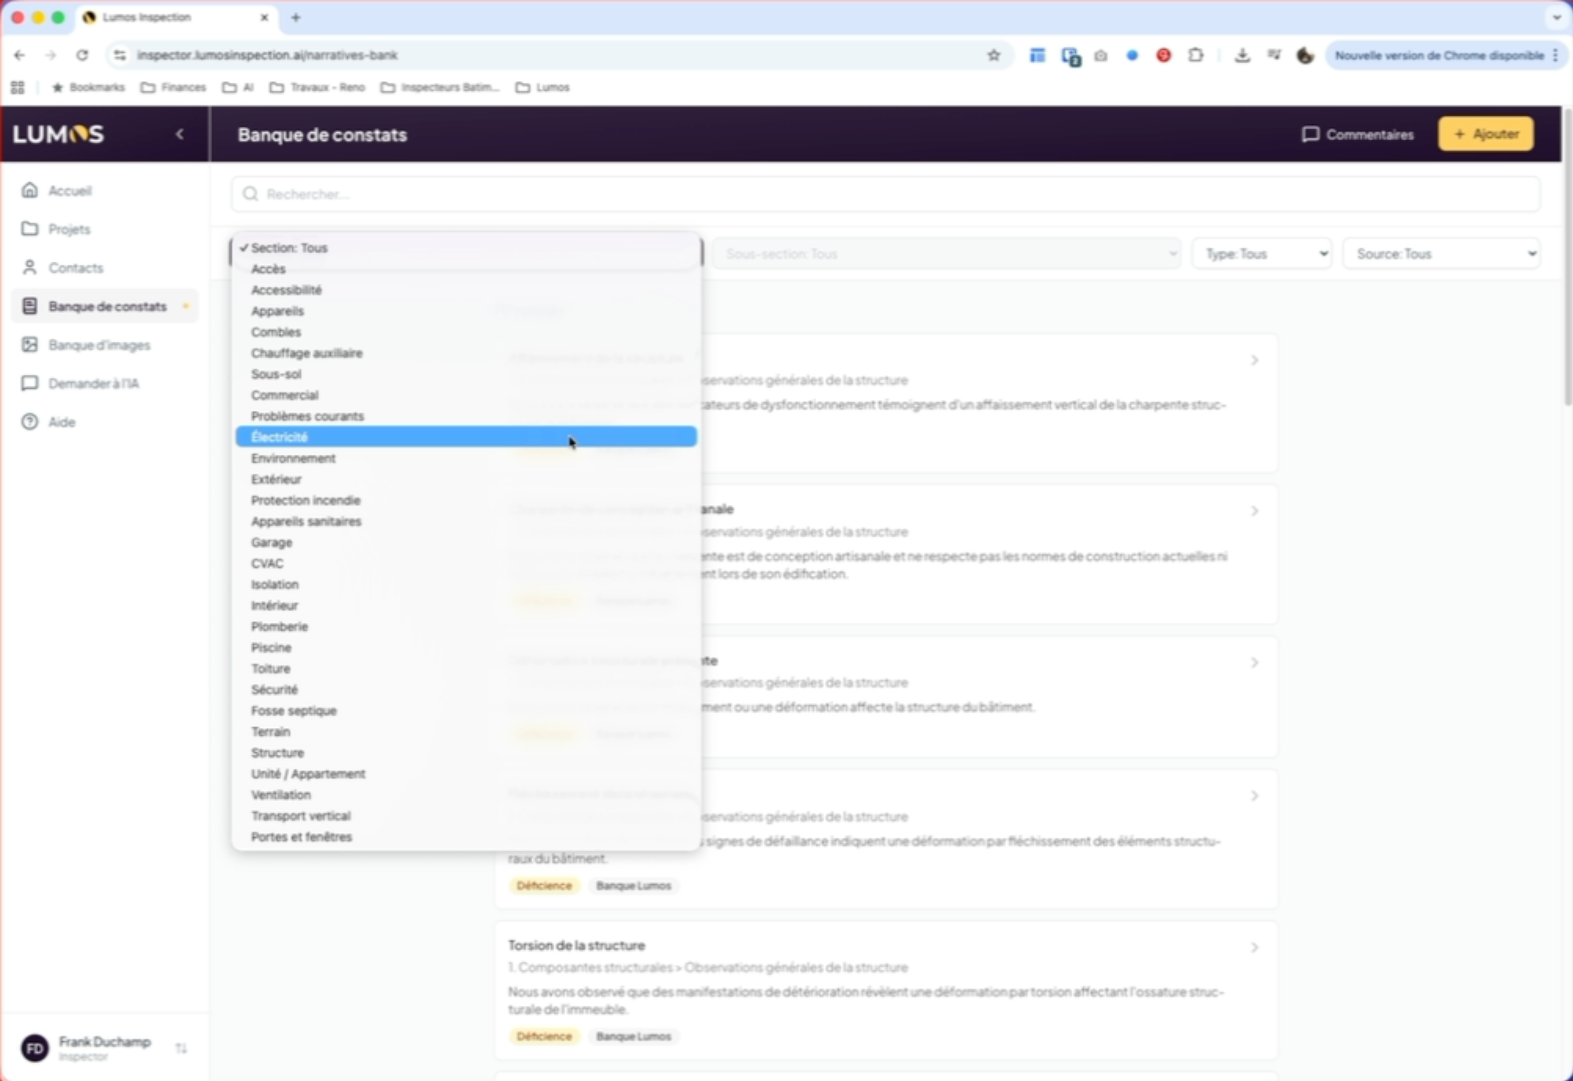
4. Organize by Building Section
5. Filter by Sections and Sub-Sections
All these sections relate to a building component, within which you’ll also find sub-sections allowing you to filter more precisely the components you want to work on.
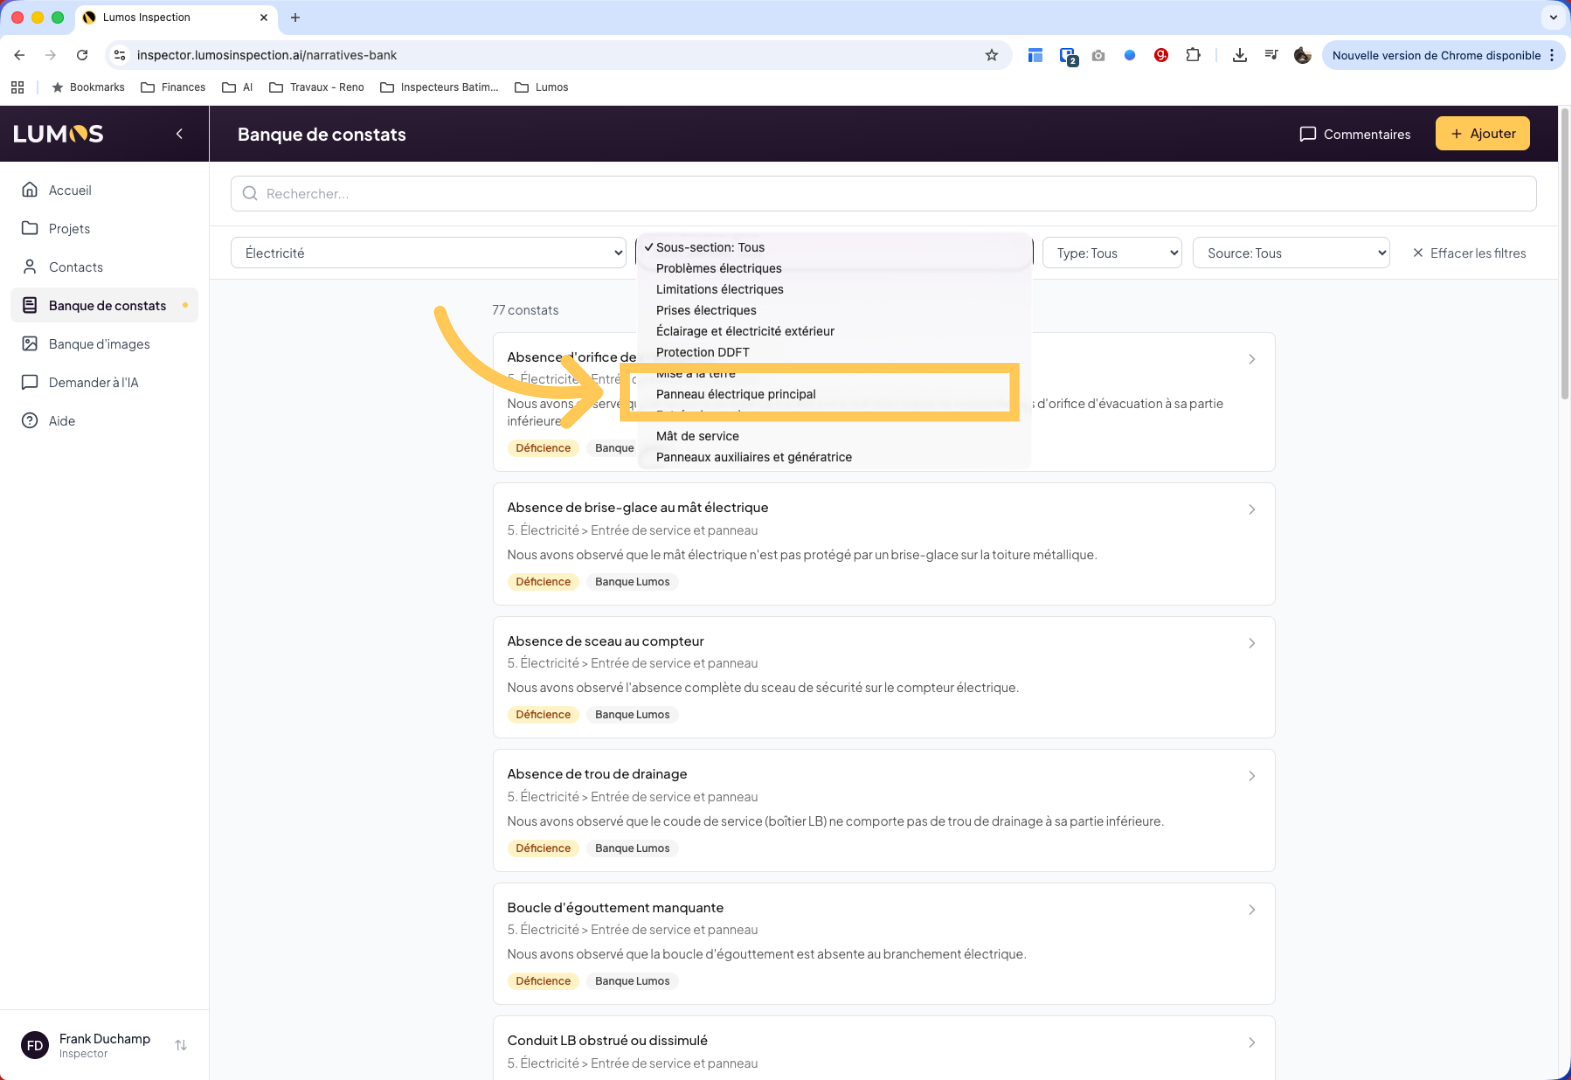
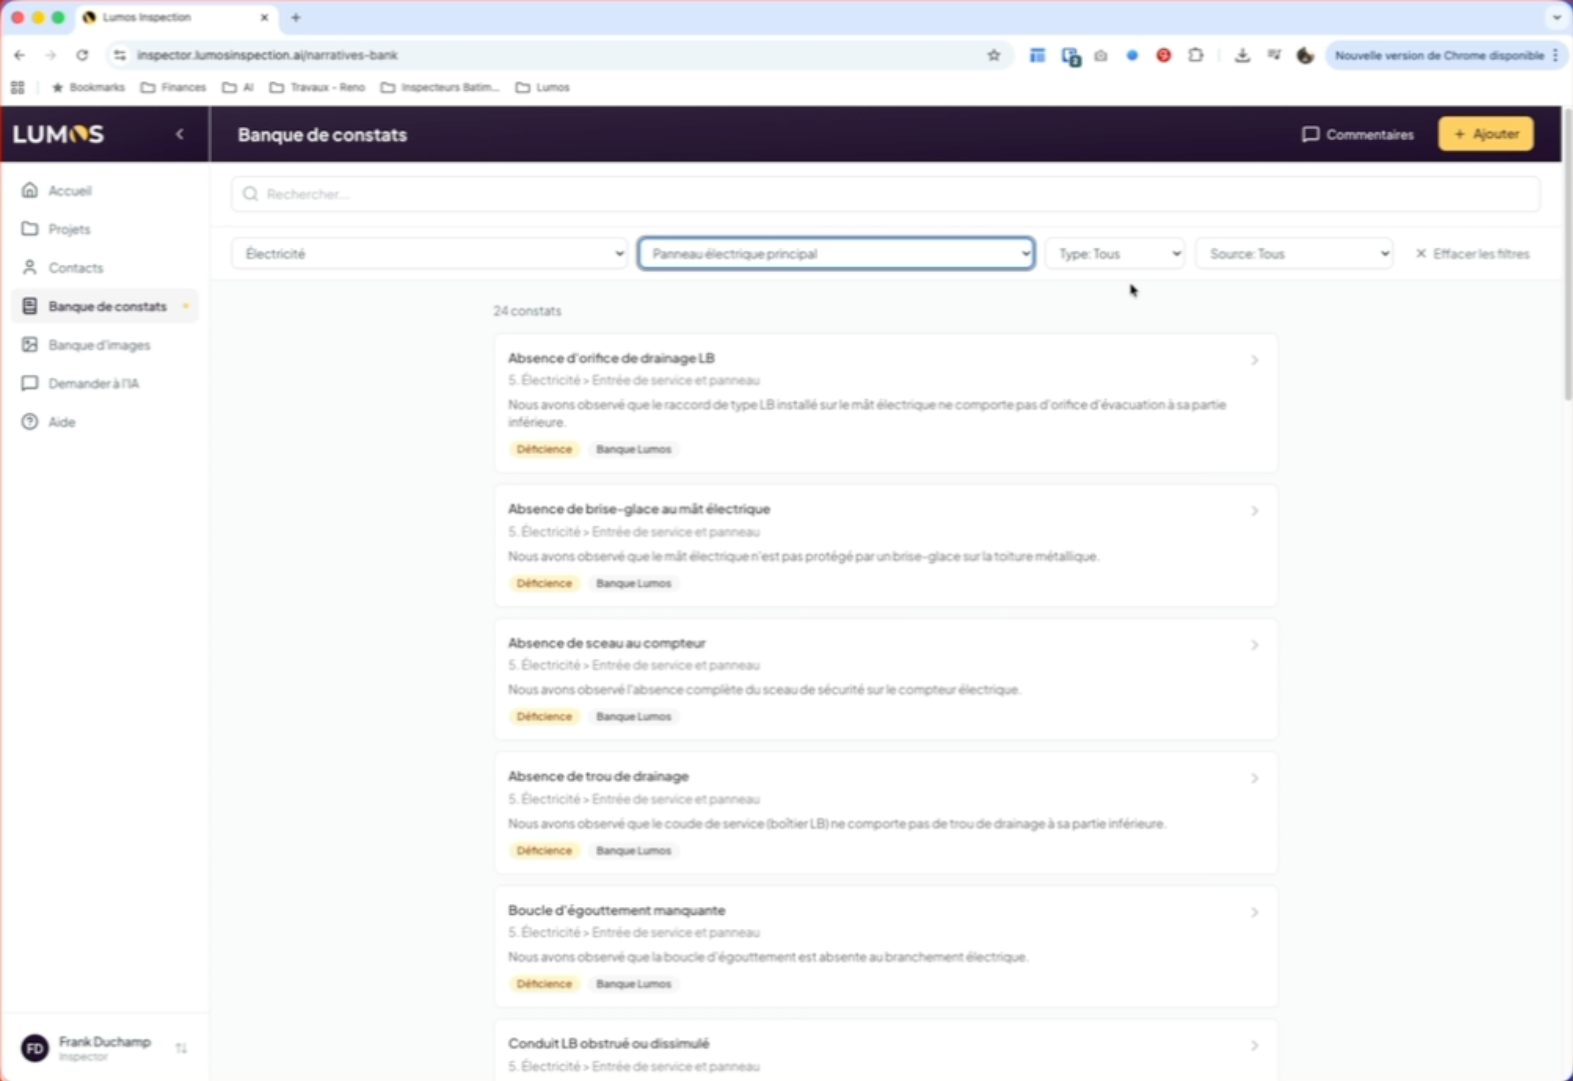
6. Select an Electrical Panel
For example, click on the main electrical panel to filter findings associated with this element.
7. Choose the Finding Type
In the filter bar, you also have the option to choose among finding types: information, limitations, deficiencies, and methods.
8. Access the Source Filter
Click on the “Source” filter to filter findings by their origin.
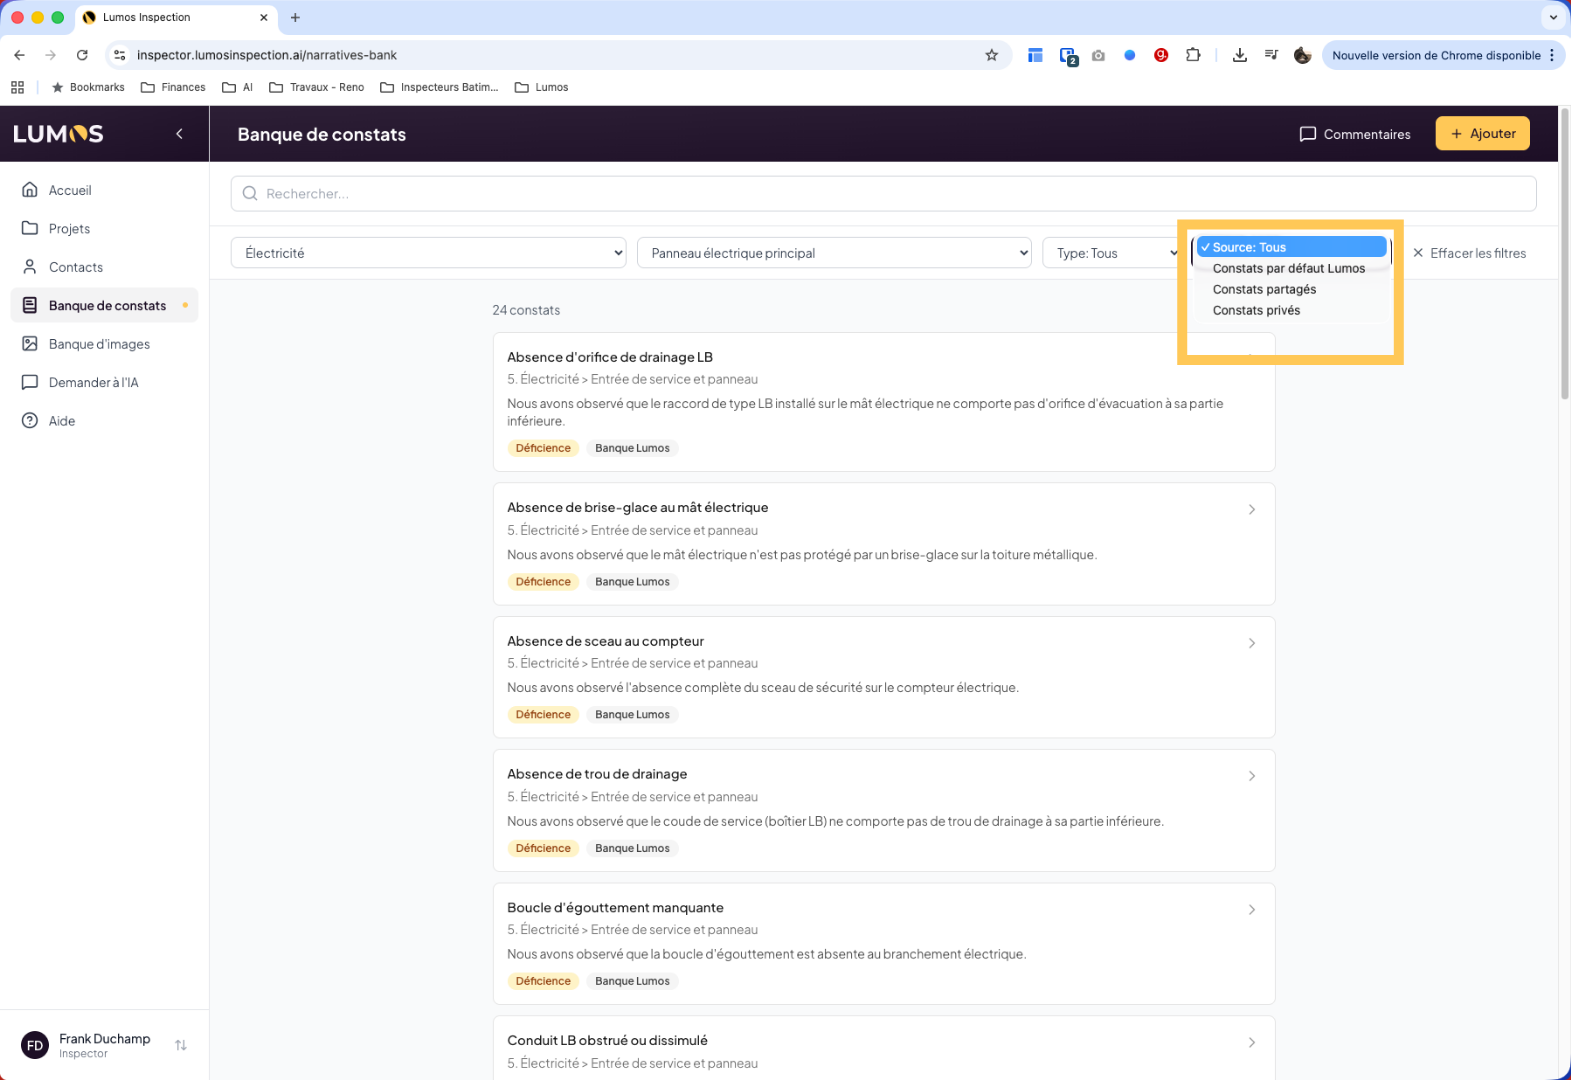
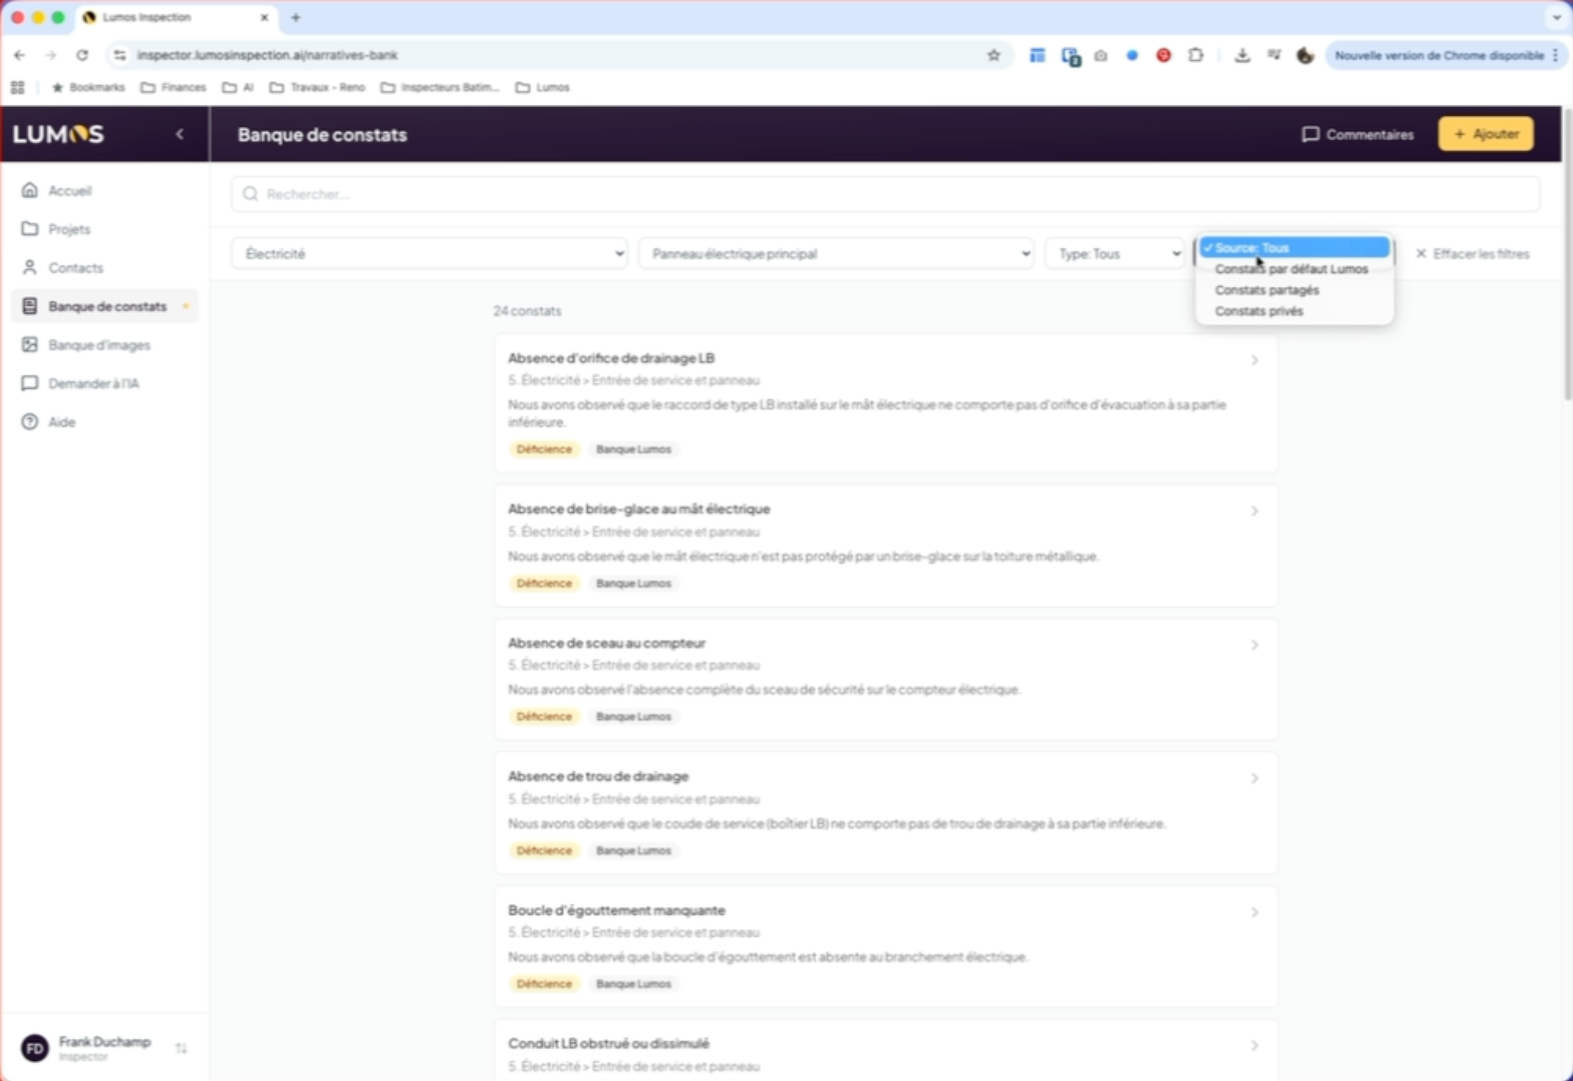
9. Understanding Finding Sources
These include Lumos default findings, your shared findings (findings you’ve created and share with your team), and private findings that you want to keep only for yourself.
Note that none of your shared or private findings will be shared outside your account. Other Lumos users will never be able to access your personal findings. Only you and your team, if you have one, will be able to see them.
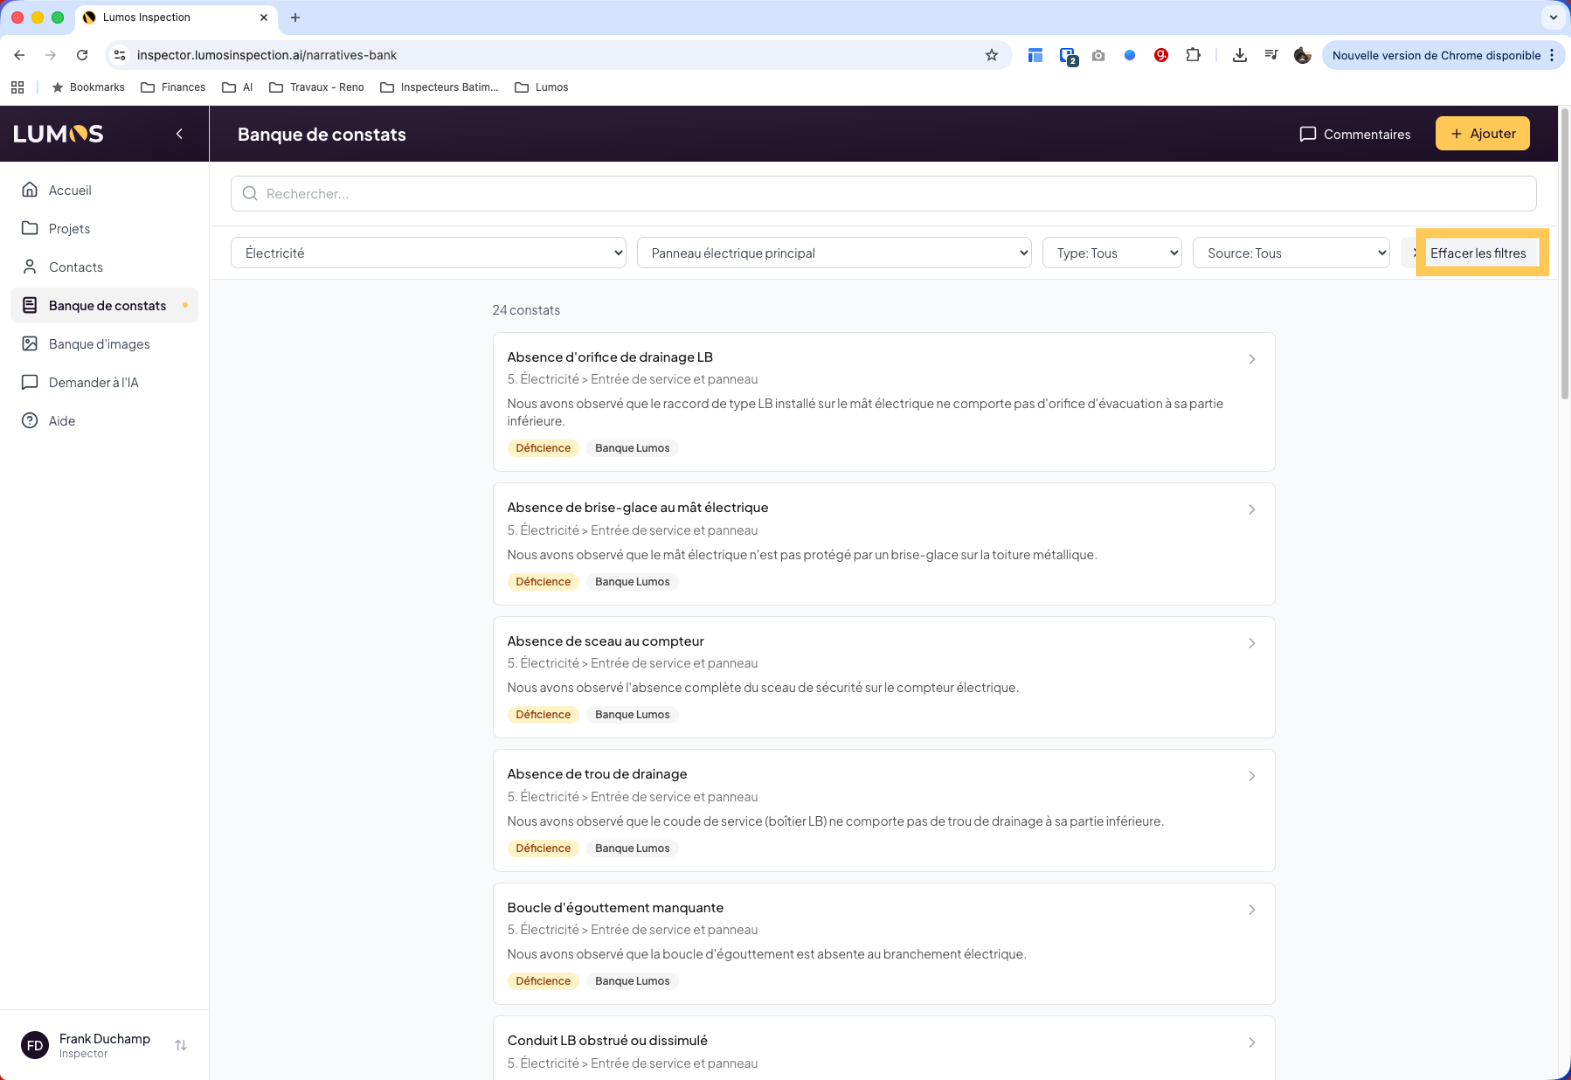
10. Clear Filters
Click “Clear” to reset all applied filters in the findings bank.
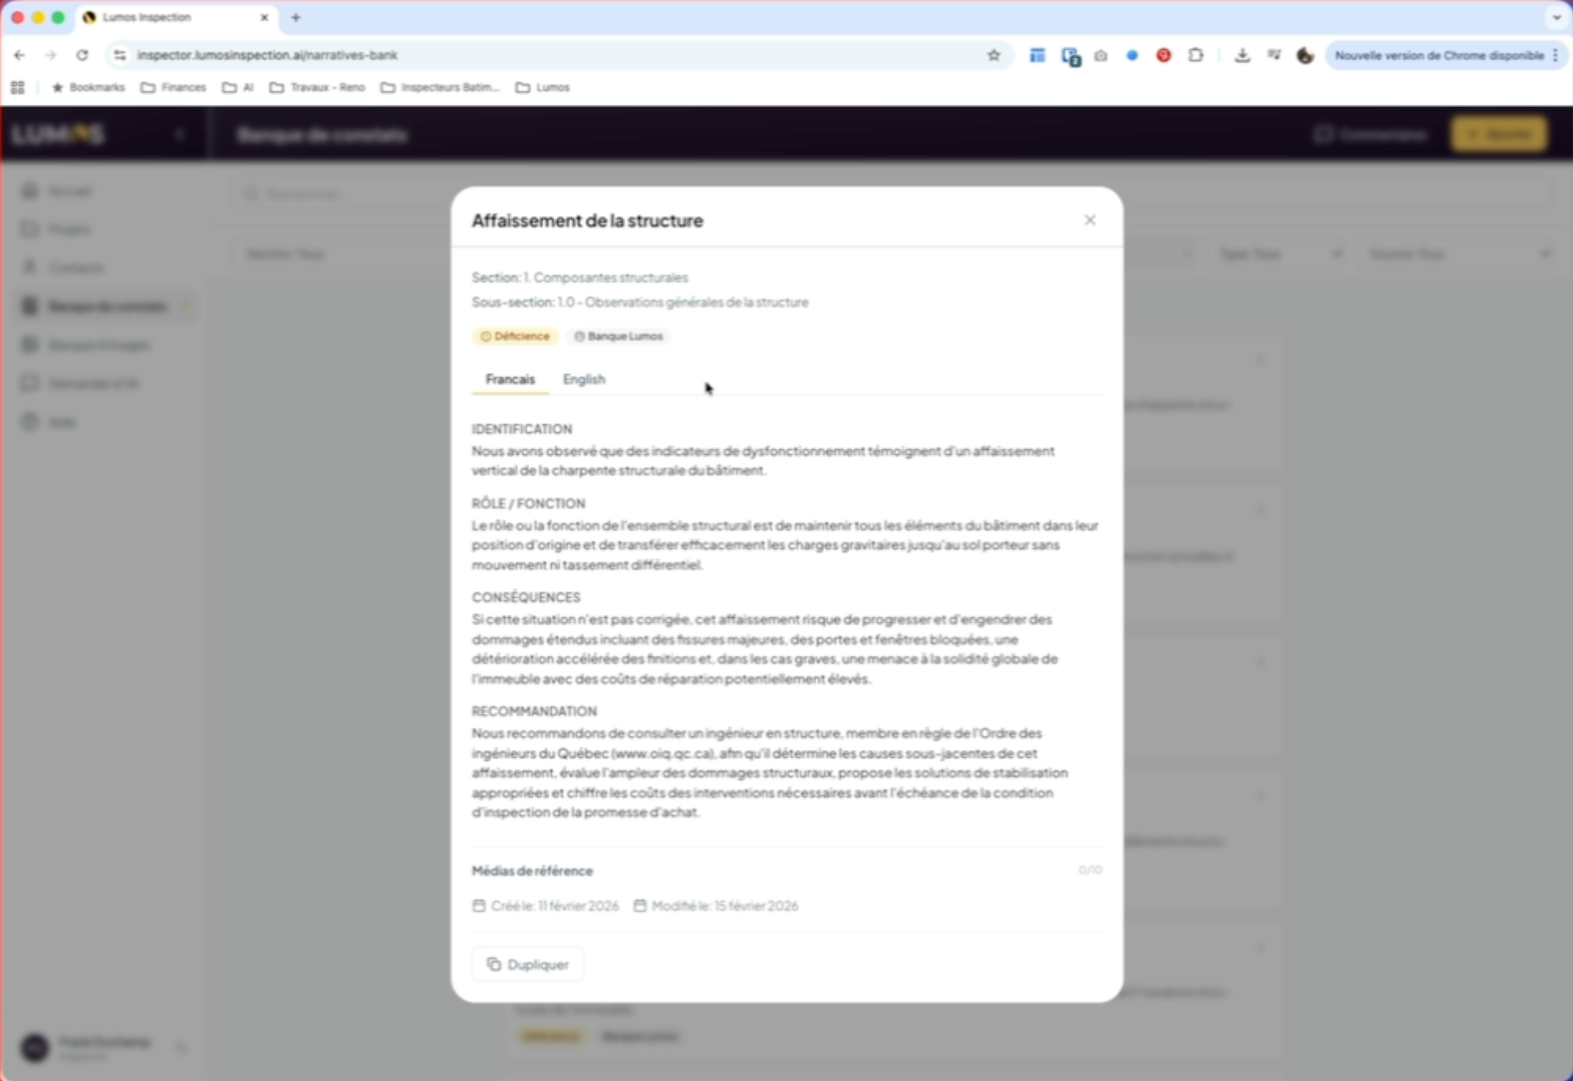
11. View a Finding’s Content

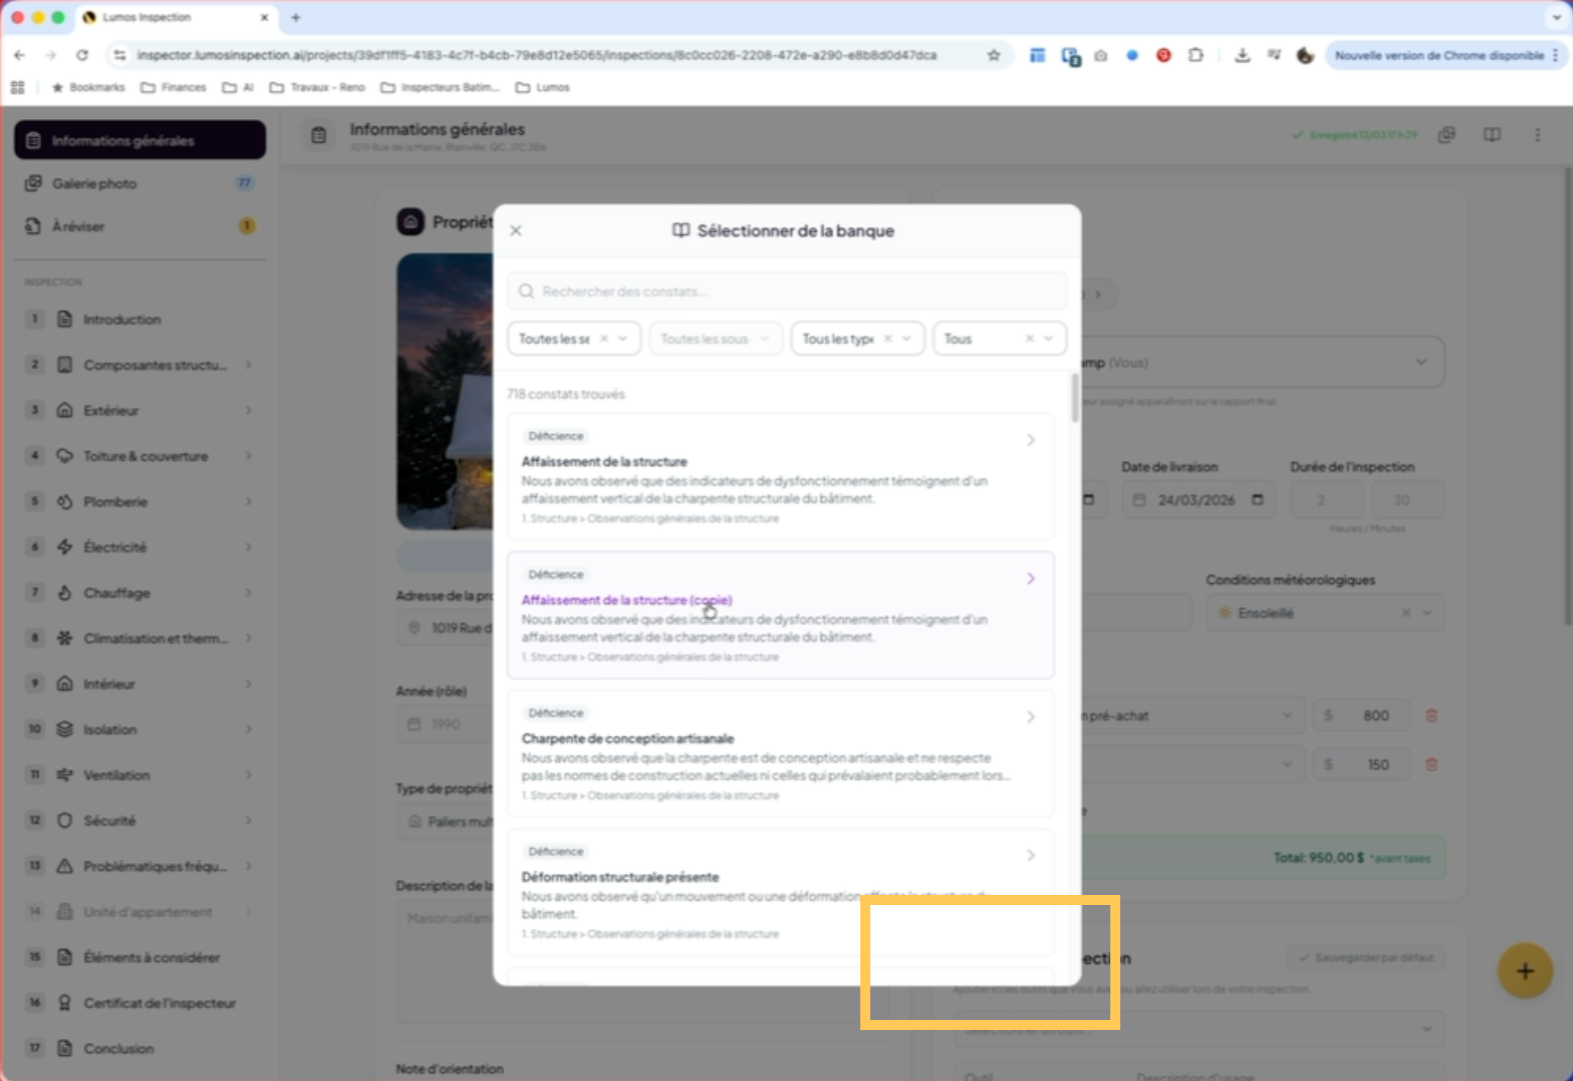
12. Open a Finding
Click here to display the details of the selected finding.

13. Multilingual Lumos Findings
All Lumos system findings are provided in both French and English. You cannot directly edit these findings, but you can duplicate them to better suit your needs.
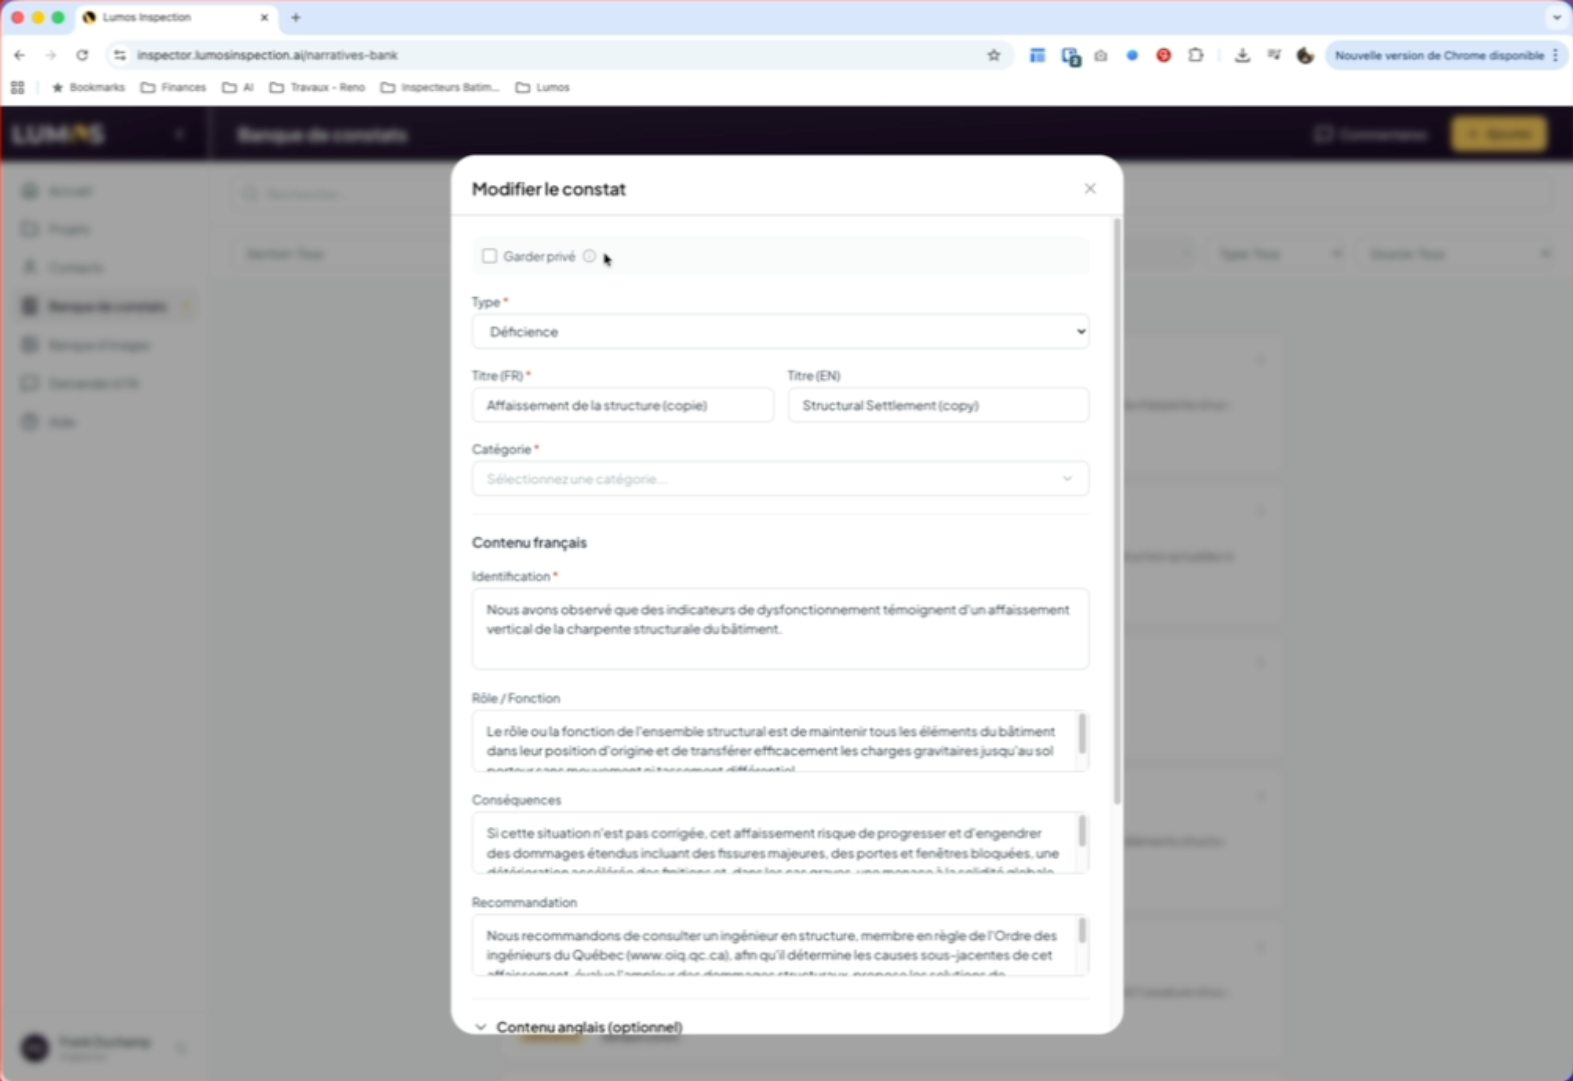
14. Duplicate to Customize

15. Edit and Save a Finding
To do this, simply click the Duplicate button. You can then modify the content and save your own version of the finding. You can change the content, type, and even add photos if you wish.

16. Manage Private Findings
If you want to keep a finding private to your account only, don’t forget to check the “Keep Private” box at the top of the findings menu.
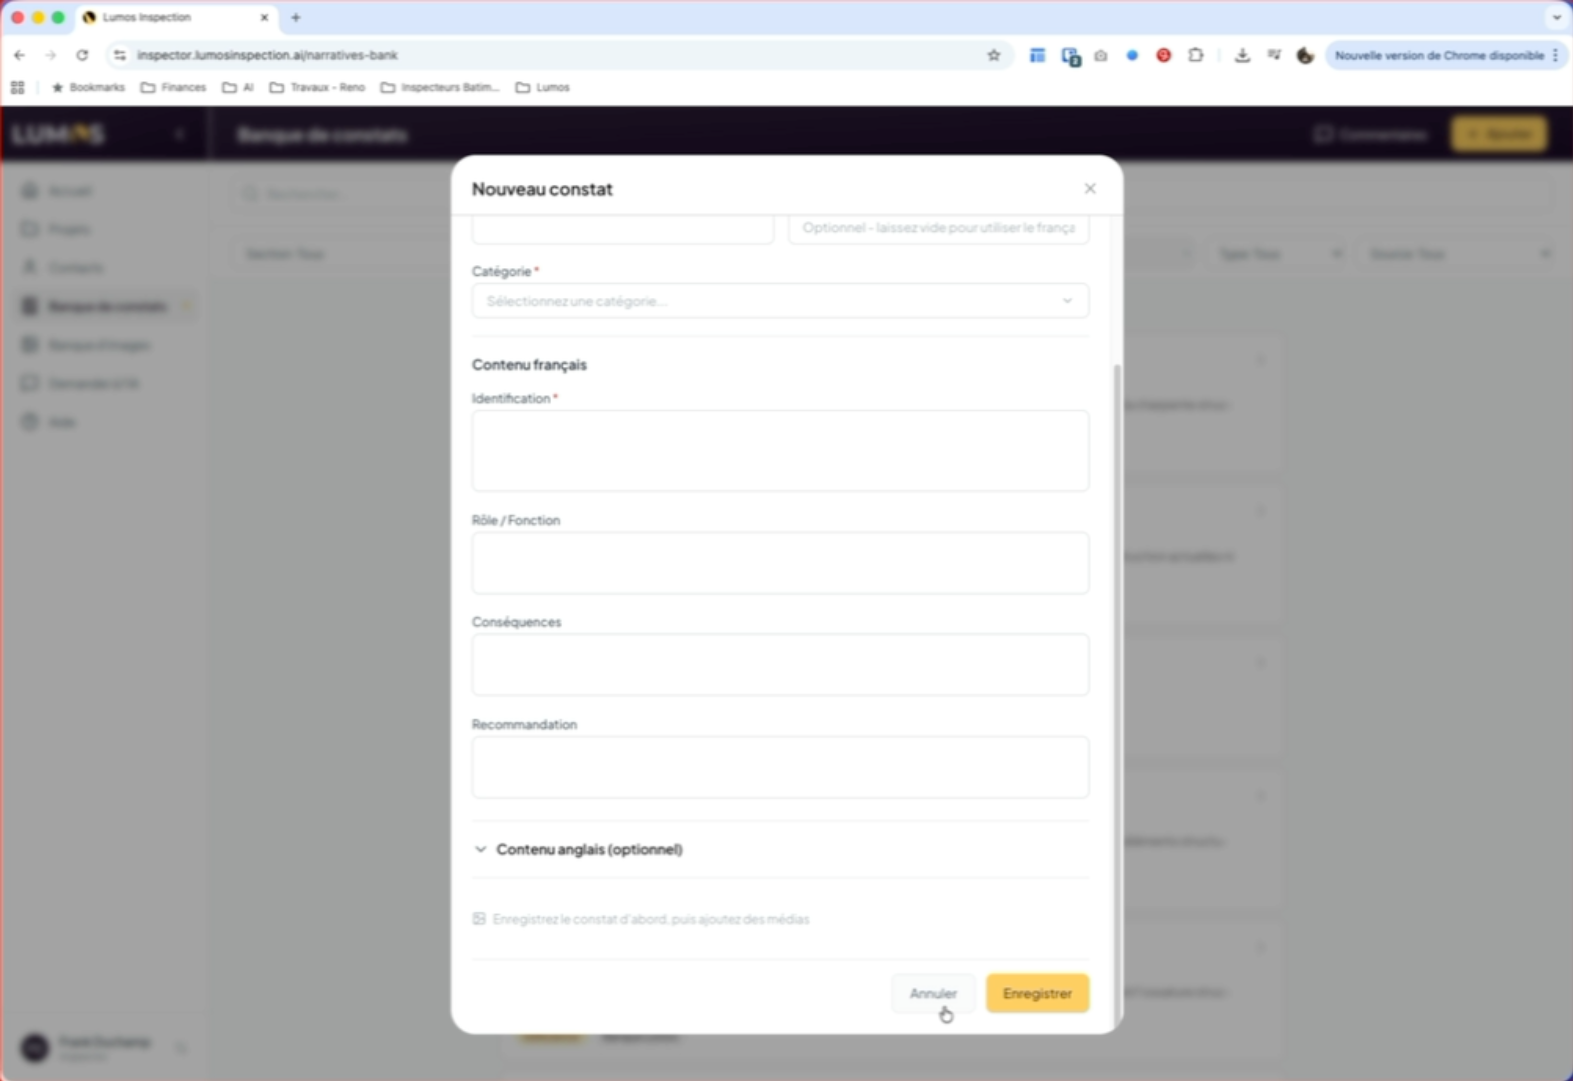
17. Create a Finding from Scratch
You can also create a finding from a blank slate by clicking the Add button in the application header bar and filling in all the relevant information for your needs.
18. Access Findings in Reports
19. Use the Findings Bank Icon
20. Use the Bank Filters
In this window, you’ll find the various filter options available in your findings bank.
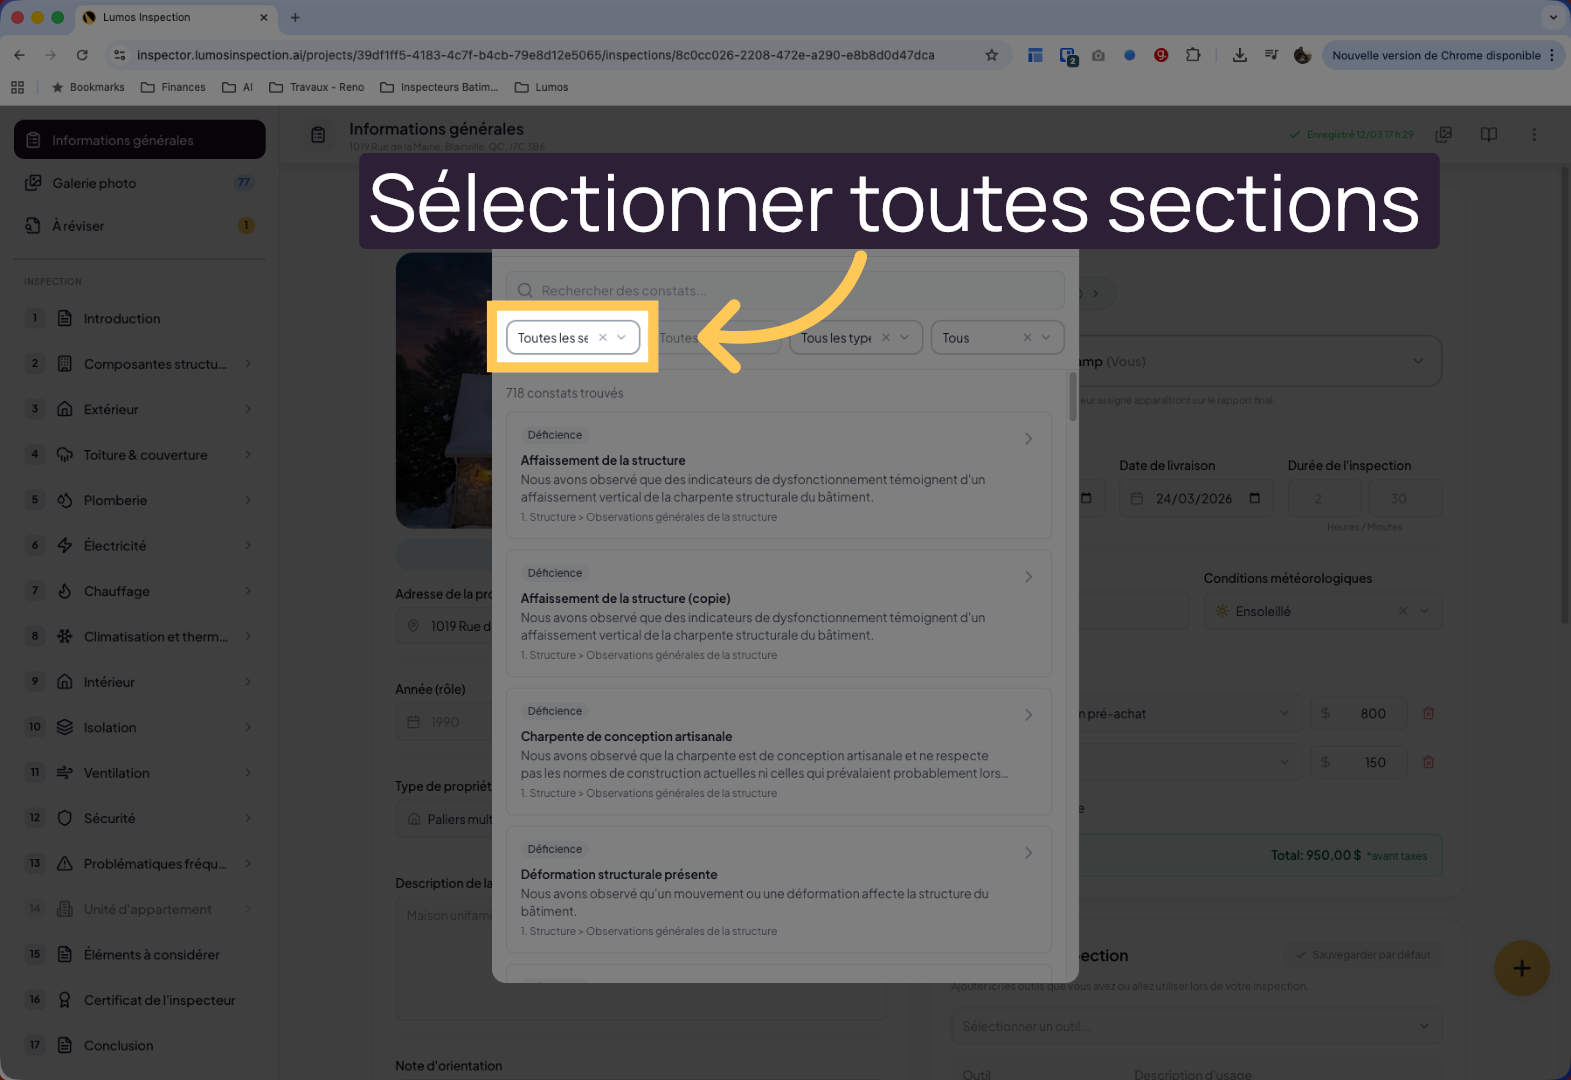
21. Select All Sections
Click “All Sections” to display all findings without section filtering.
22. Choose and Use a Finding
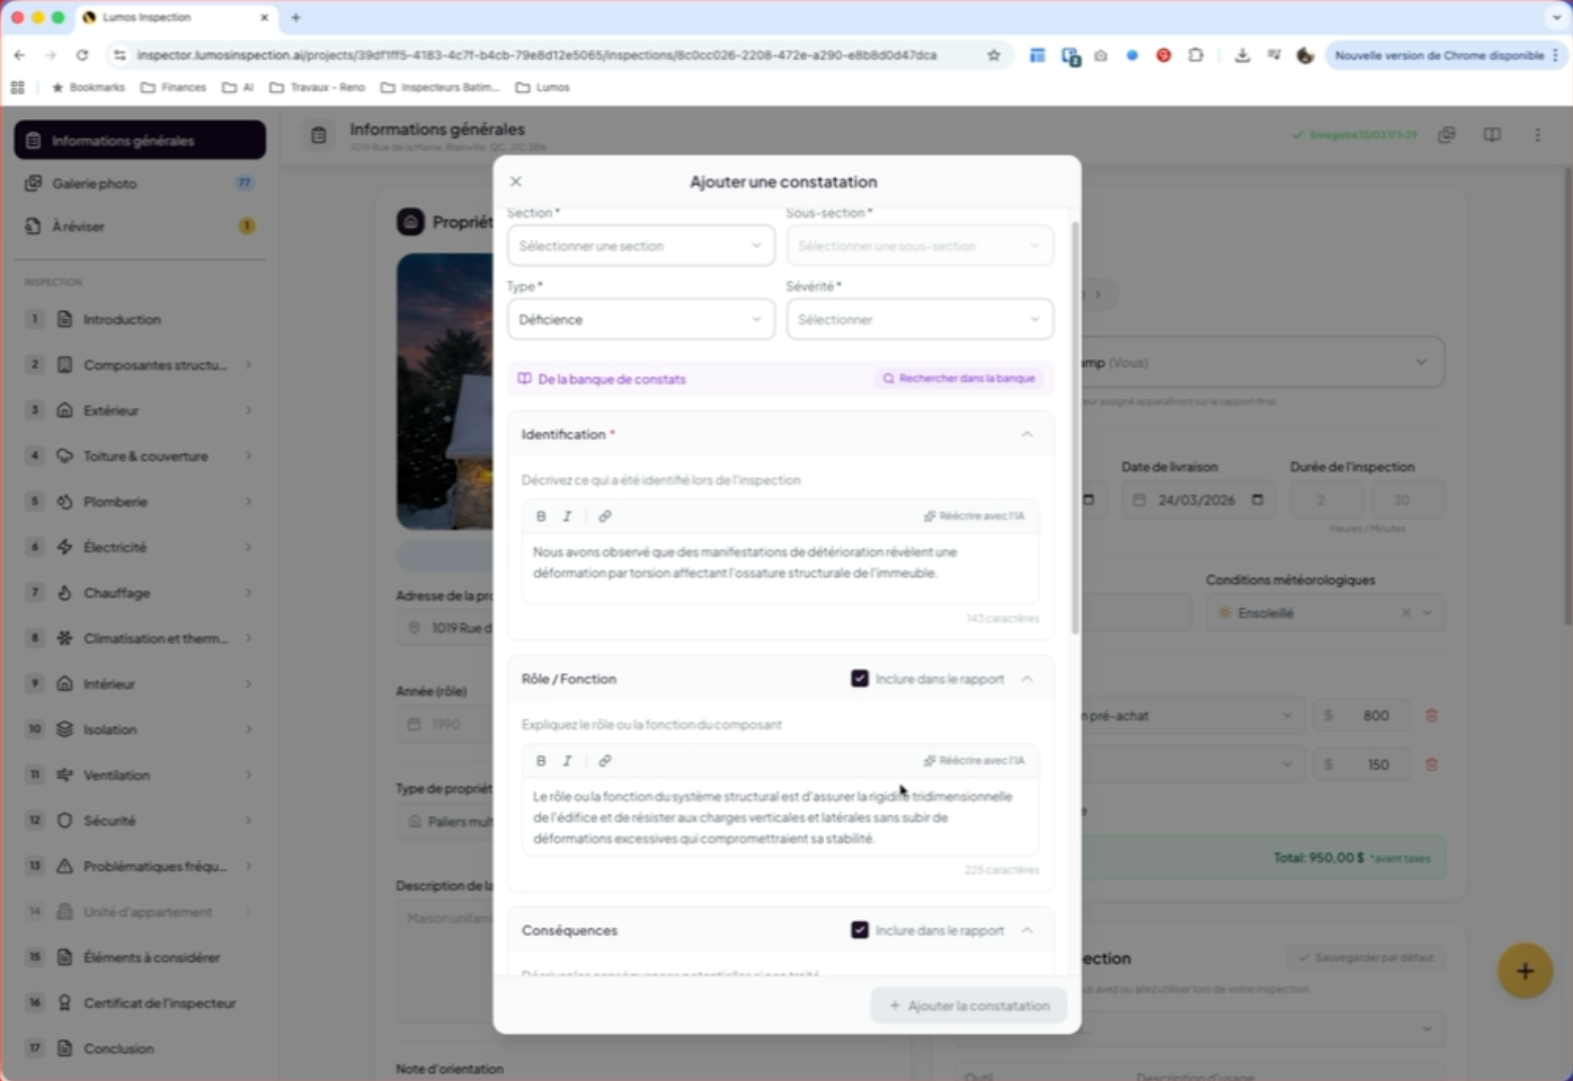
23. Fill In and Insert a Finding
Simply fill in the type, severity, section, and sub-section, then insert the finding into your inspection report.
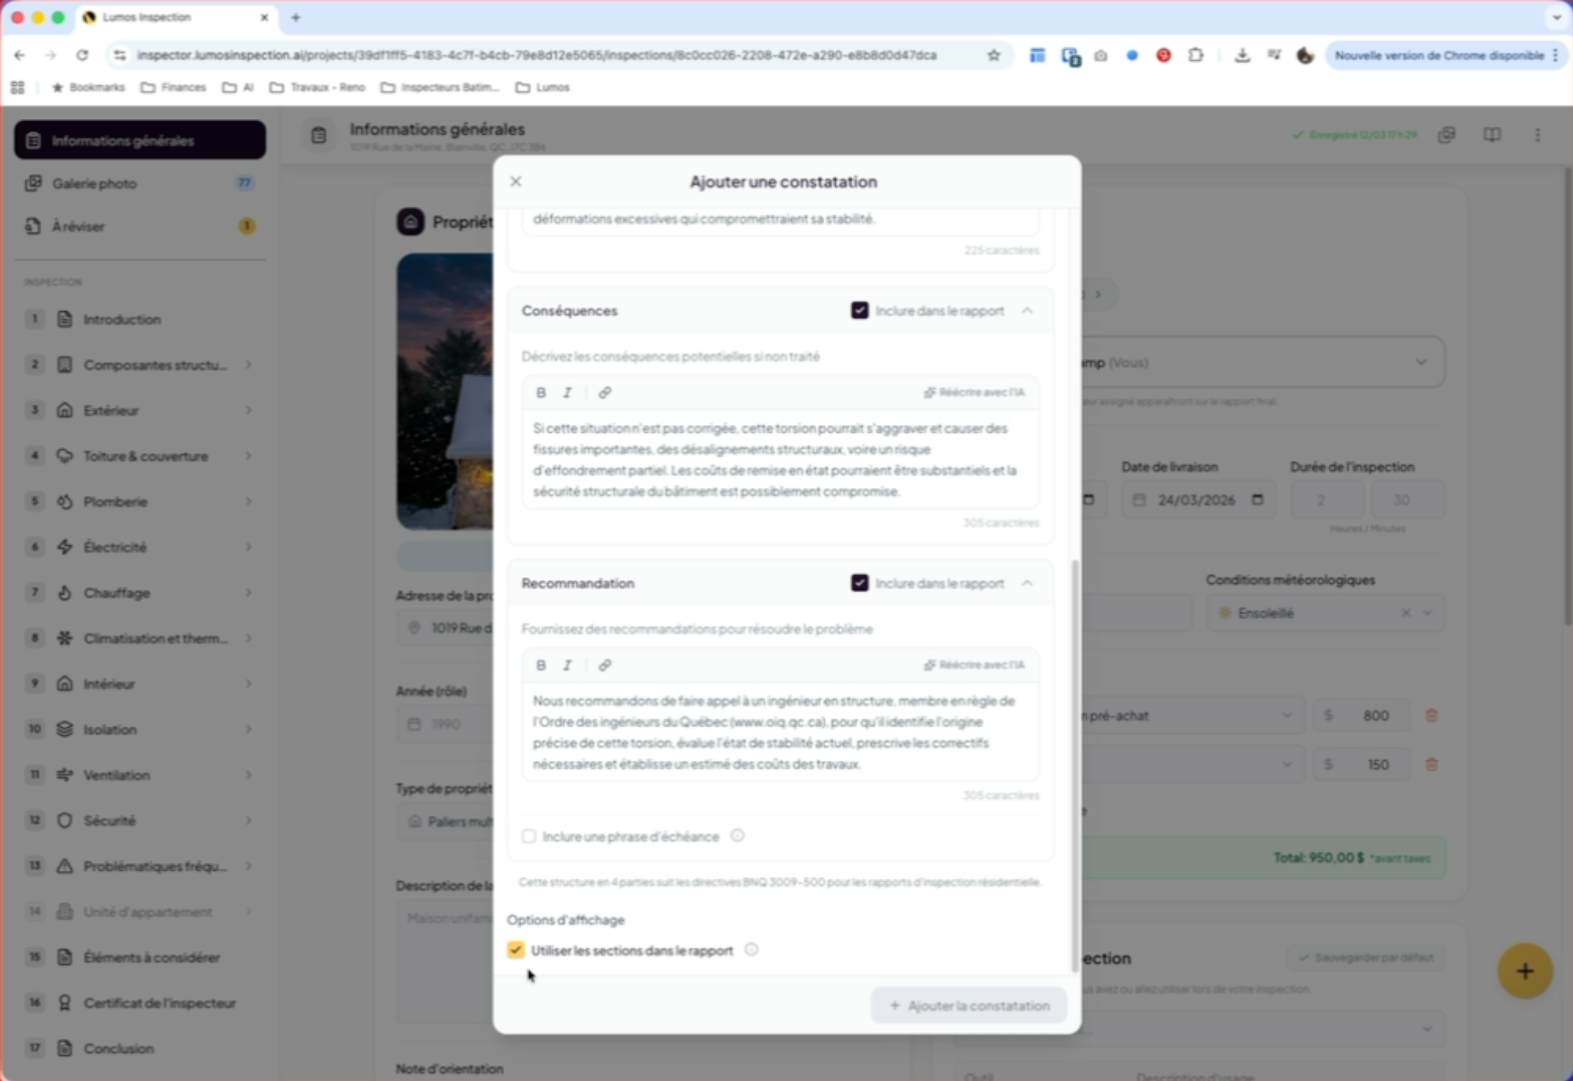
24. Choose the Finding Format
Note that you can decide whether to keep the four-paragraph format or a single paragraph in the client report.
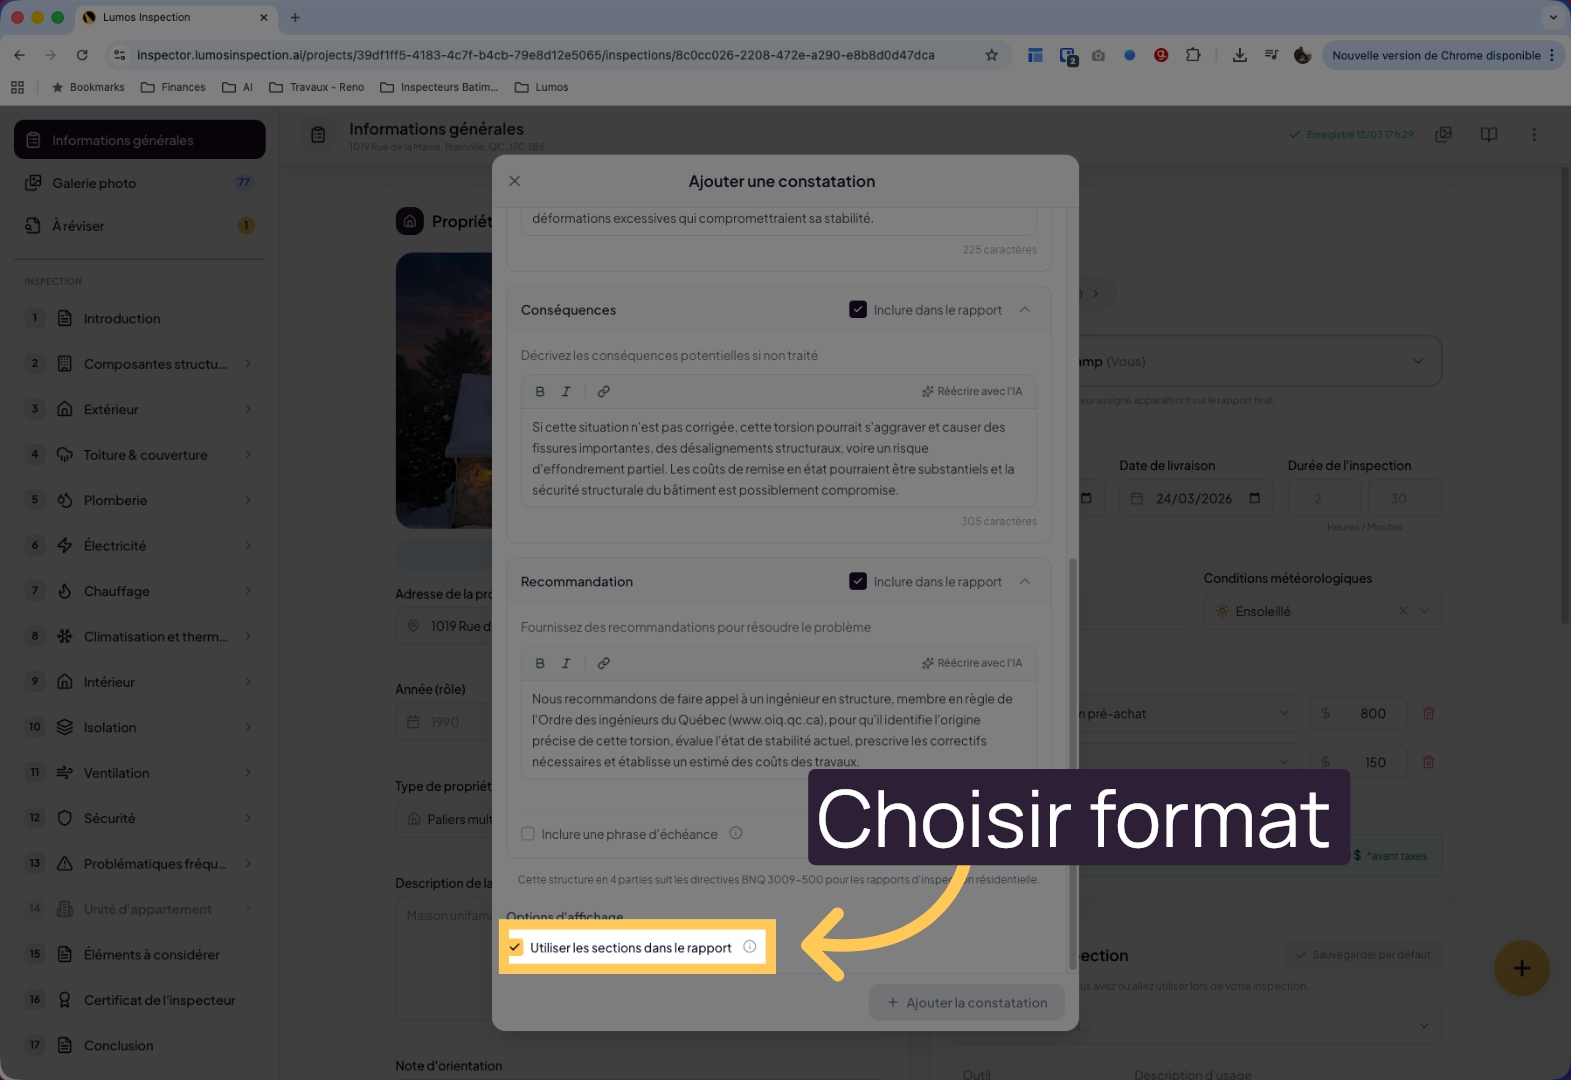
25. Select a Format Option
Click here to choose the presentation format for your finding.
26. Finalize the Selection
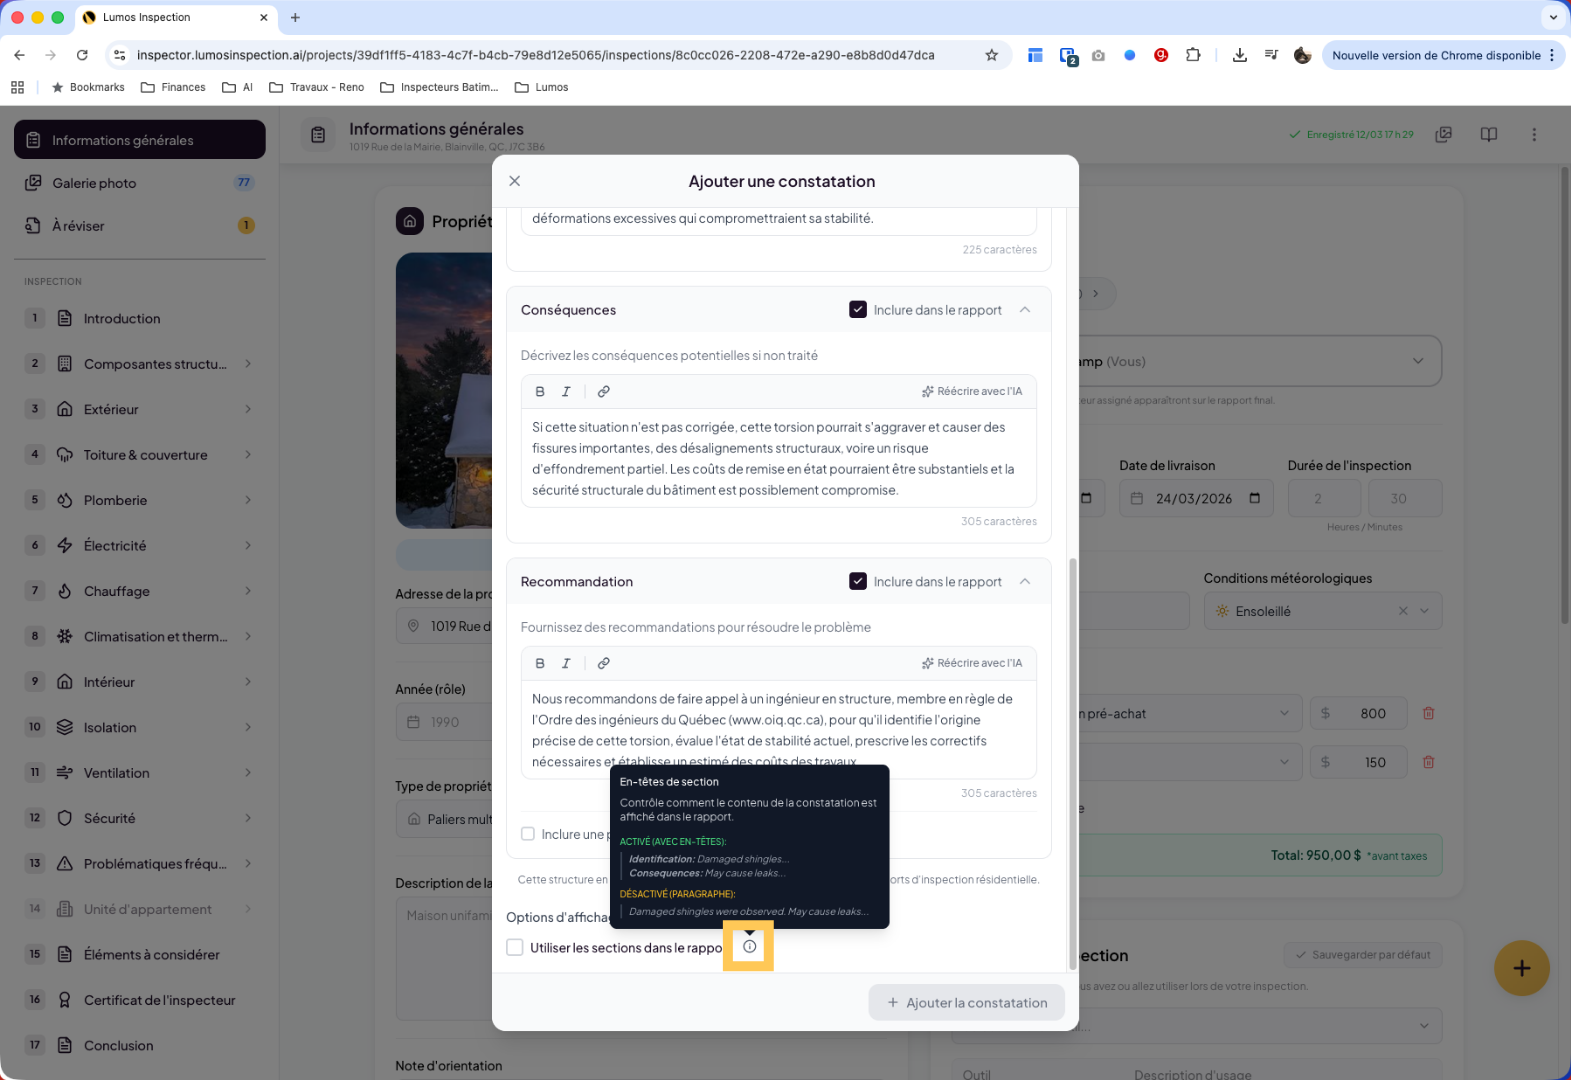
Thank you for following this tutorial! You’ve learned how to navigate the Lumos findings bank, filter, view, duplicate, create, and insert custom findings into your inspection reports. You can now efficiently manage your findings to optimize your inspections.