Create your first inspection in a project
This tutorial guides you through creating an inspection in an existing project in Lumos. You will learn about the different components of the inspection report.
Visit inspector.lumos.property
1. Create a New Inspection
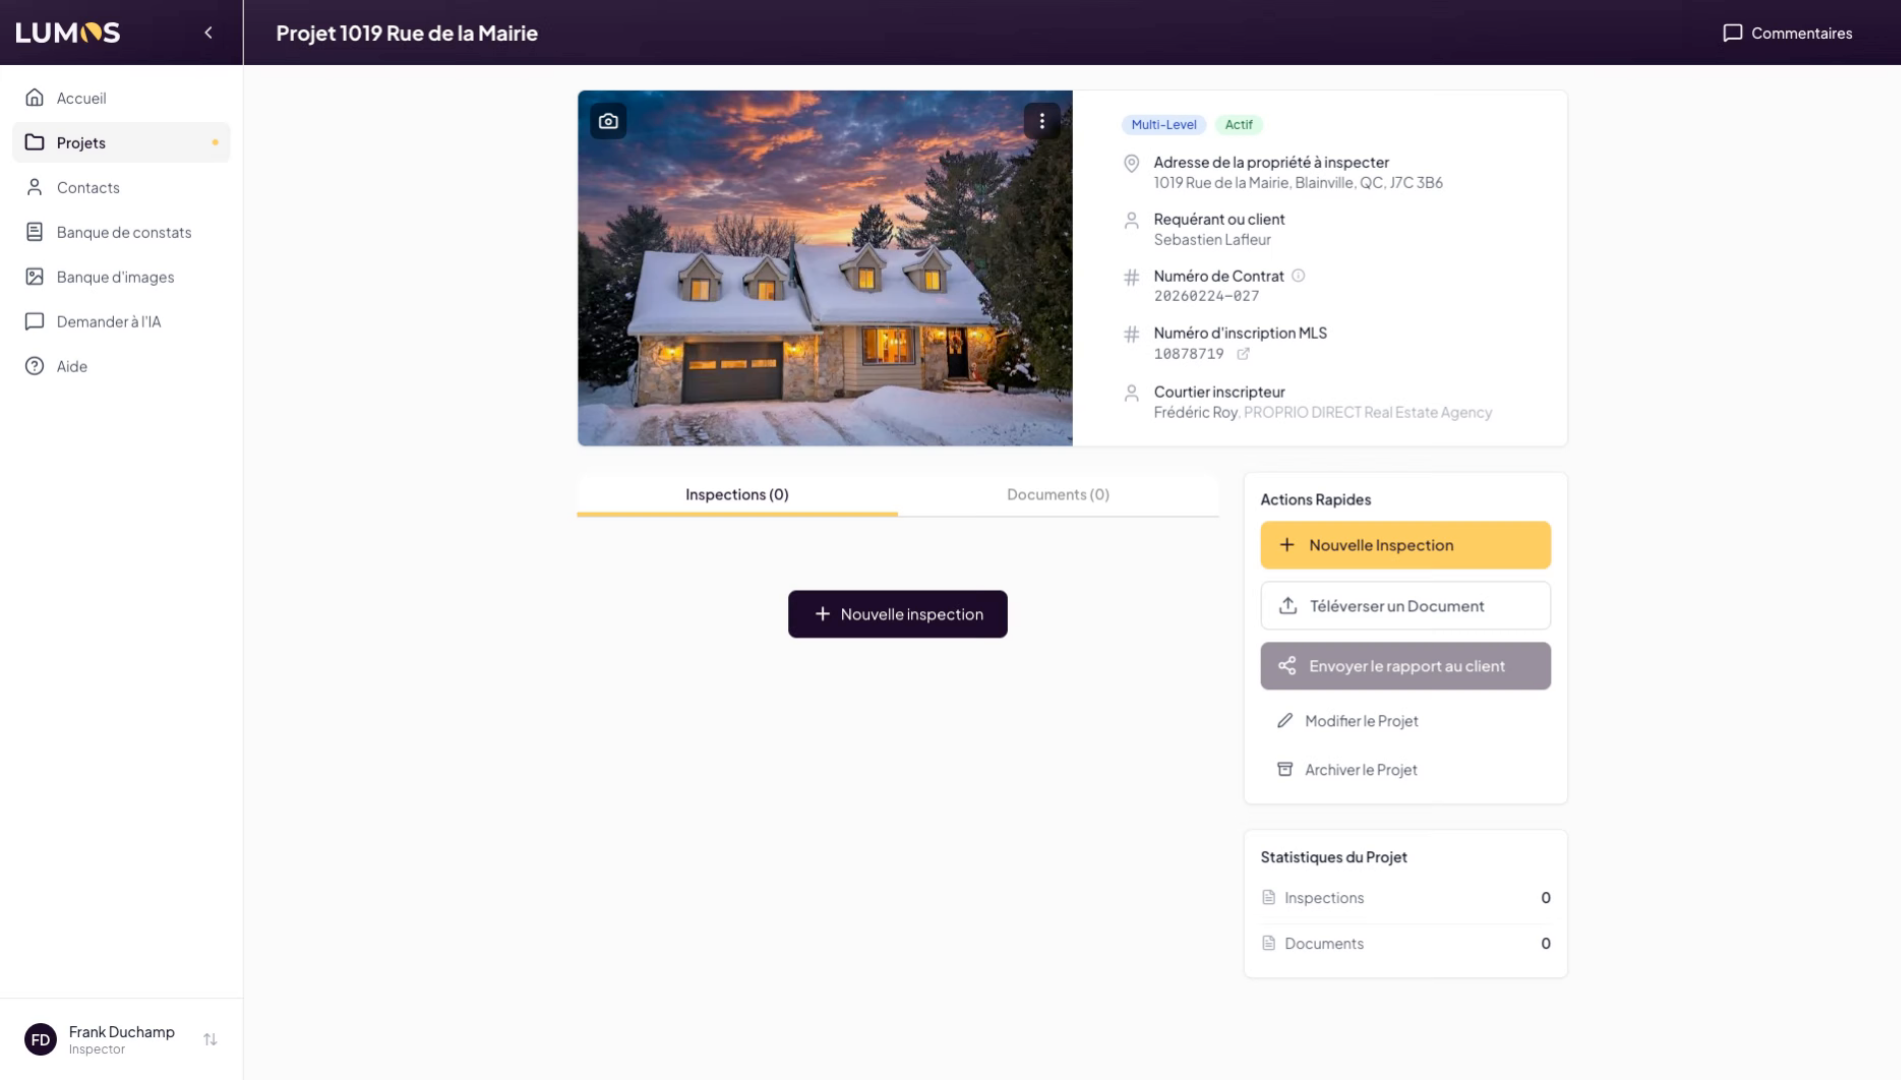
2. Choose an Inspection Template
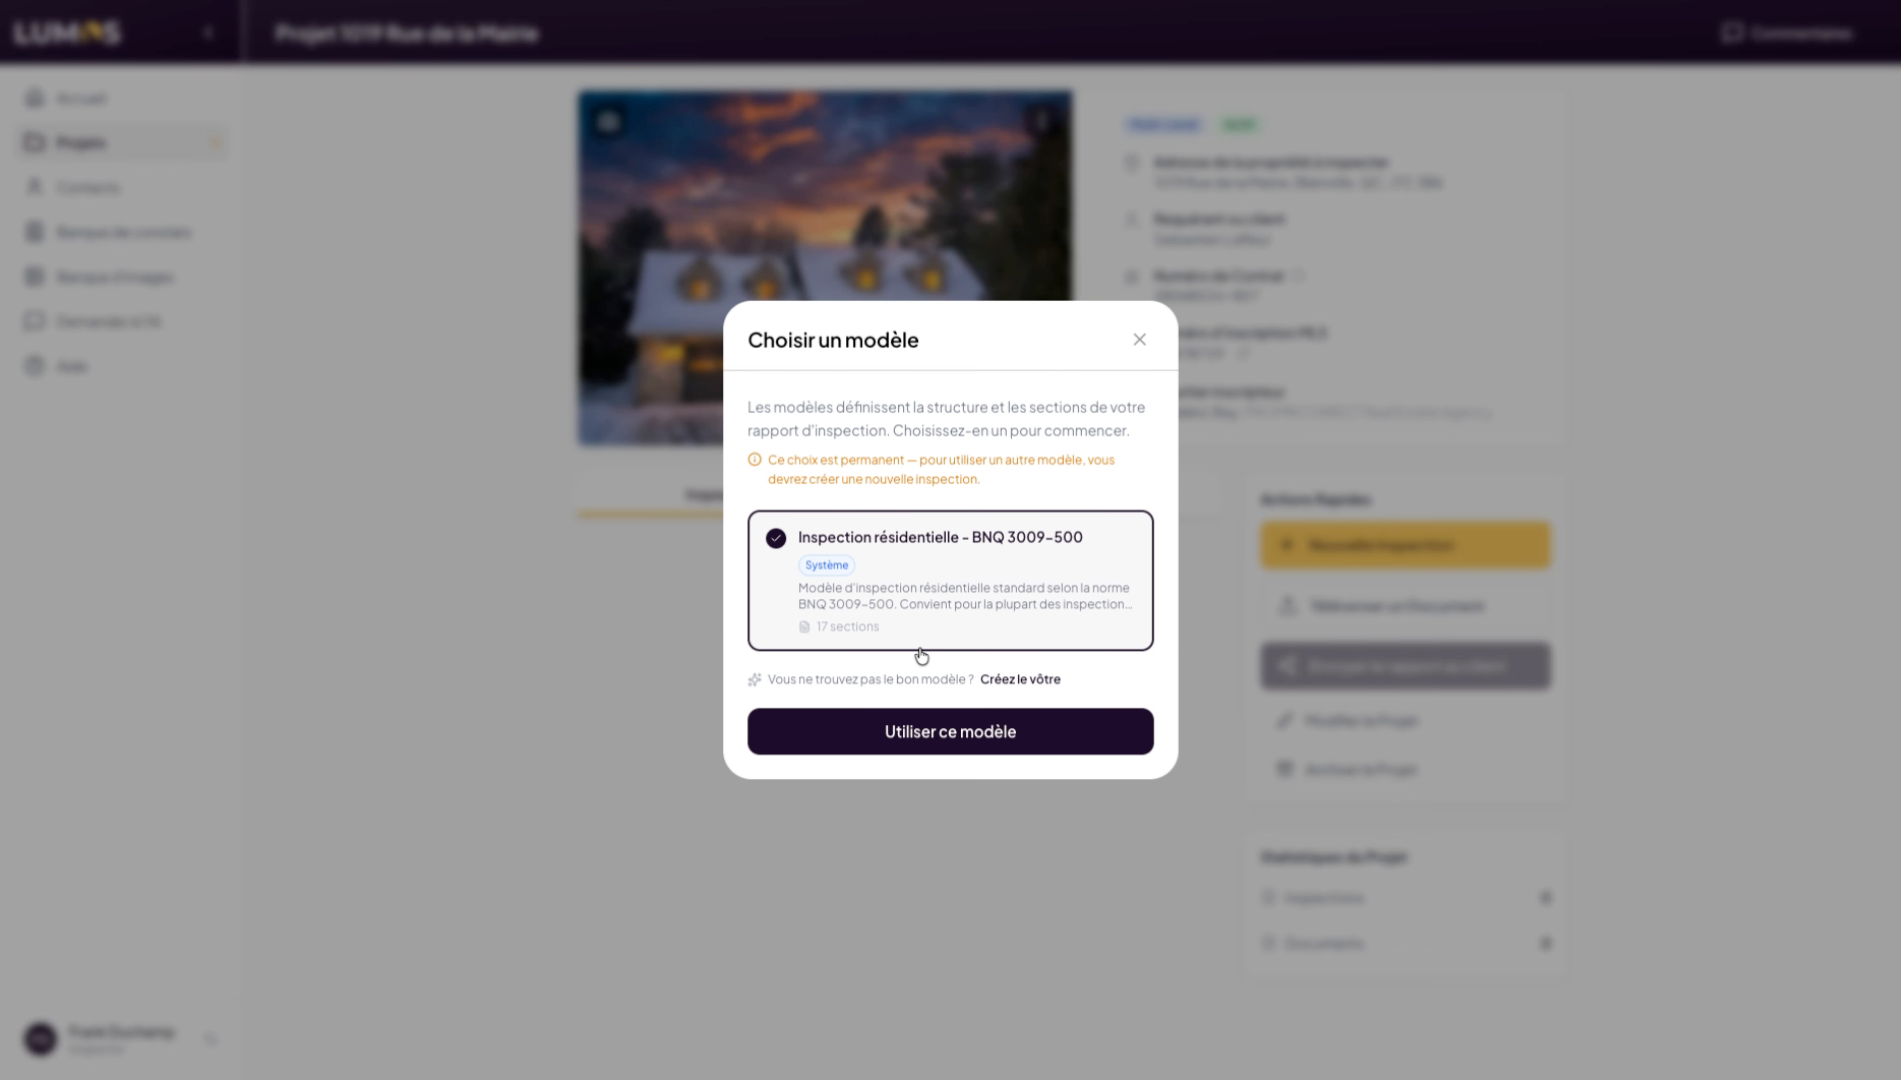
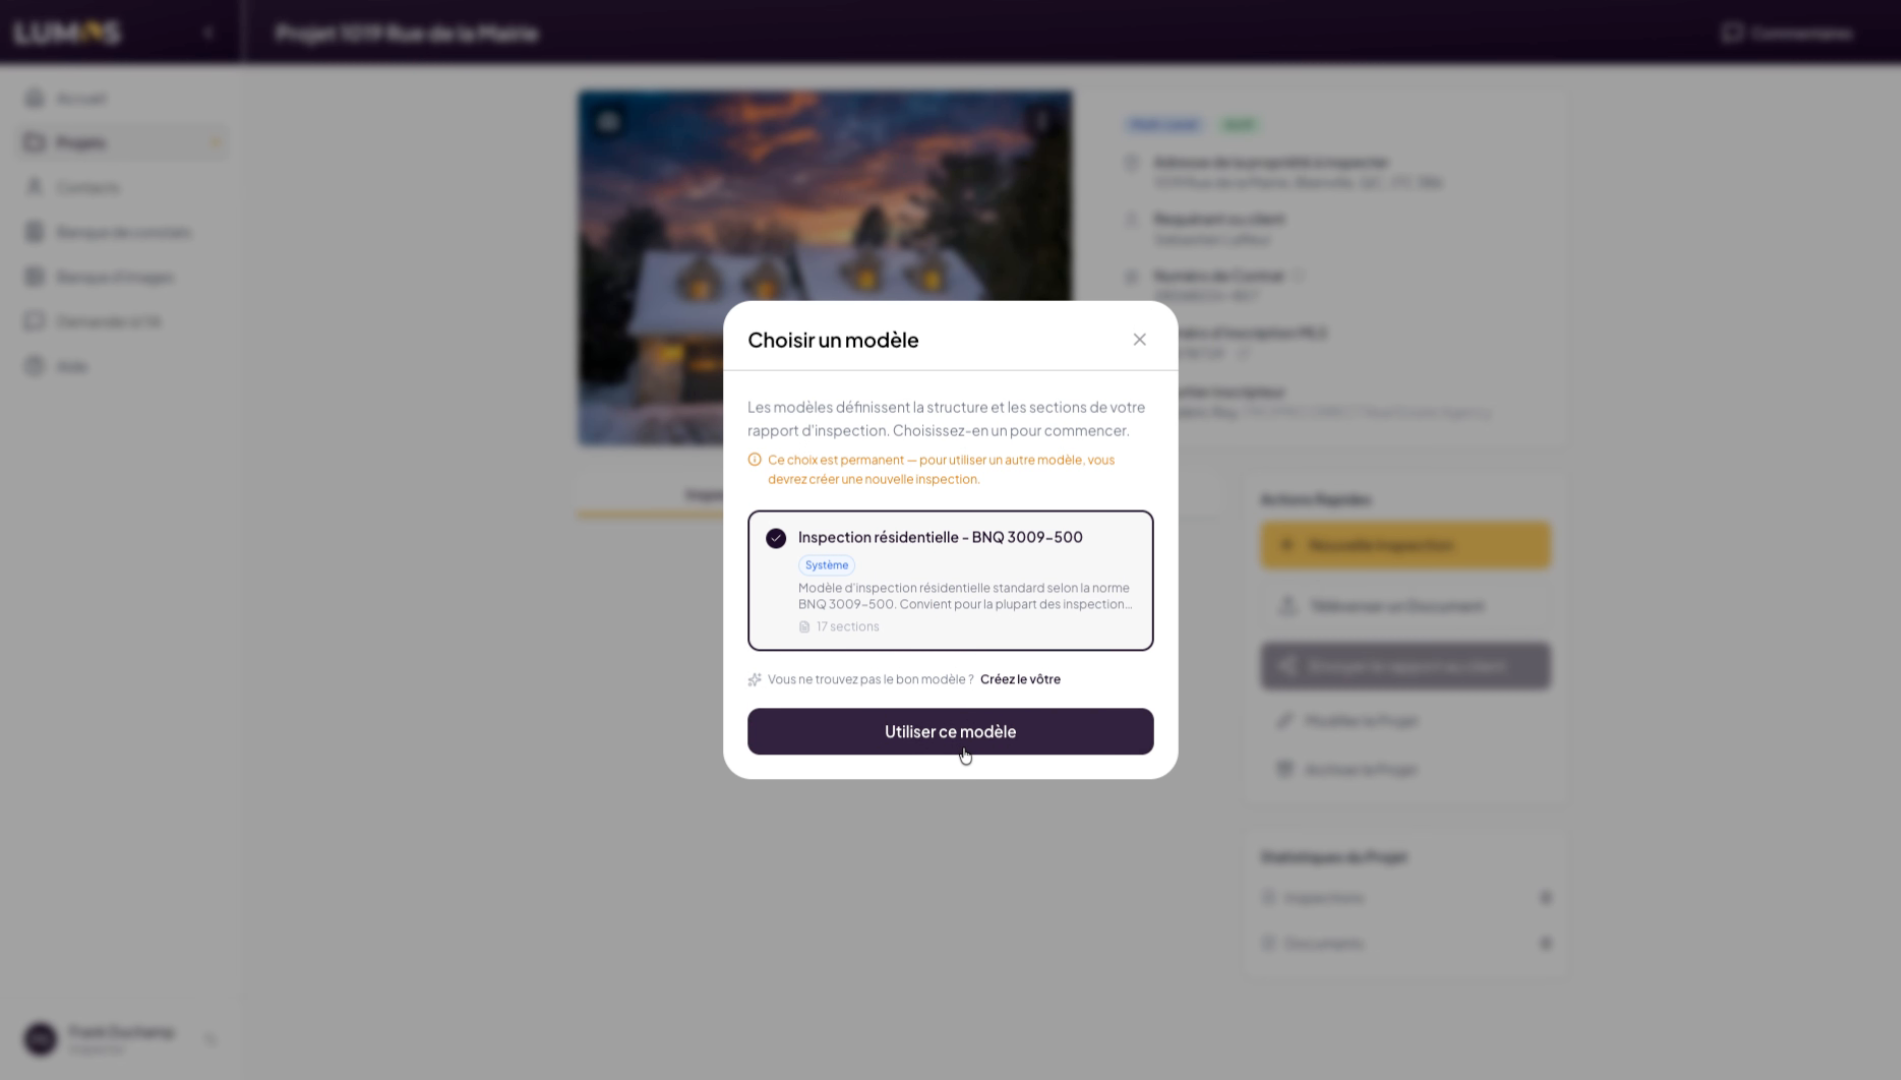
3. Use the Selected Template
Once the template is selected, click on “Use this template”.
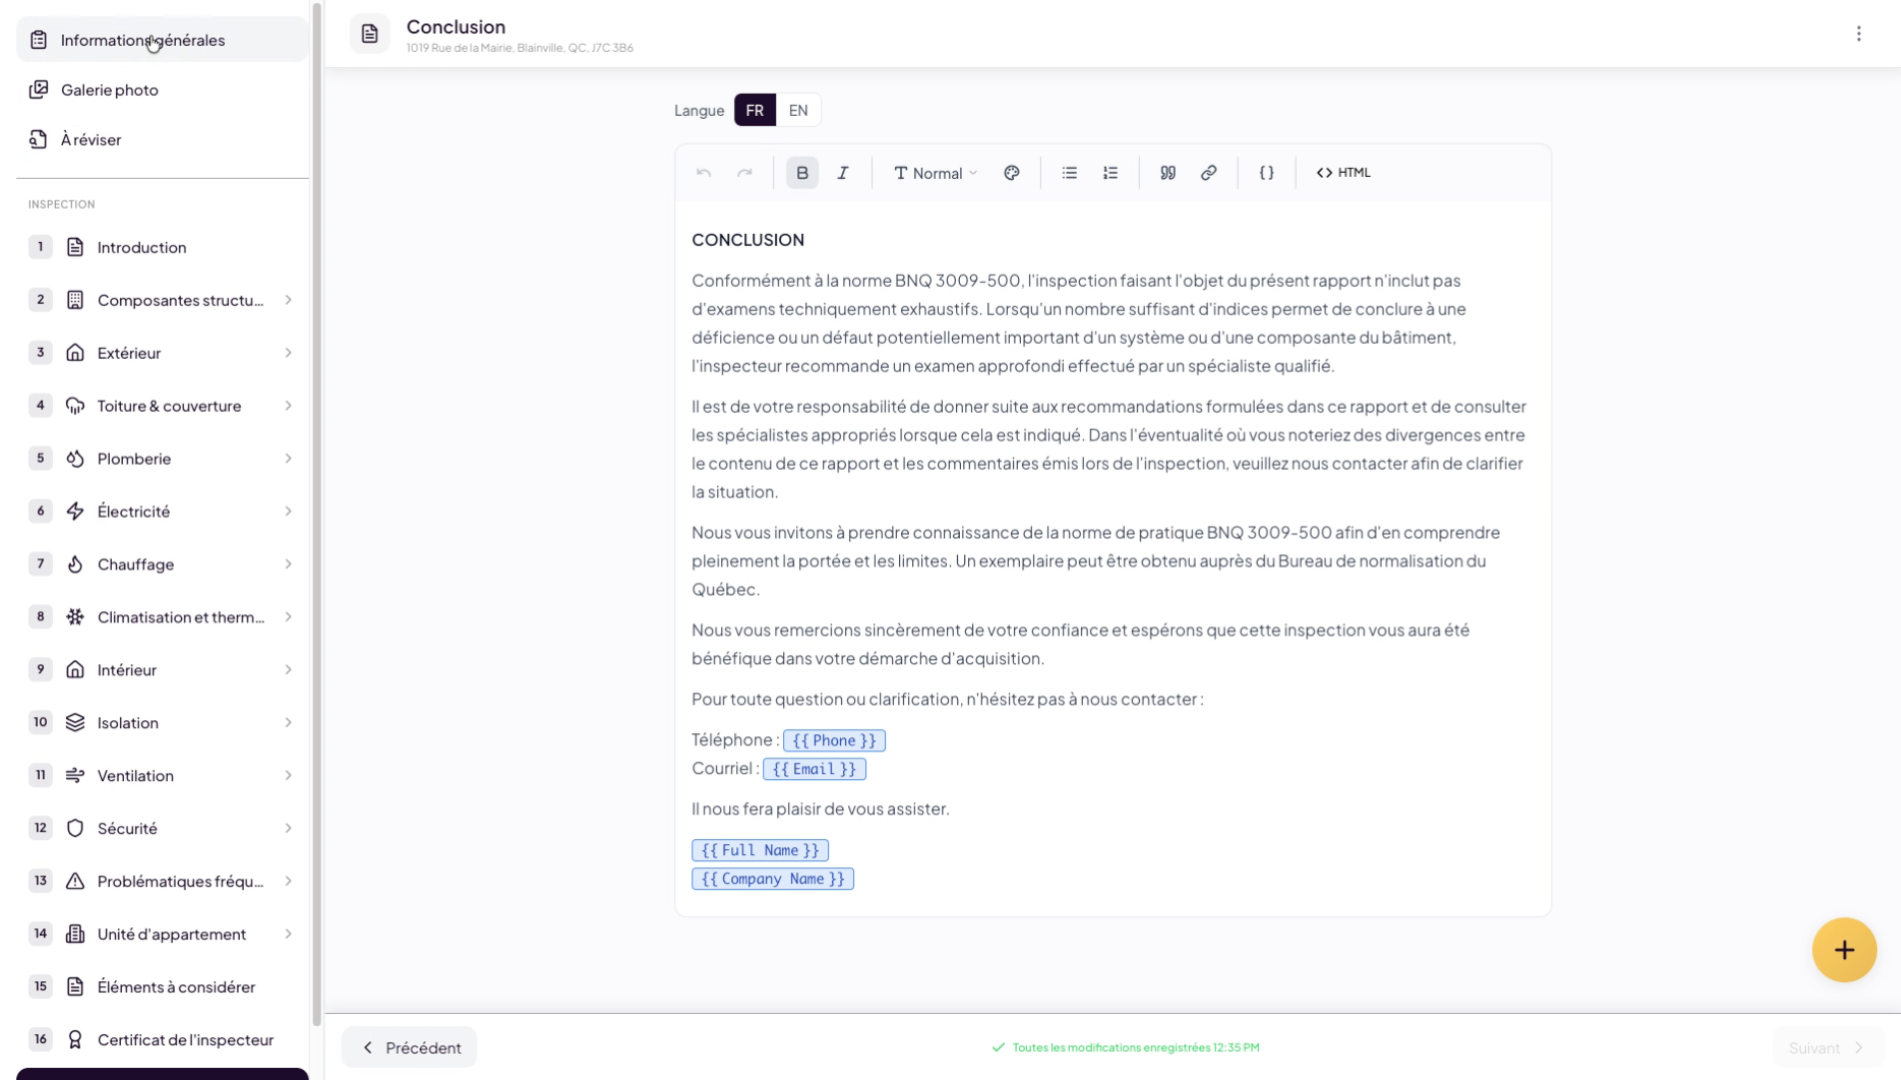
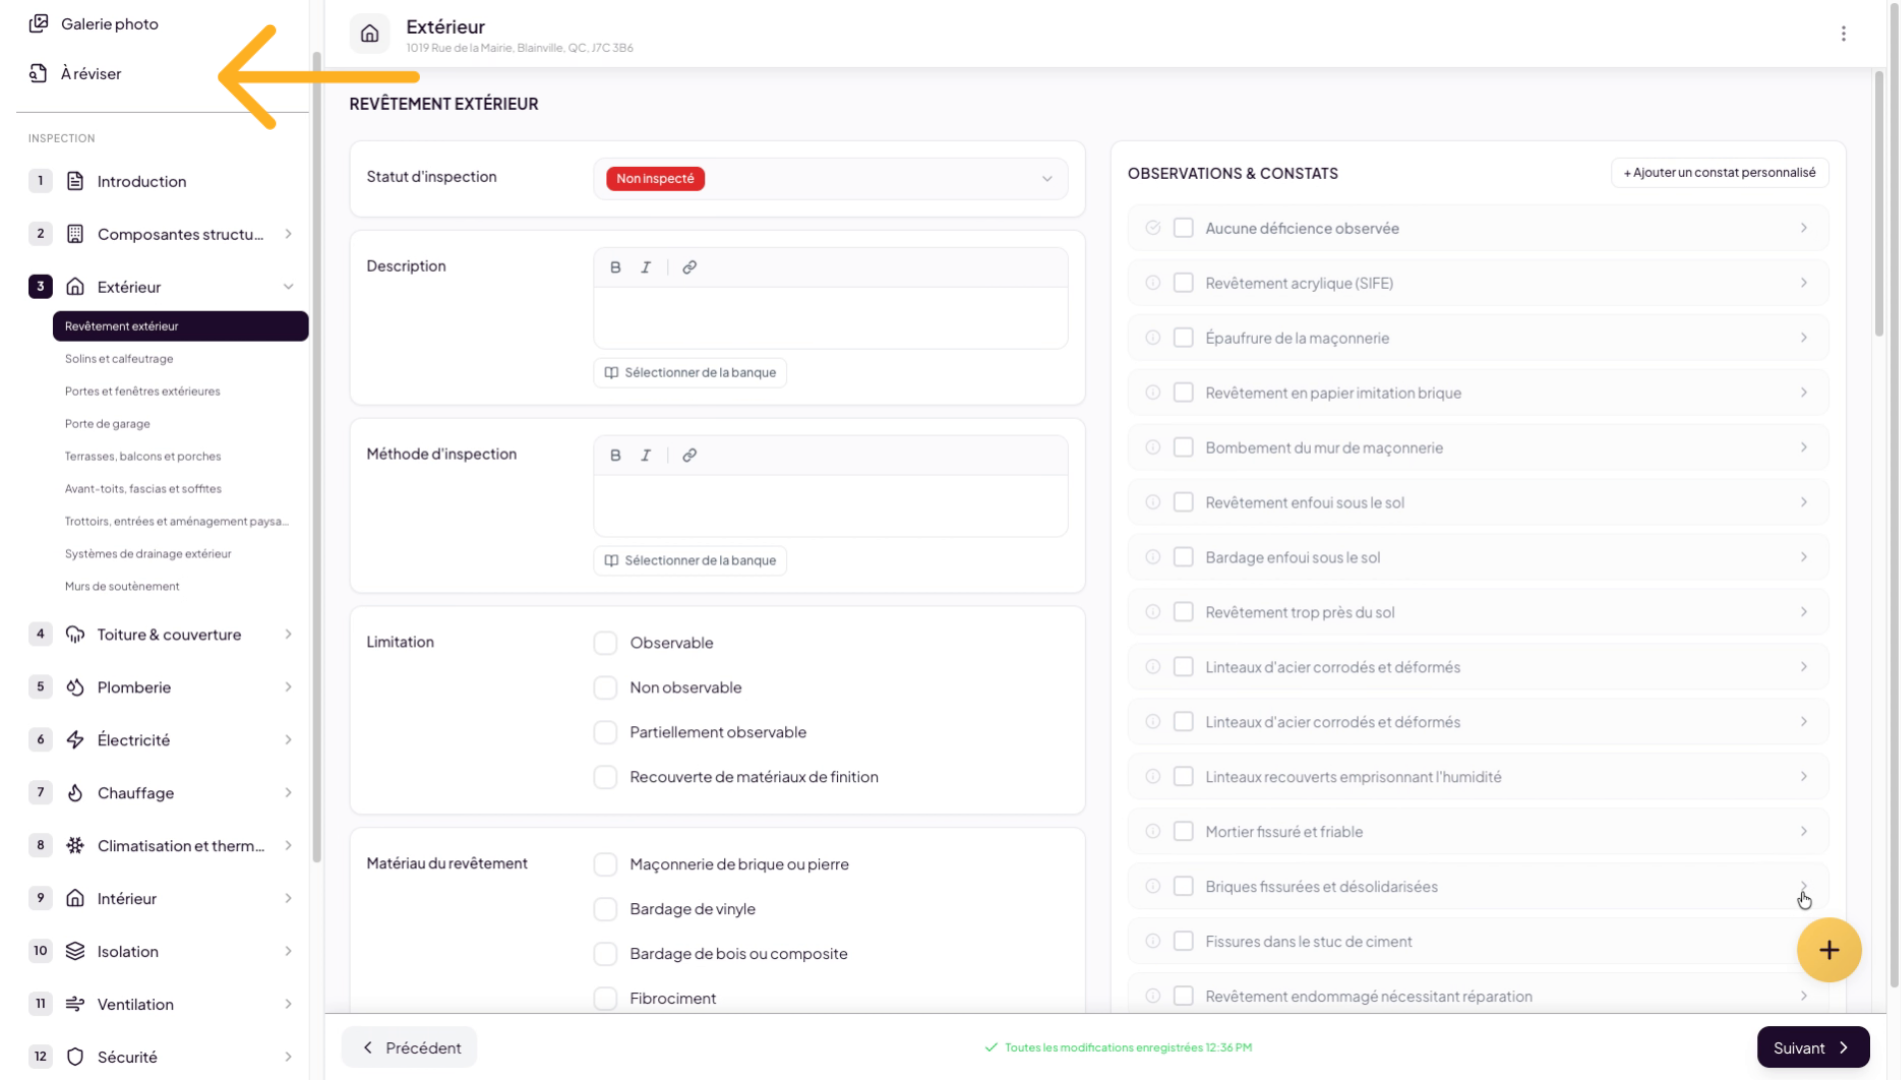
4. Explore the Inspection Interface
You are now in the inspection interface. On the left side, you will find the components and roadmap of your inspection report, including introduction texts, inspector certificate, conclusion, and all building-related sections.
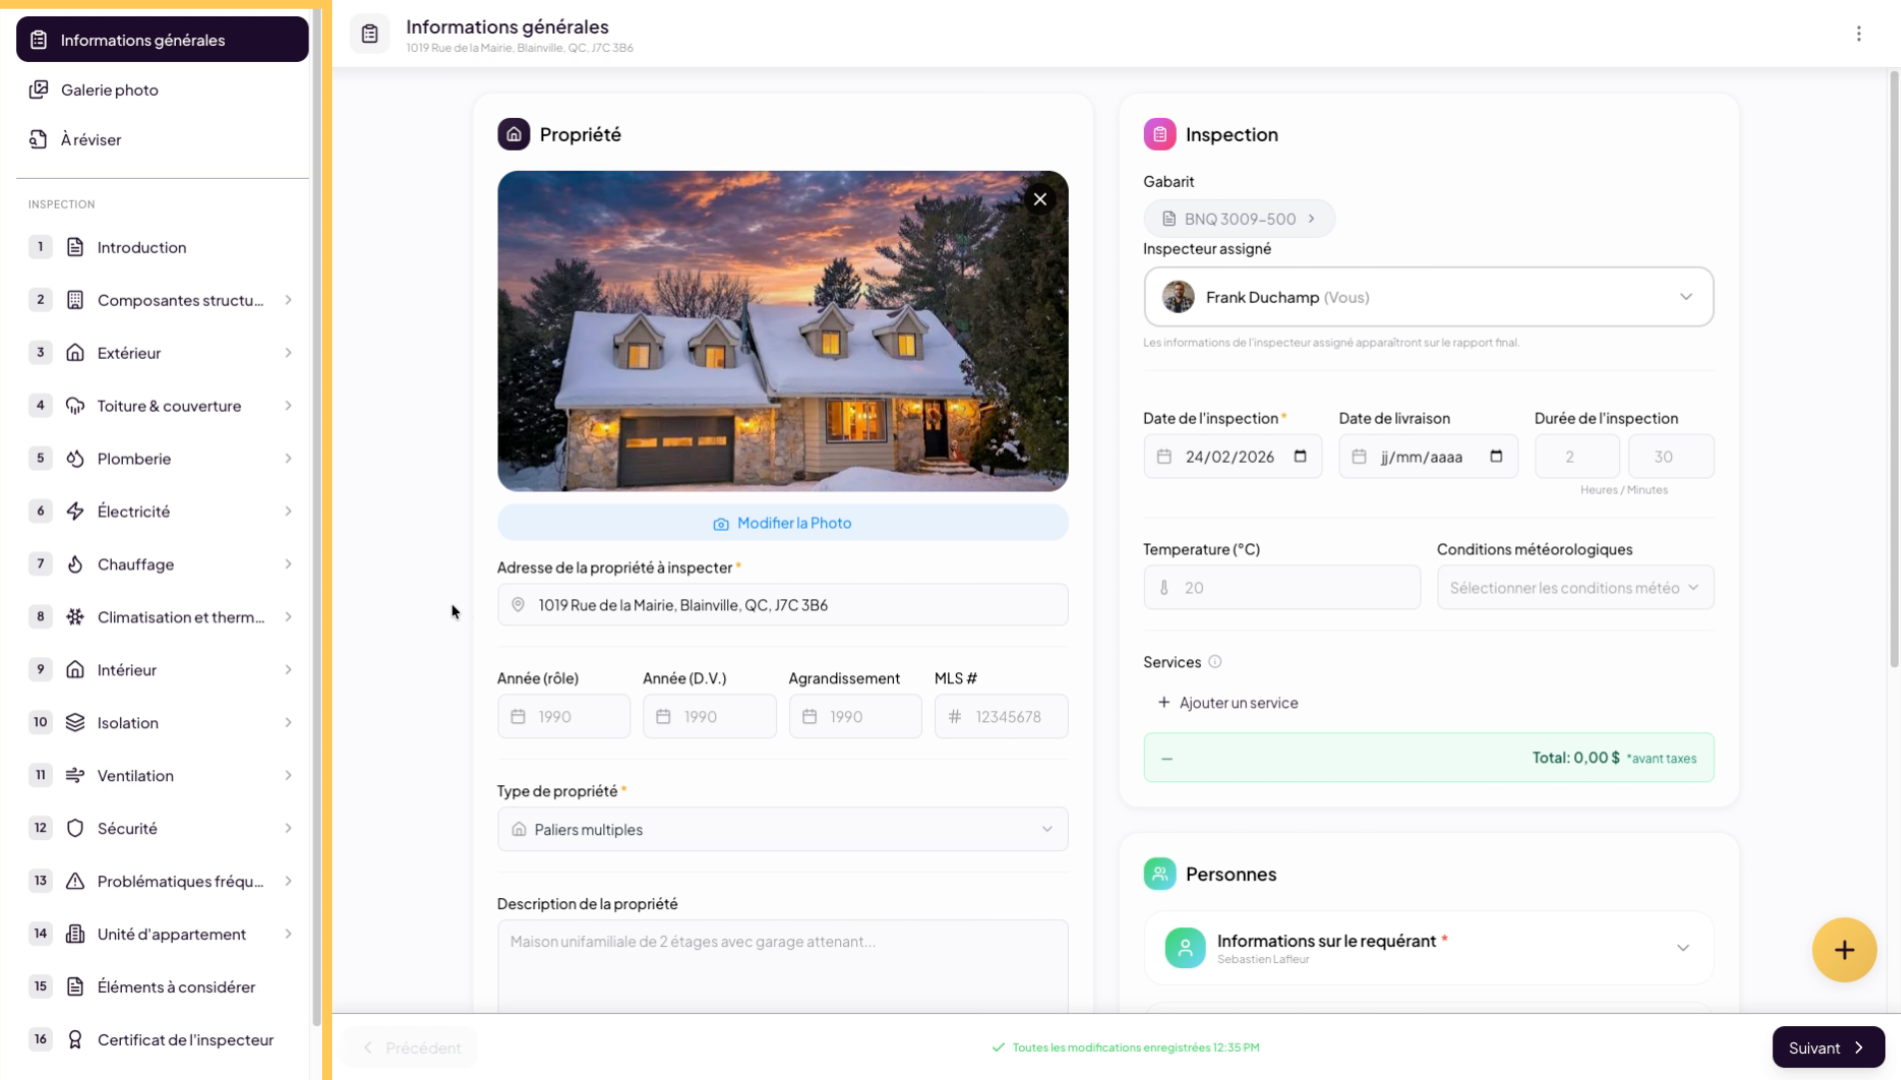
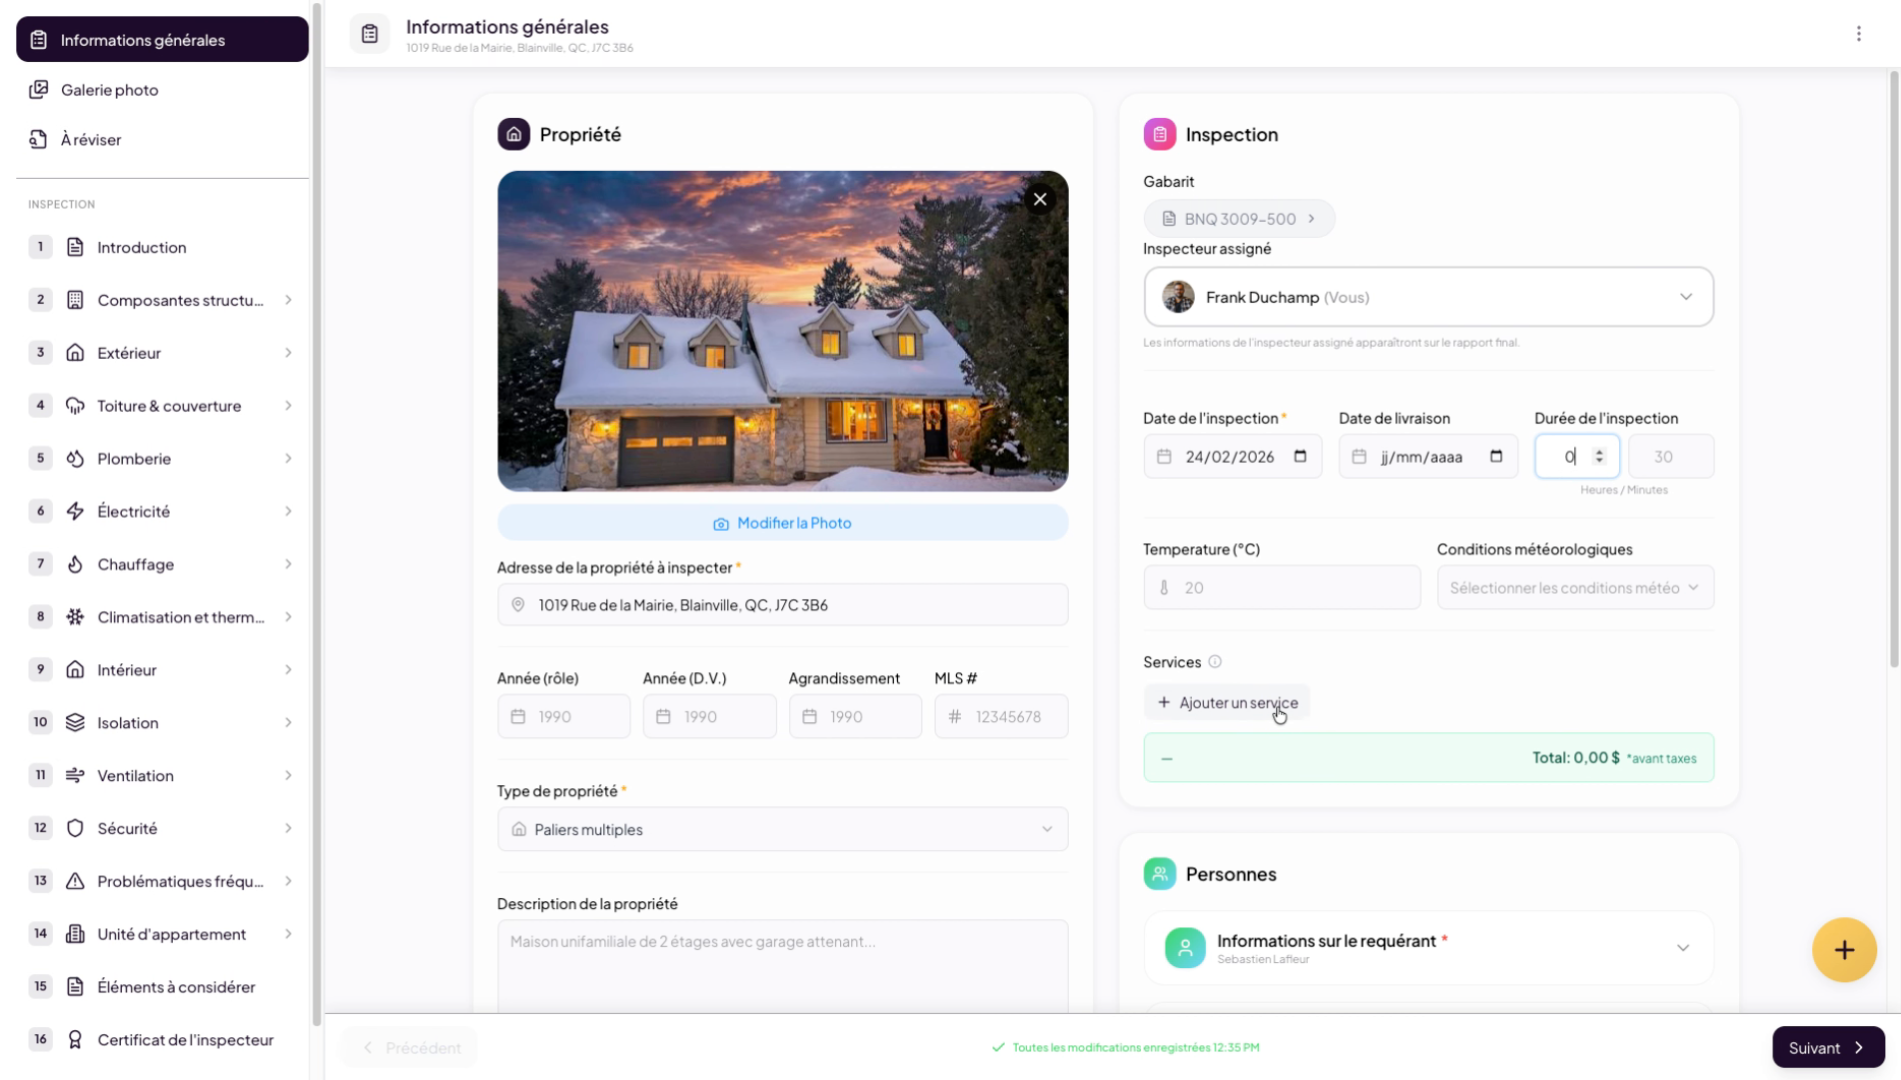
5. View General Information
The General Information tab presents the main details about the building: year of construction, property type, list of people present during the inspection, date and duration of the inspection, and the weather on the day of the inspection.
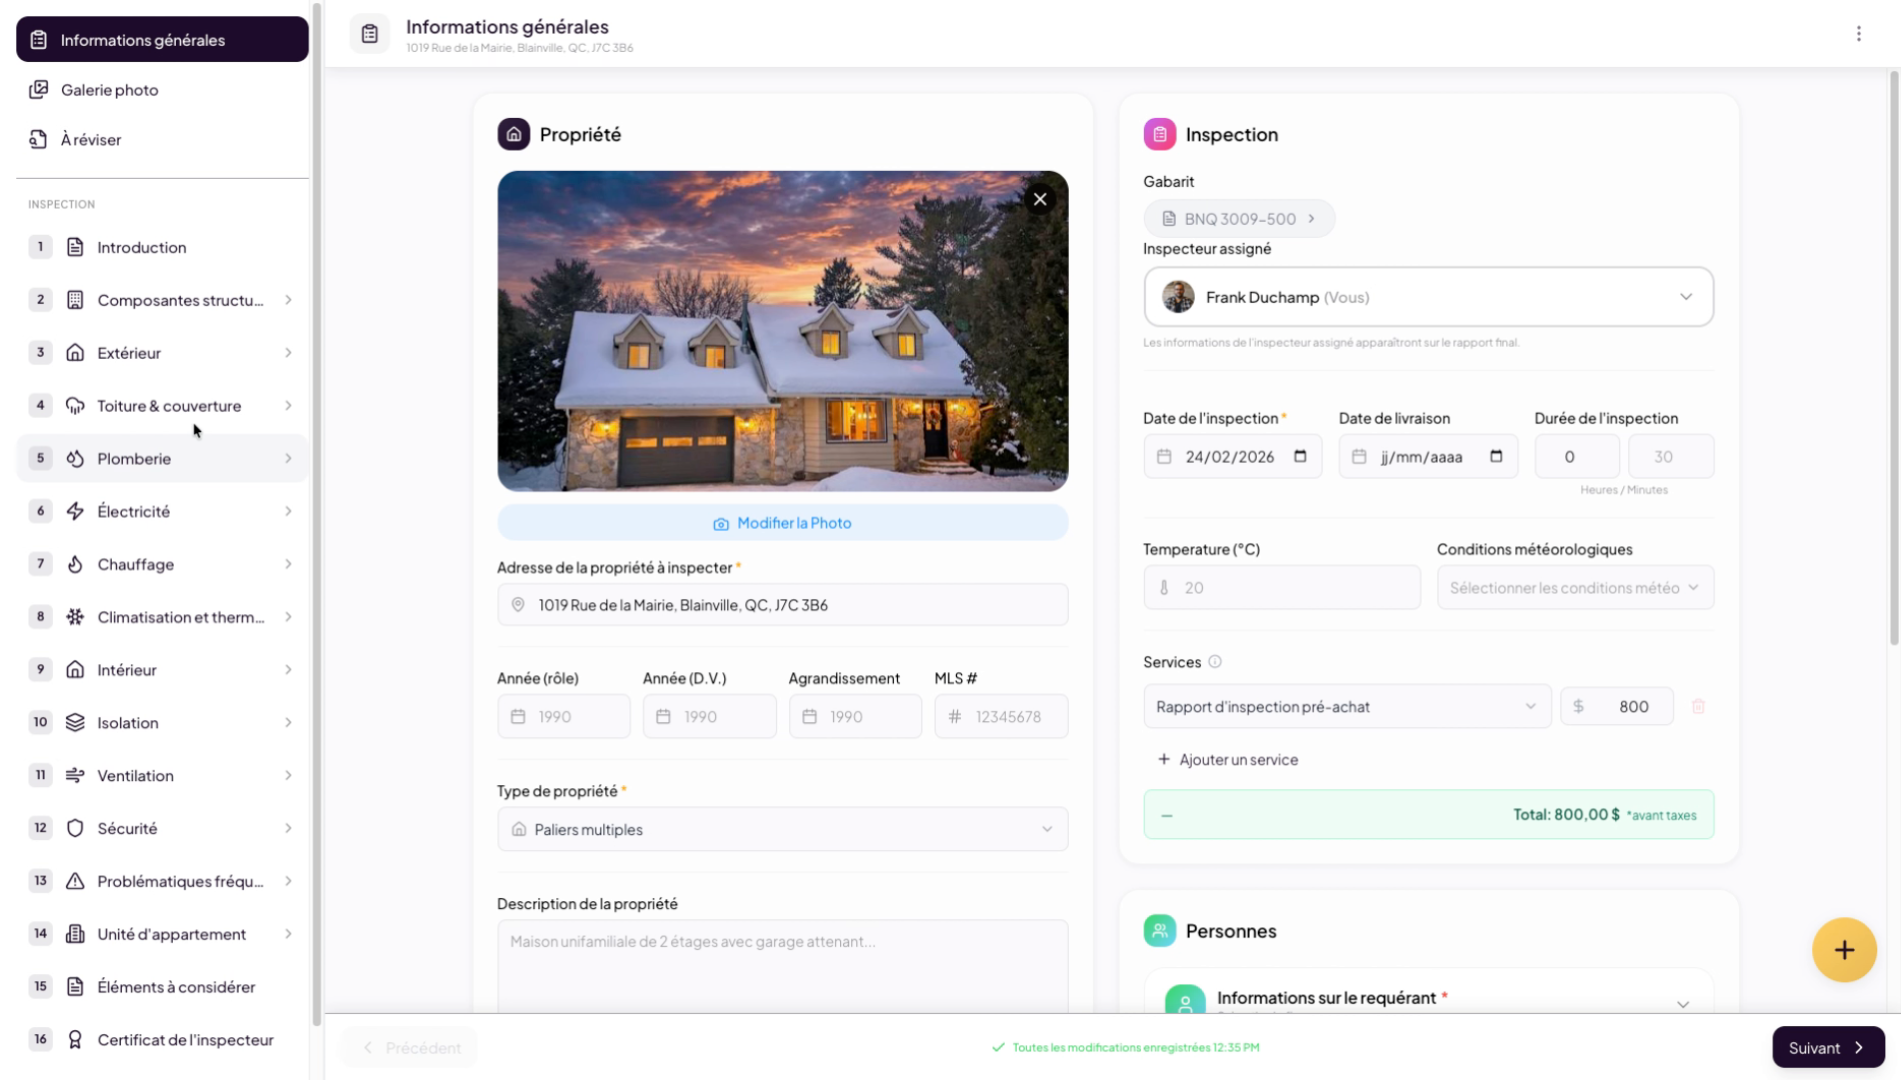
6. Add Services for Invoicing
You can also add services to automatically generate an invoice. Amounts added here will be automatically included in the inspection invoice. We invite you to watch the invoice management video in Lumos for more information.
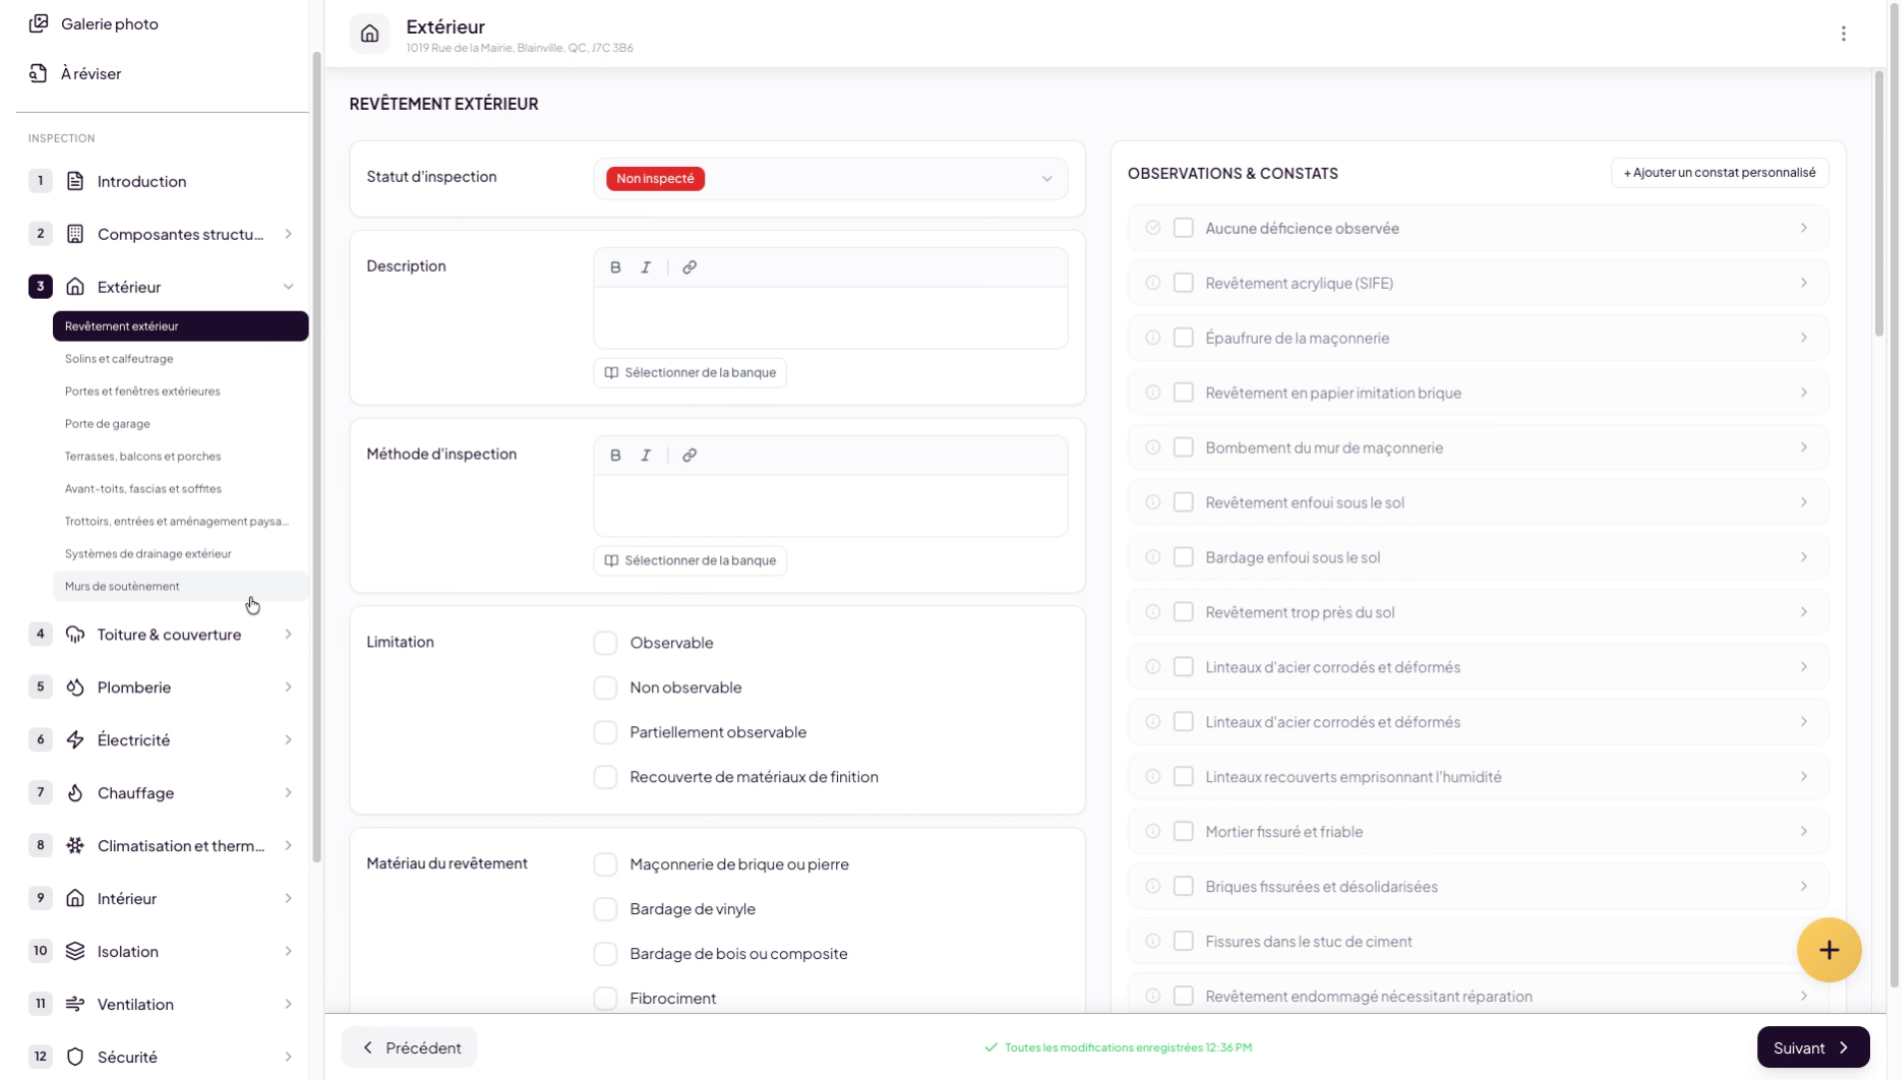
7. Navigate Through Inspection Sections
In the roadmap, each section contains a list of related subsections. You can navigate freely and decide which sections to fill in, in any order you prefer.
8. Create Automatic Findings in the Inspection
In the inspection interface, you will also find a permanent plus button in the bottom right corner that allows you to create automatic findings at any time using audio notes or text — especially handy when using Lumos on mobile in the field.
9. Manage Report Findings
All findings generated via this button will appear in the “To Review” tab. This allows you to sort them, edit them, and decide where to insert them in the report.
You have now walked through creating a complete inspection in your Lumos project. You can follow our other tutorials to learn more about managing findings or photos in an inspection report.