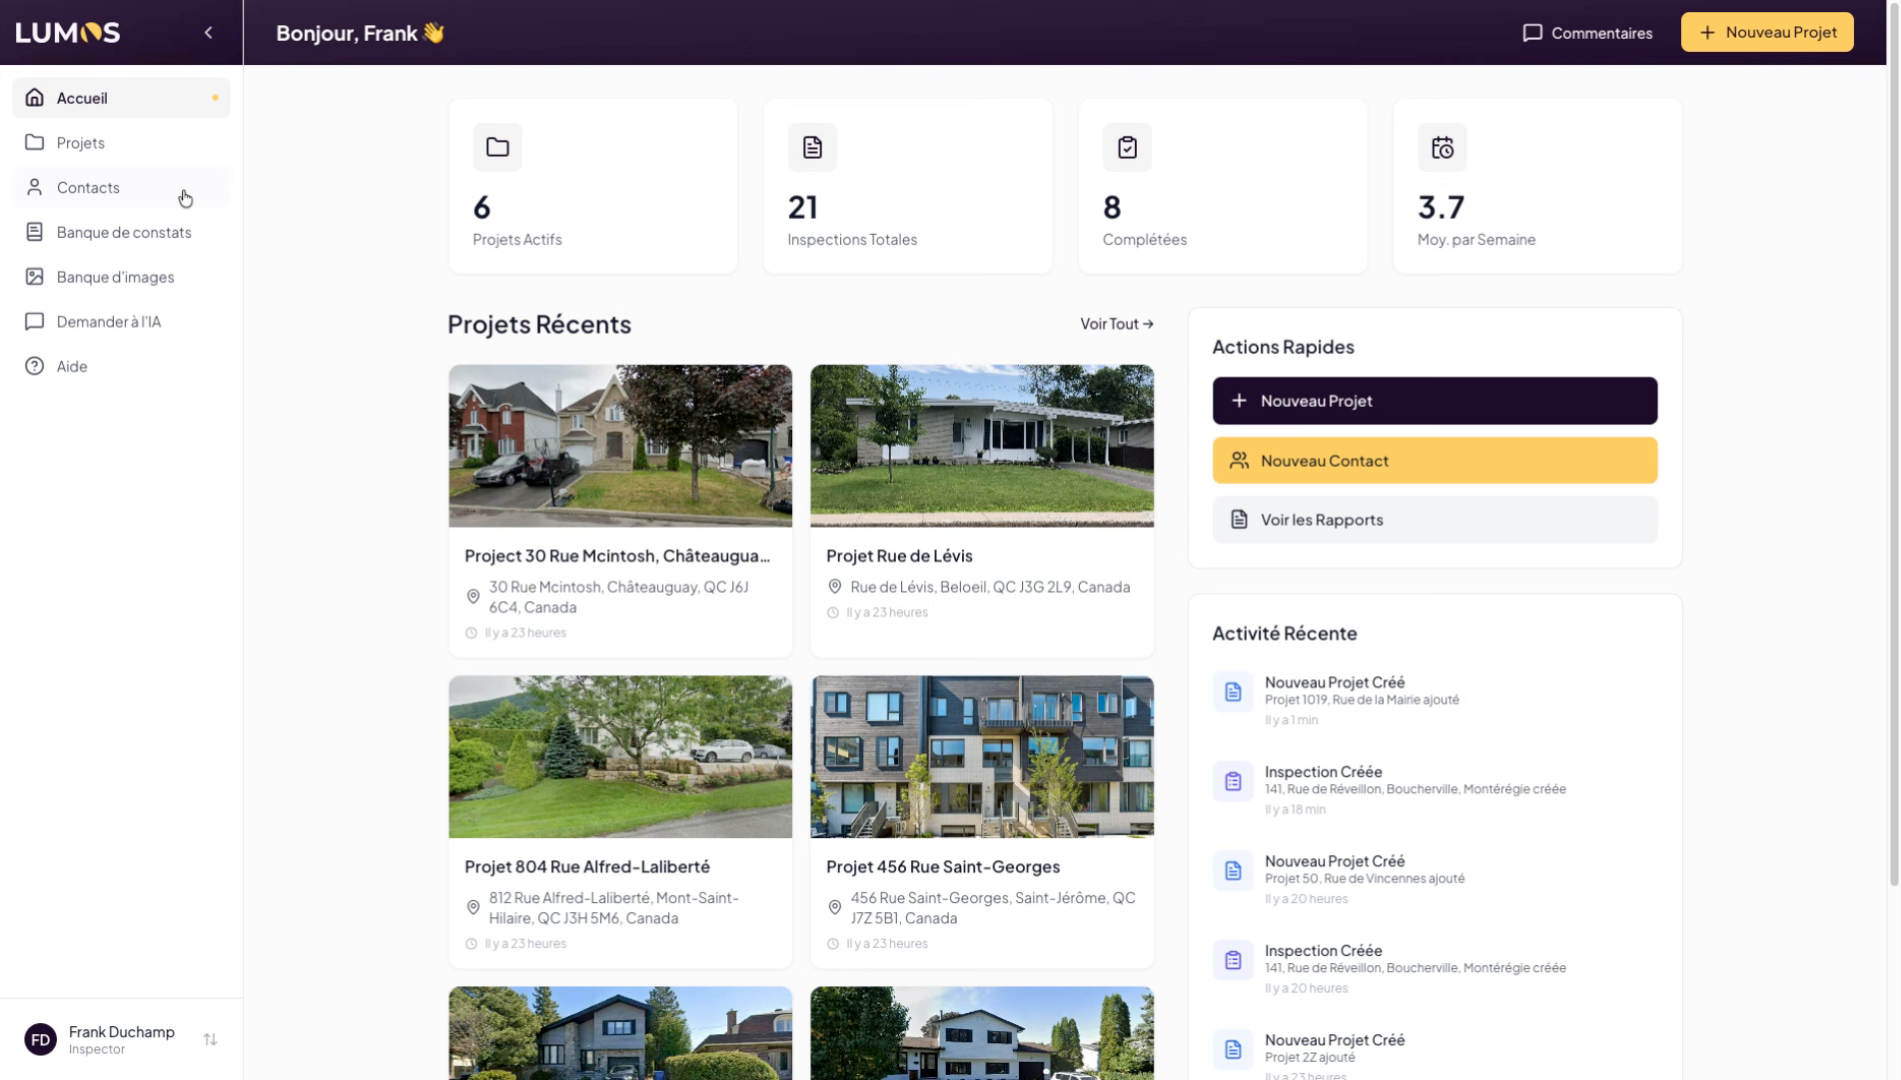
Create your first project
This tutorial guides you through creating a project in the Lumos Inspection application. You will learn how to use the different options available to configure a project linked to a specific address.
Visit inspector.lumos.property
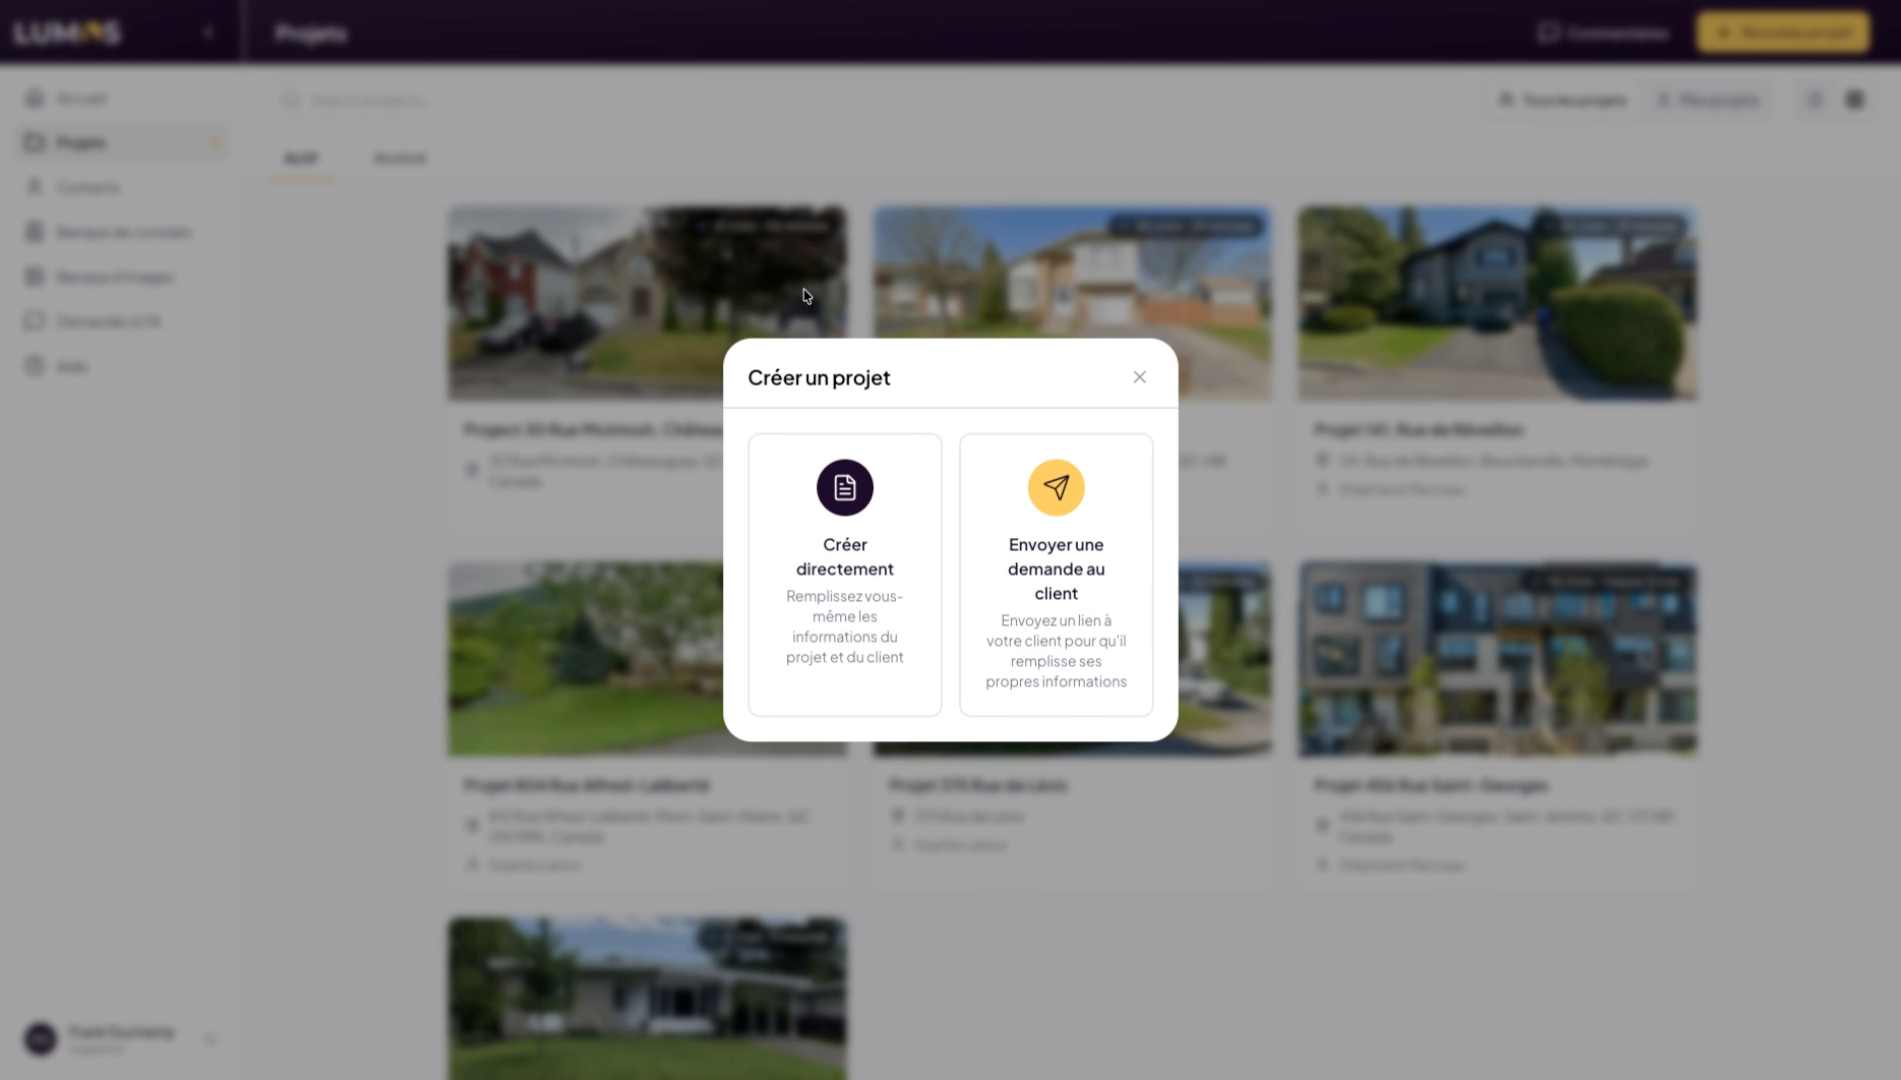
1. Options to Create a Project

2. Click on New Project

3. Access the Project Section
You can also navigate to the Project section and click on New Project.
4. Understanding What a Project Is
A project is an entity linked to a single address only.
5. Project Features and Inspections
Within a project, you can create and attach multiple inspections, but keep in mind that one project equals one address to inspect.

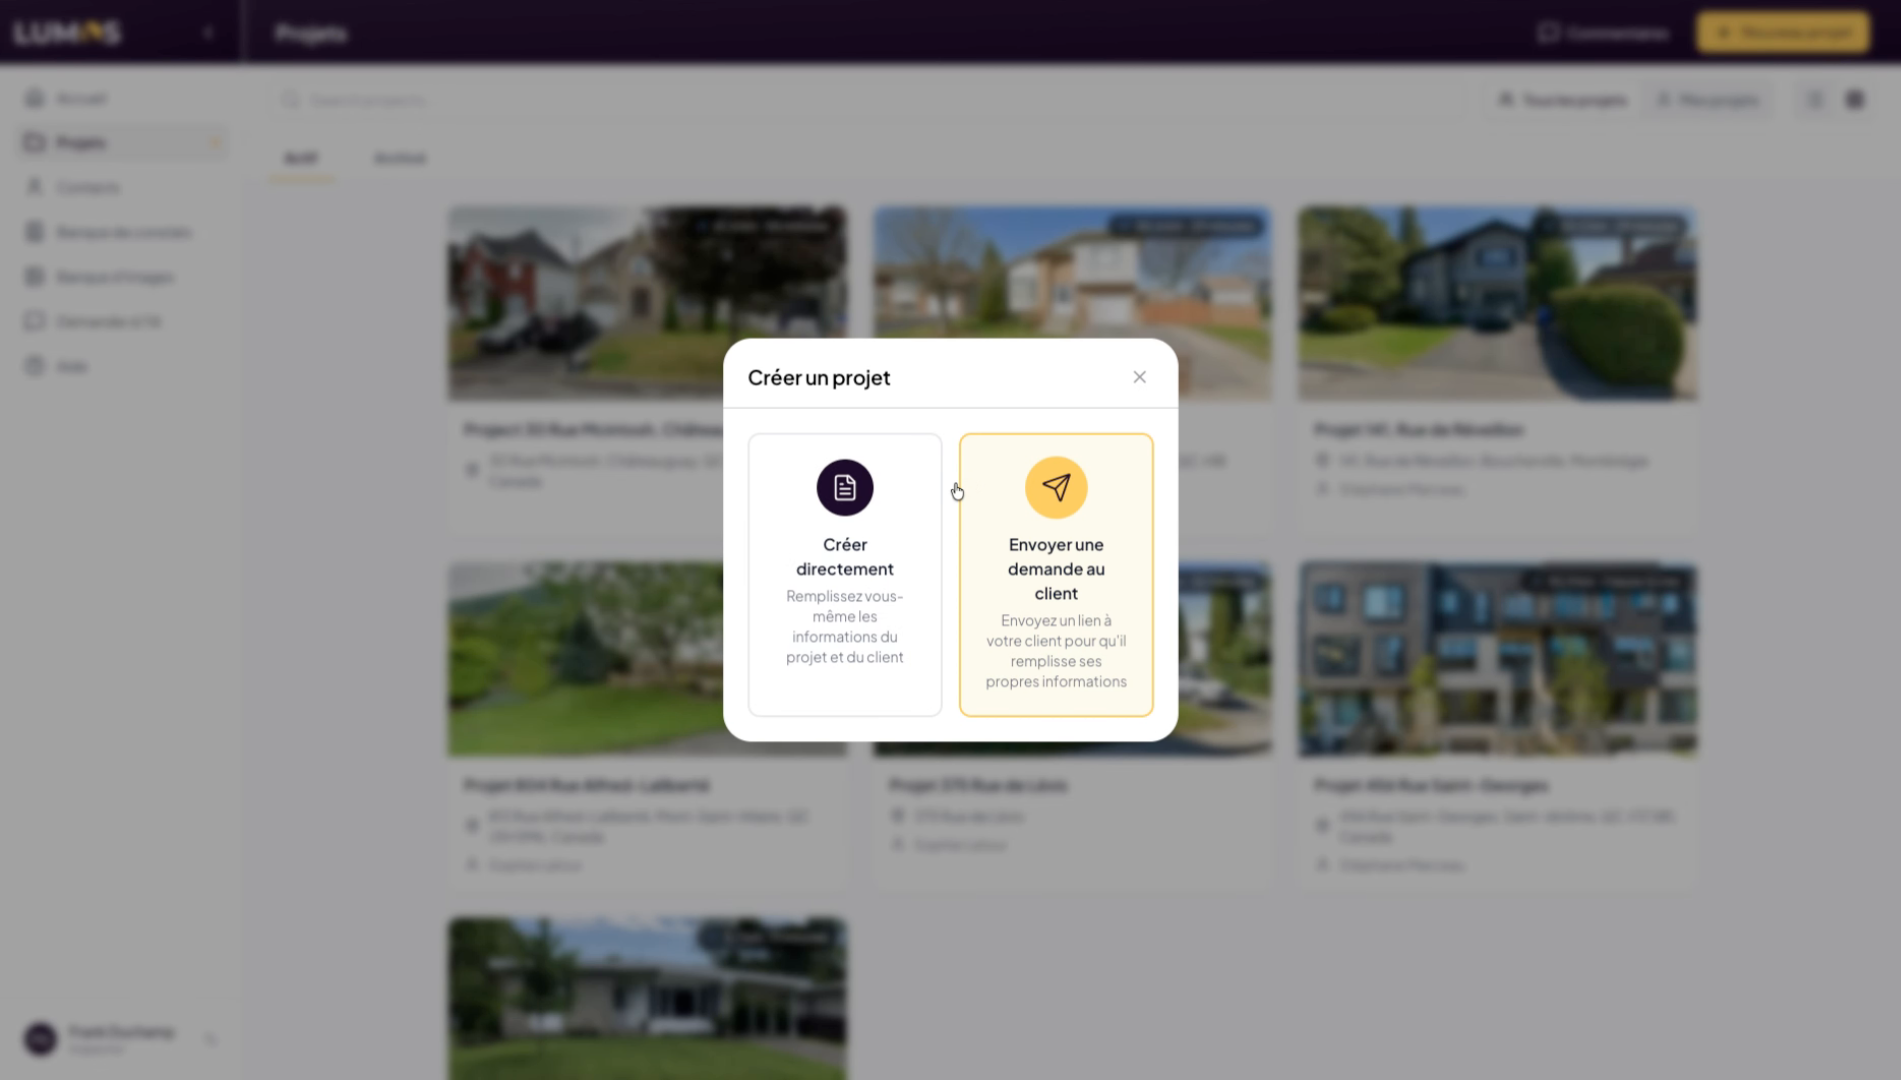
6. Create a Project Manually or via Client Request
To create a project, you can either enter the information manually or send a request to your client so they can fill in the details themselves.

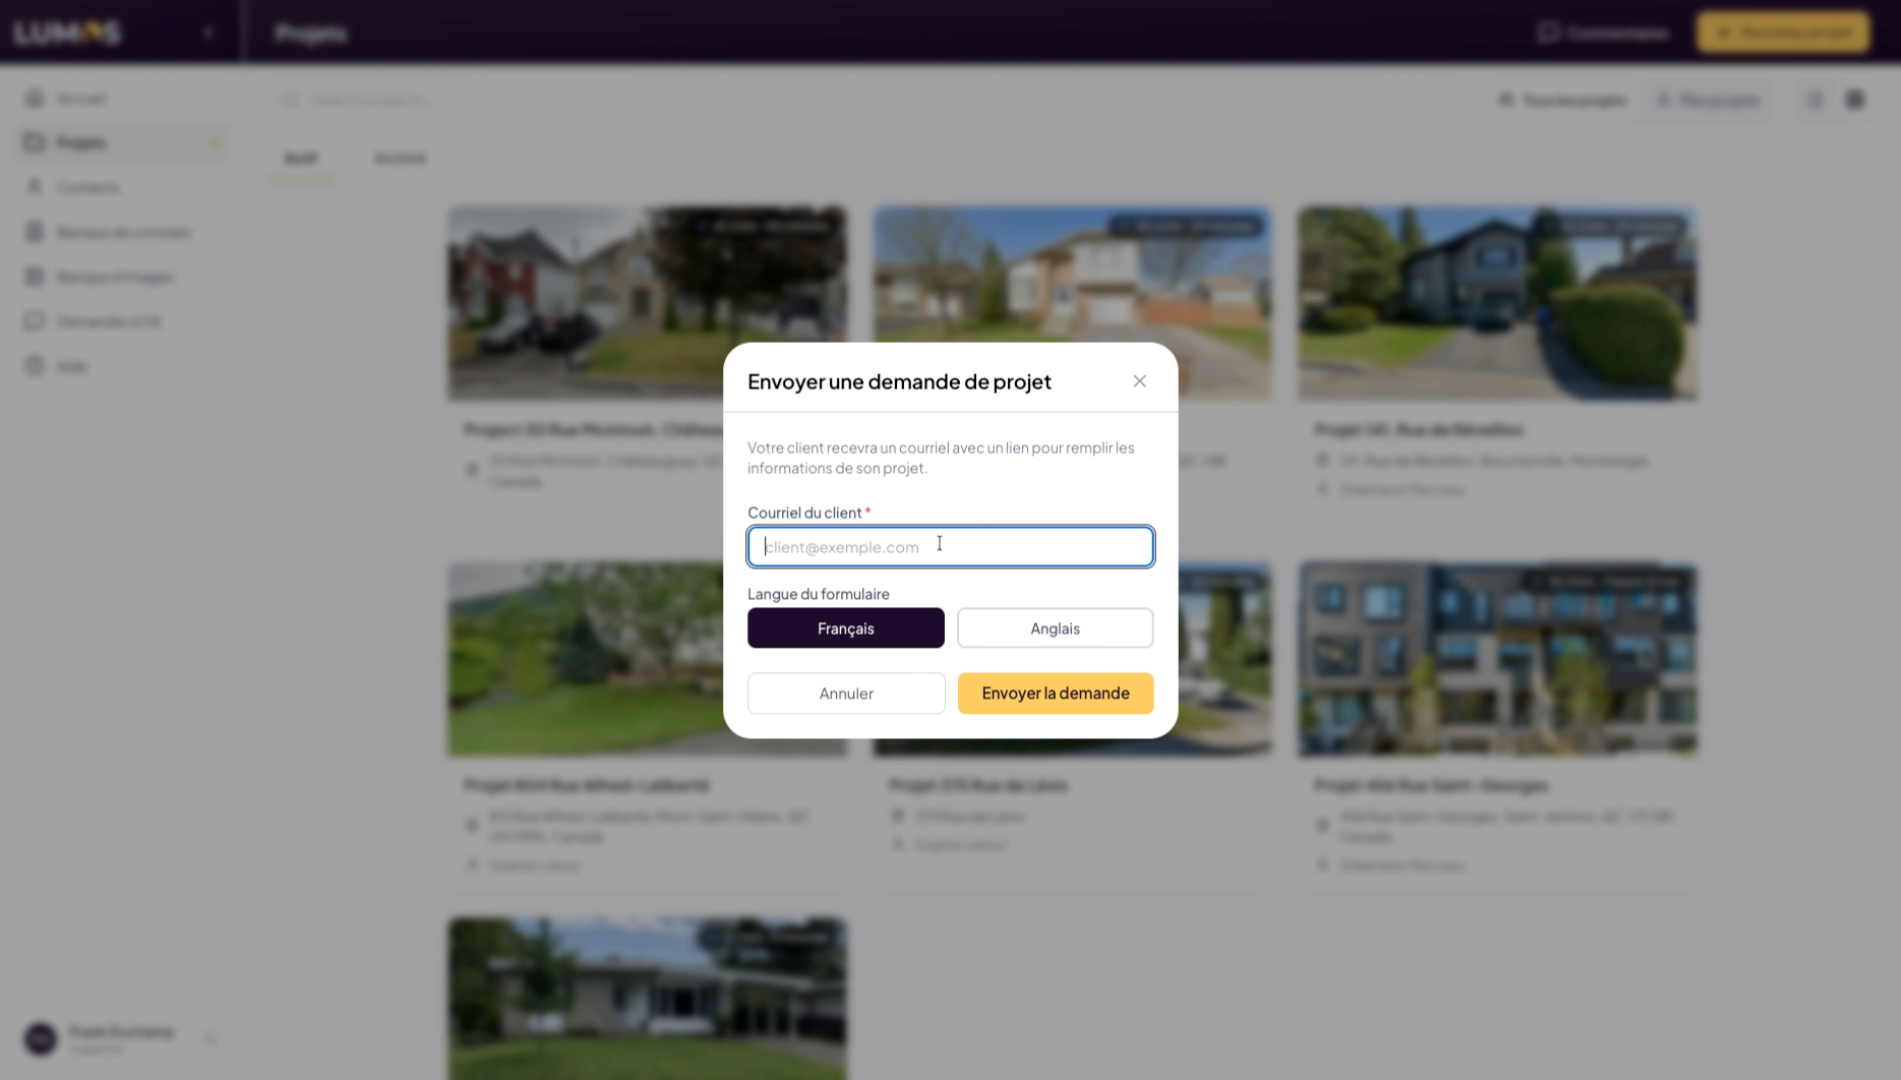
7. Select the Client’s Email Address
Select the client’s email address.
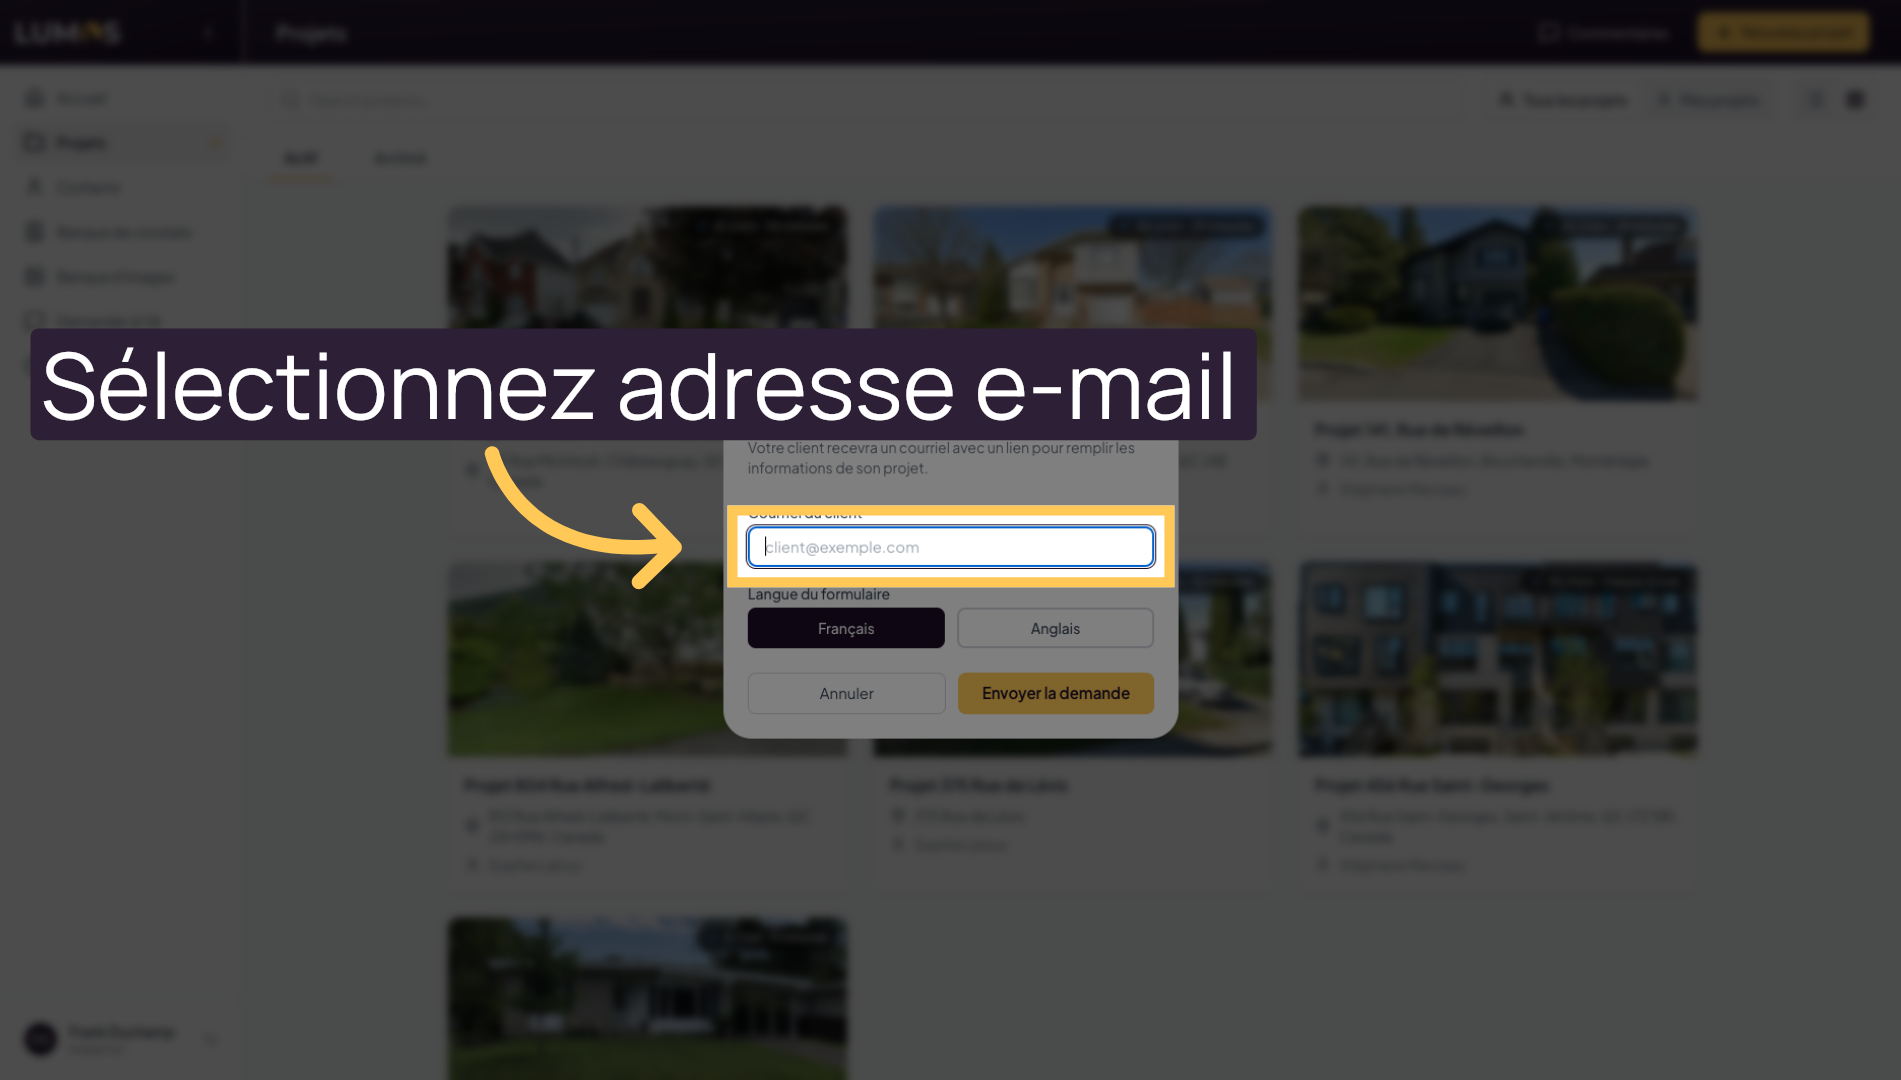
8. Send the Request by Email
Choose the language and send the request. Your client will receive an email asking them to provide the information related to the inspection they want to schedule. You will be notified by email when the client has completed their request.
9. Create a Project Manually
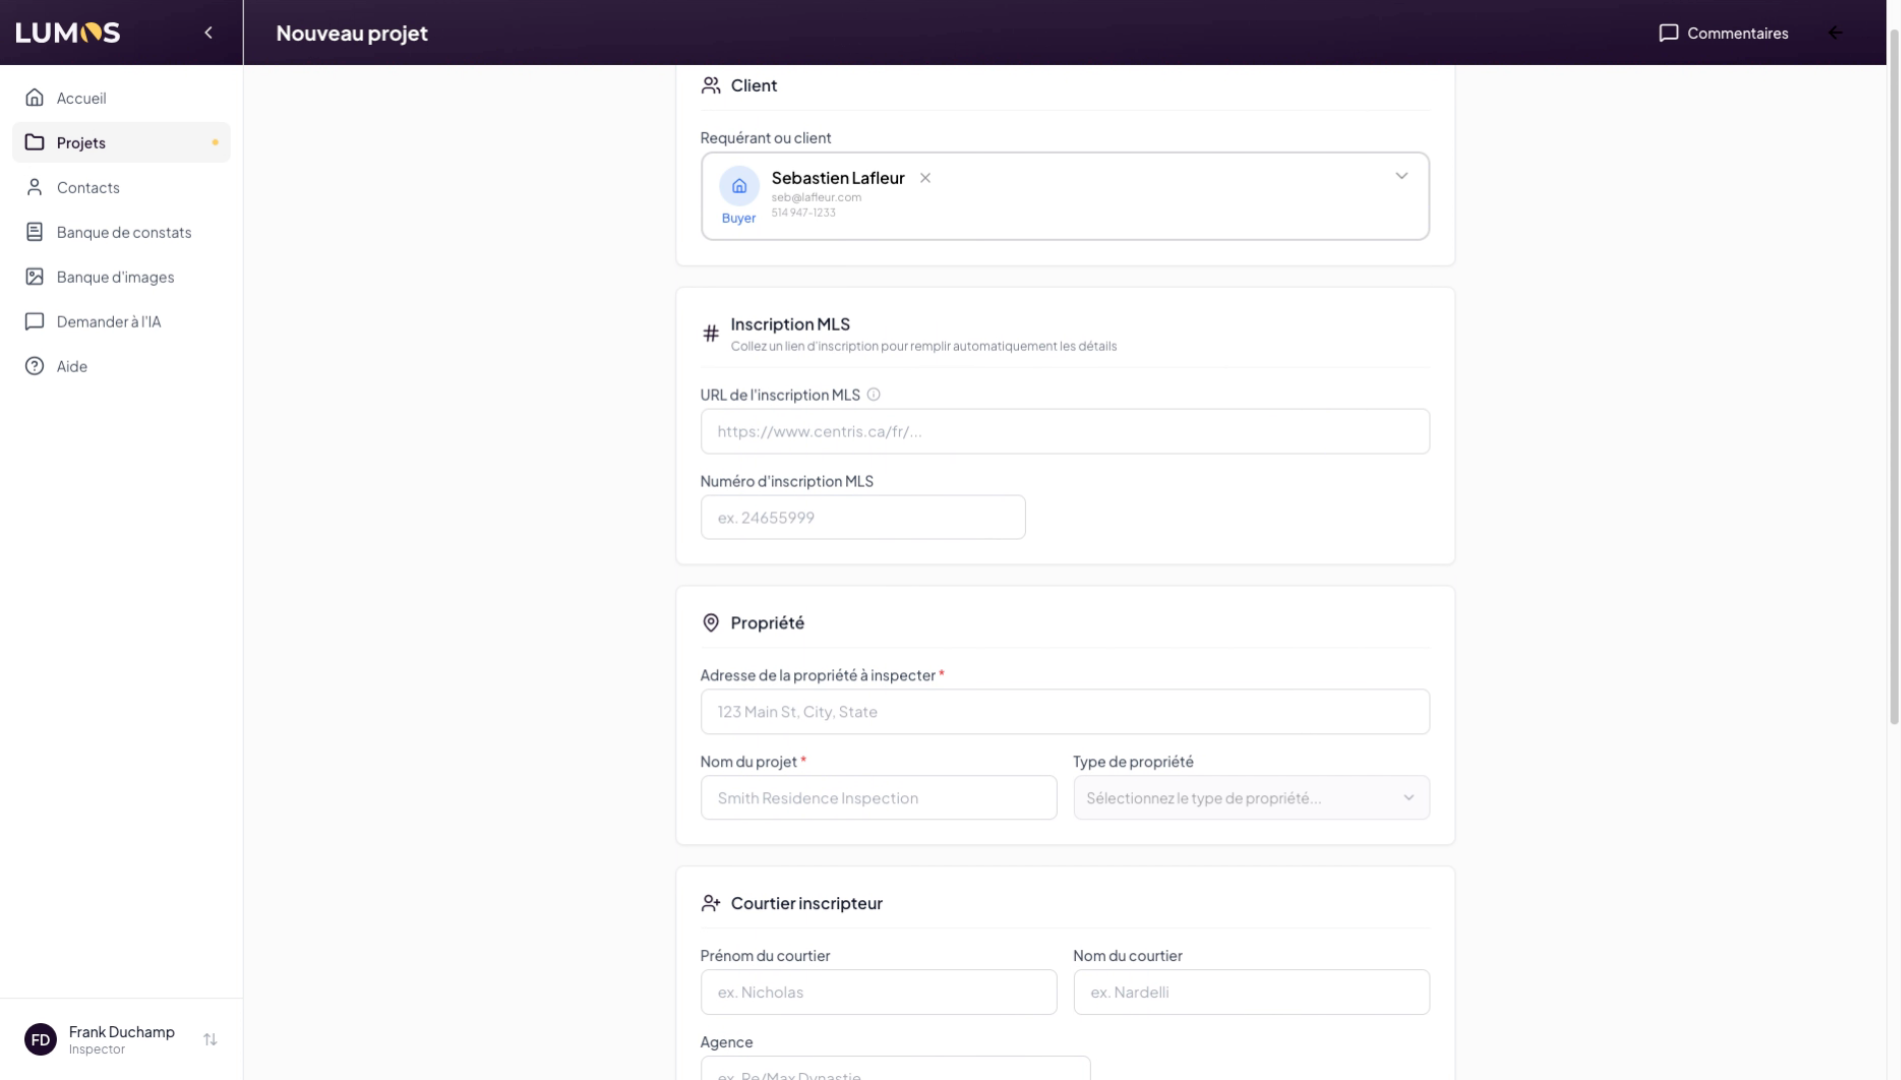
10. Choose the Requester or Client
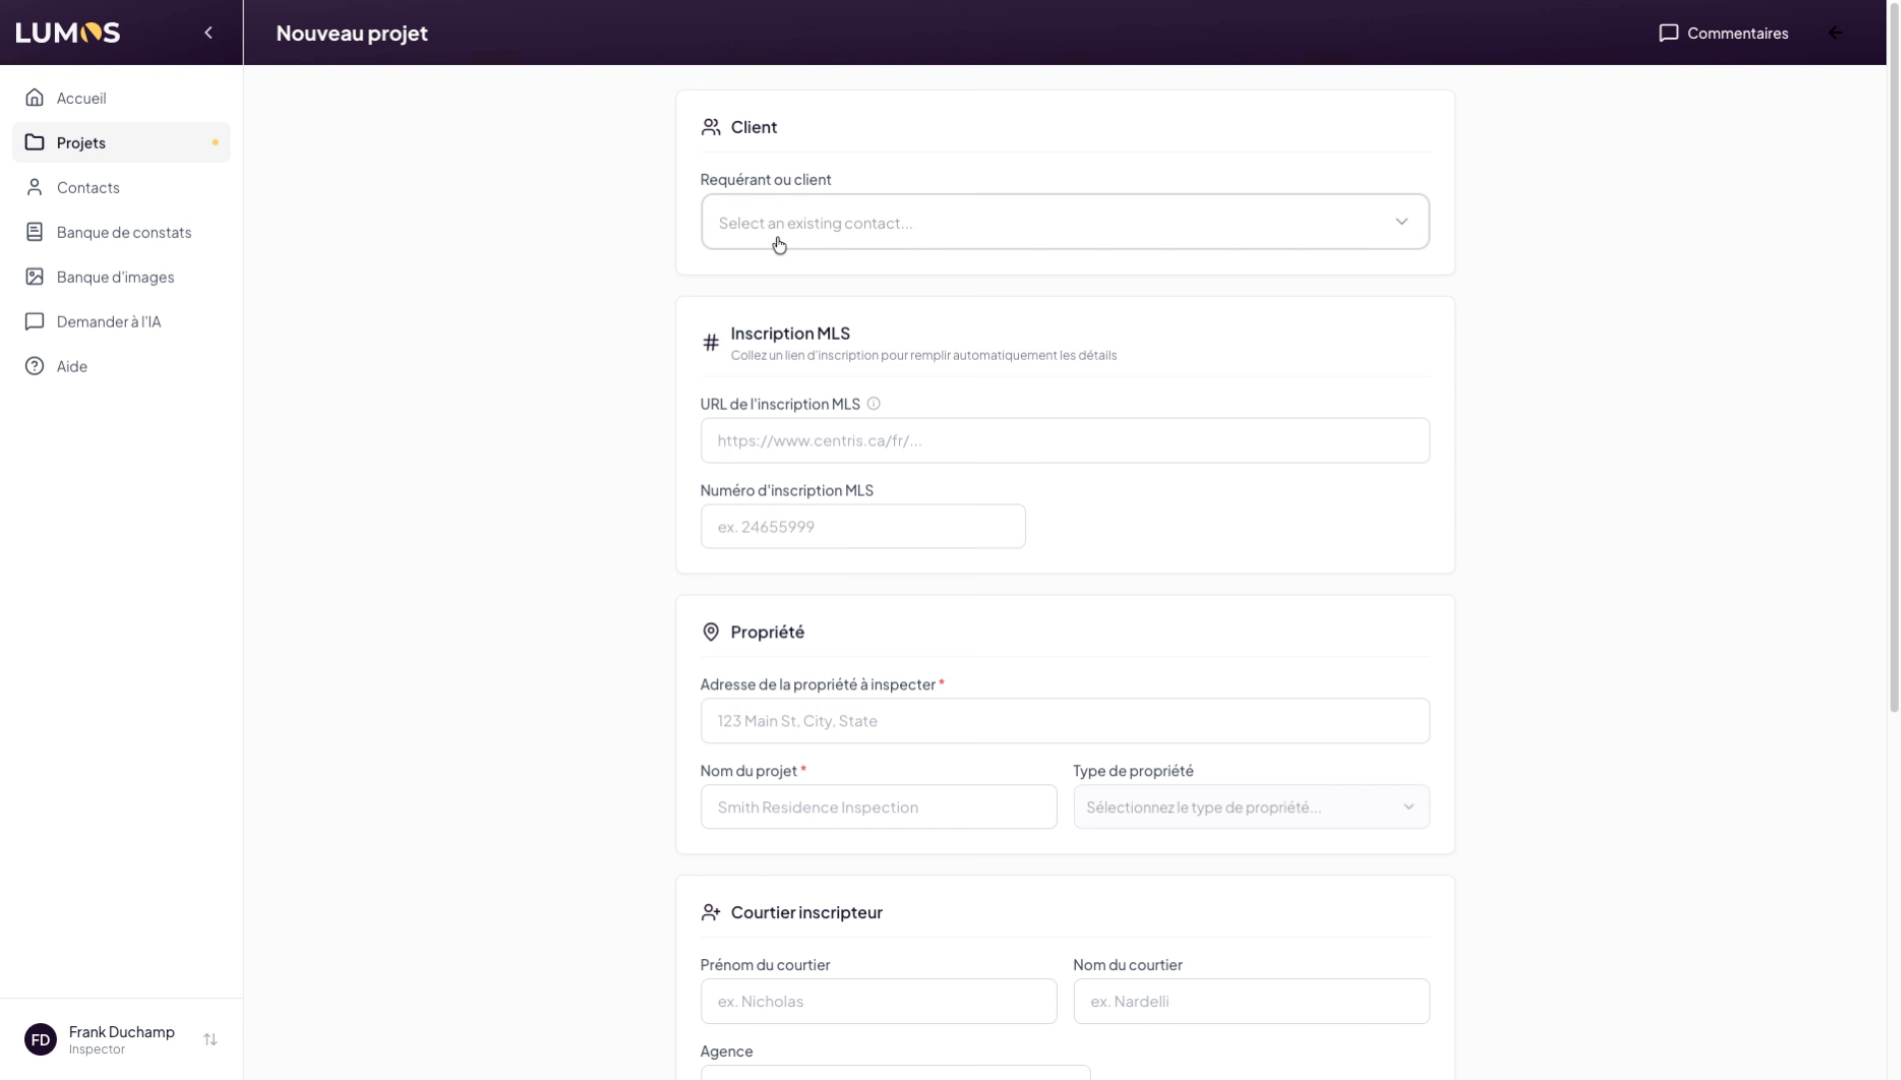
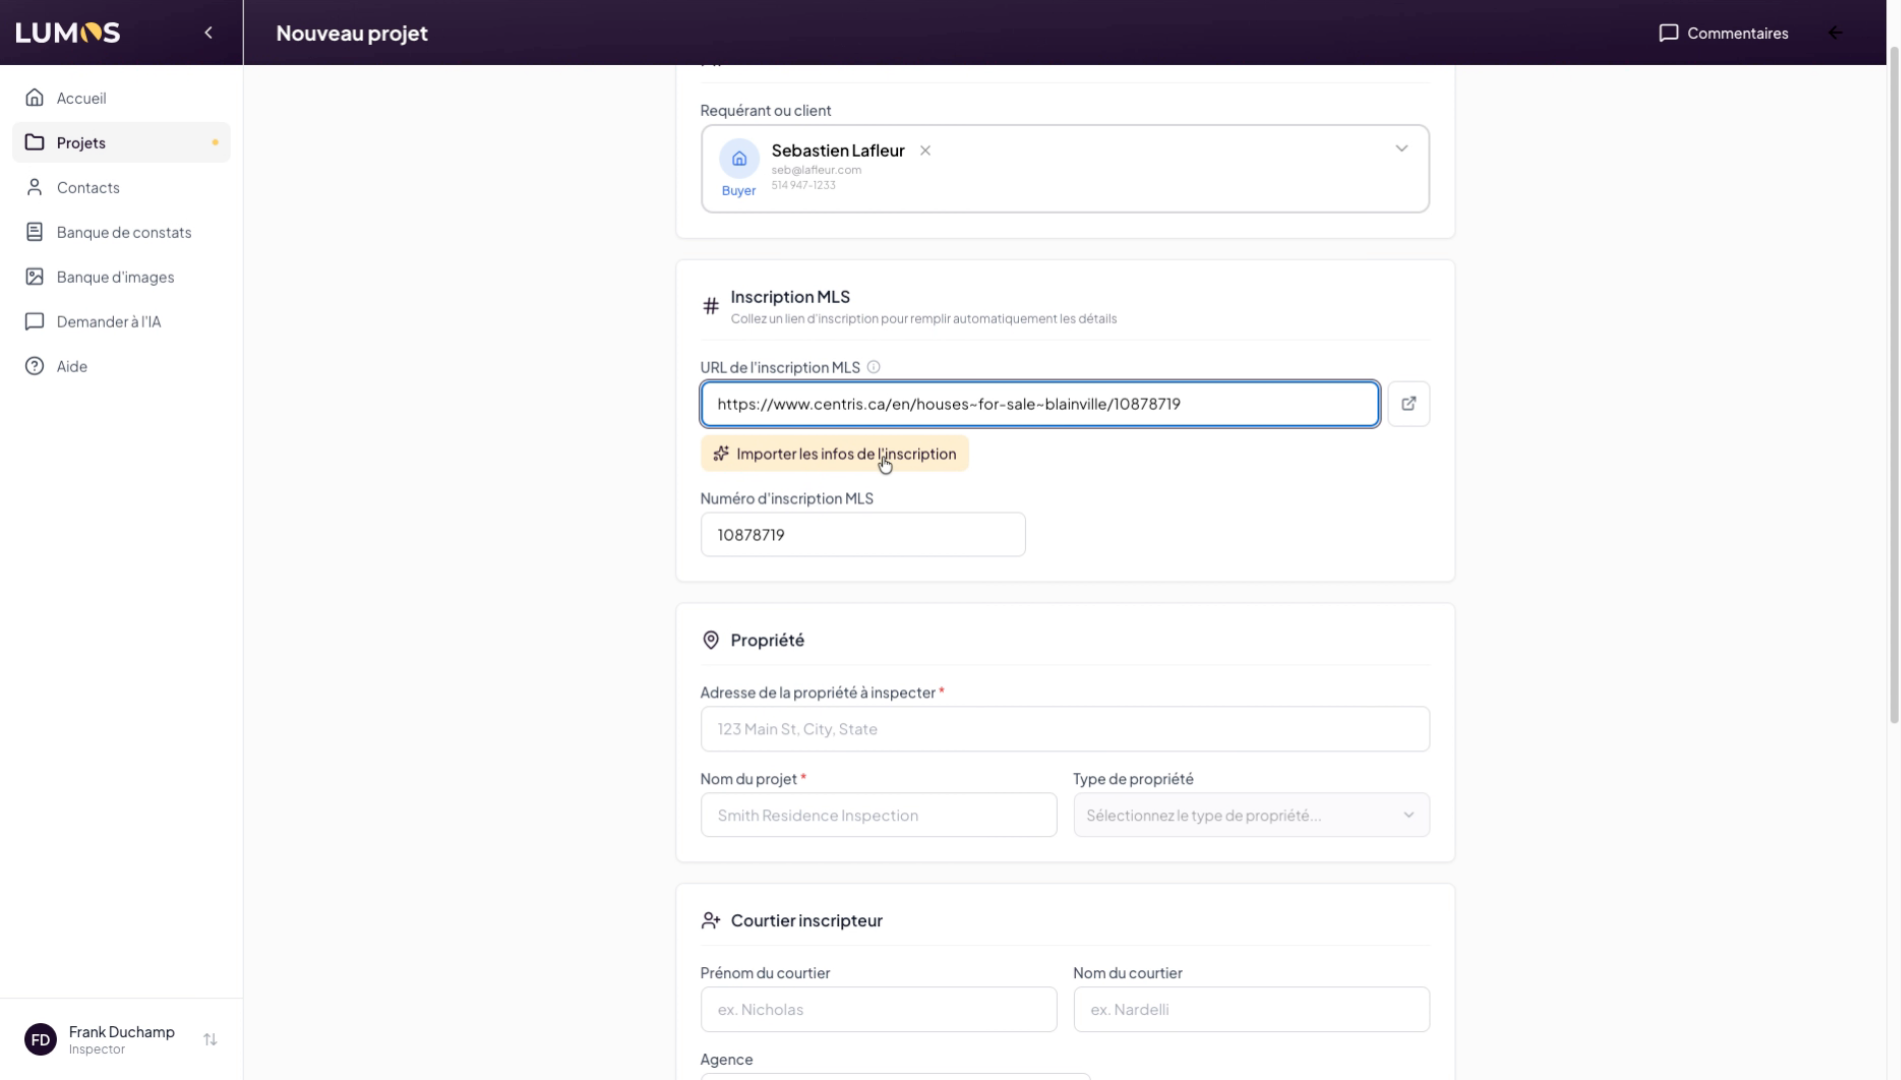
11. Add the MLS Listing Link
12. Automatically Import Information
Once you have entered the MLS link, click on “Import listing info” and the information will be generated automatically.
13. Automatically Name the Project
The project name and address will be generated by default, but you can modify them as you wish.
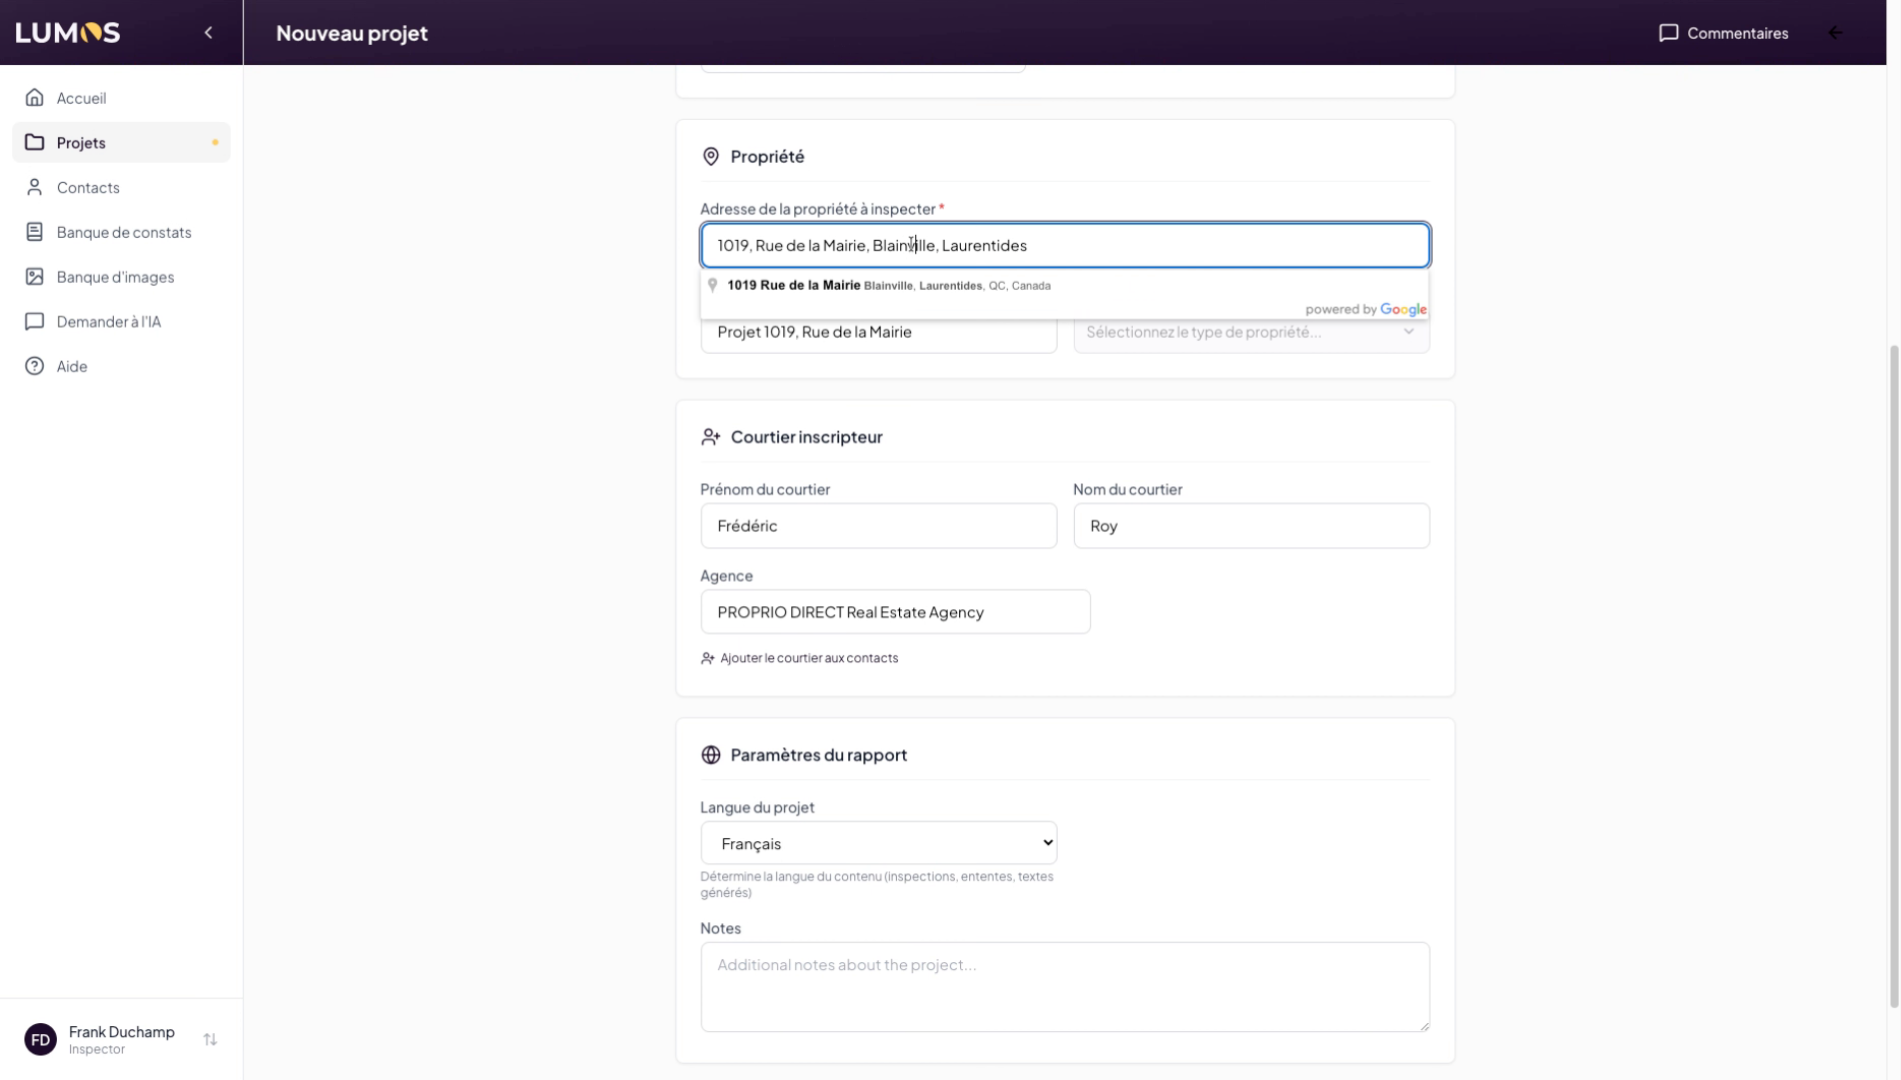
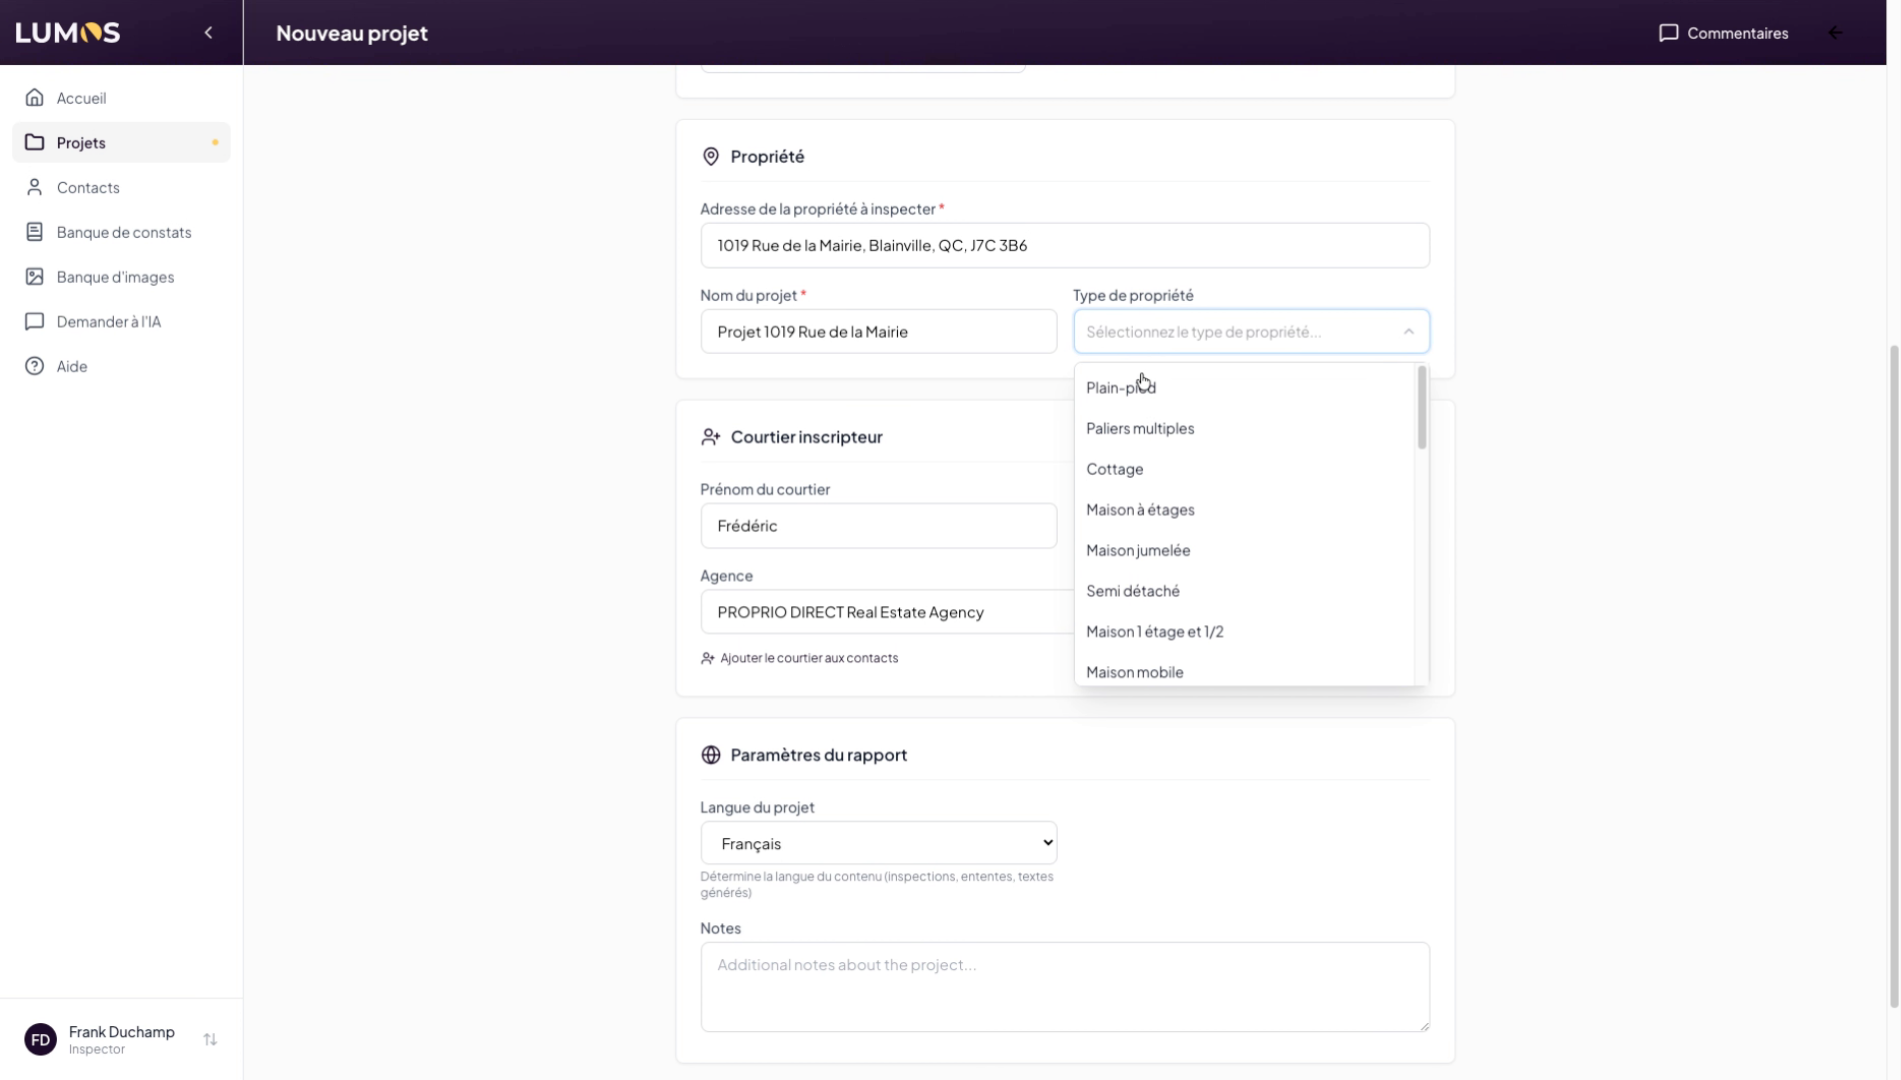
14. Set the Property Type and Broker
15. Select the Language and Add Notes
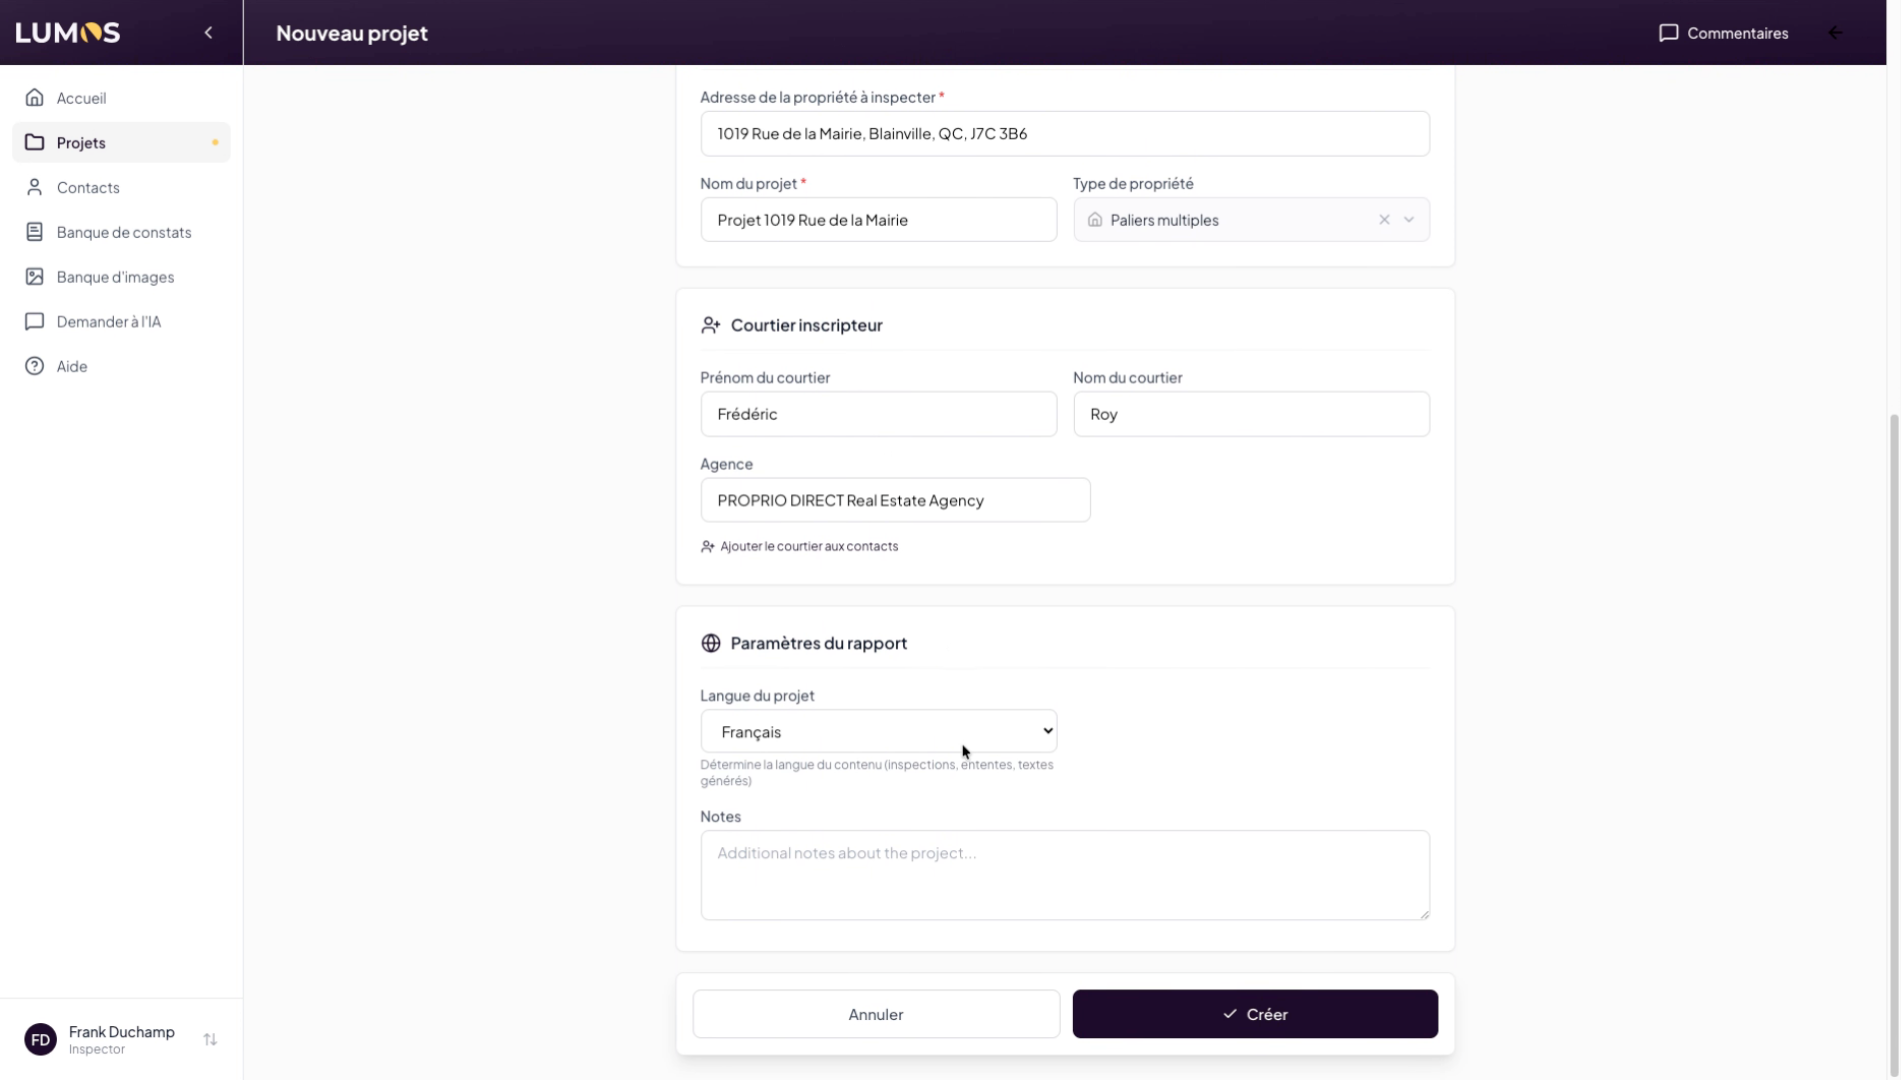
16. Confirm Project Creation
Your project is now created in Lumos.

17. Manage and Create Inspections
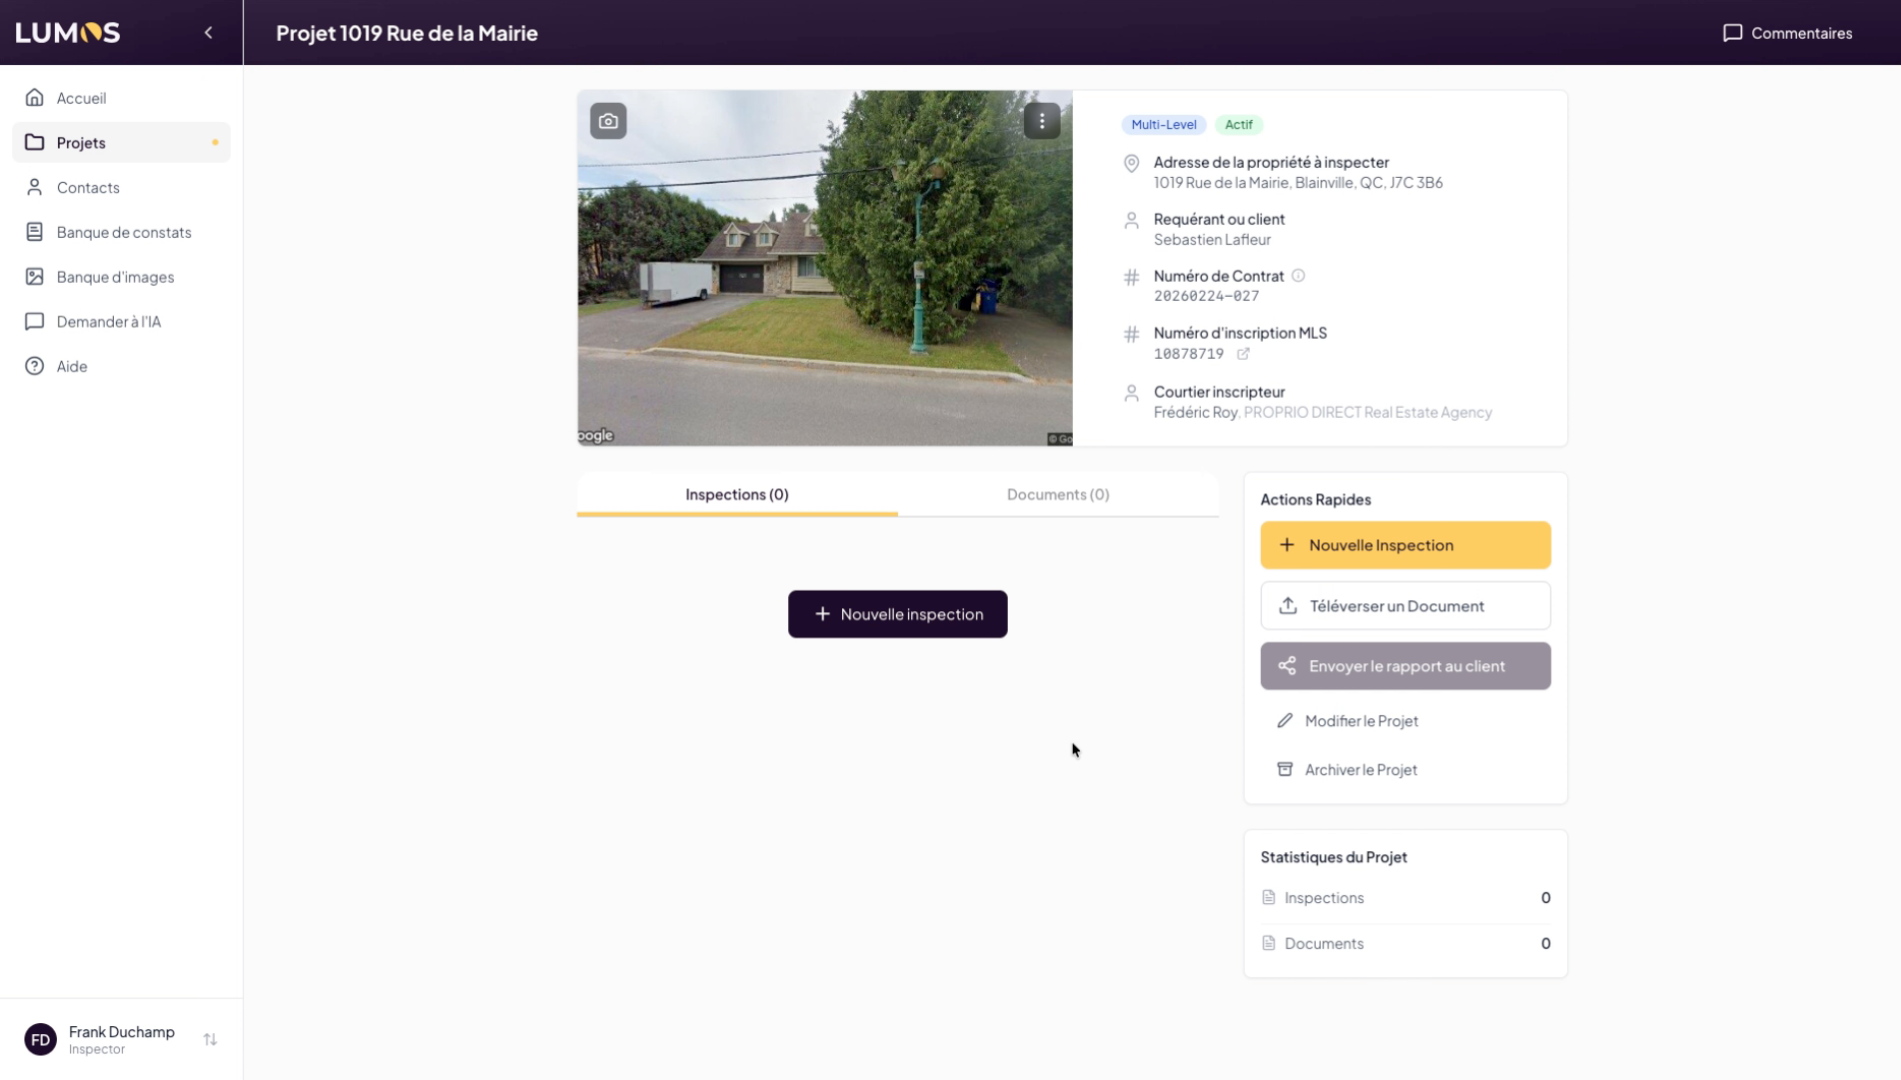
Your project is now created and ready to use. You can manage associated inspections and continue planning your tasks.