Quickly Access and Add Photos to Your Findings
This tutorial explains how to easily and quickly access your photo gallery at any time, from any section of your inspection report.
Visit inspector.lumos.property
1. Introduction to the Report Interface
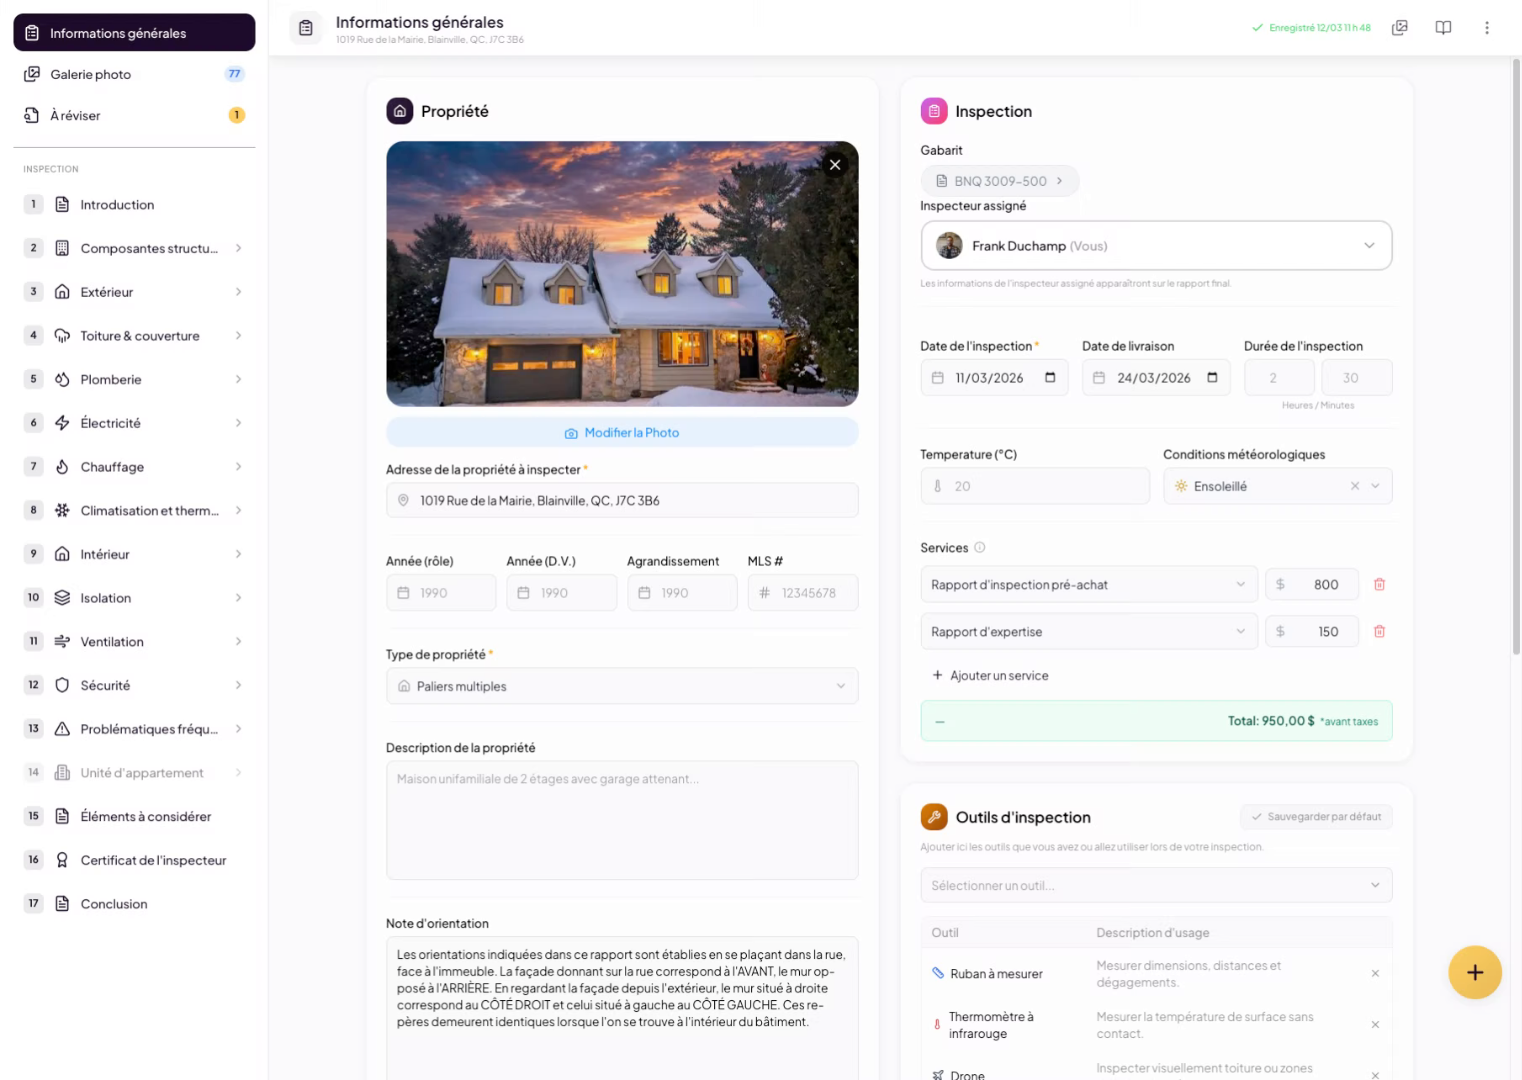
2. Quickly Access Photos
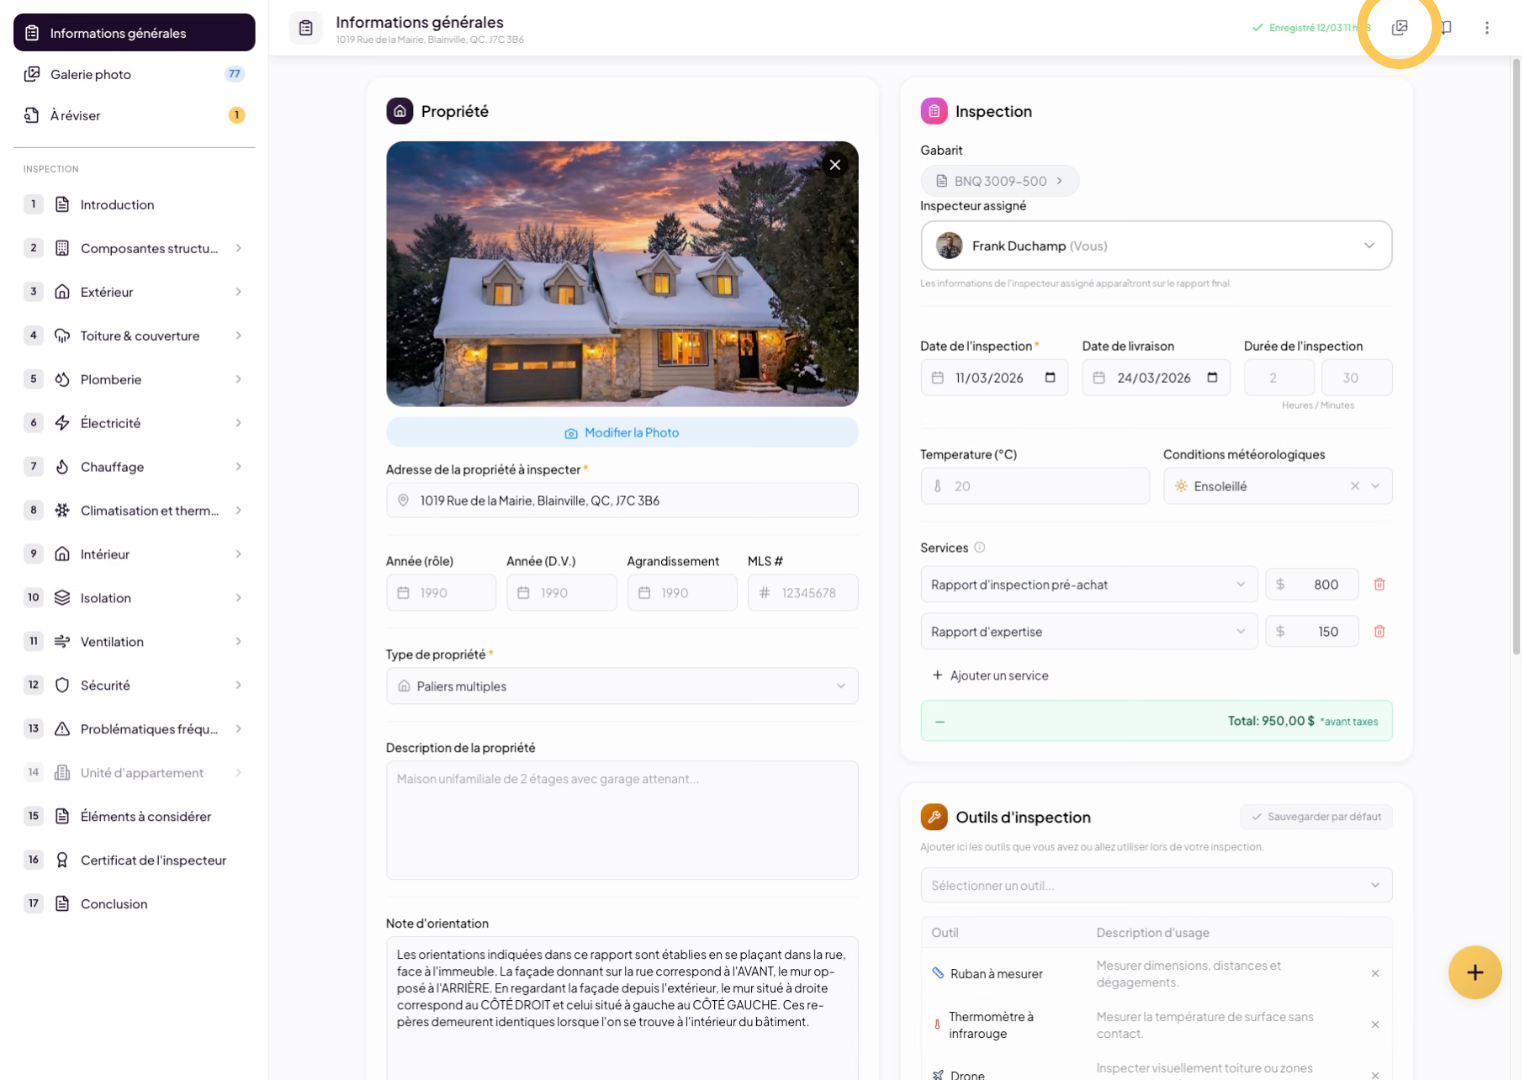
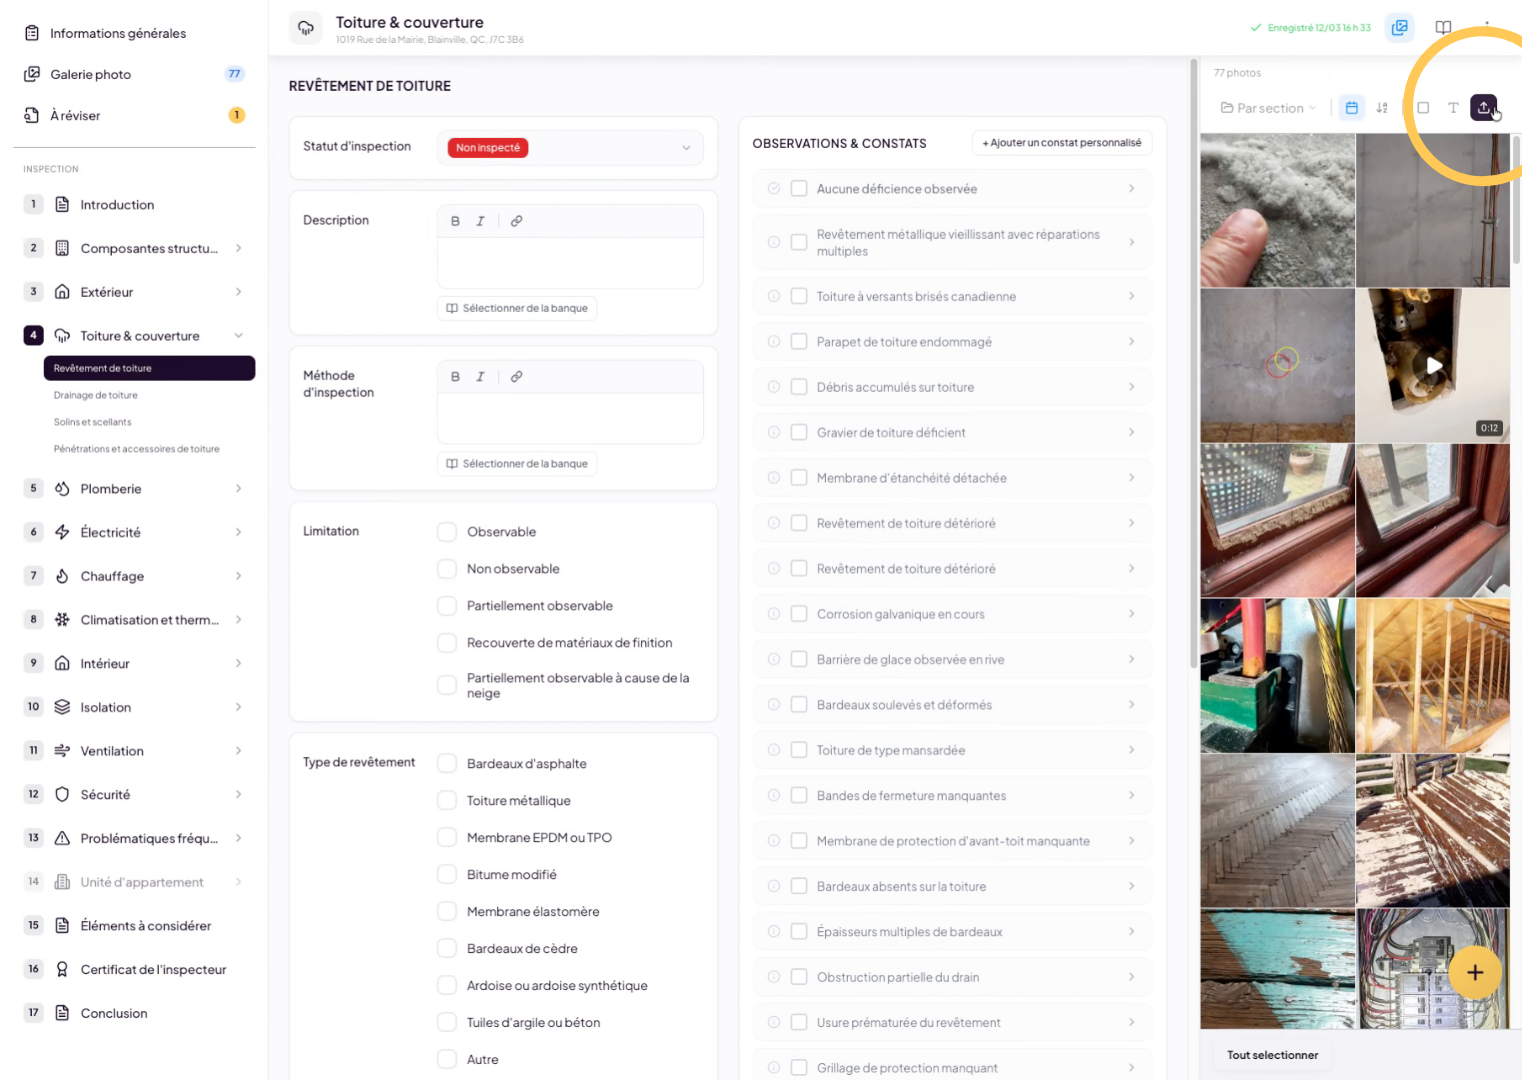
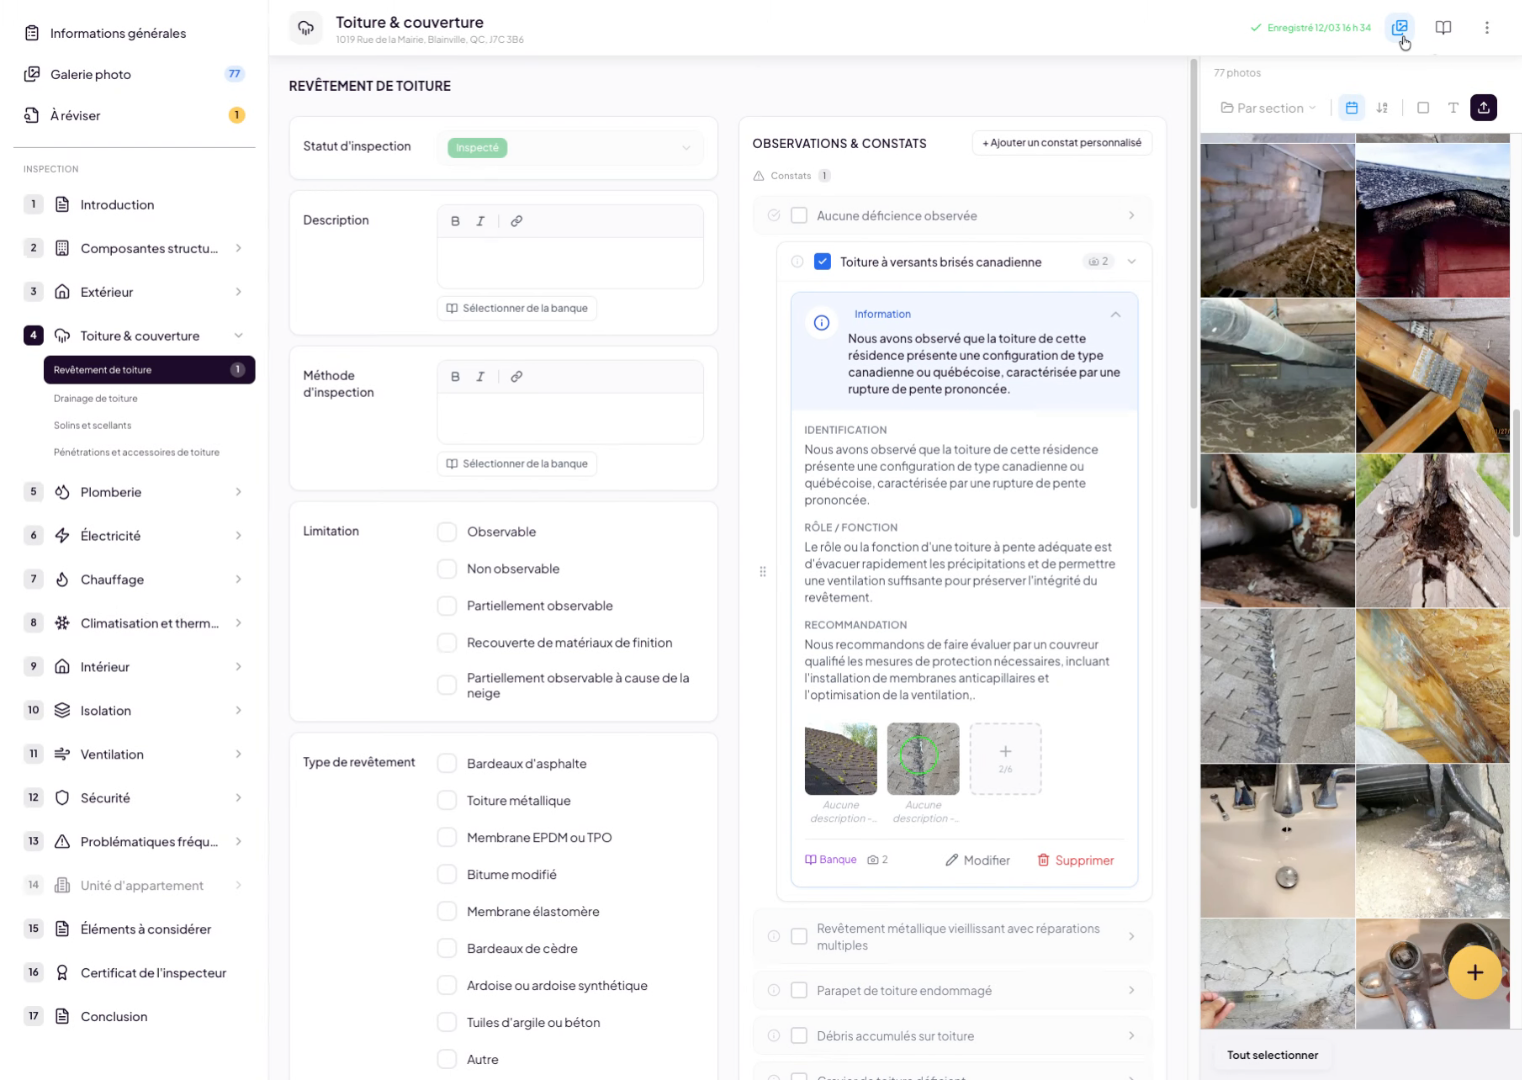
You can quickly access photos at any time. As you navigate through your inspection report, you’ll find an icon in the top-right menu that allows you to open your photos anytime. Simply click on it and all your photos will appear in a sidebar on the right side of the screen.
3. Display the Photos Sidebar
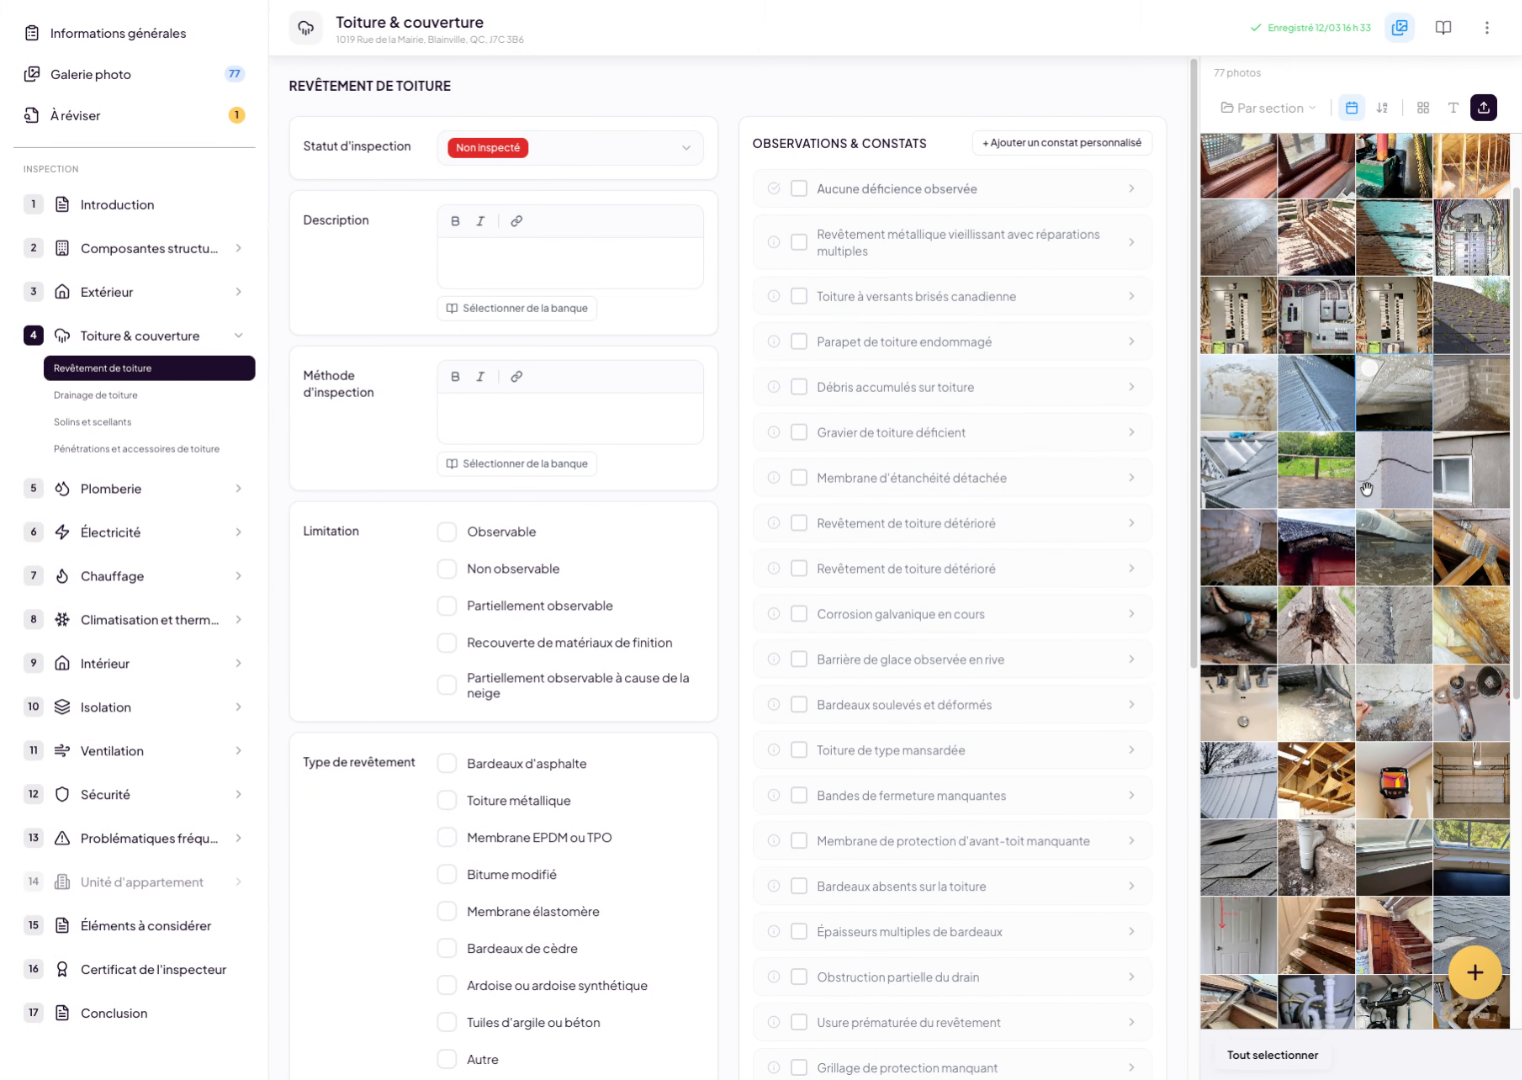
4. Configure Image Size and Sorting
From this sidebar, you can choose the image size, show or hide the text description below each photo. You can sort them alphabetically, by date added, or by section.
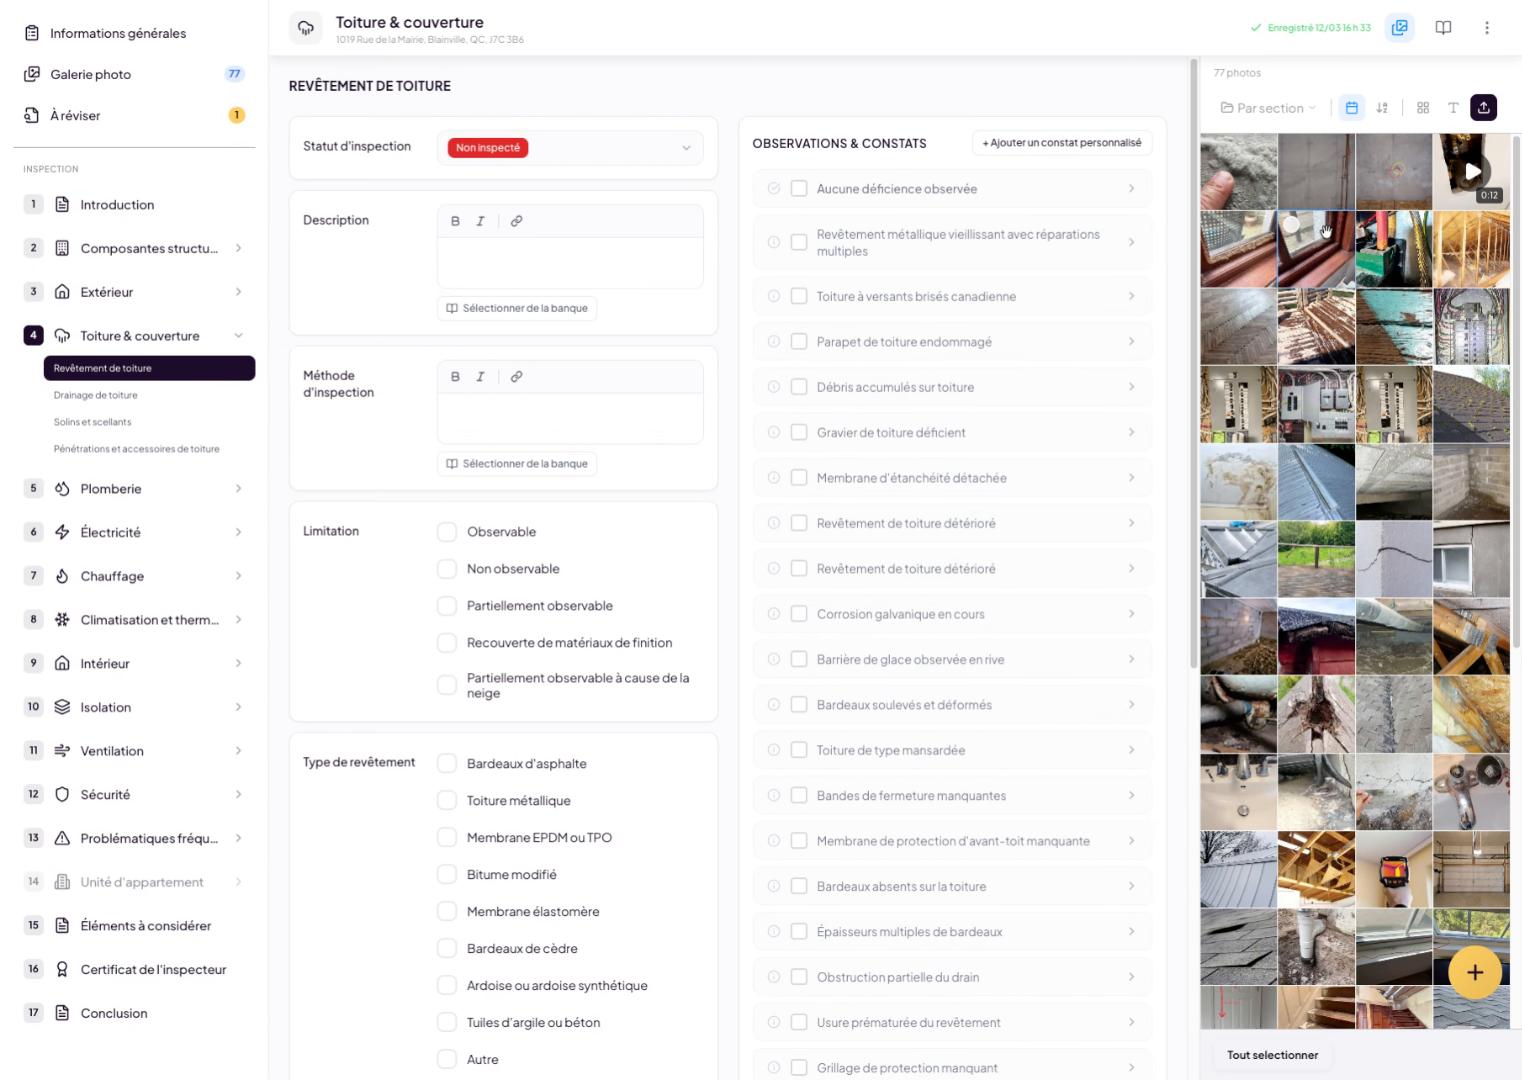
5. Add Photos to the Gallery
The purple button allows you to add photos to the gallery at any time.
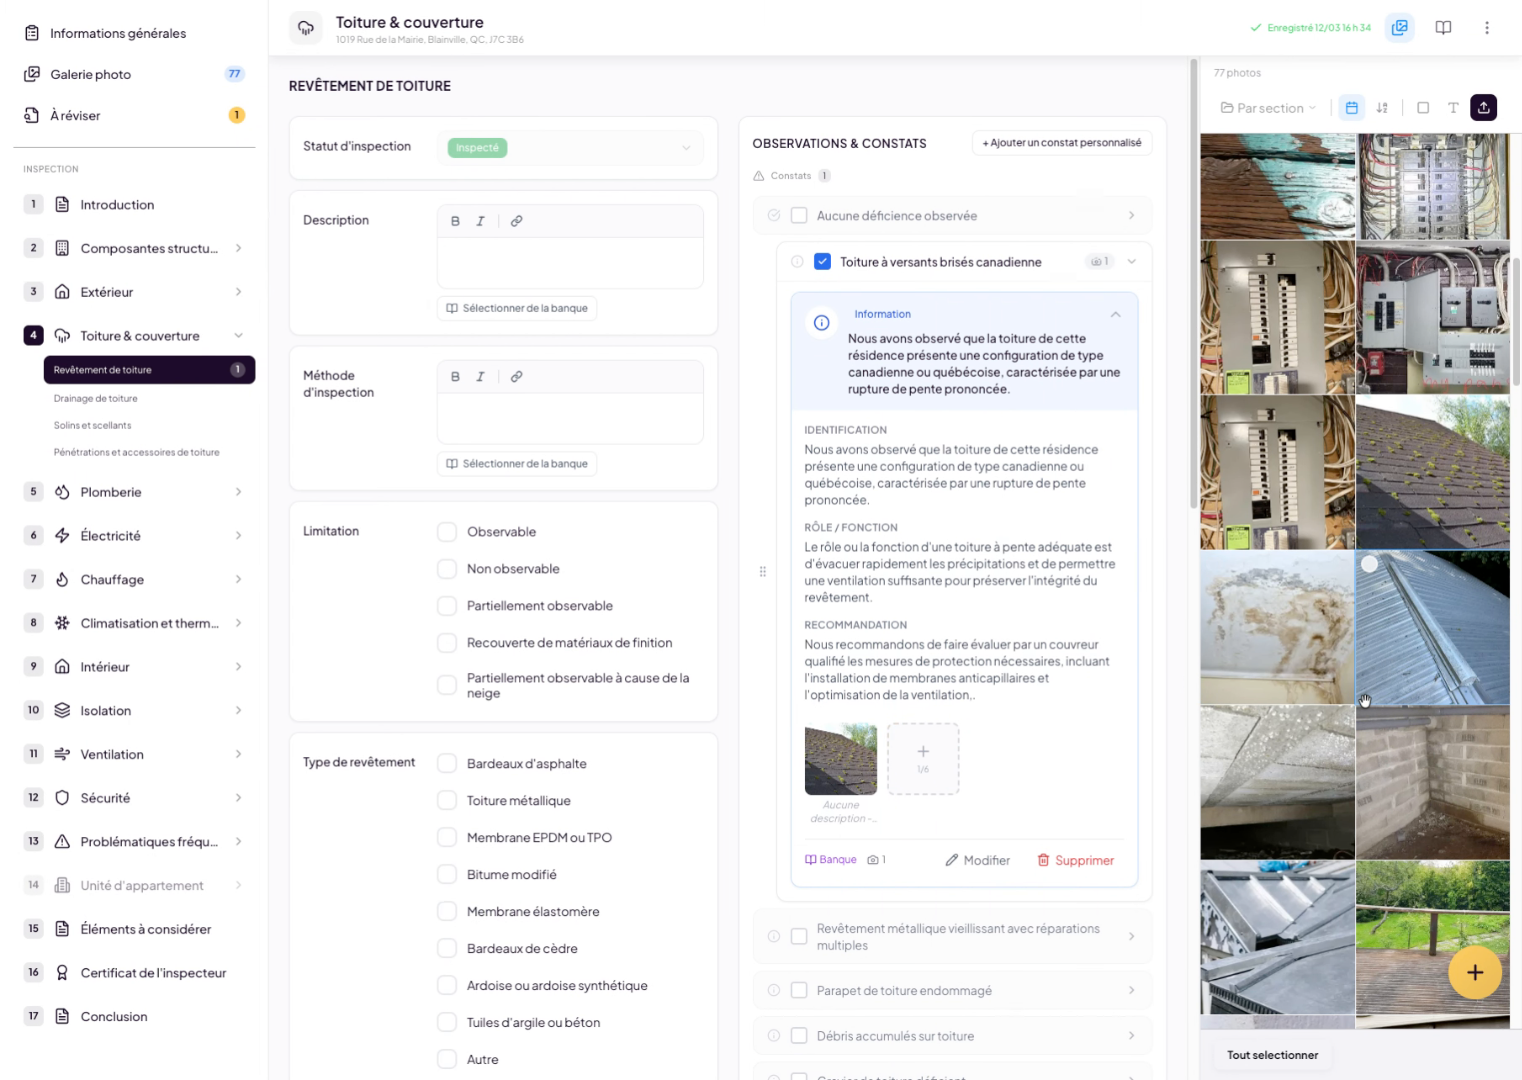
6. Edit an Image Description
If you click on an image, you can adjust its description, add visual elements as needed, and save.
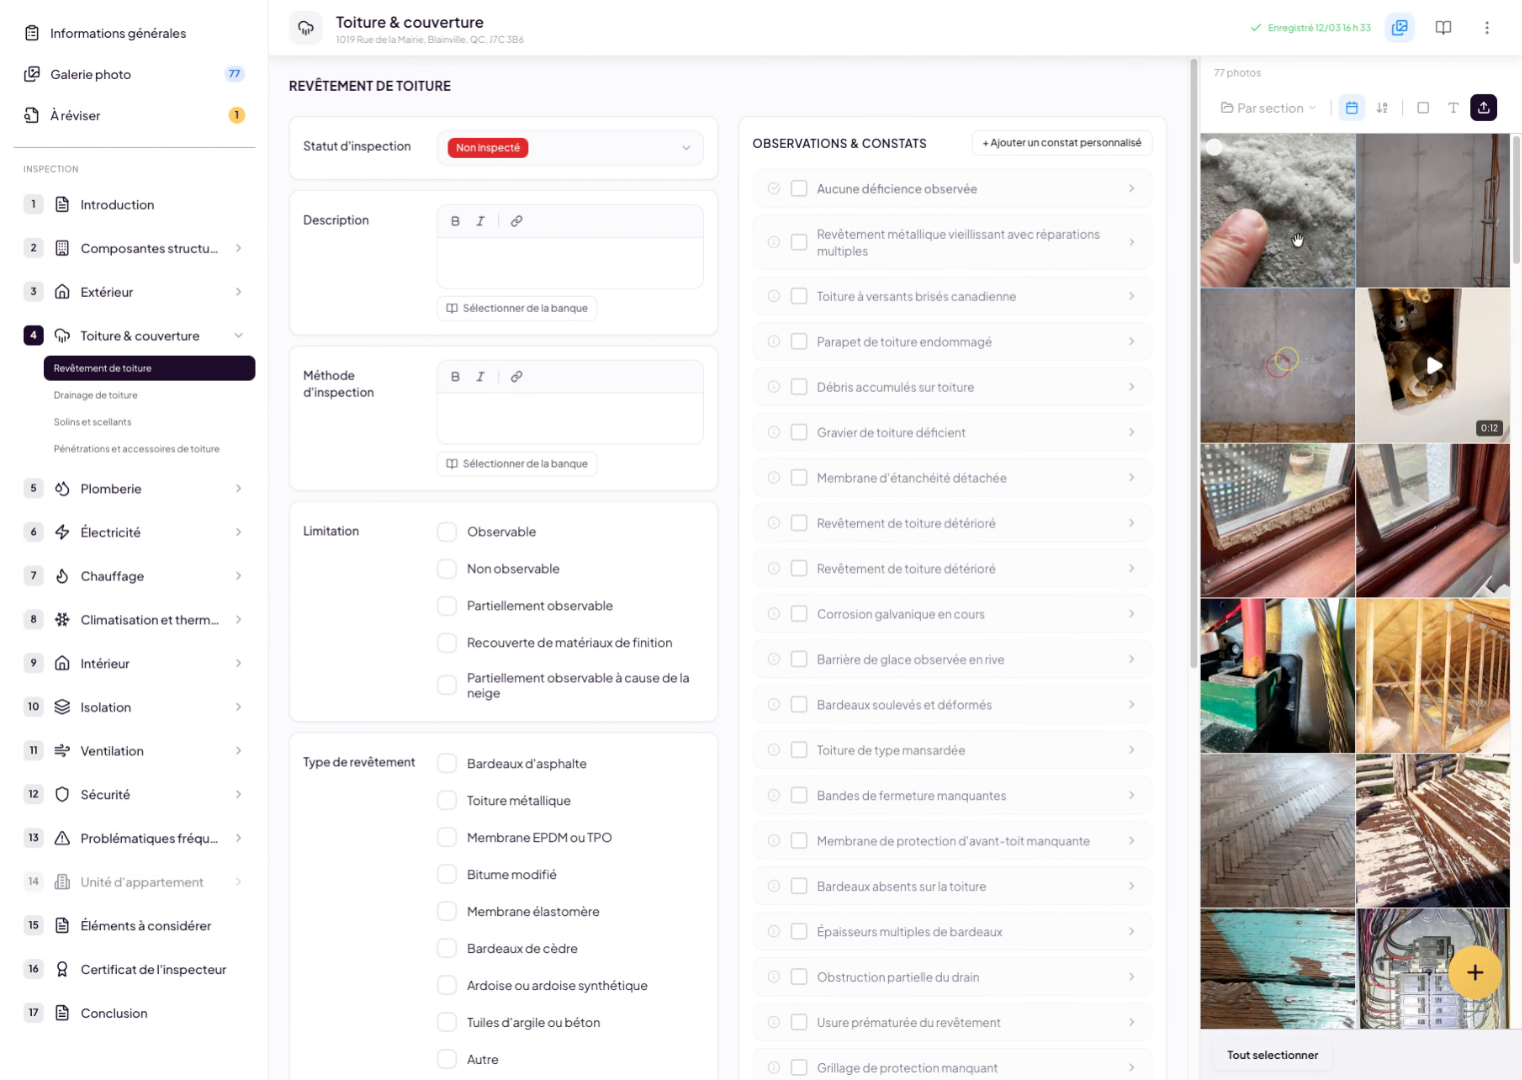
7. Drag and Drop Images into Findings
One of Lumos’ advanced features is the ability to drag and drop images into existing findings. For example, if you add a finding, you can select the image of your choice, click and hold to grab it, and drop it into the finding. Release your click, and the image will be automatically added to your finding.

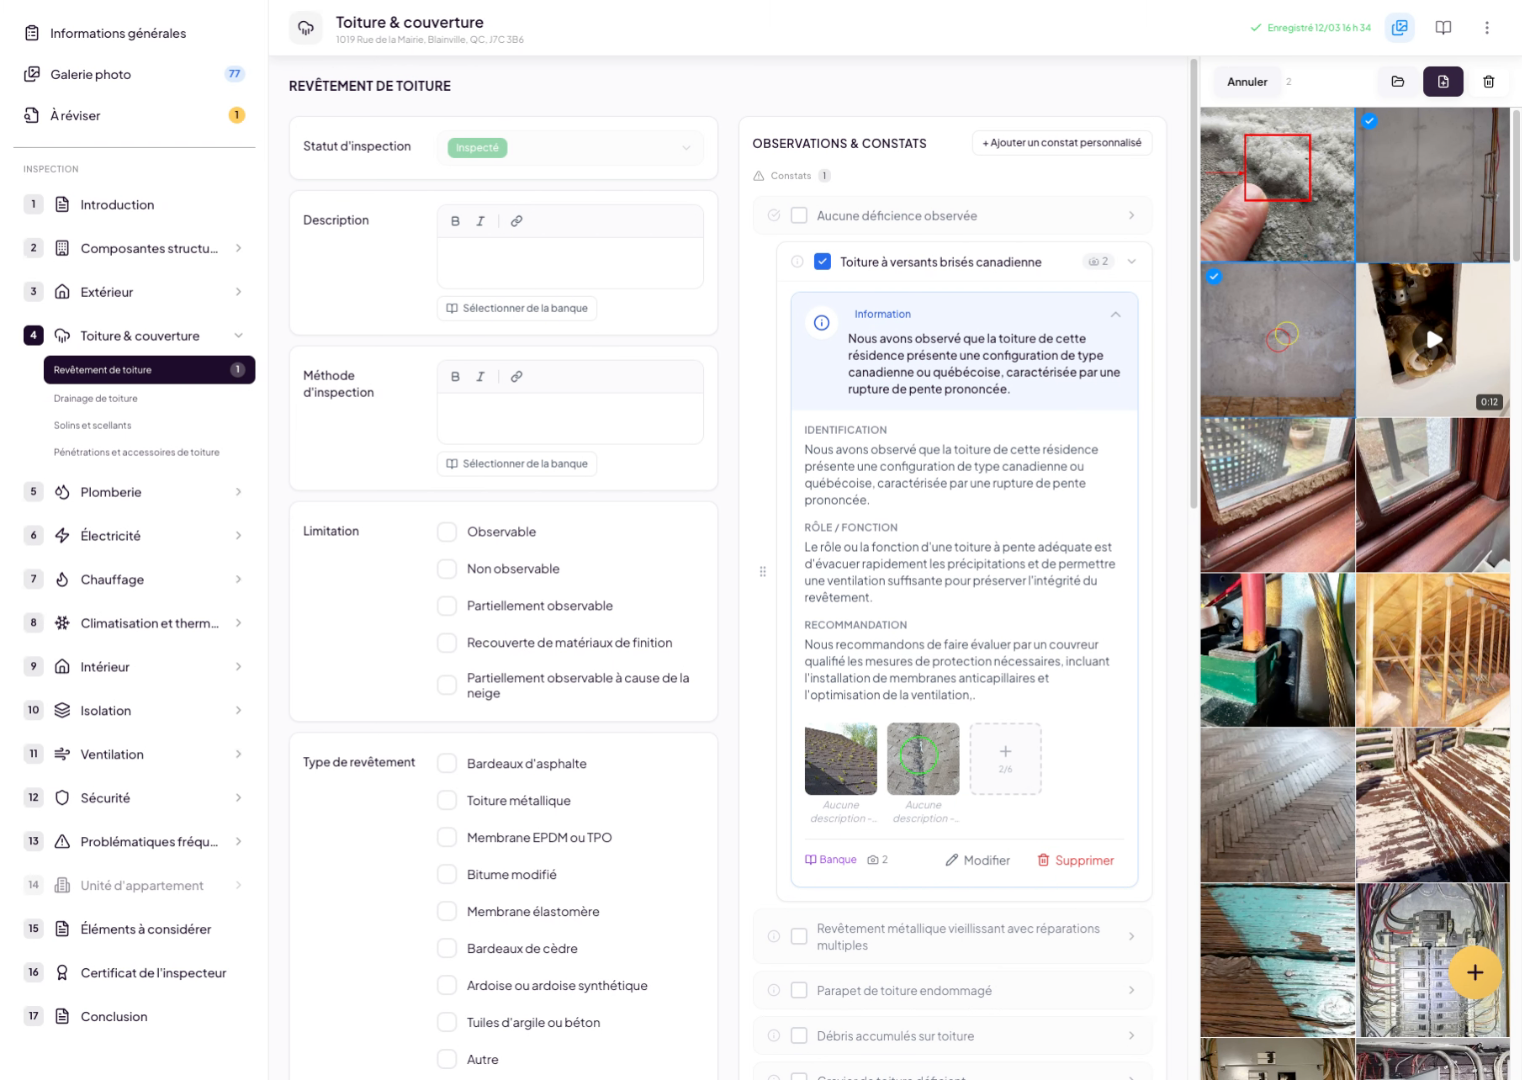
8. Select Multiple Images
You can select multiple images and add up to 6 per finding.
9. Edit Description and Add Visuals

10. Select the Circle Option
Click on the Circle option, for example, to apply this visual element to your image.
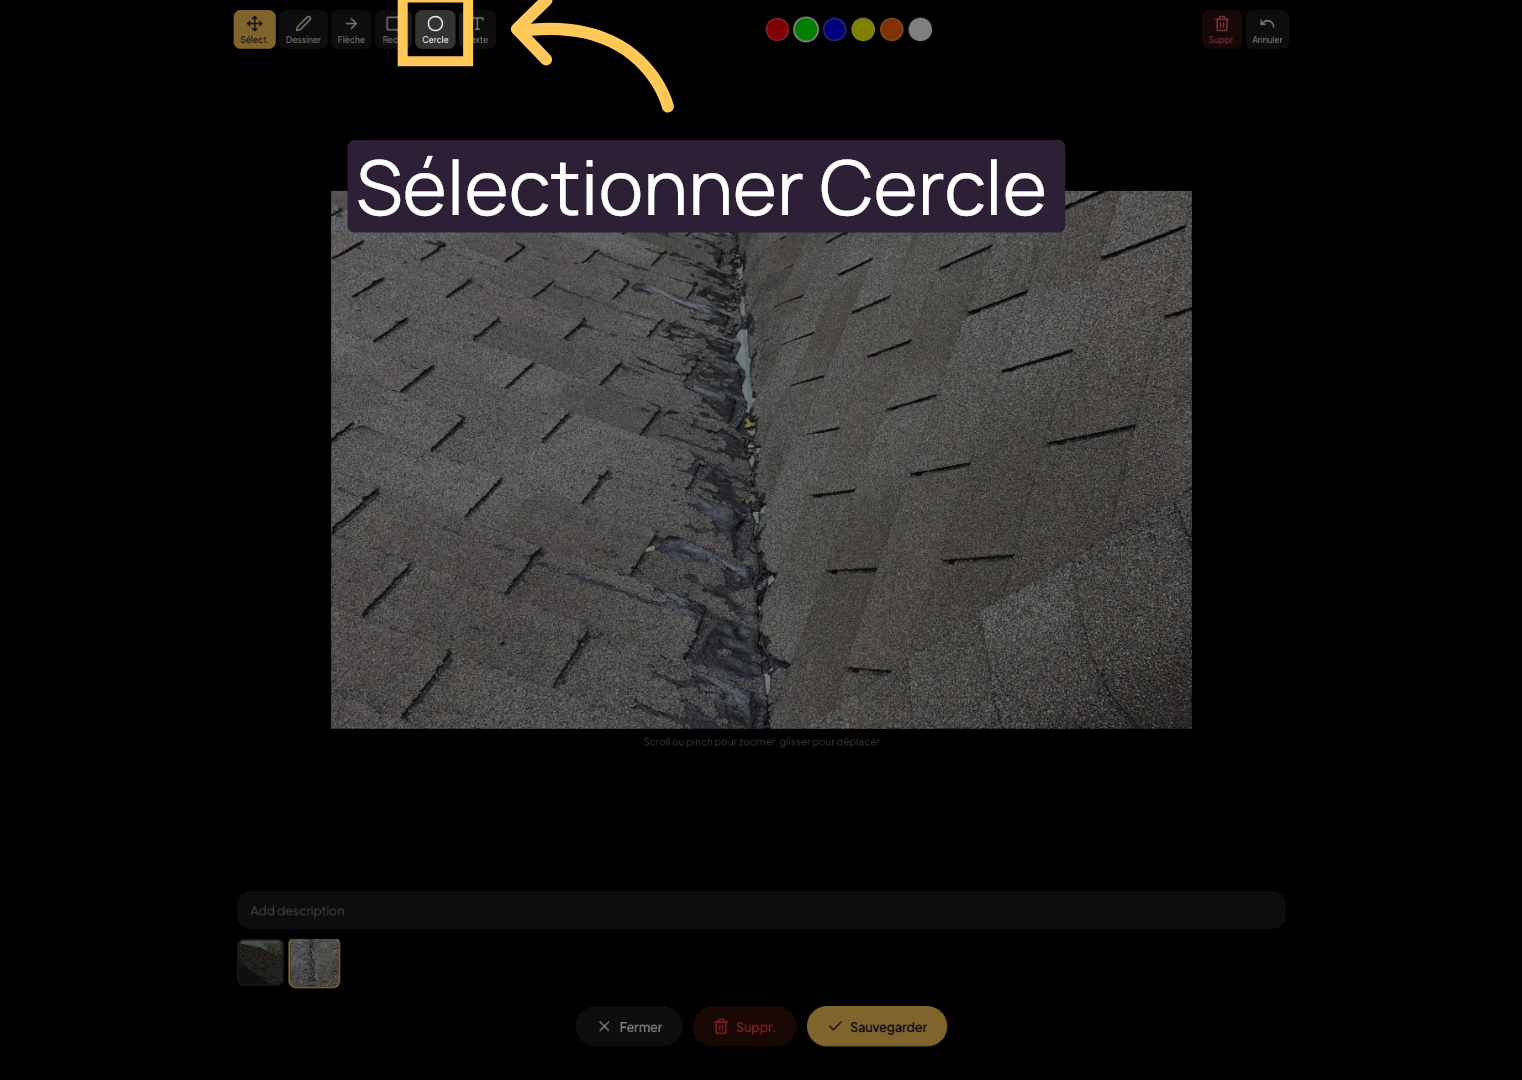
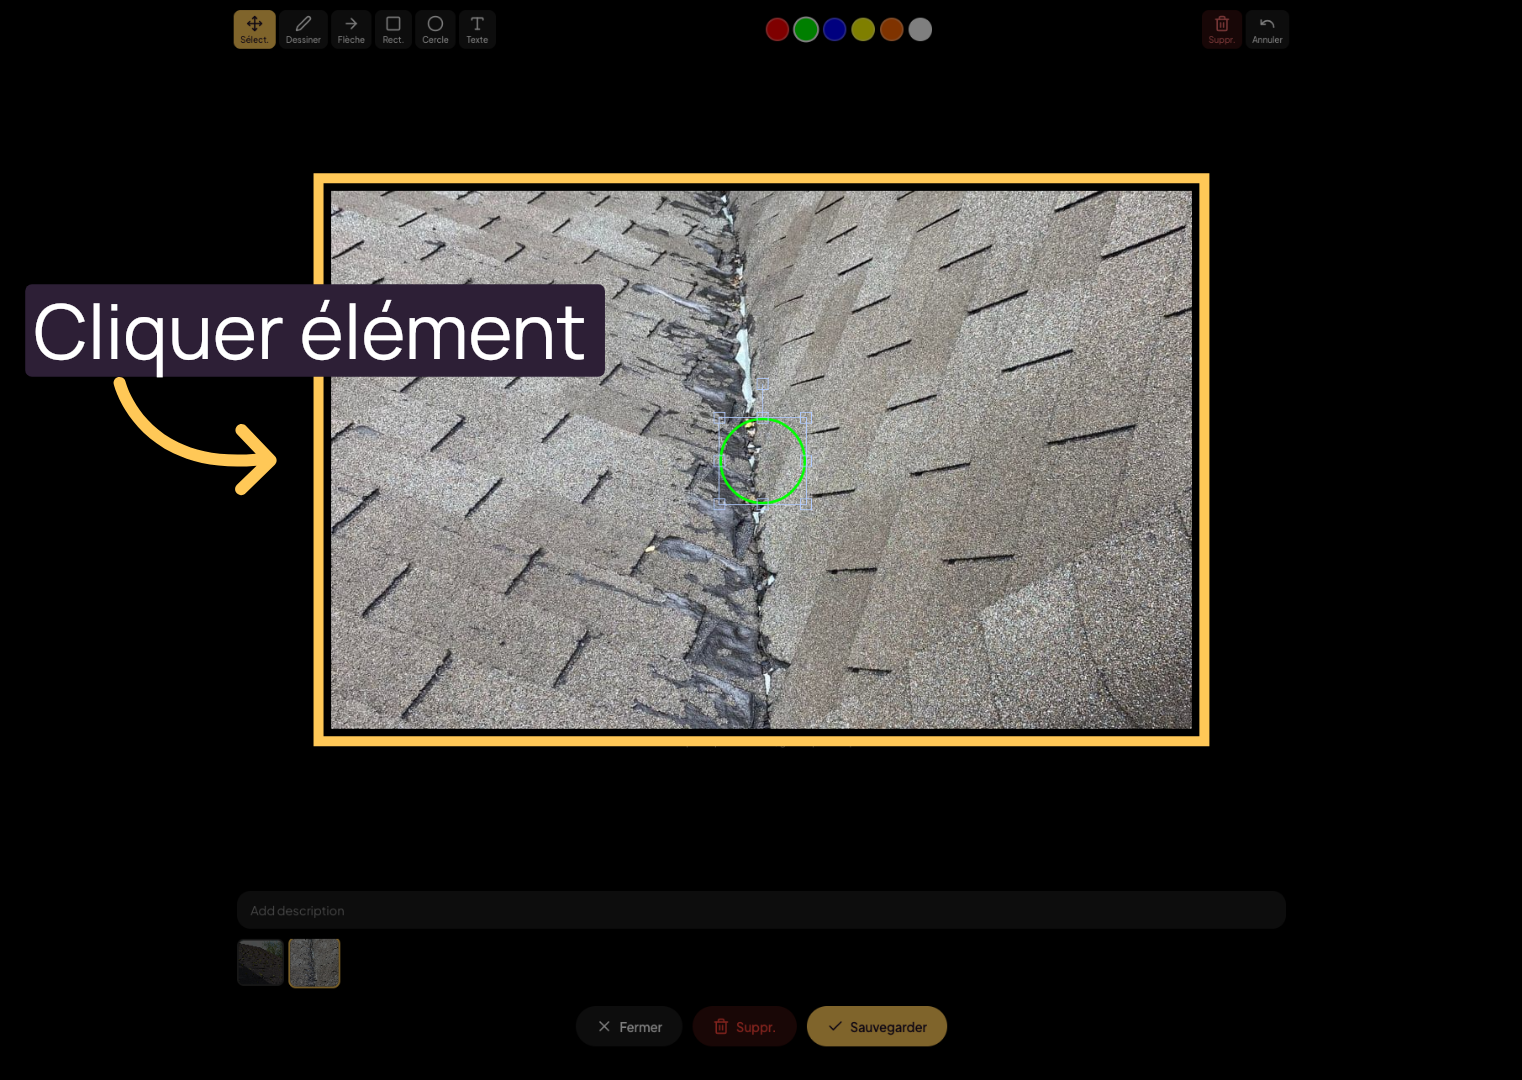
11. Click on the Specific Element
Select the added element and modify it as you wish in the image before saving your changes.
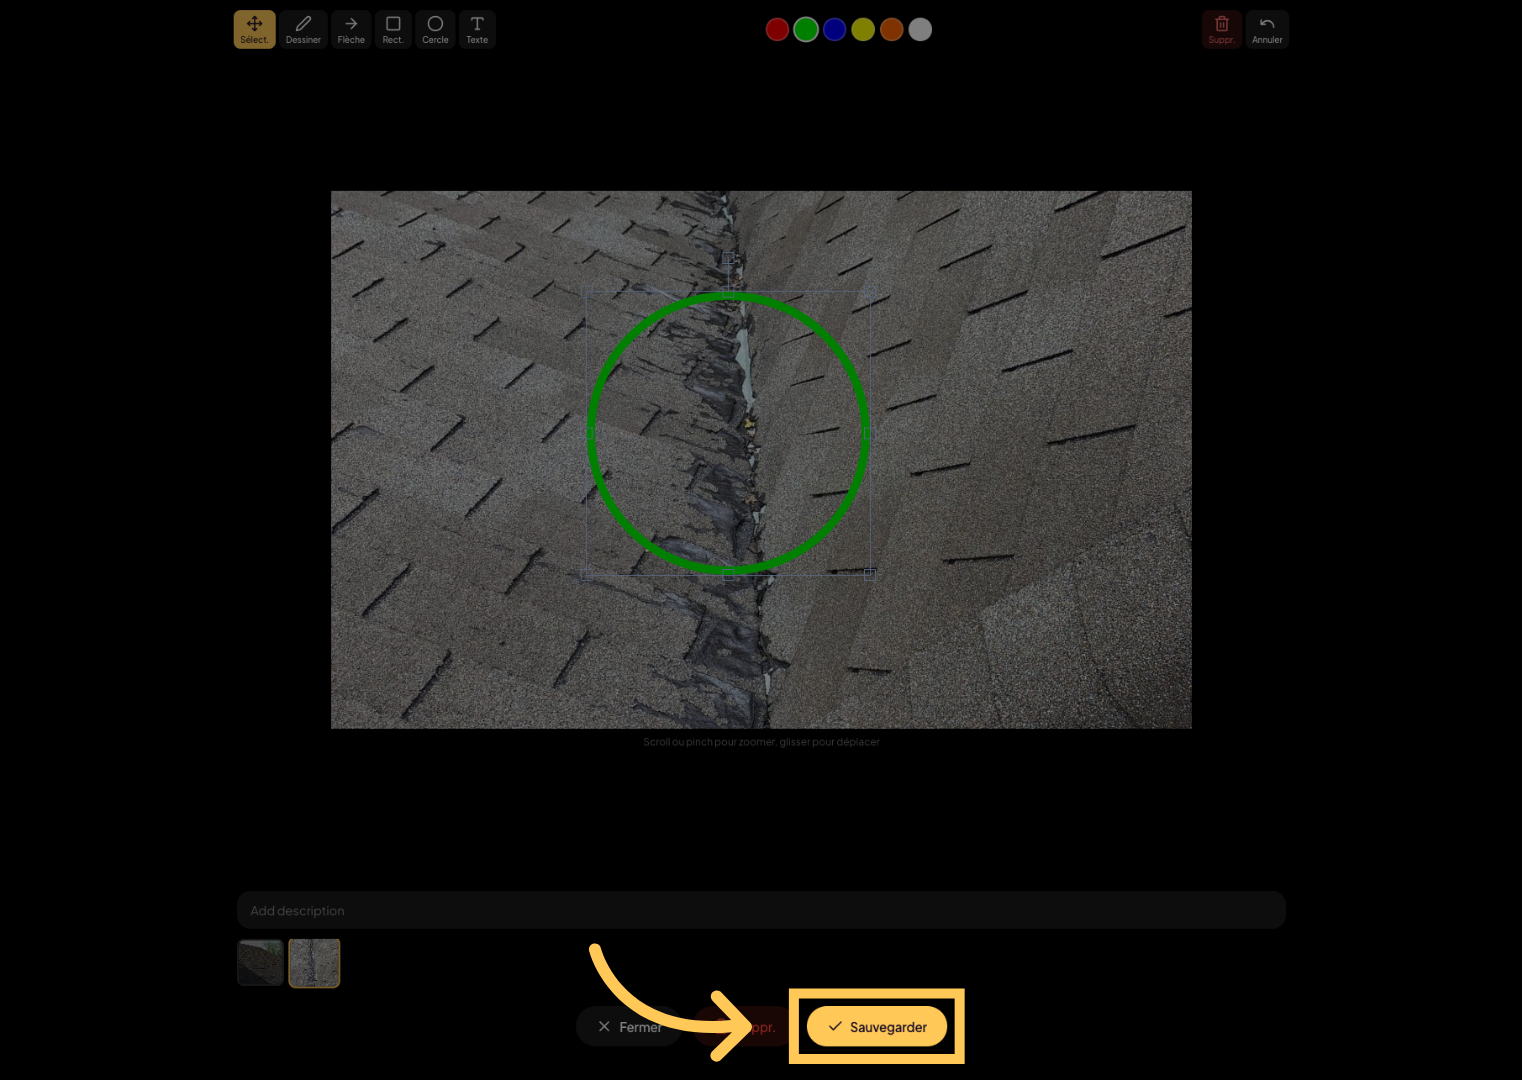
12. Save Your Changes
Don’t forget to click the Save button to save your changes.
13. Close the Active Window
Once finished, close the image editing window.

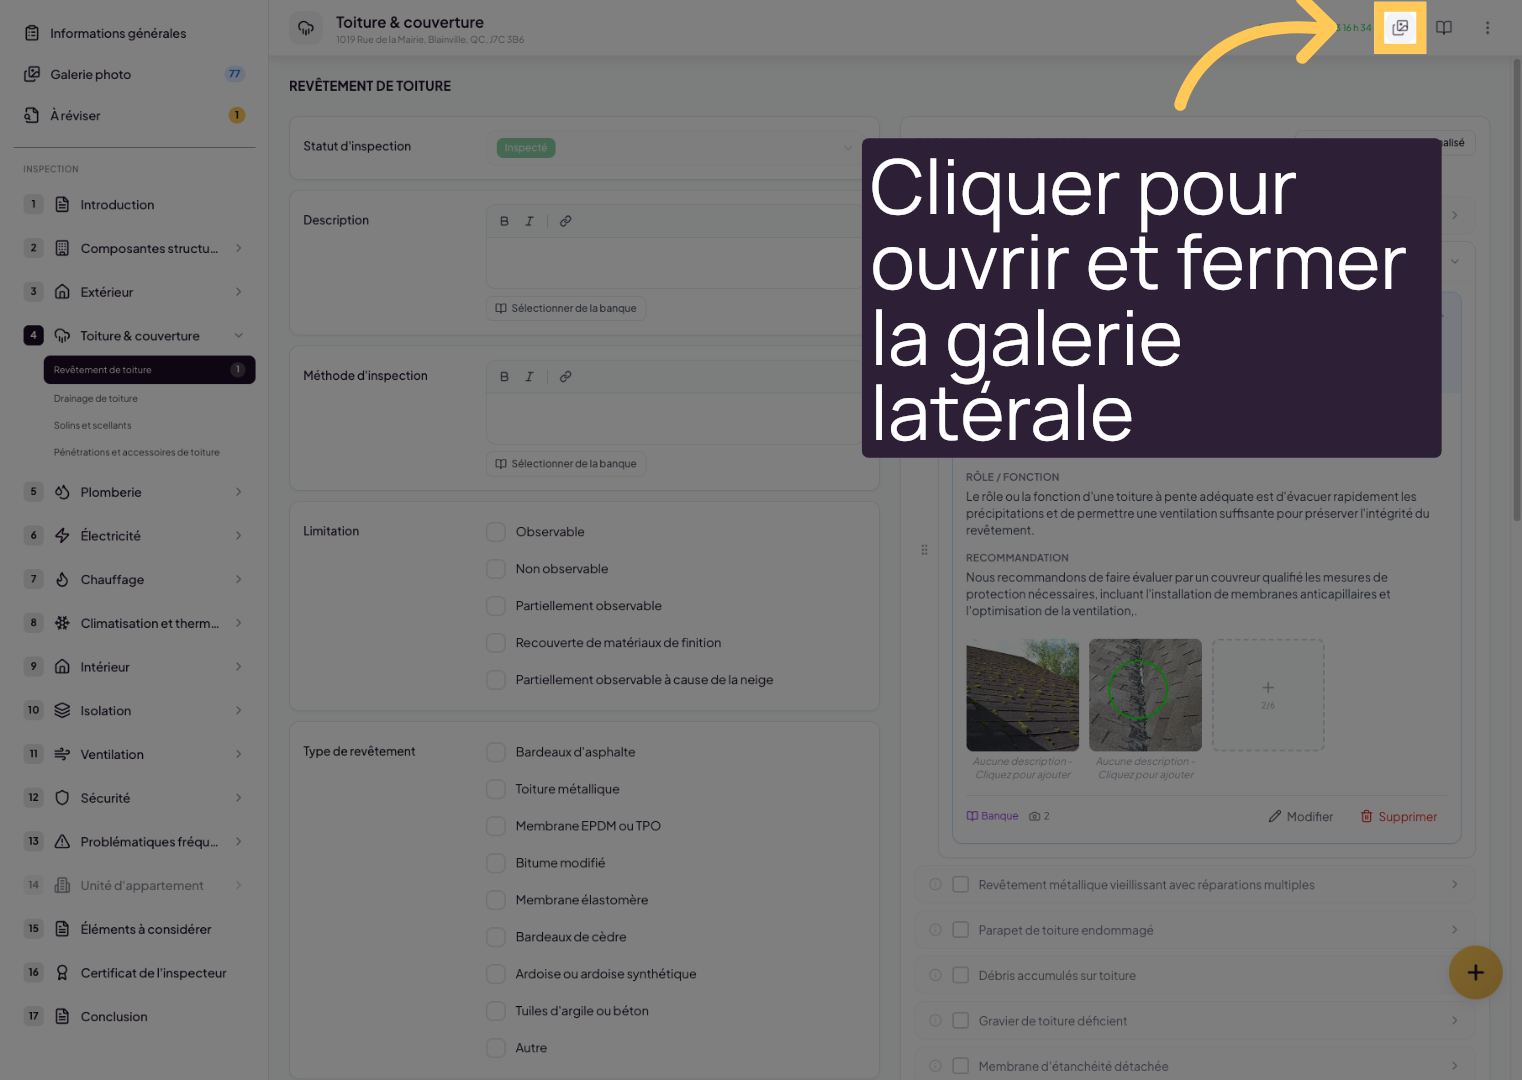
14. Close the Gallery Sidebar
To close the gallery sidebar, simply click the “Gallery” button in the report header.
15. Click on the Gallery Sidebar Icon
16. Organize and Create Findings
For more options, you can also select images, organize them by section, or create a finding directly from the images.
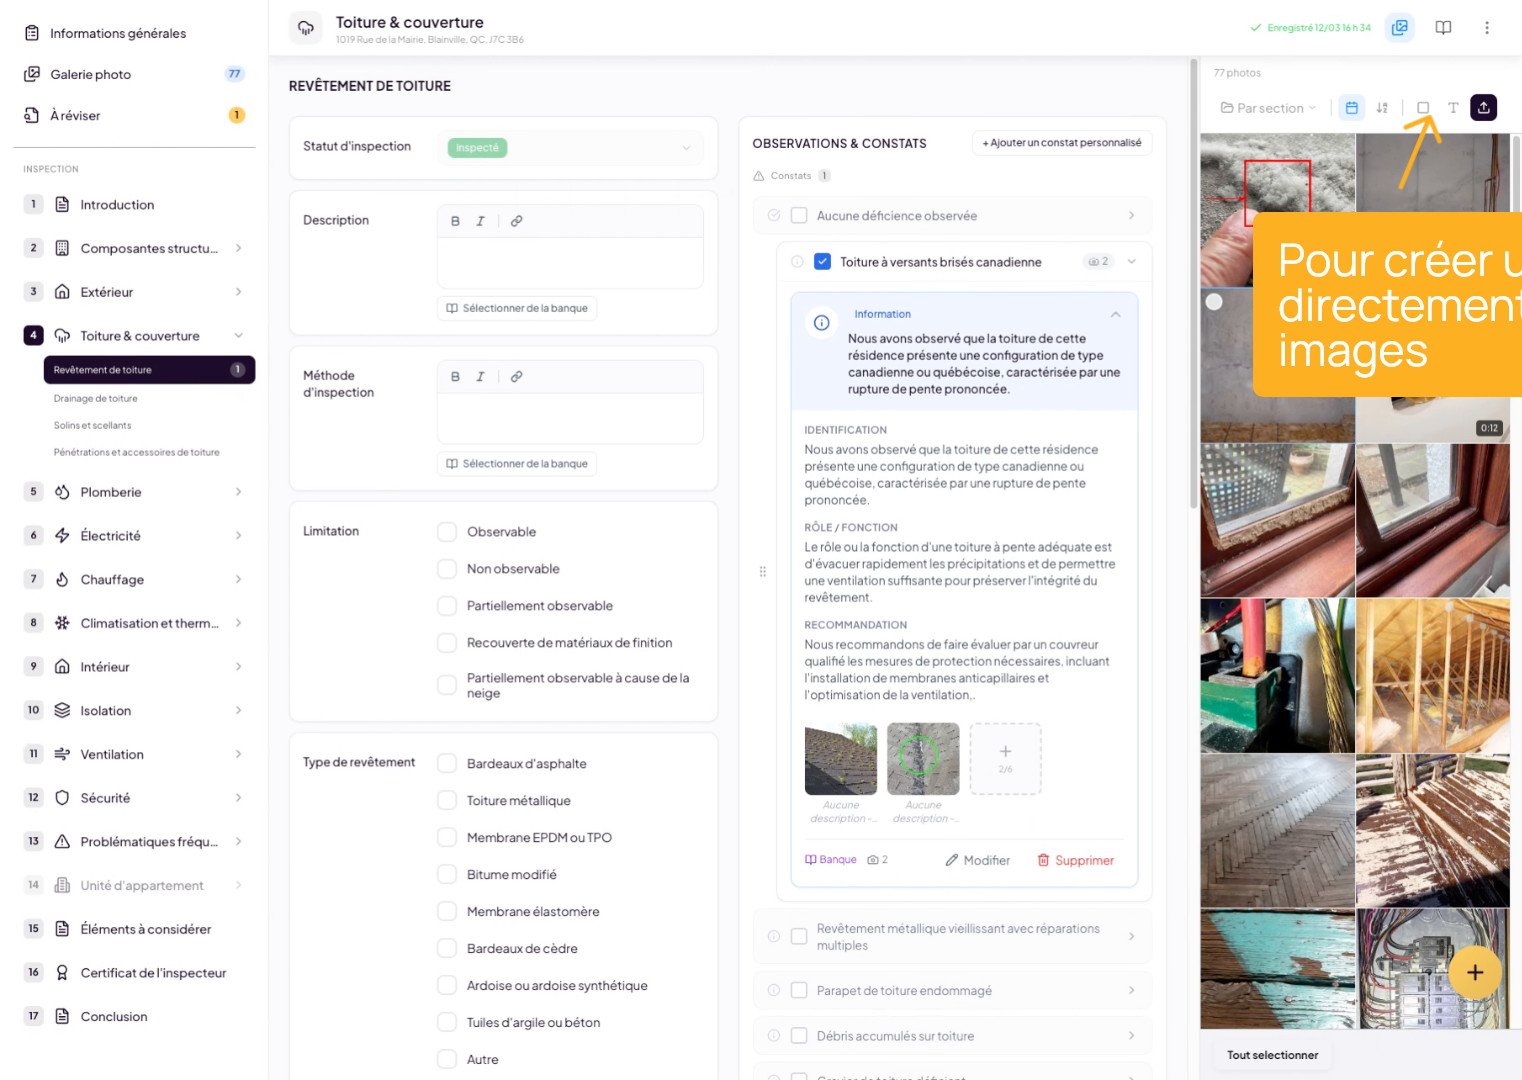
17. Create a Finding from Images
To do this, select the desired images, click Create a Finding, and fill in the finding as needed.
You’ve learned how to efficiently manage your inspection photos in Lumos Inspection, including quick access, organization, editing, and creating findings. To go further, explore the advanced image management options and finding customization.