Getting Started
Visit inspector.lumos.property
1. Introduction
Discover how to navigate the application efficiently and make the most of its essential tools.
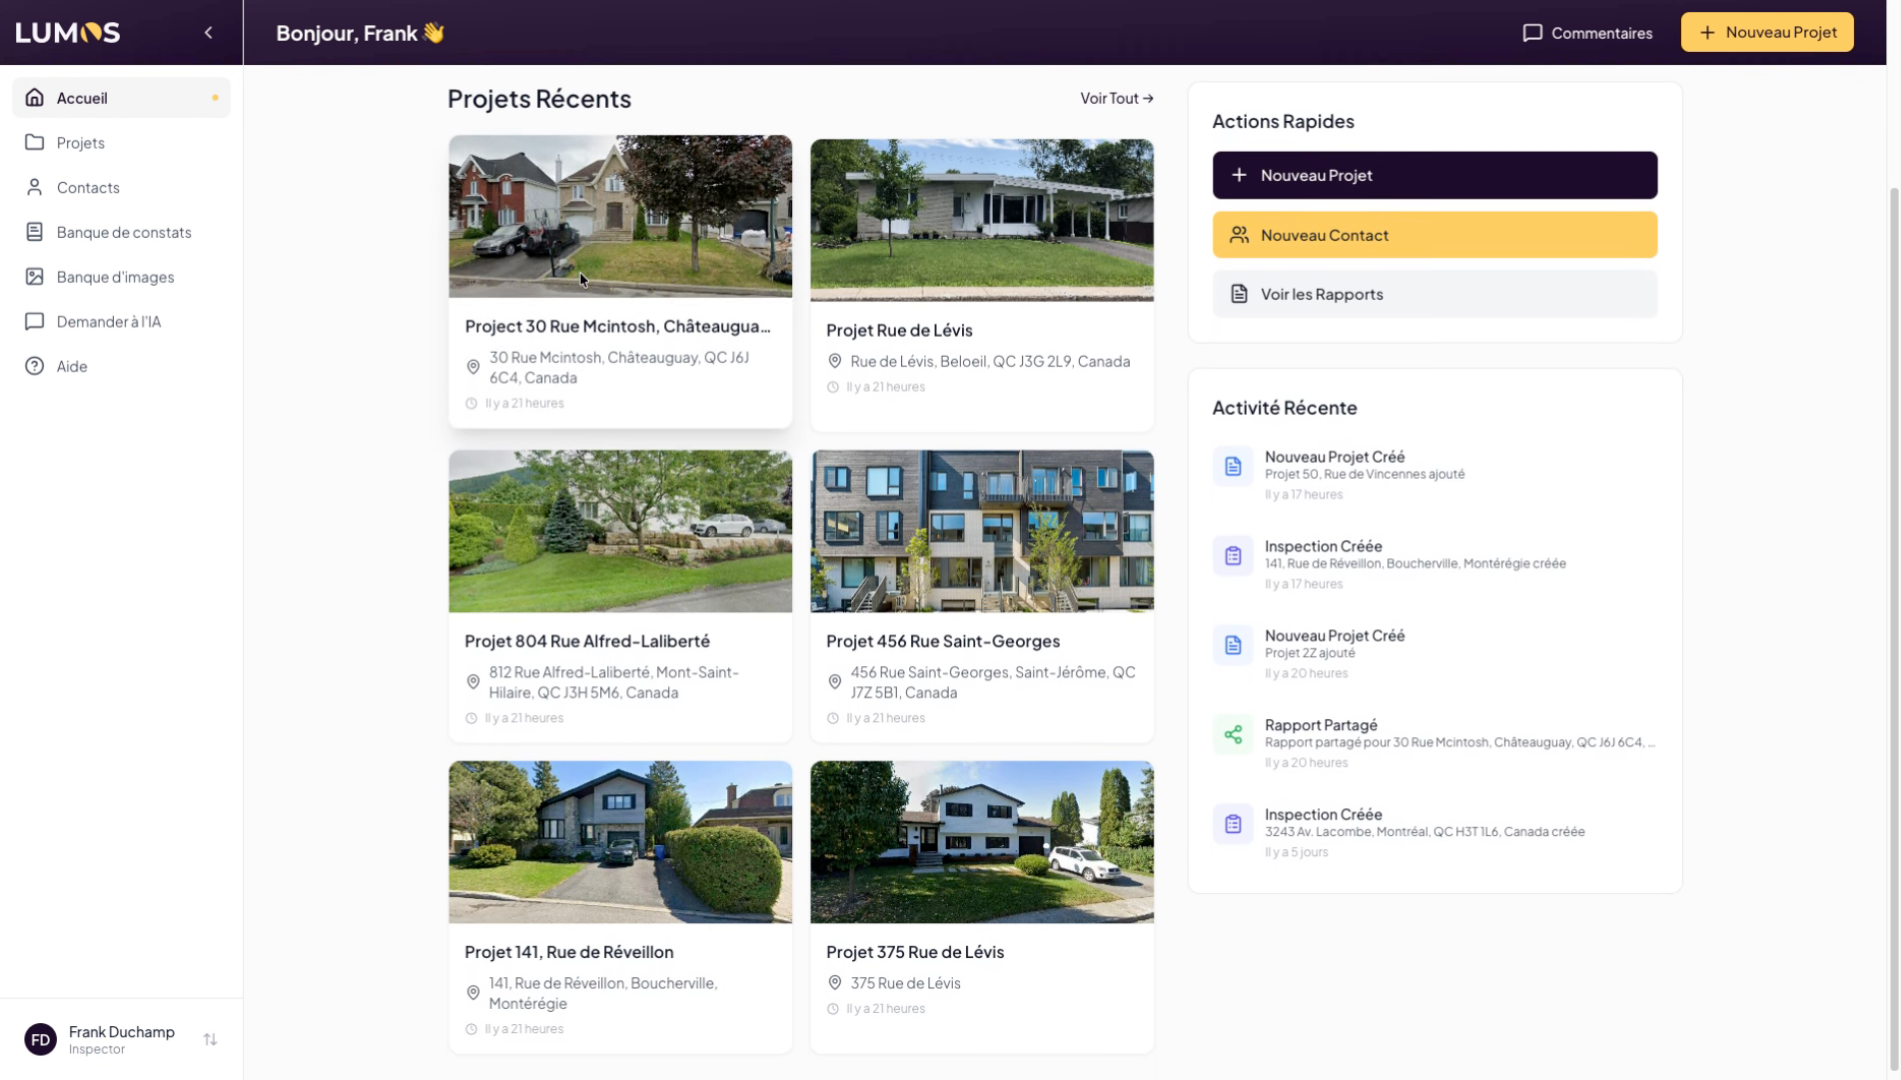
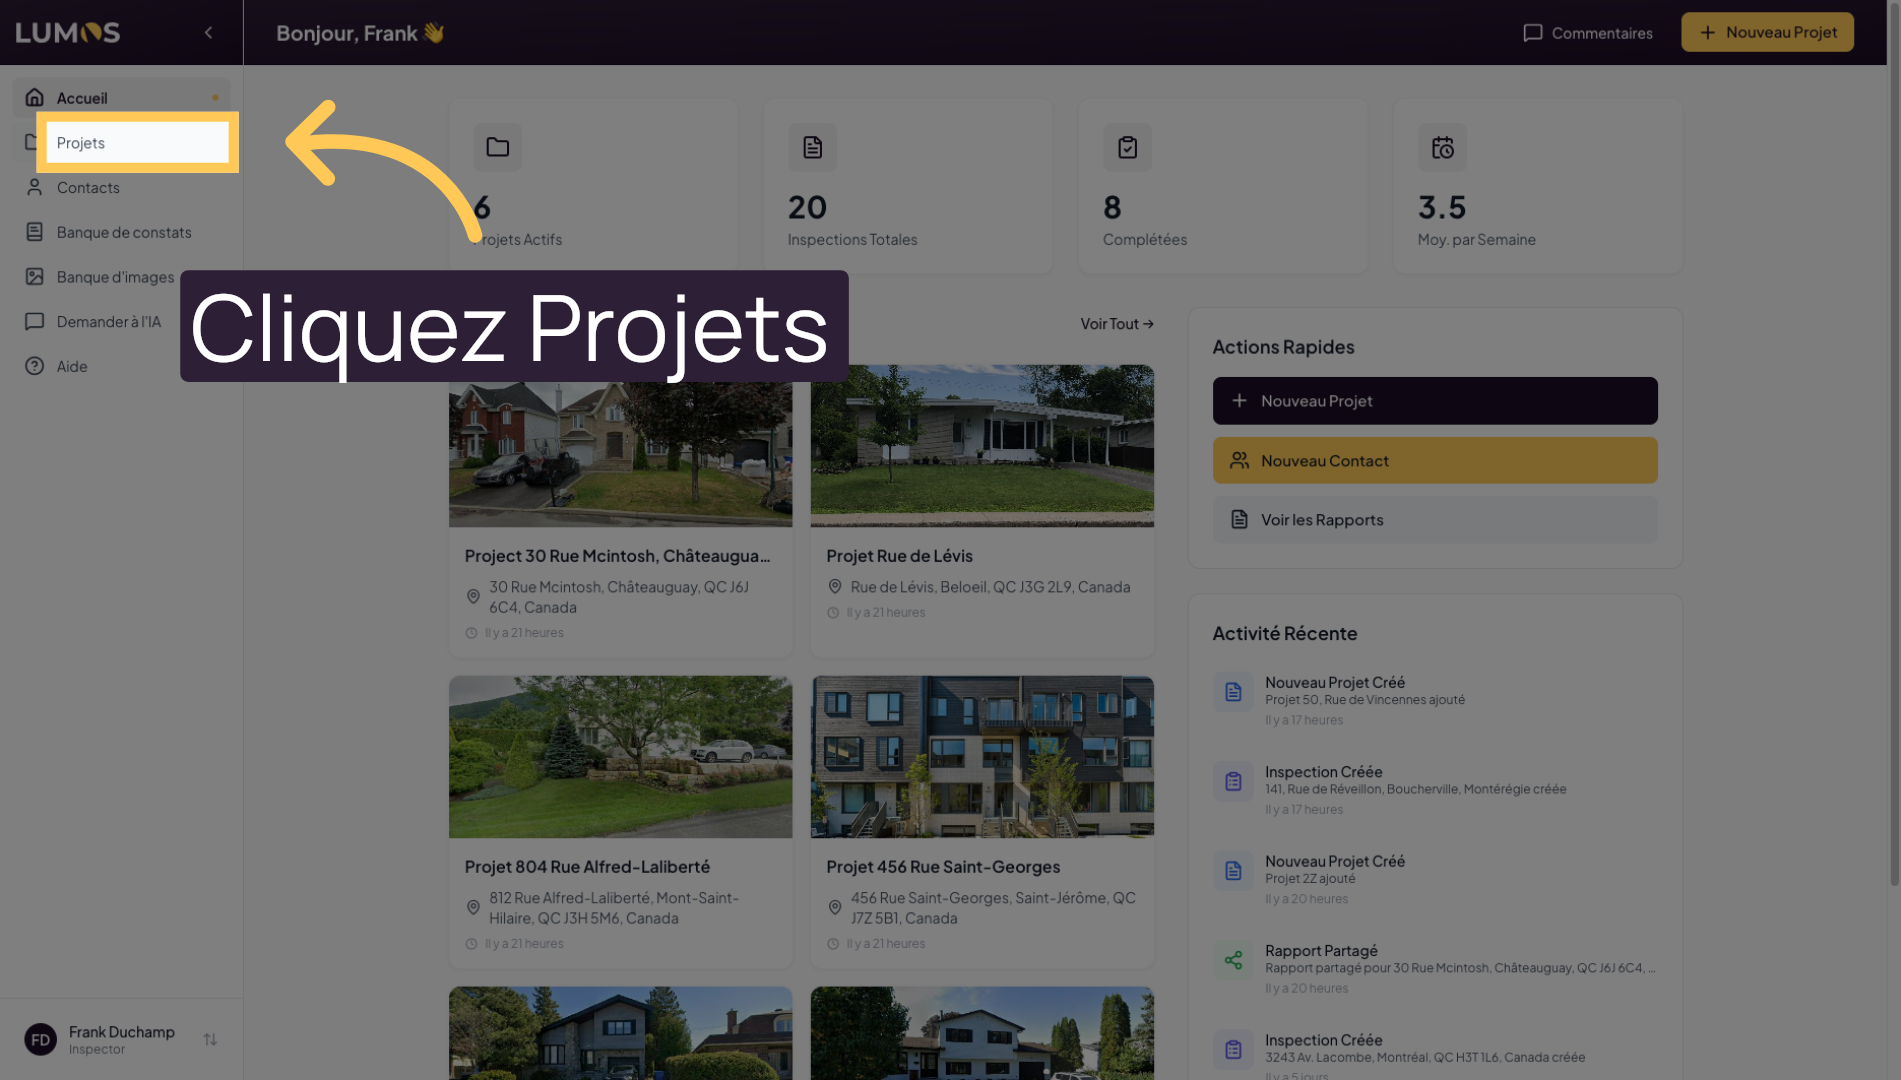
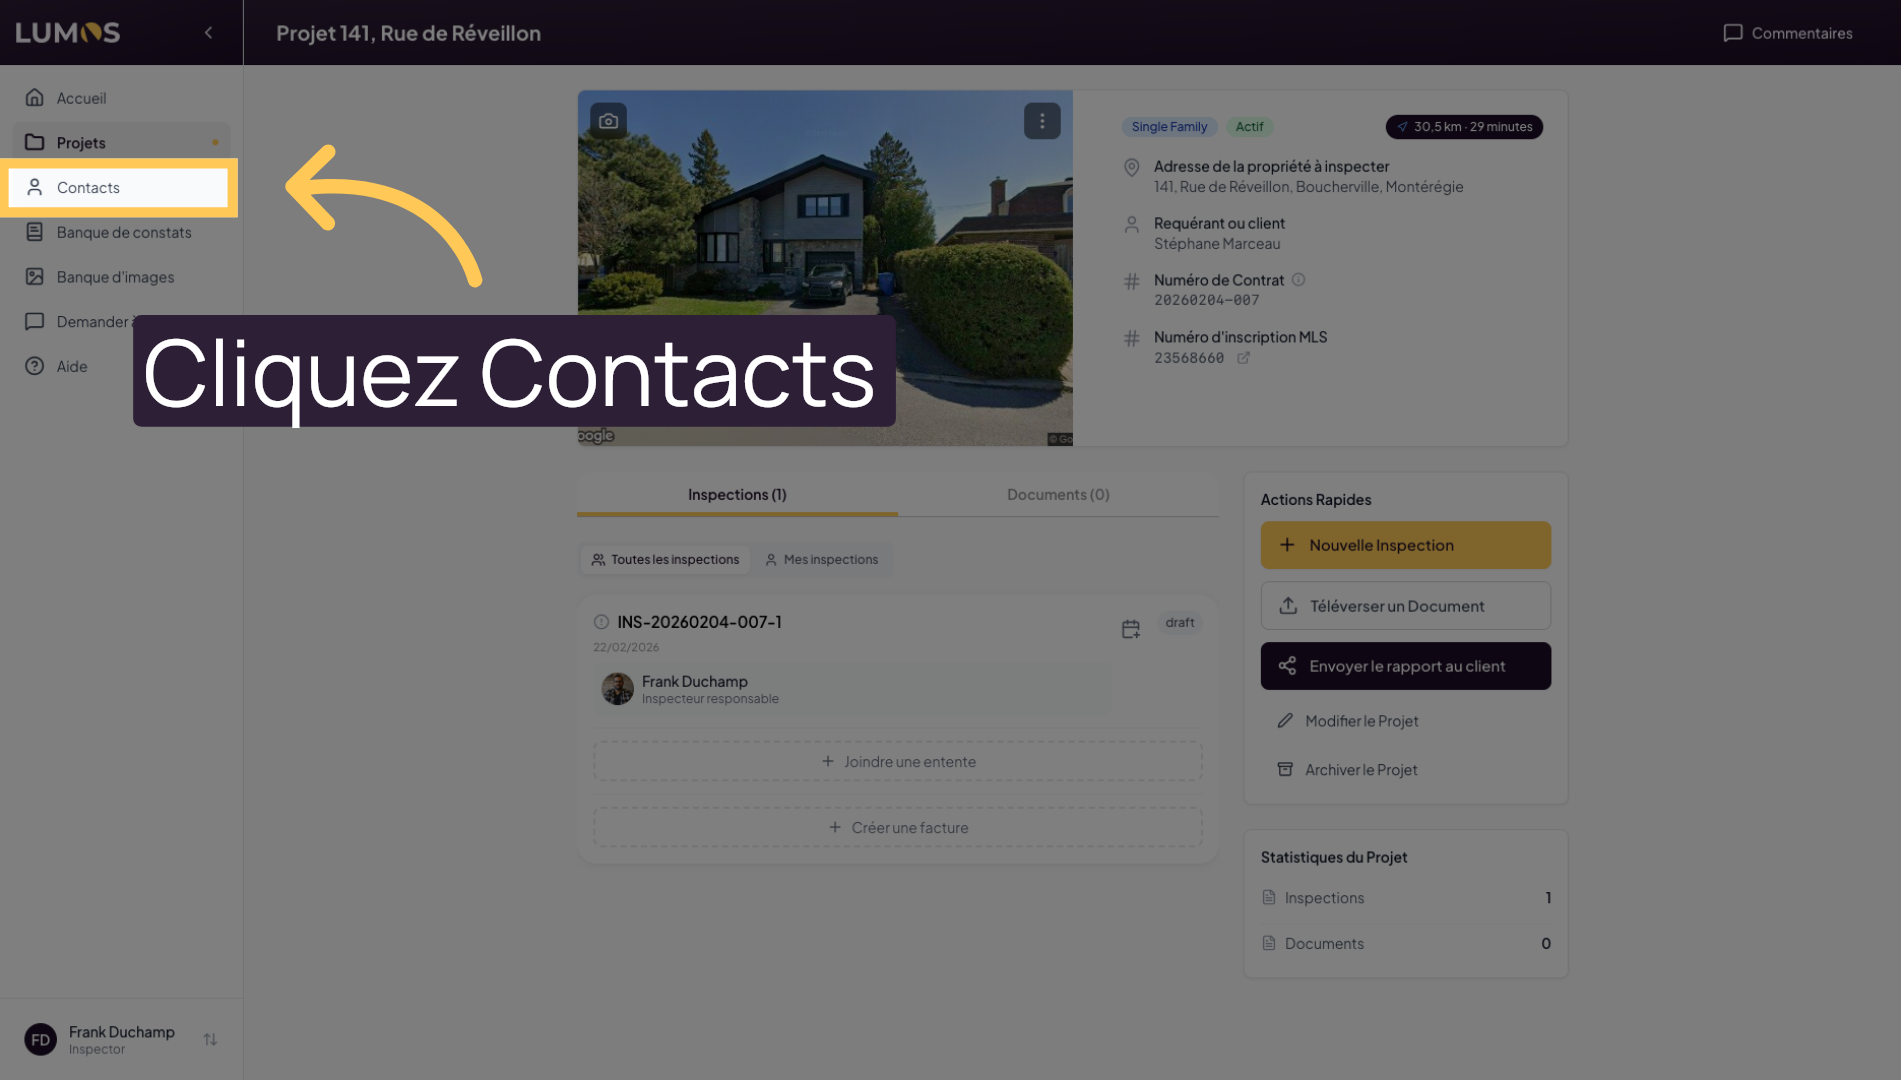
2. Access the Projects Section
Click on “Projects” to access your list of ongoing projects and manage your inspections. You can create one project per address to inspect, but each project can contain multiple inspections.
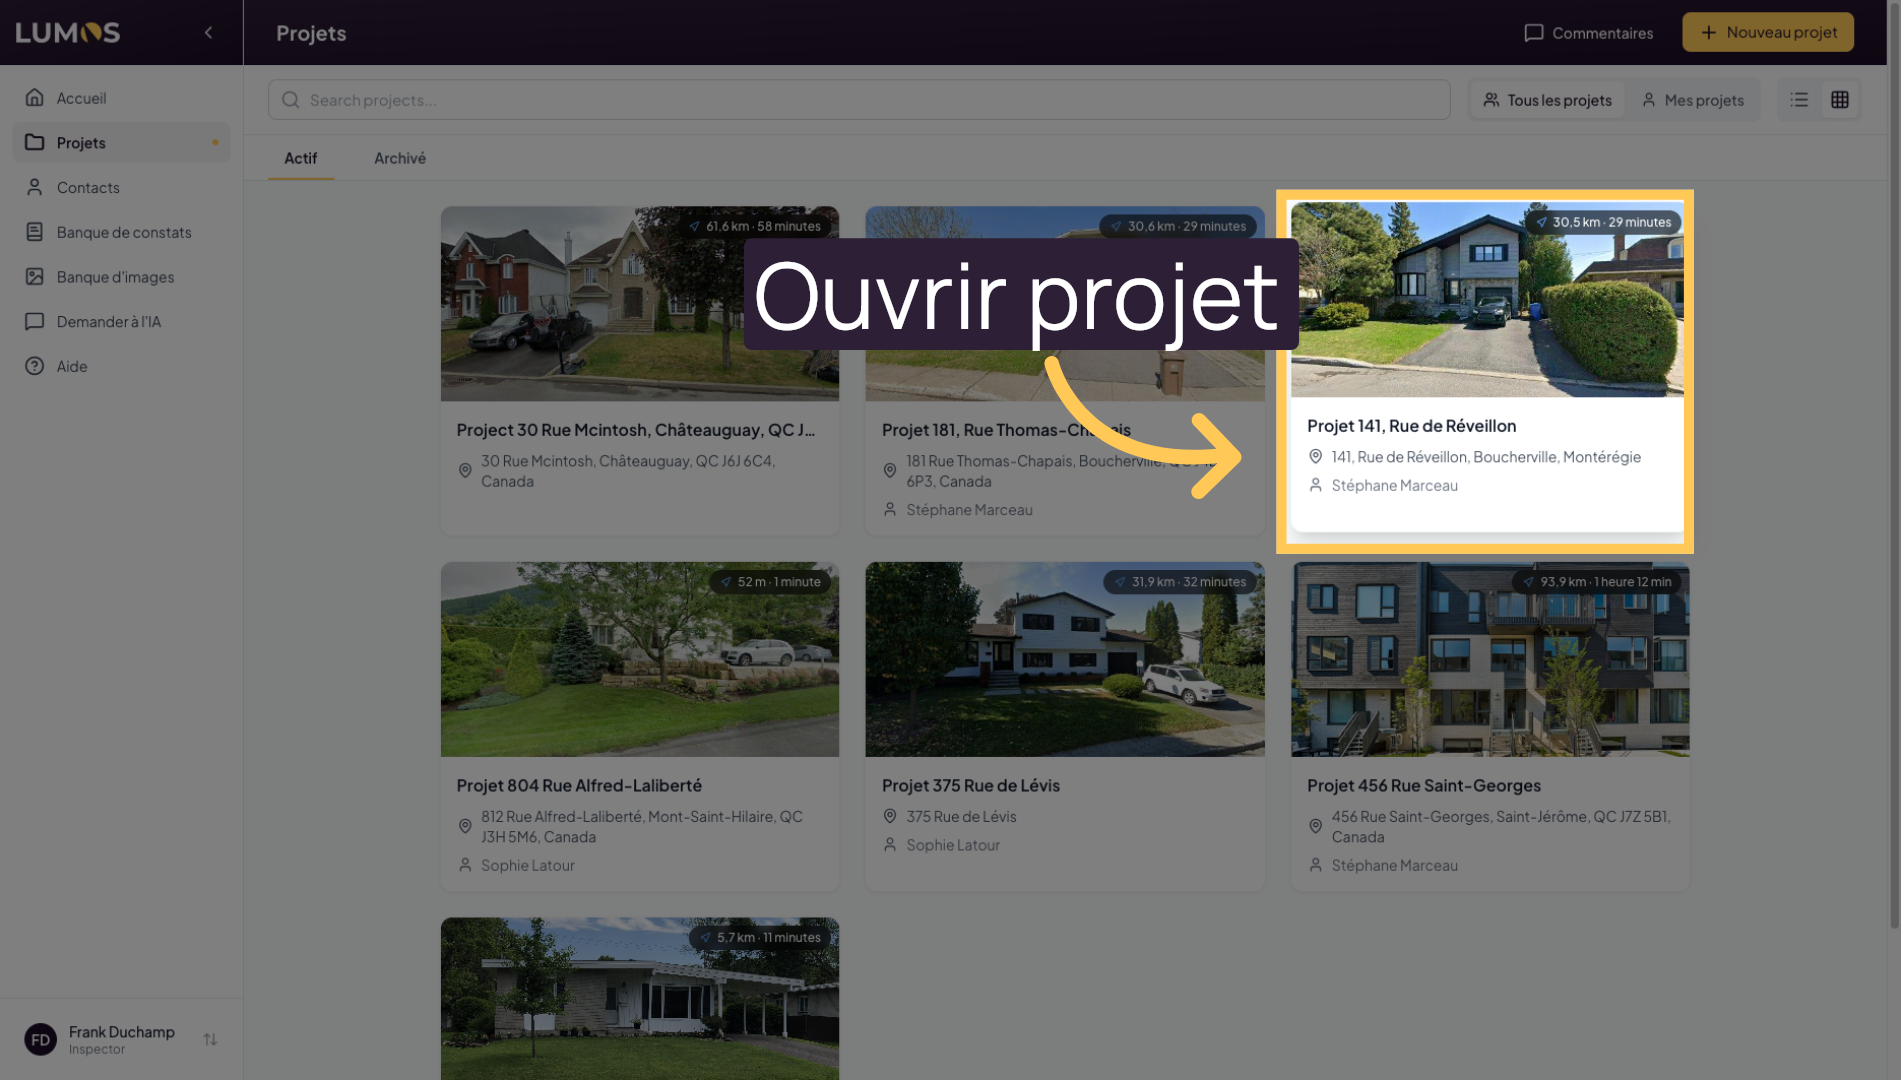
3. Open a Specific Project
Select a project to view its details. You will find information about ongoing, past, or upcoming inspections, various details about the property to inspect, and the ability to attach contracts and invoices.
4. View Associated Documents
In the documents section, you can add various documents related to inspections, such as the seller’s declaration and other relevant documents.
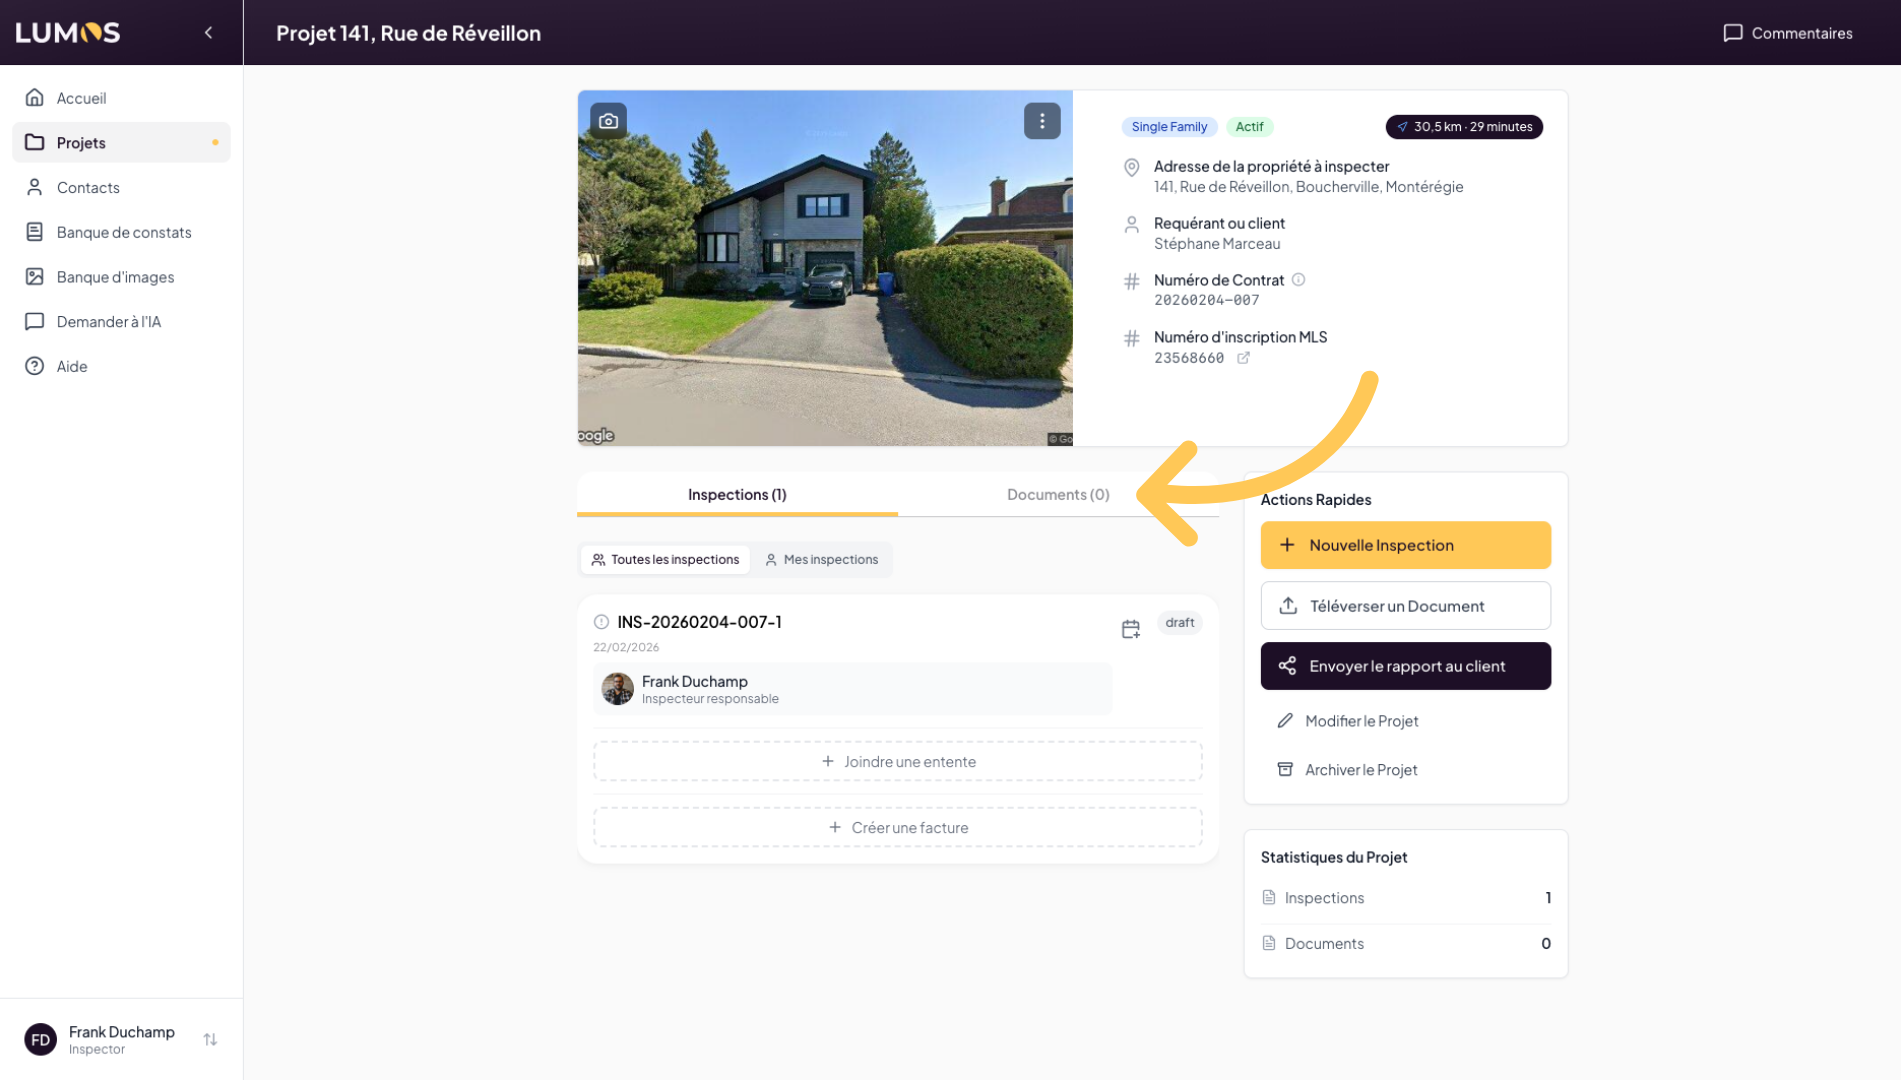
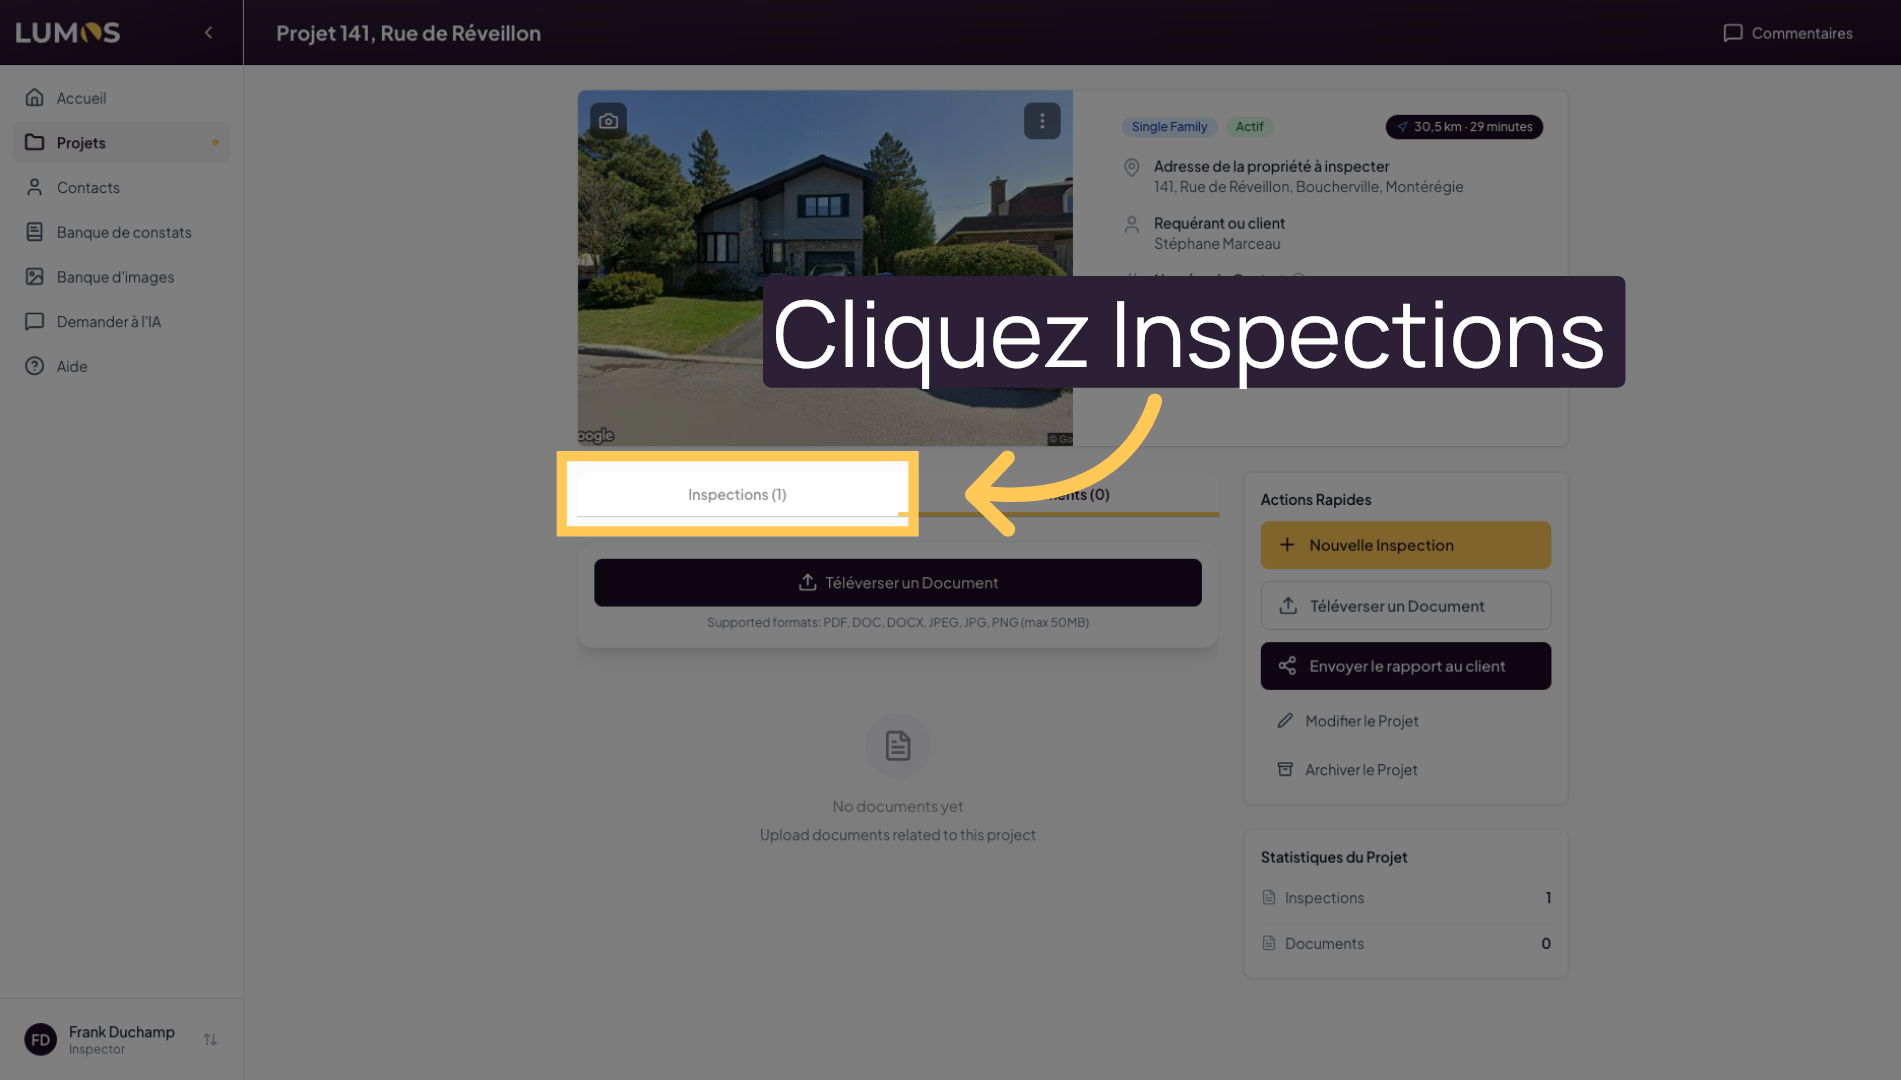
5. Access Inspections
In the inspections tab, you will find the list of inspections linked to this property.
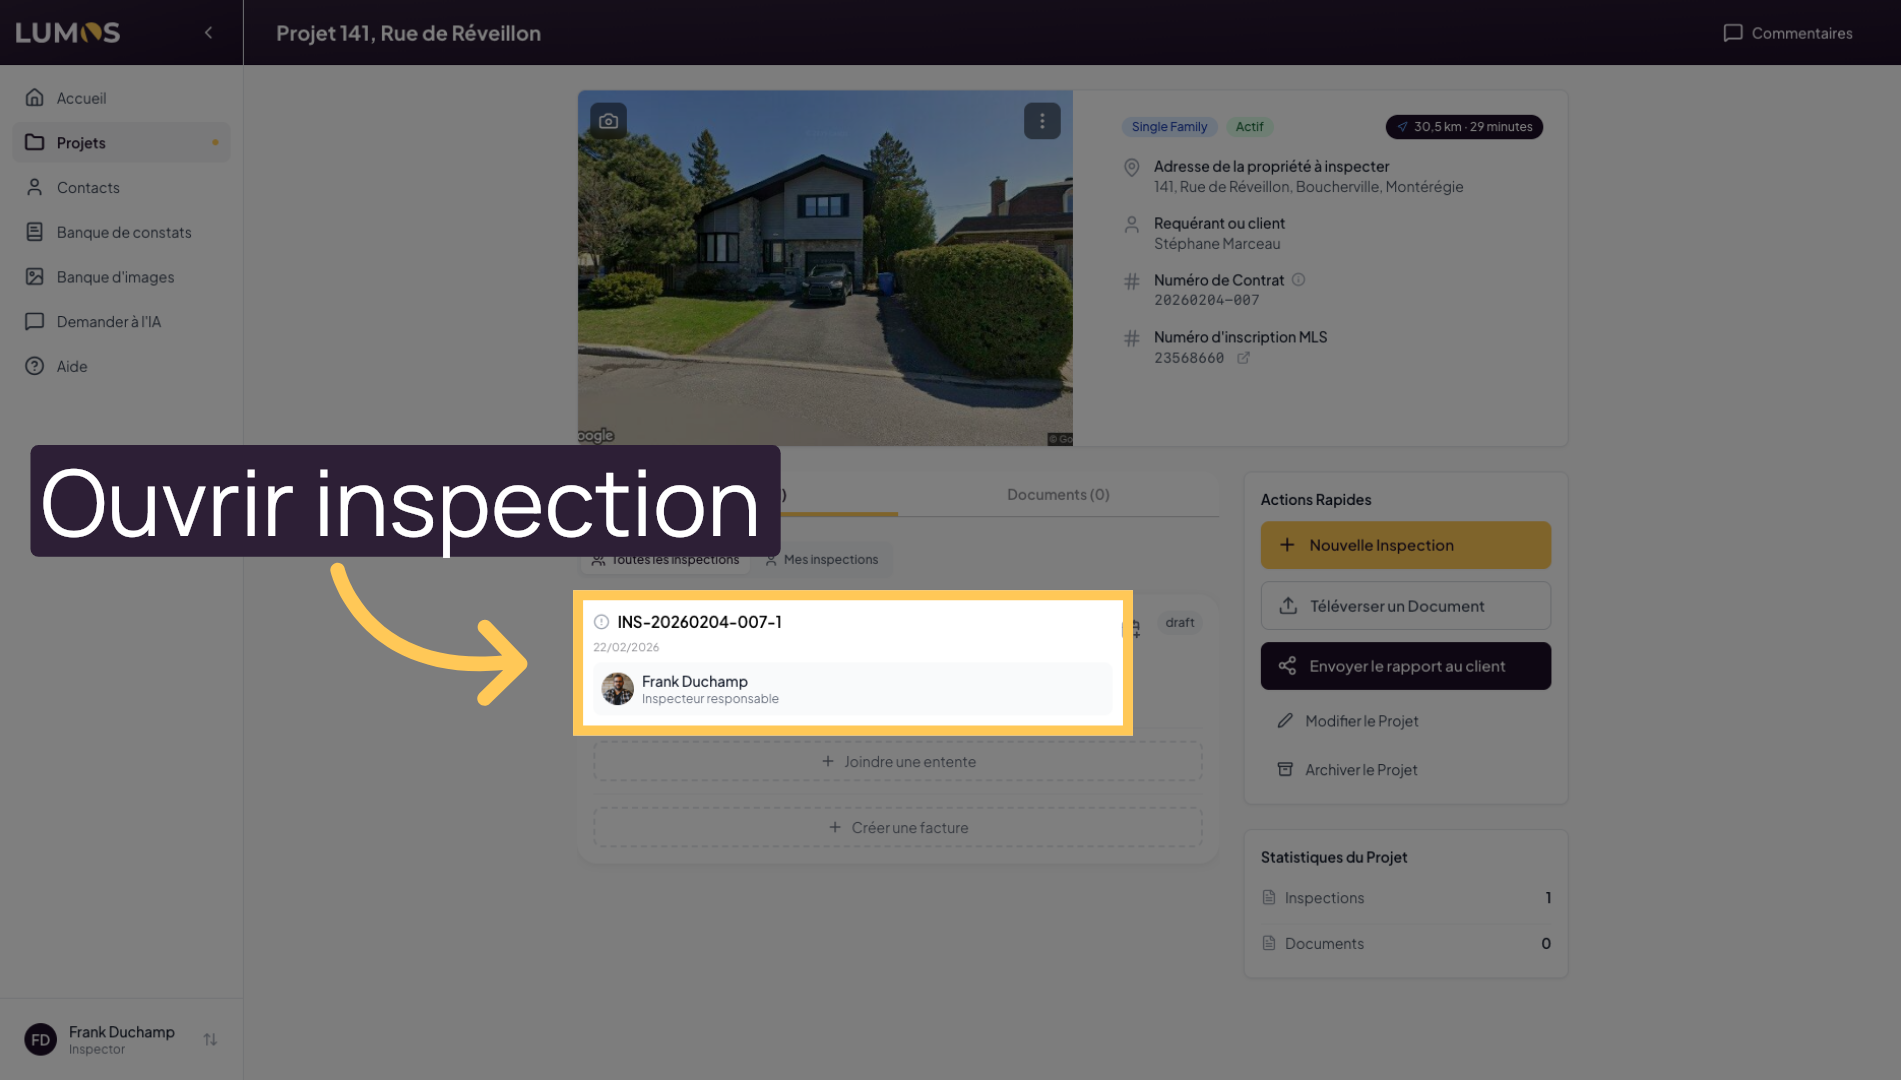
6. View a Detailed Inspection
Click on the inspection to open the full inspection report.
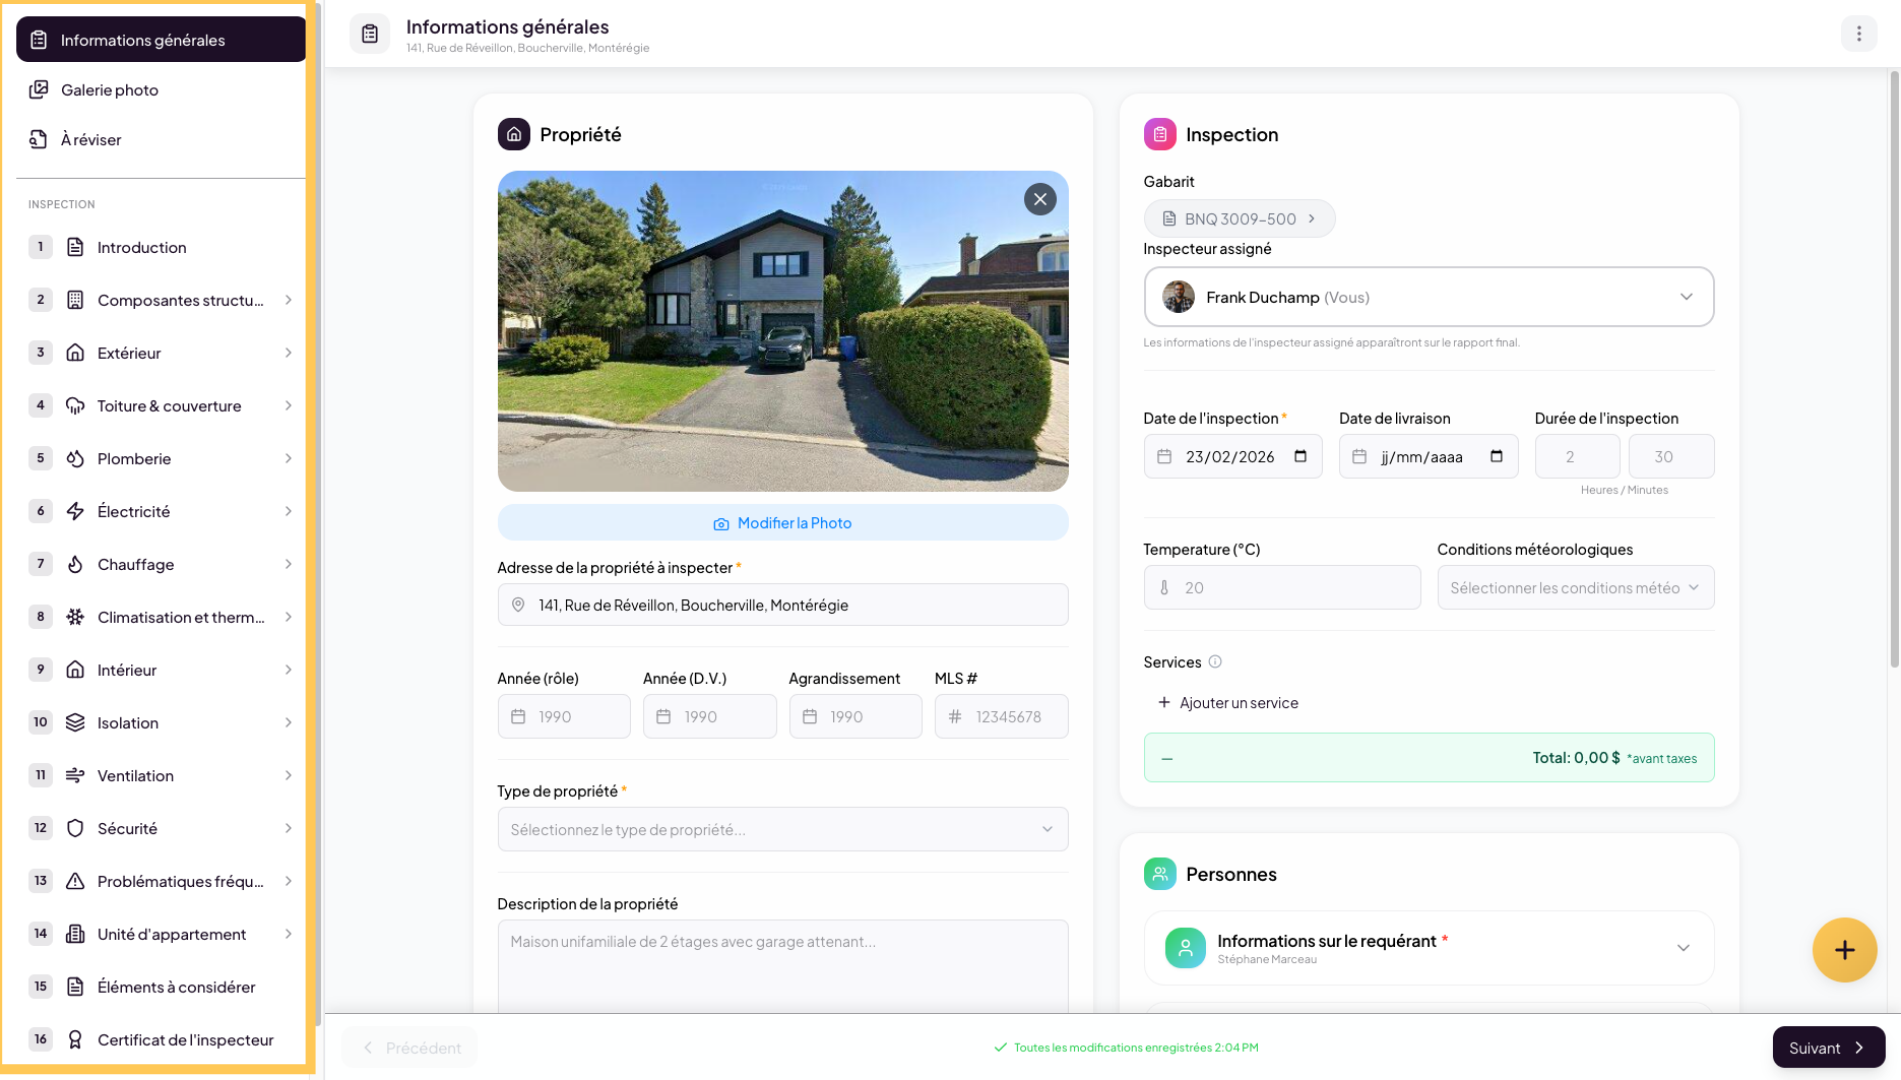
7. Explore Inspection Details
This is where you will build your inspection report. On the left side, you will find the main navigation with the photo gallery, building sections and components, and much more.
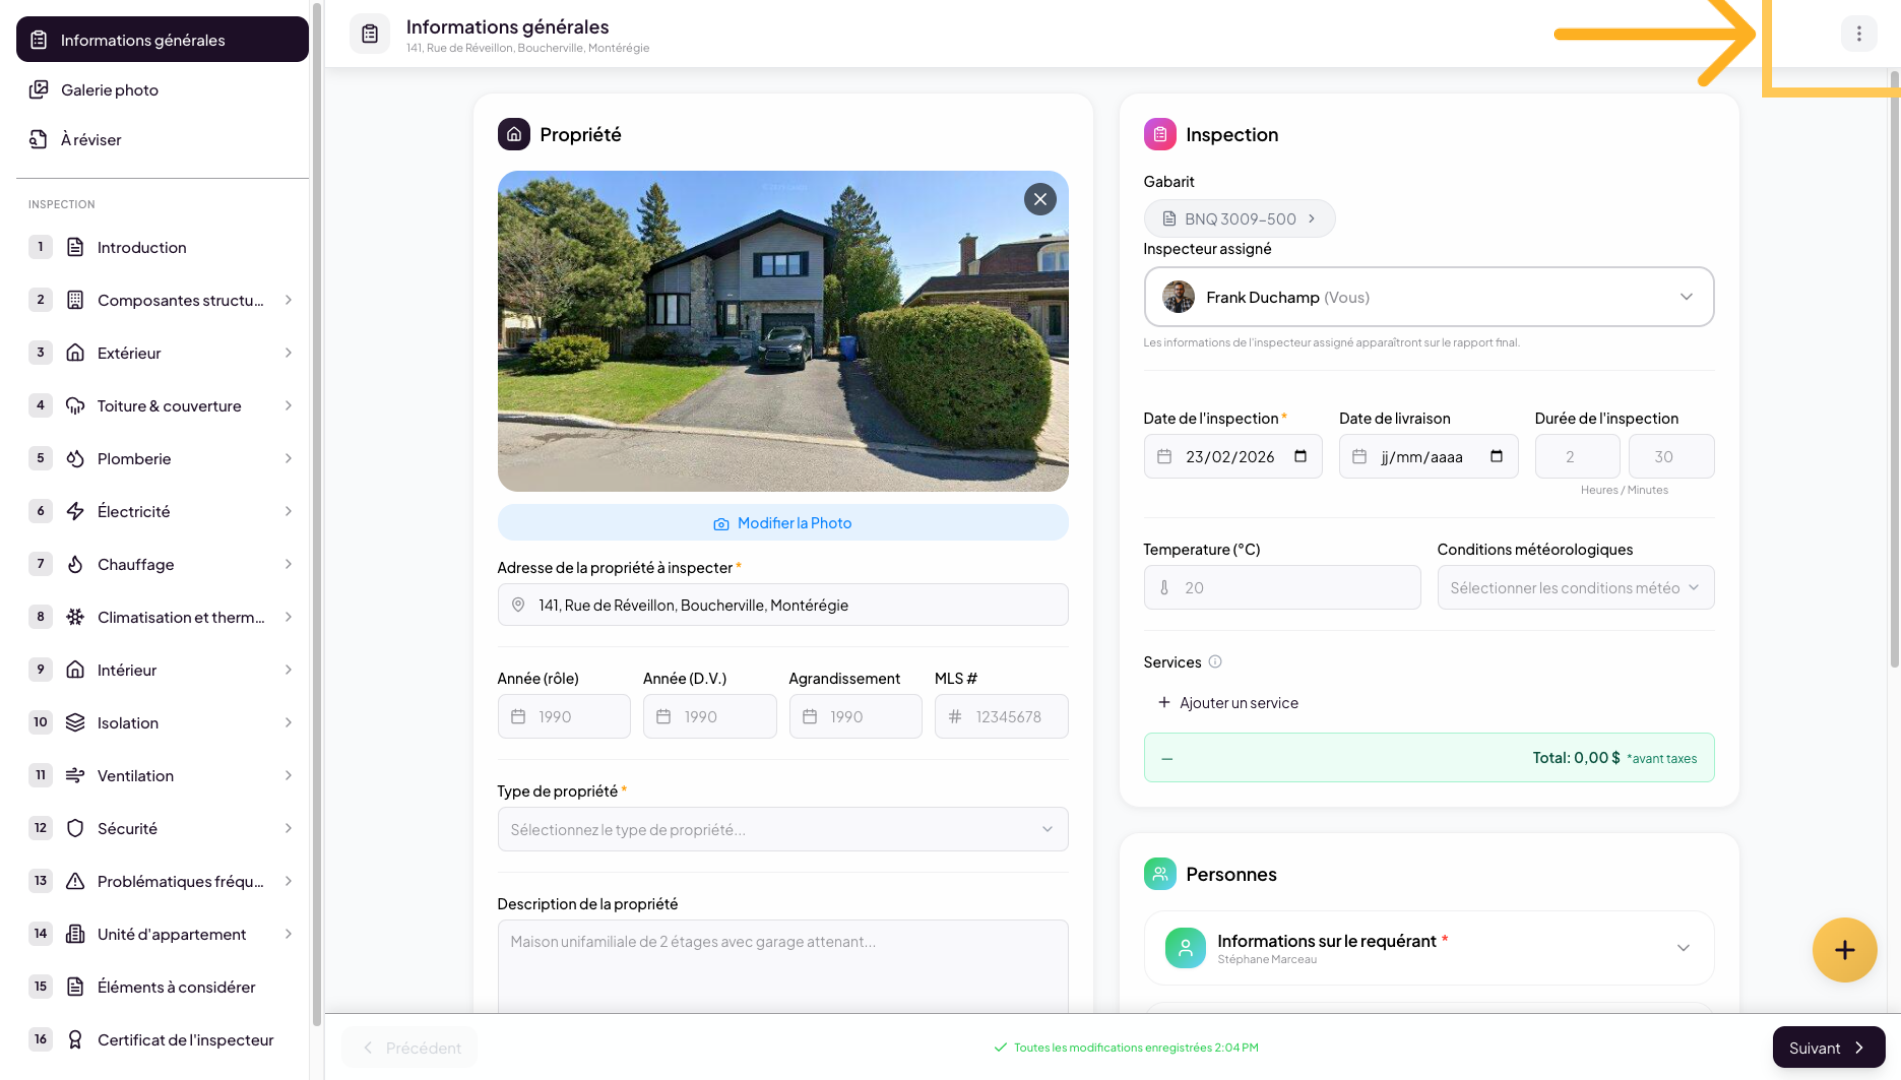
8. Inspection Report Actions
Click on the menu in the upper right corner to access available actions for the selected inspection.
9. Exit the Inspection View
Select “Exit” to return to the main list of projects or inspections.

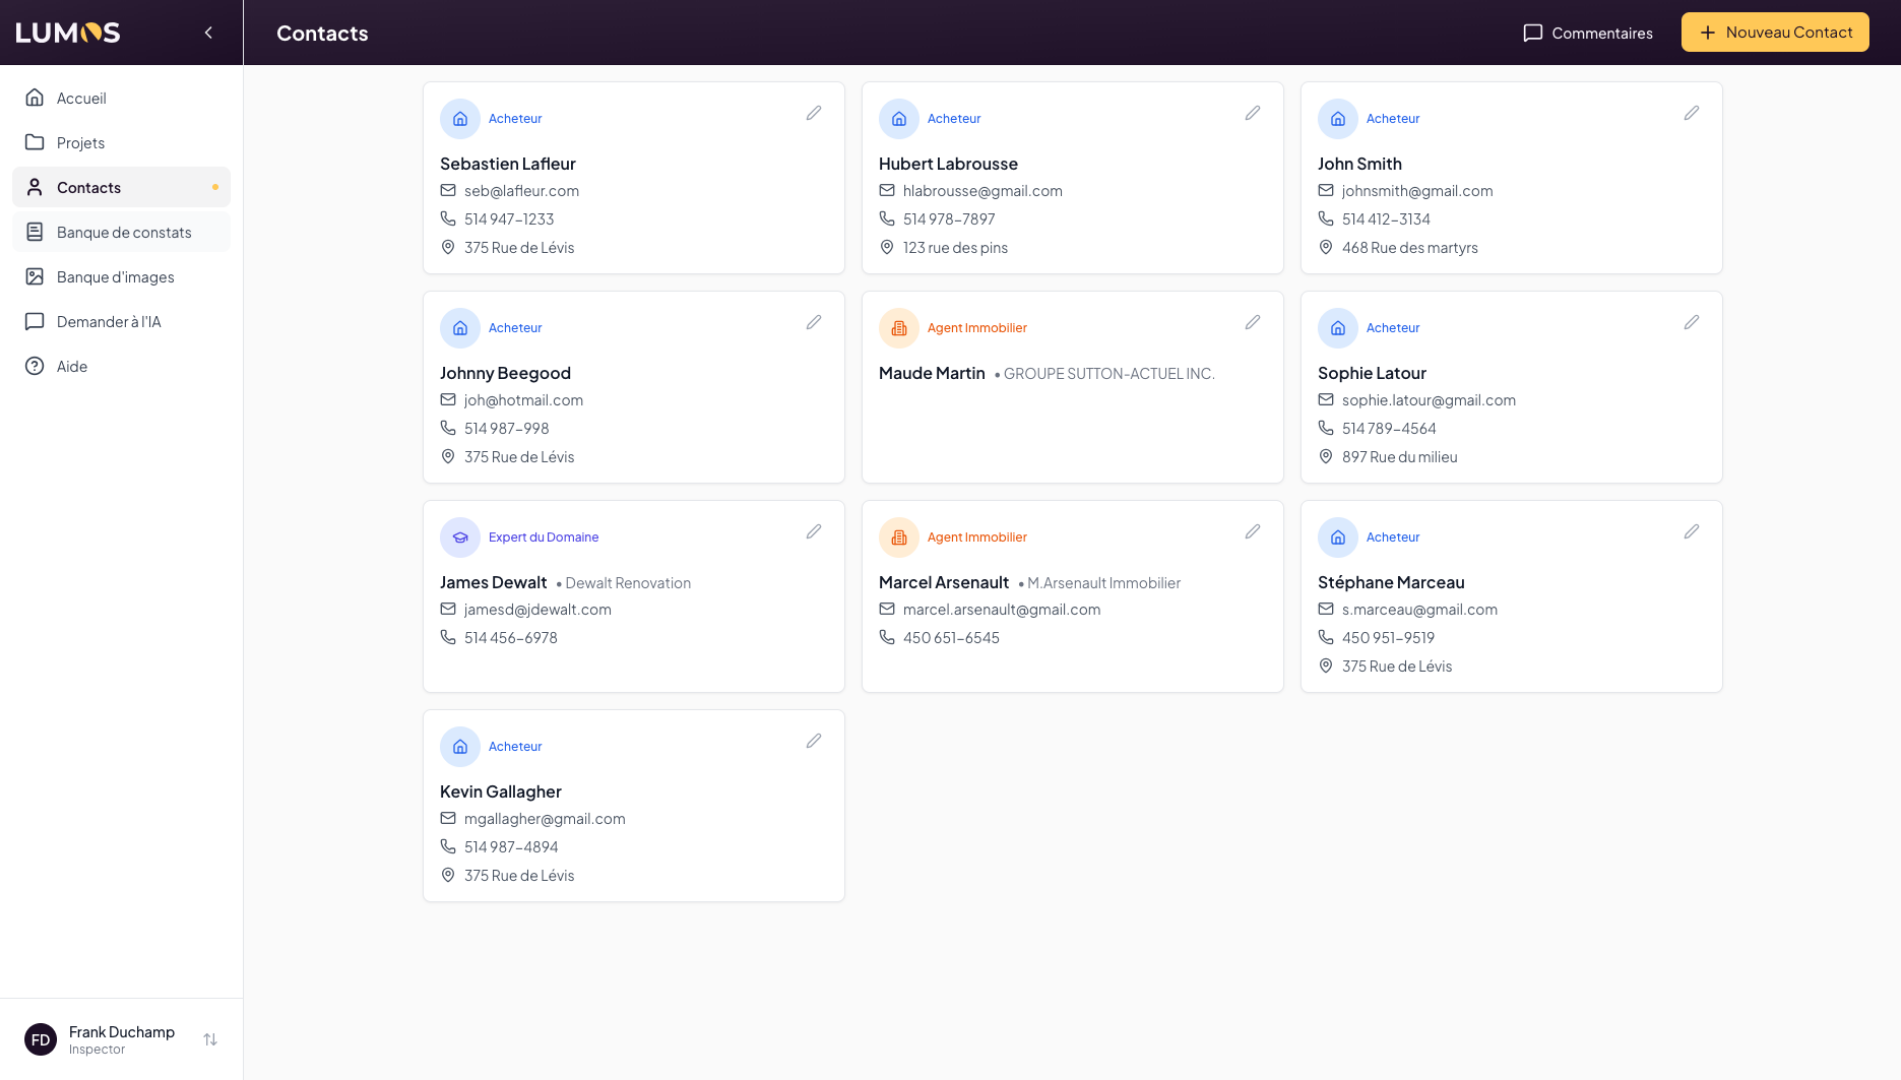
10. Access the Contacts Section
In the main navigation, click on “Contacts” to manage the people associated with your projects and inspections.
11. Your Contact List in Lumos
You can define multiple profiles, such as: requesters, sellers, real estate agents, and more.
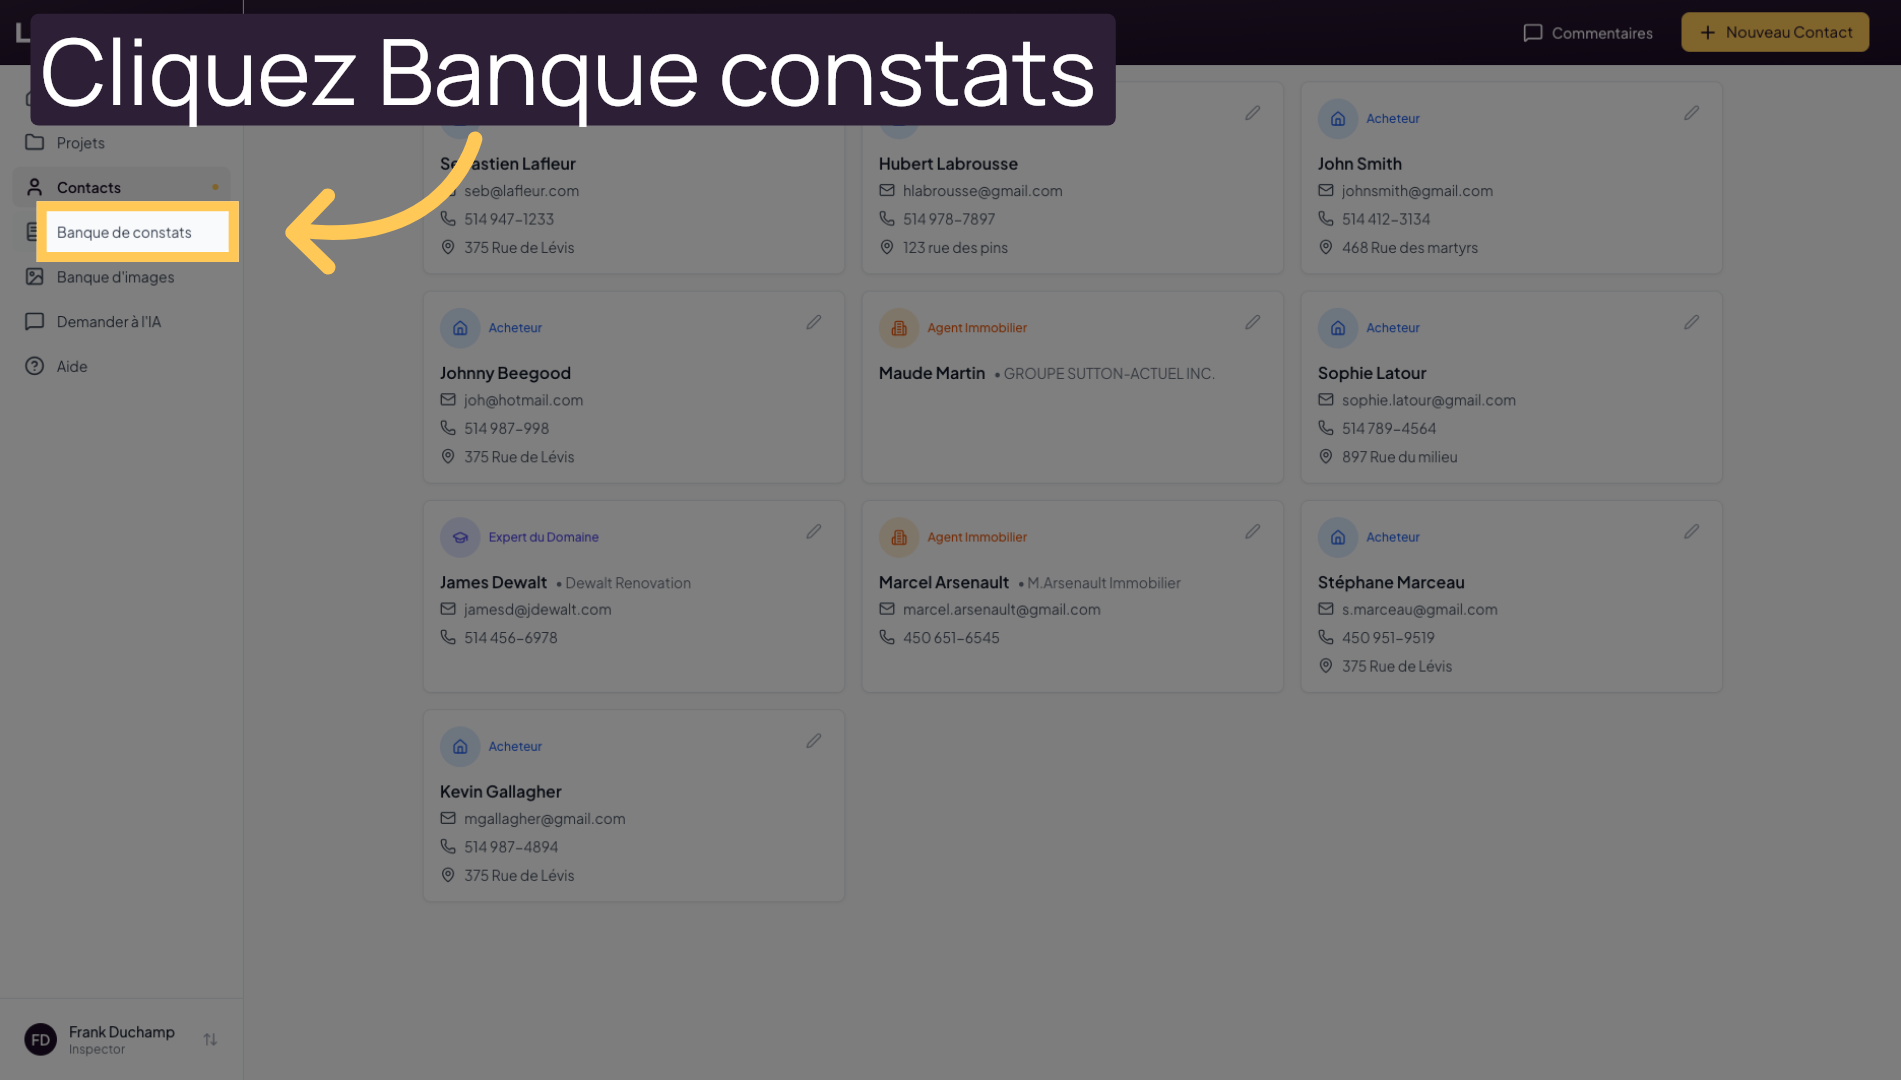
12. Open the Findings Bank
Click on “Findings Bank” to view the available standardized observations.
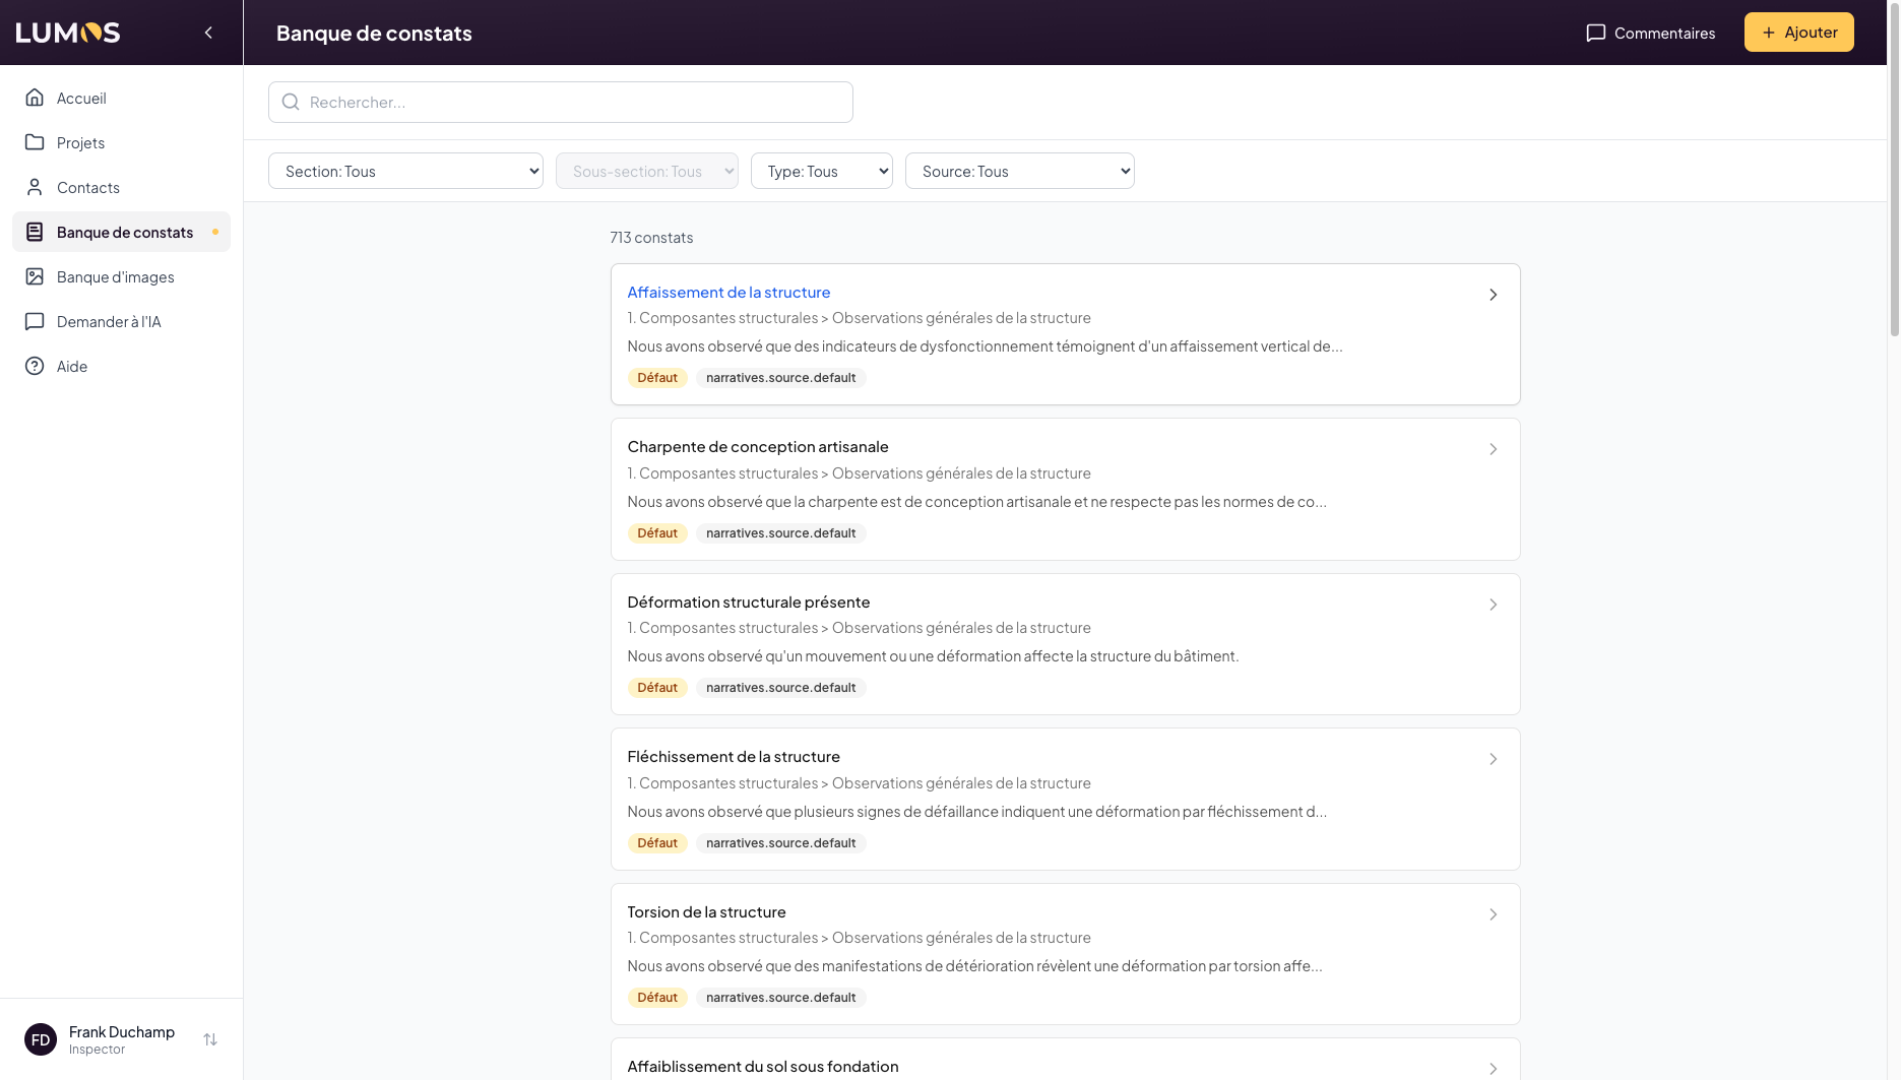
13. Explore Pre-Built Findings
In this section, you can browse and create findings. The Lumos platform offers hundreds of pre-written findings compliant with current standards. You can easily create your own to access them when building your inspection reports.
14. Explore Findings
Click on a finding to see its details. Each finding can be written in French or English.
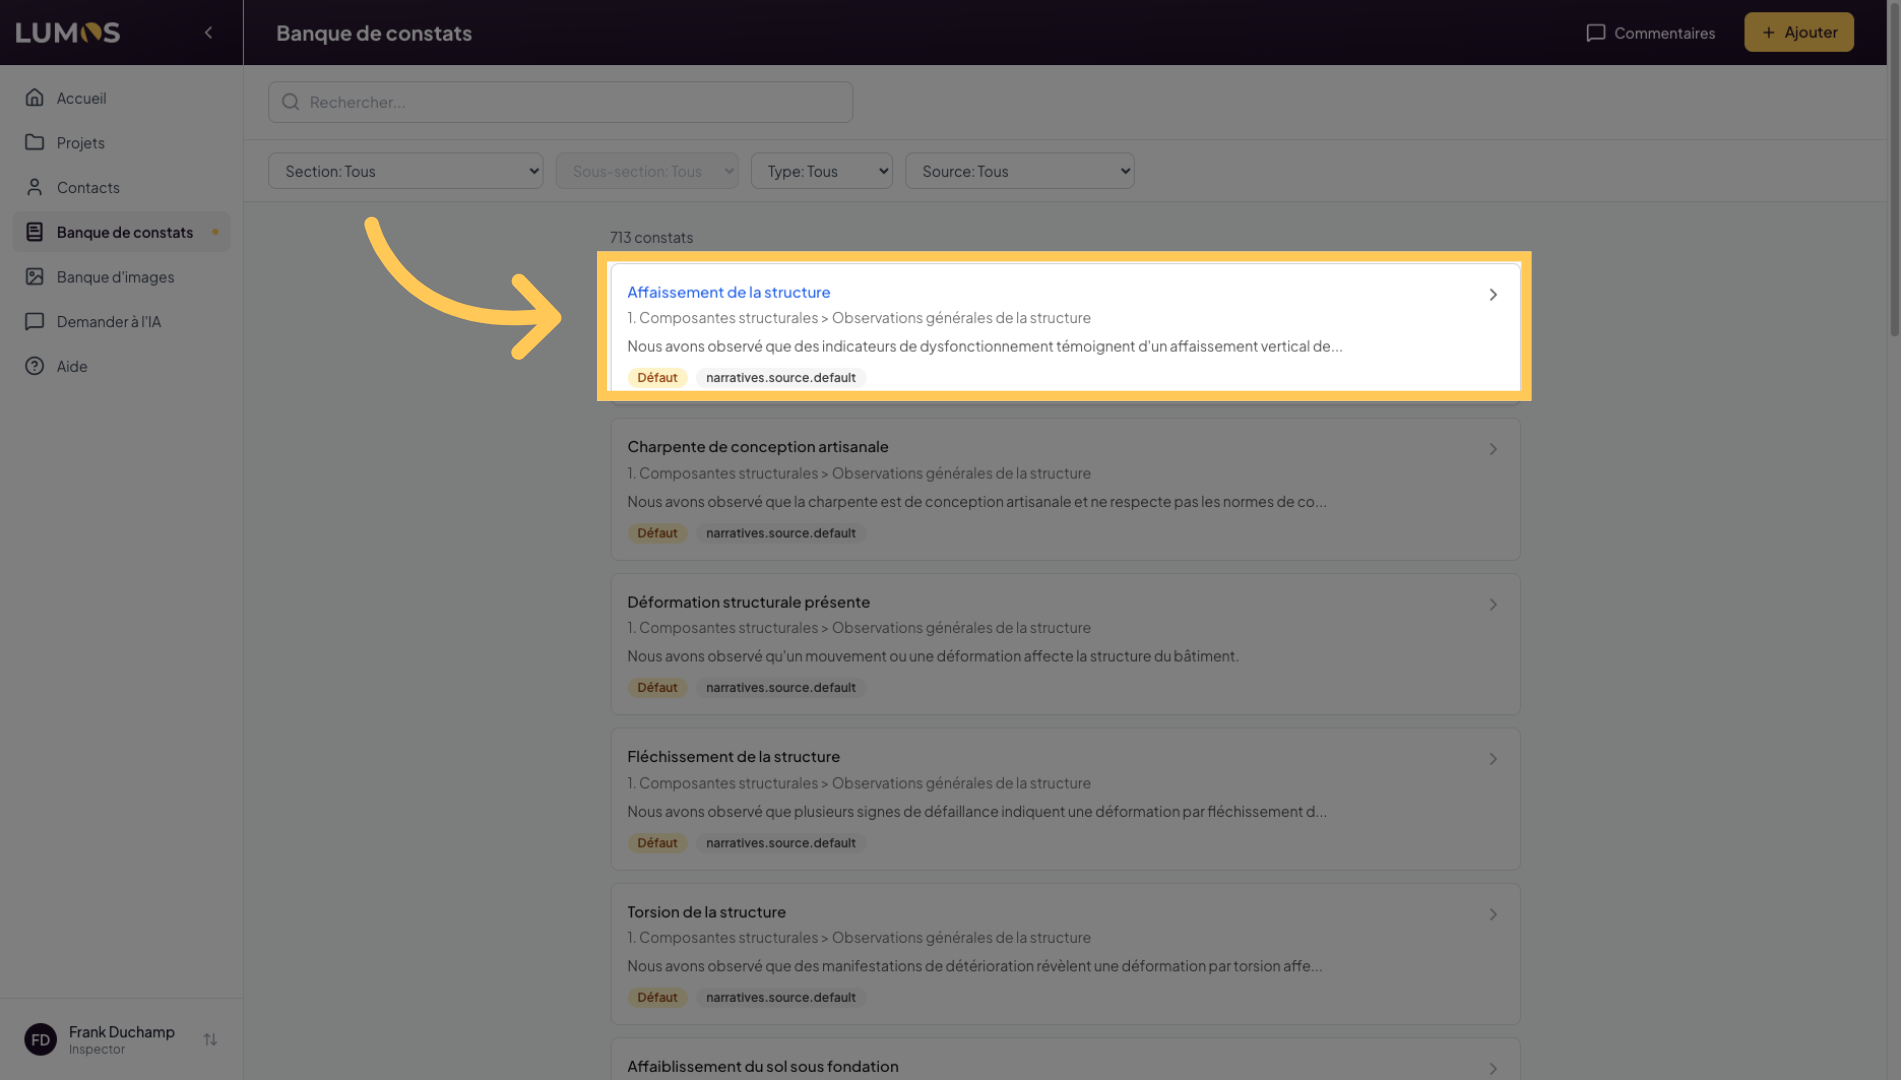
15. Access Finding Details
Findings can be categorized under standard sections such as “Structural Components”, “Electrical”, or “Plumbing”, etc. There are 4 types of findings: Defects, Information, Limitations, and Methods.
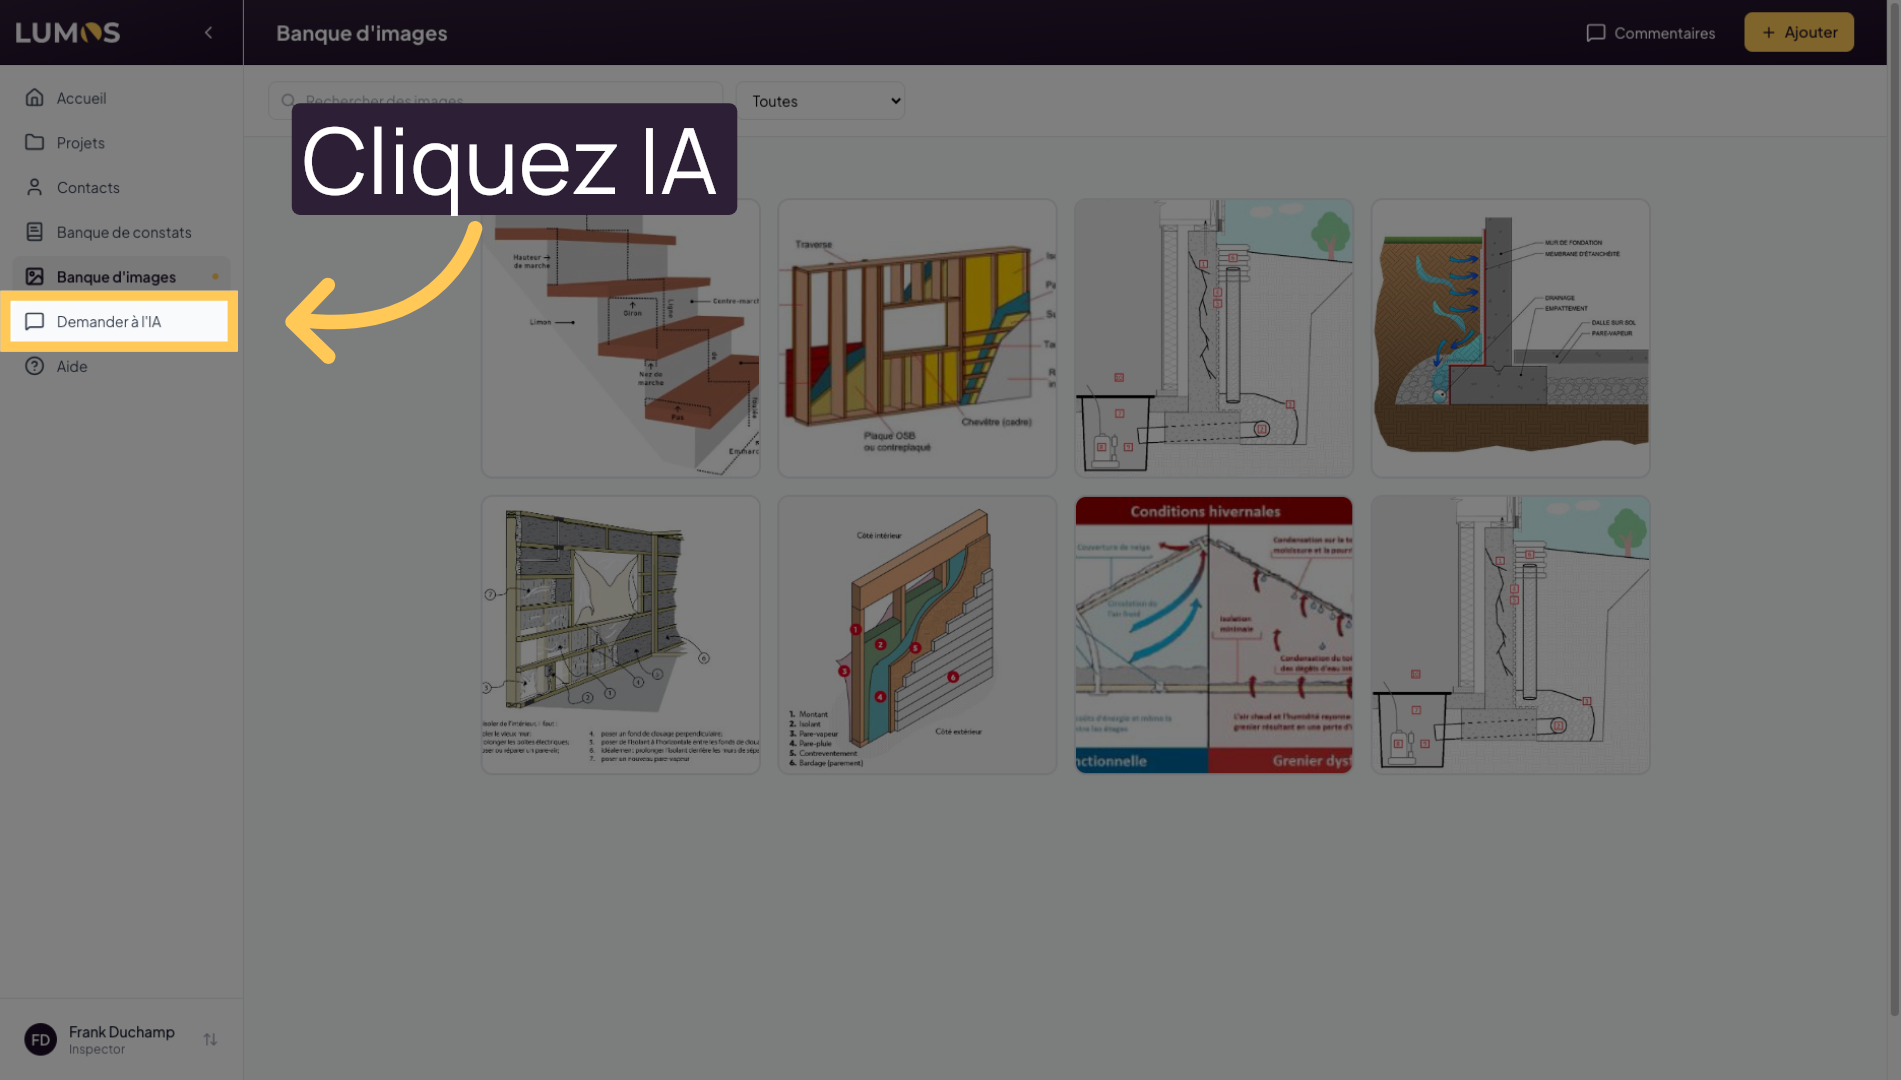
16. Browse the Image Bank
Browse the “Image Bank” to manage global images and photos on the platform.
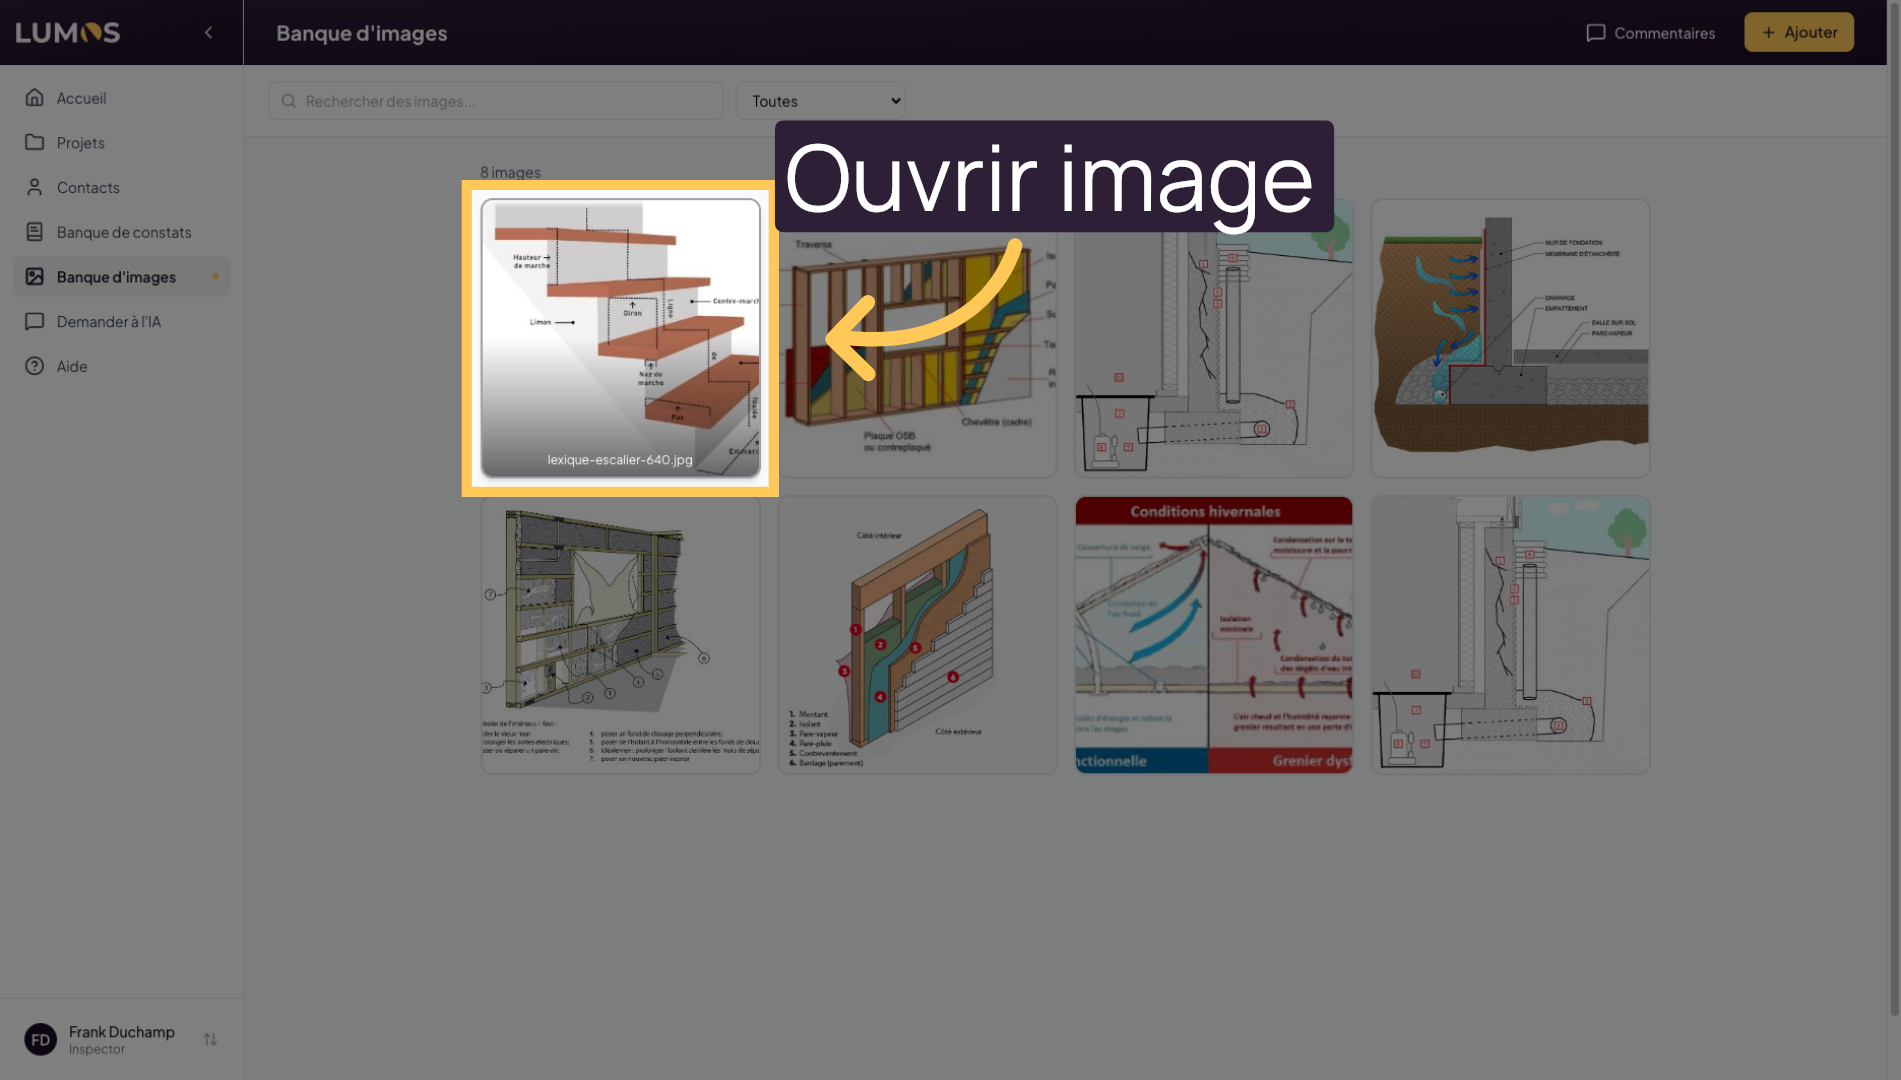
17. Open a Specific Image
These images are not attached to specific inspections or addresses — they are available at all times. Click on an image to edit its caption, labels or tags, etc. These images are ideal for creating information sheets that you can store in your findings bank.
18. Use the AI Assistant
Click on “Ask AI” to get intelligent assistance with analyzing or writing findings.
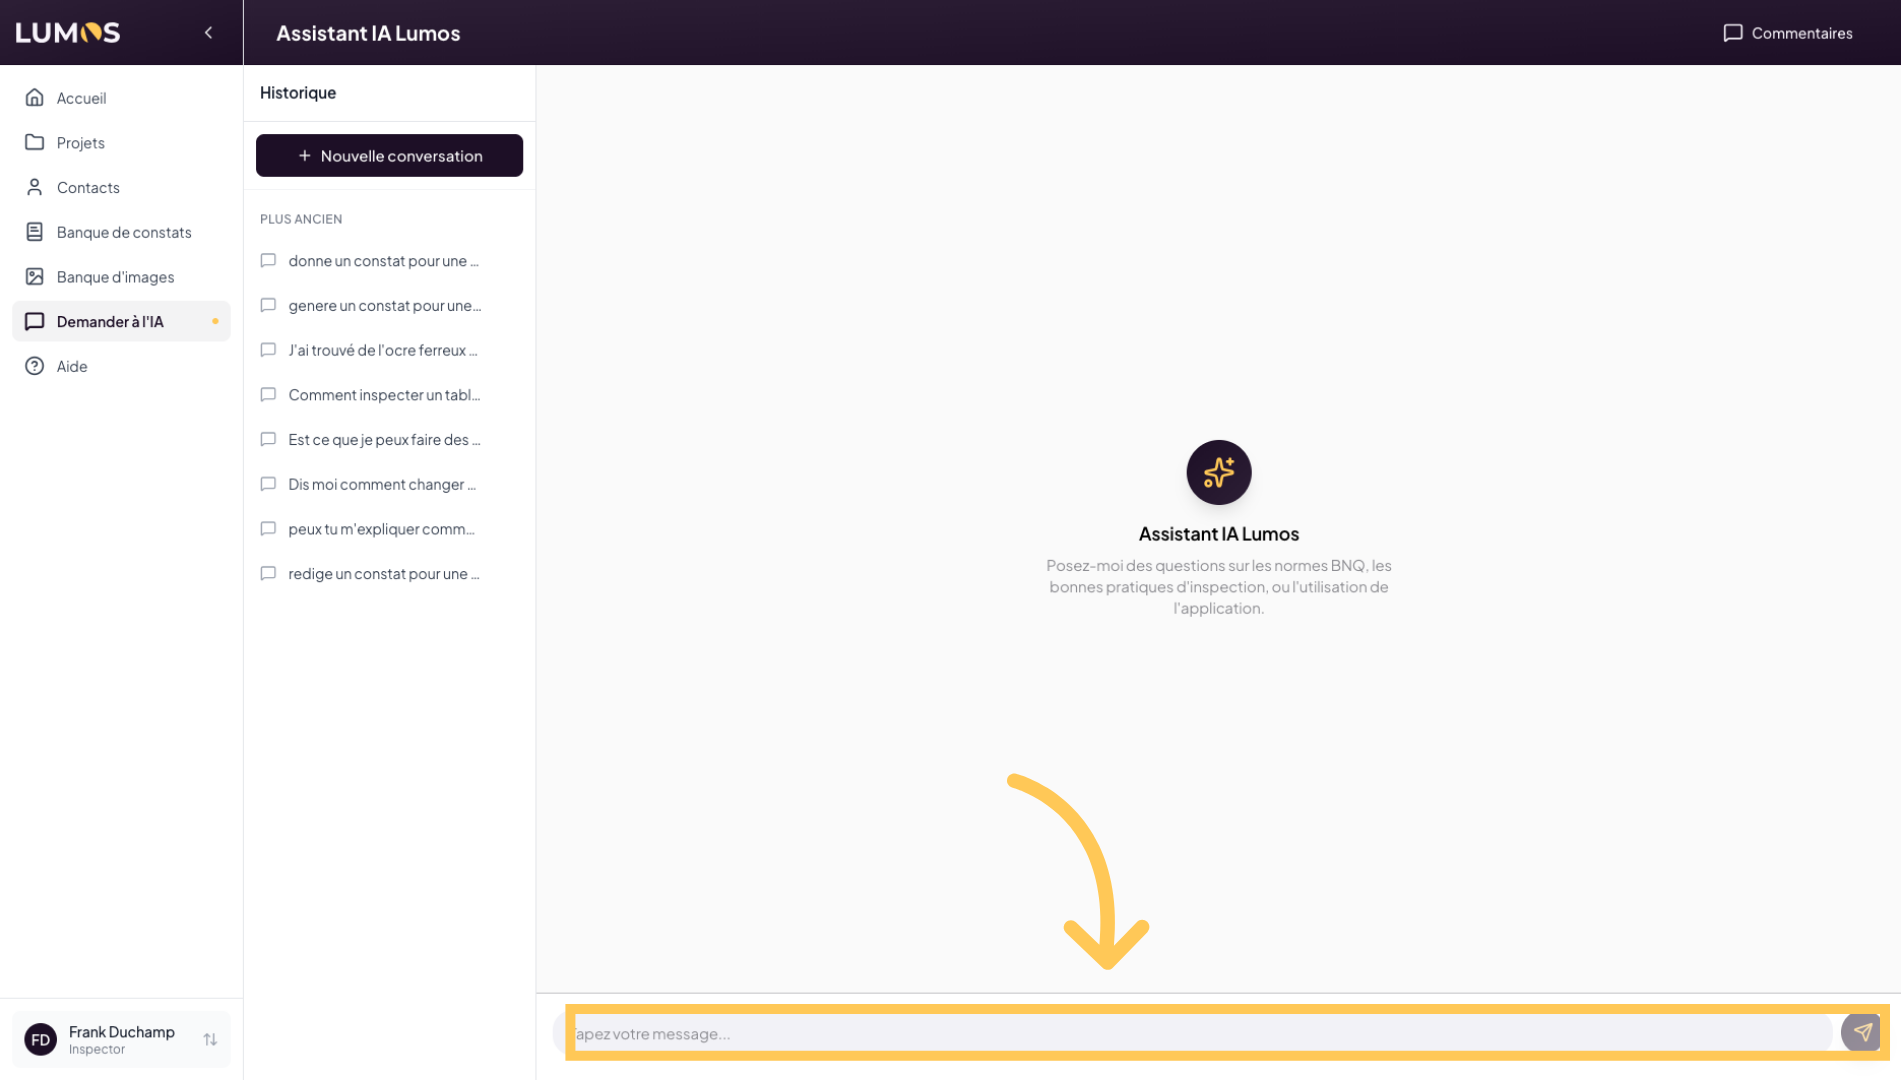
19. Ask Lumos AI
Lumos Inspection comes with a built-in artificial intelligence. It is trained and specialized in building inspections, with access to the building code, civil code, and current standards such as the BNQ standard. You can ask technical questions or request help writing your findings.
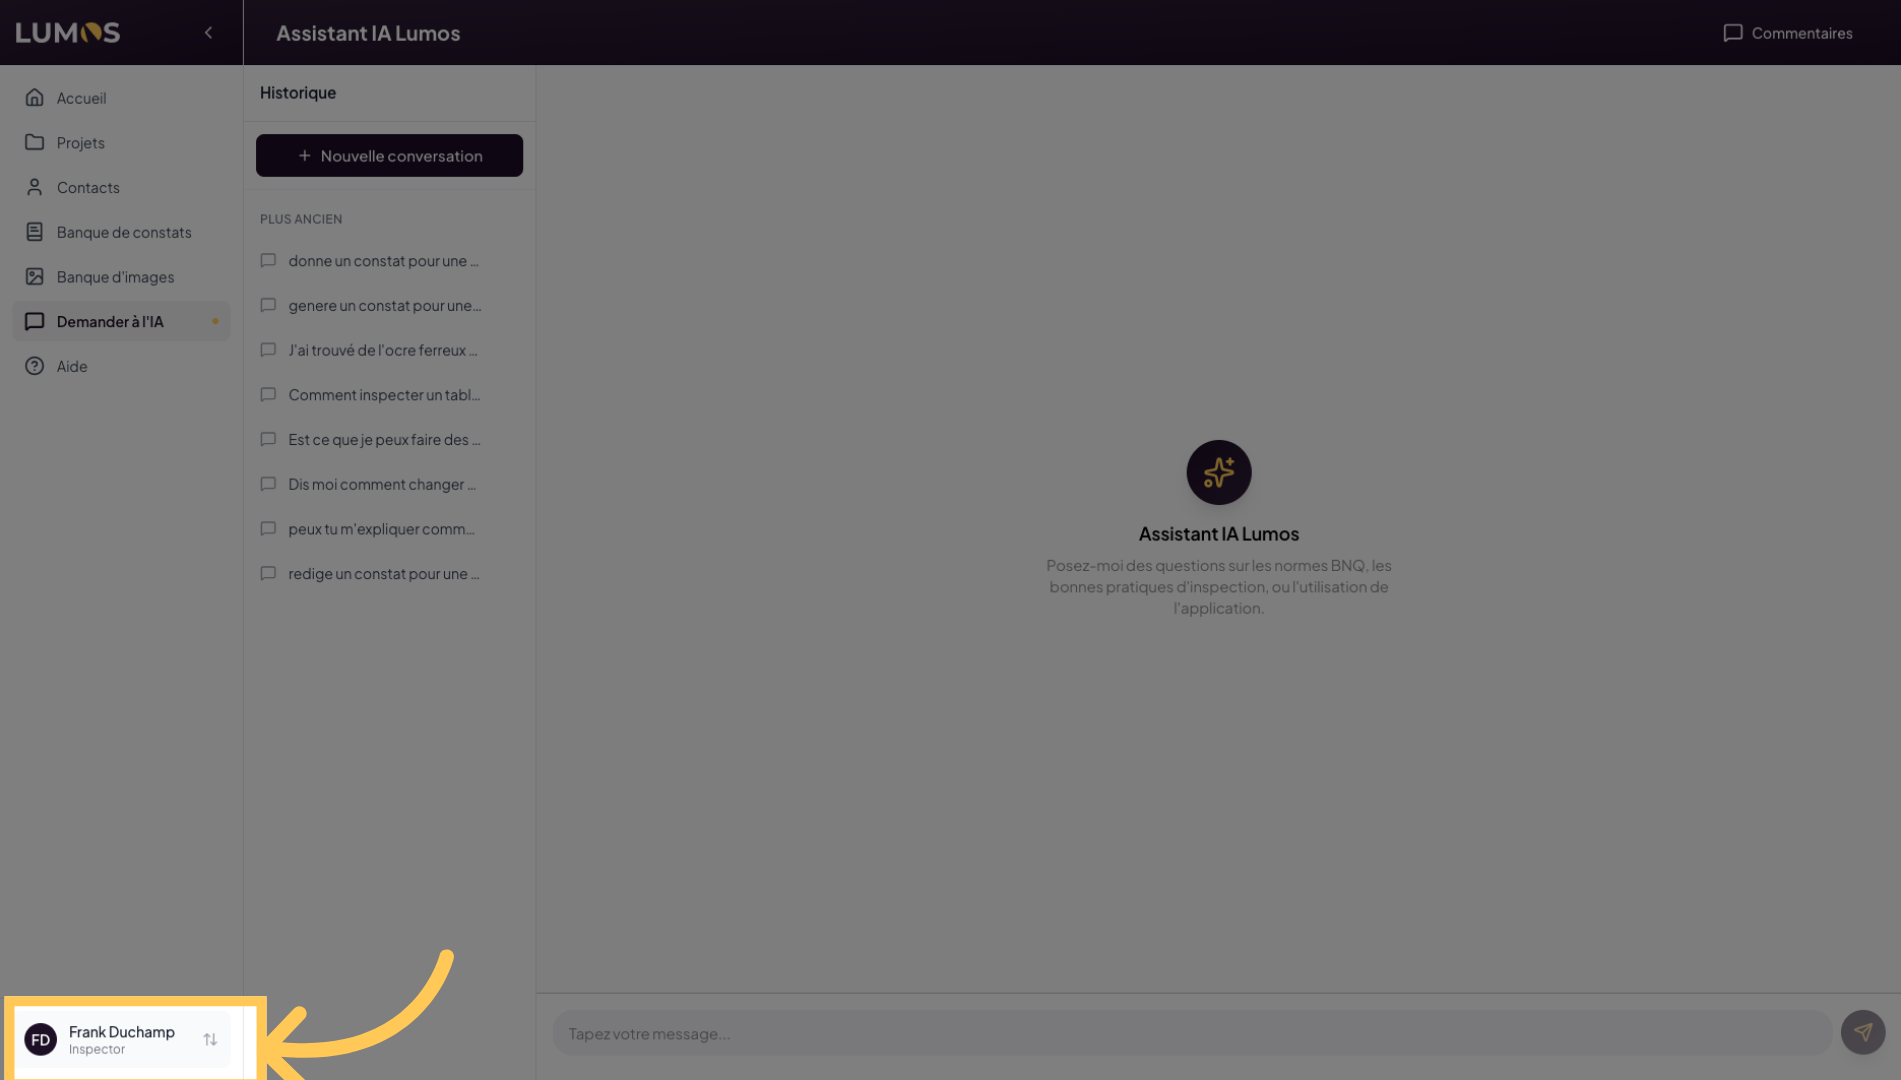
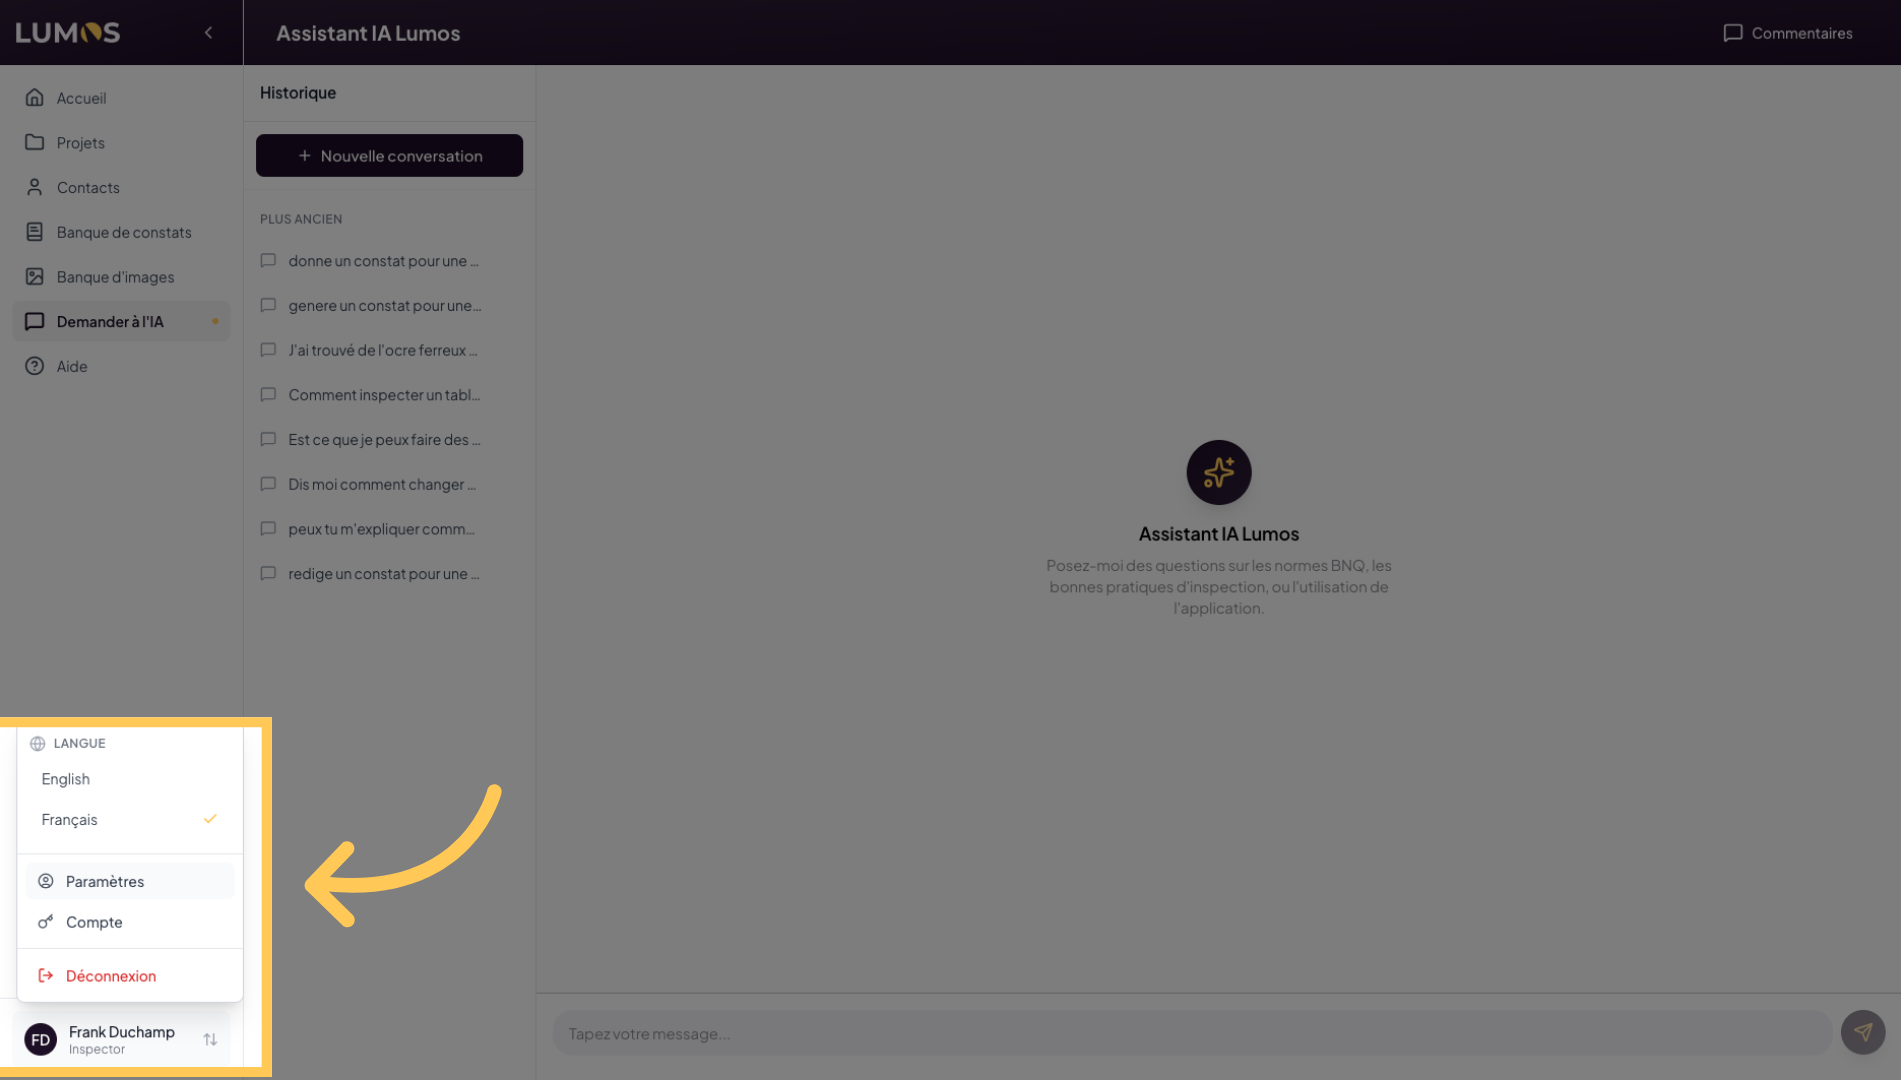
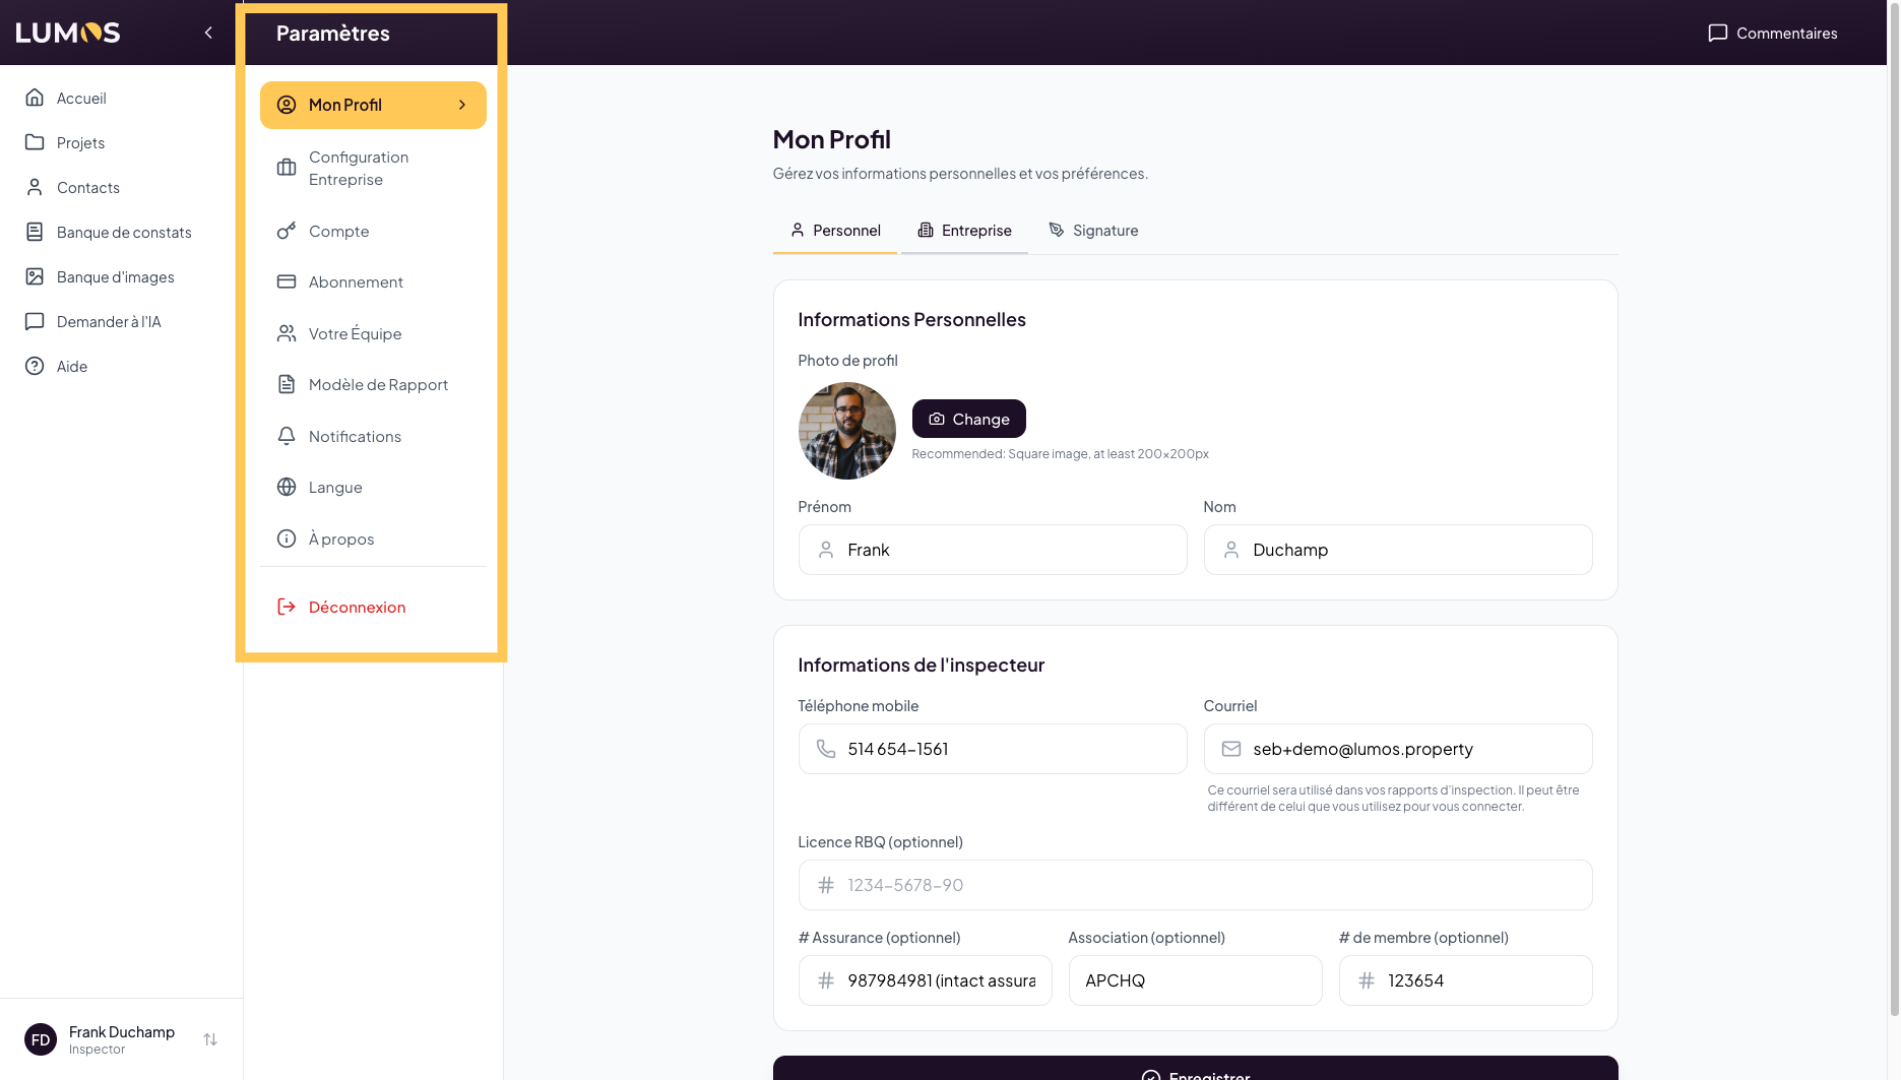
20. Select the Inspector Profile
Click on the “Profile tab” to manage settings related to the Lumos application, as well as your profile, your company profile, and many other settings.
21. Access Settings
22. Access Application Settings
This is where you configure Lumos Inspection. In the submenu, access your profile information, your inspection company details, account and subscription management, team member management, inspection report settings, and much more.
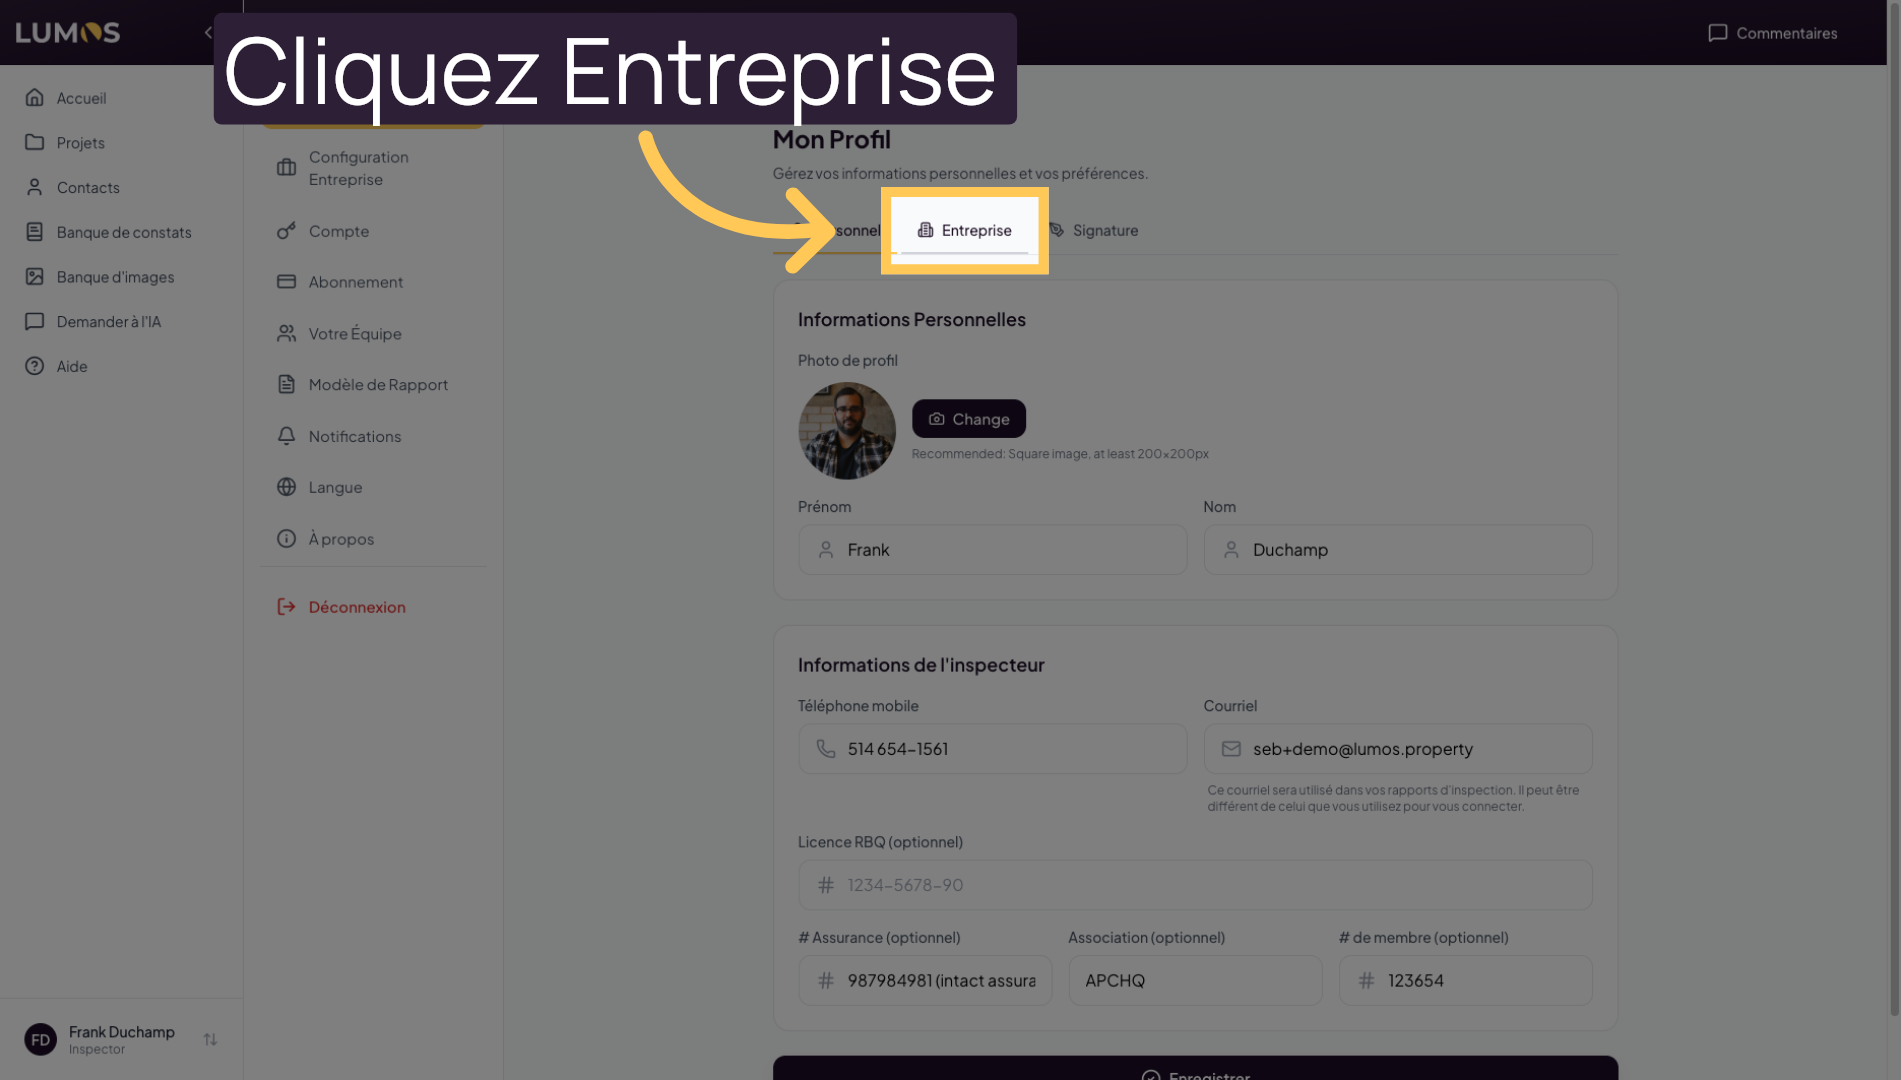
23. Configure Company Information
Click on “Company” to edit your company details in Lumos Inspection.
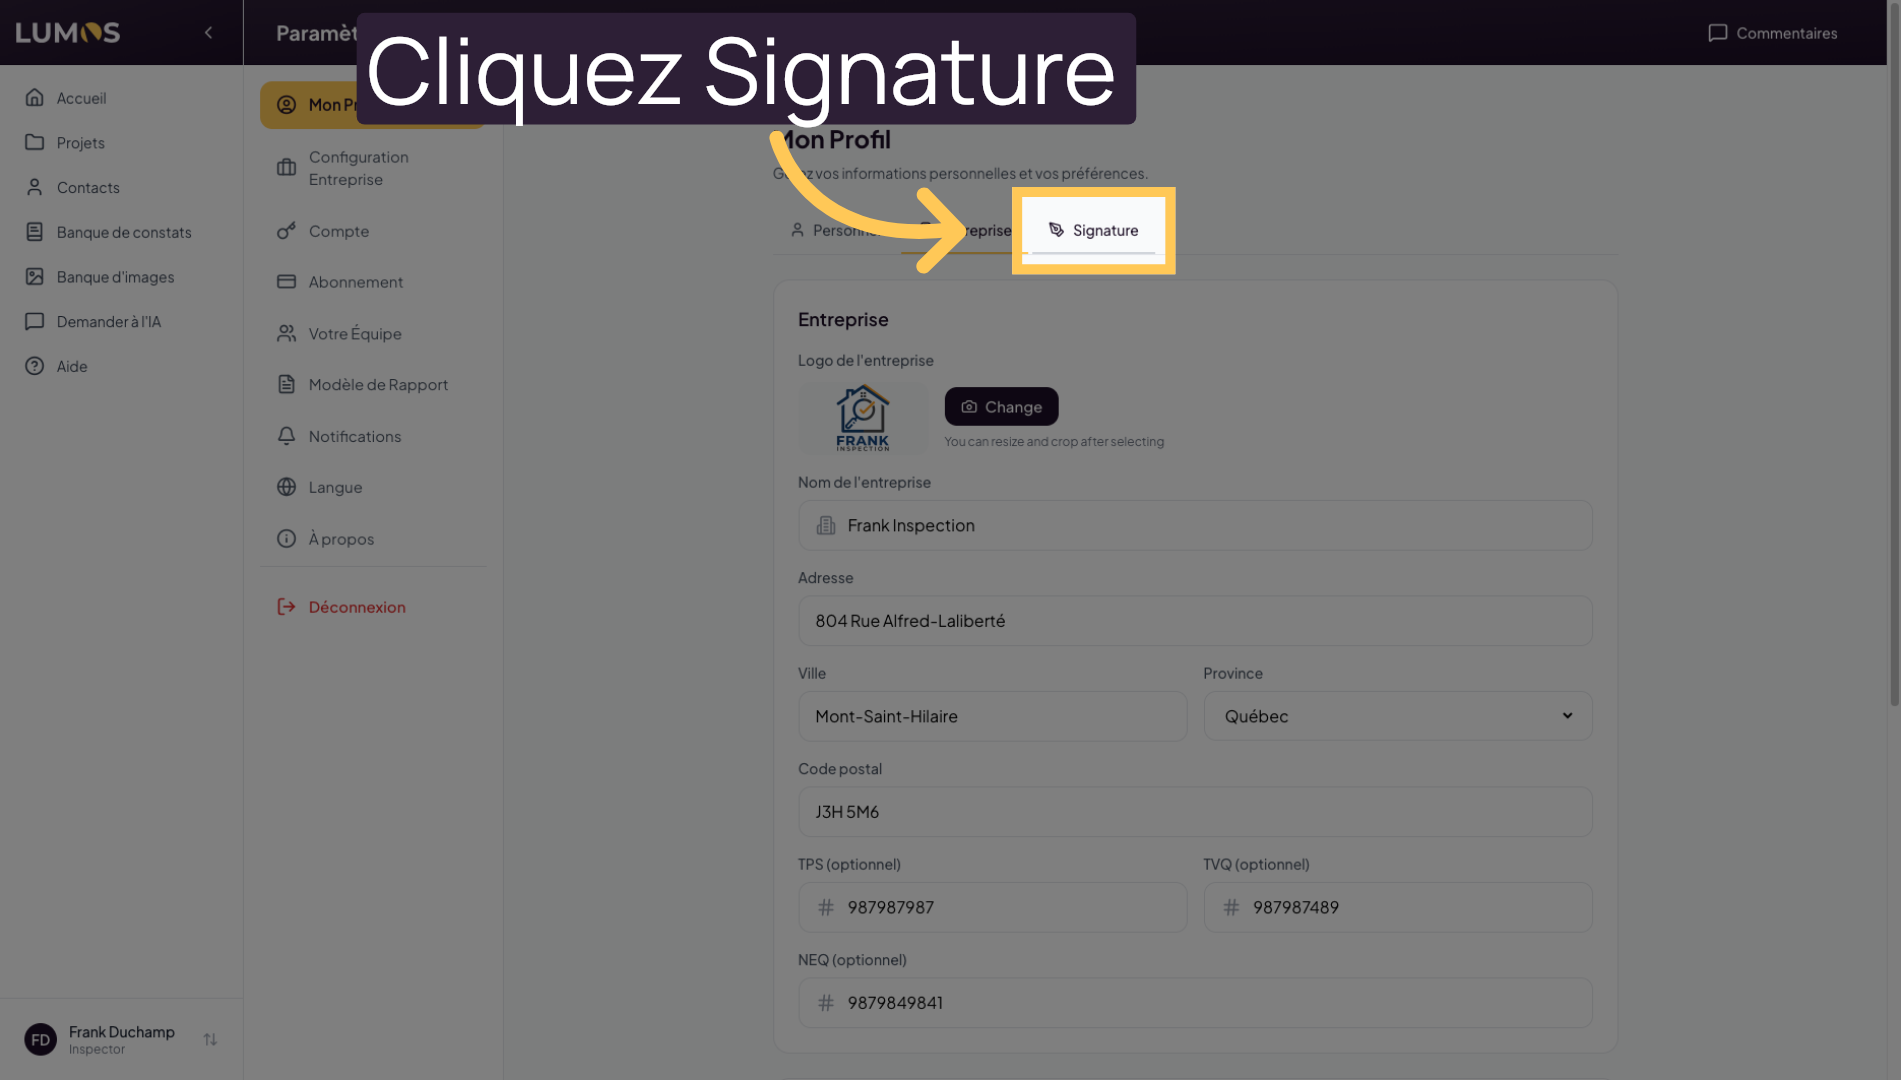
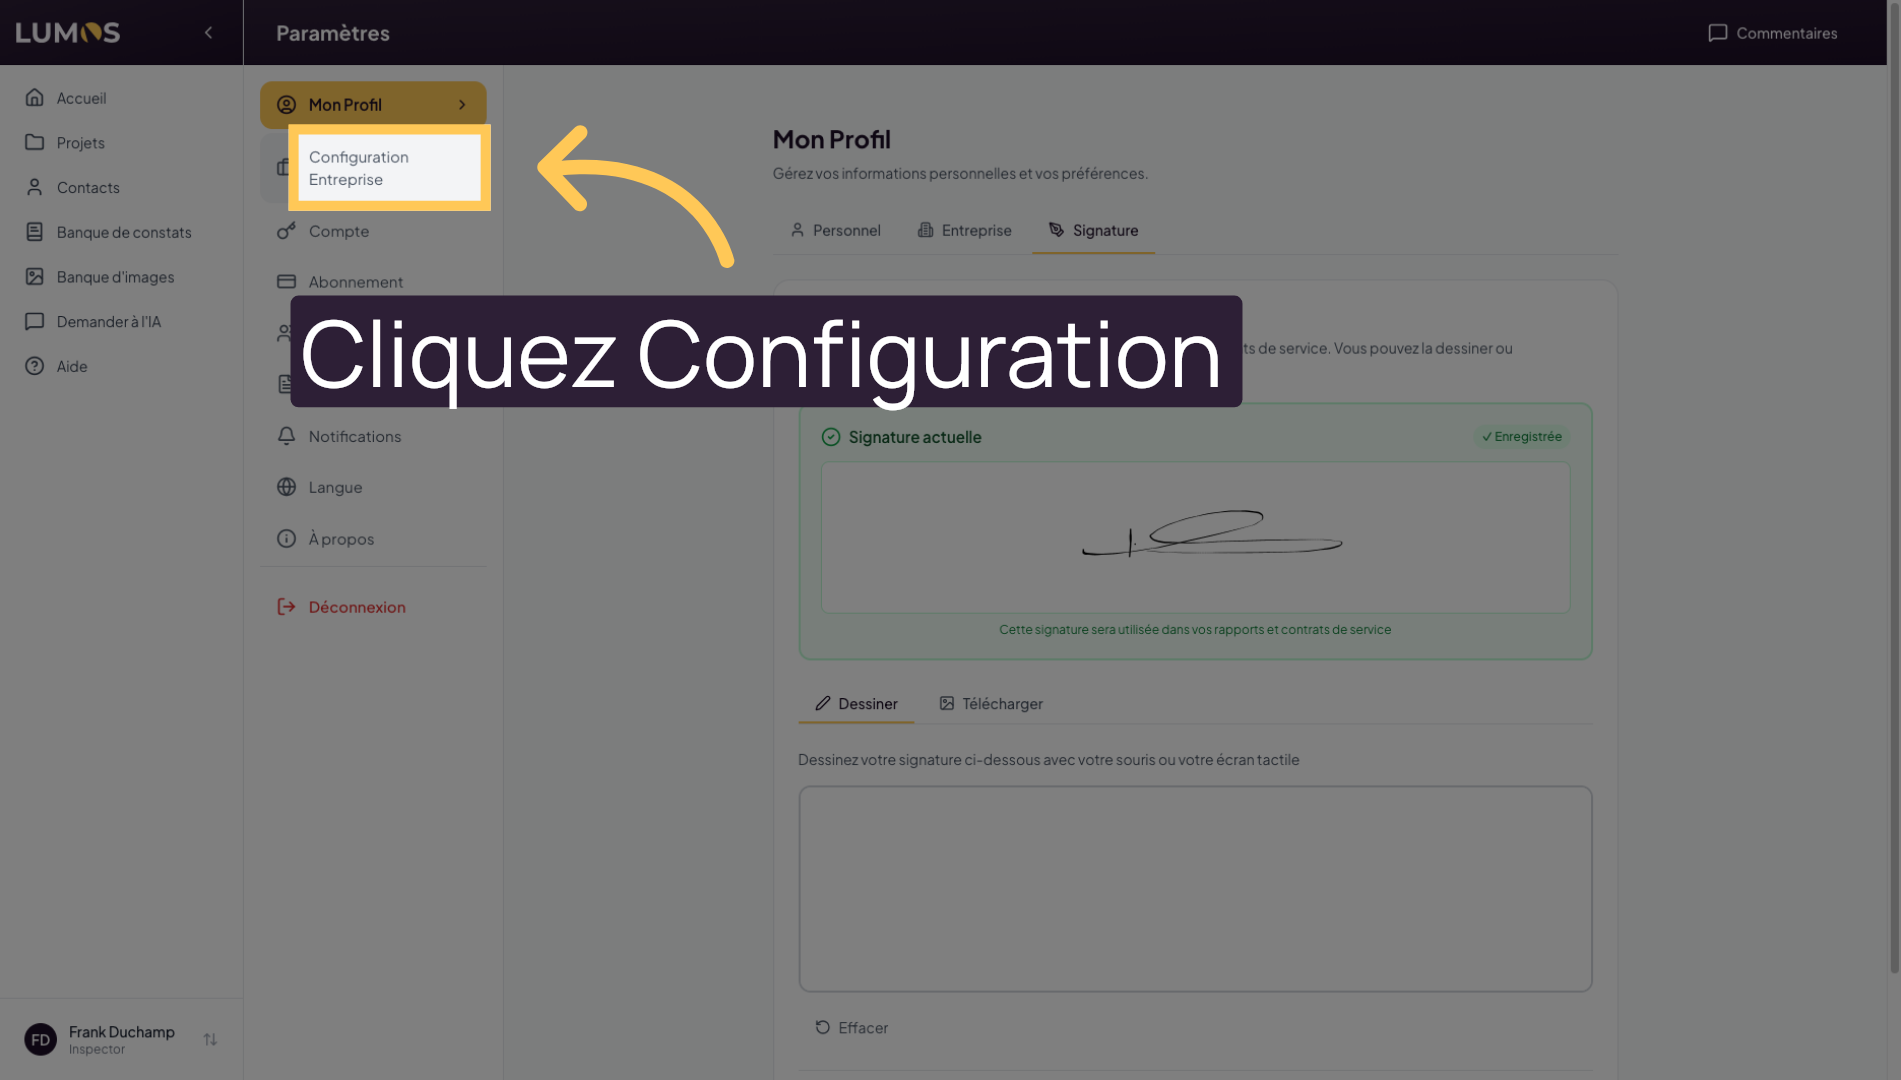
24. Manage Digital Signature
Click on “Signature” to customize the signature used in inspection reports.
25. Access Company Configuration
Click on “Company Configuration” to adjust settings specific to your organization.
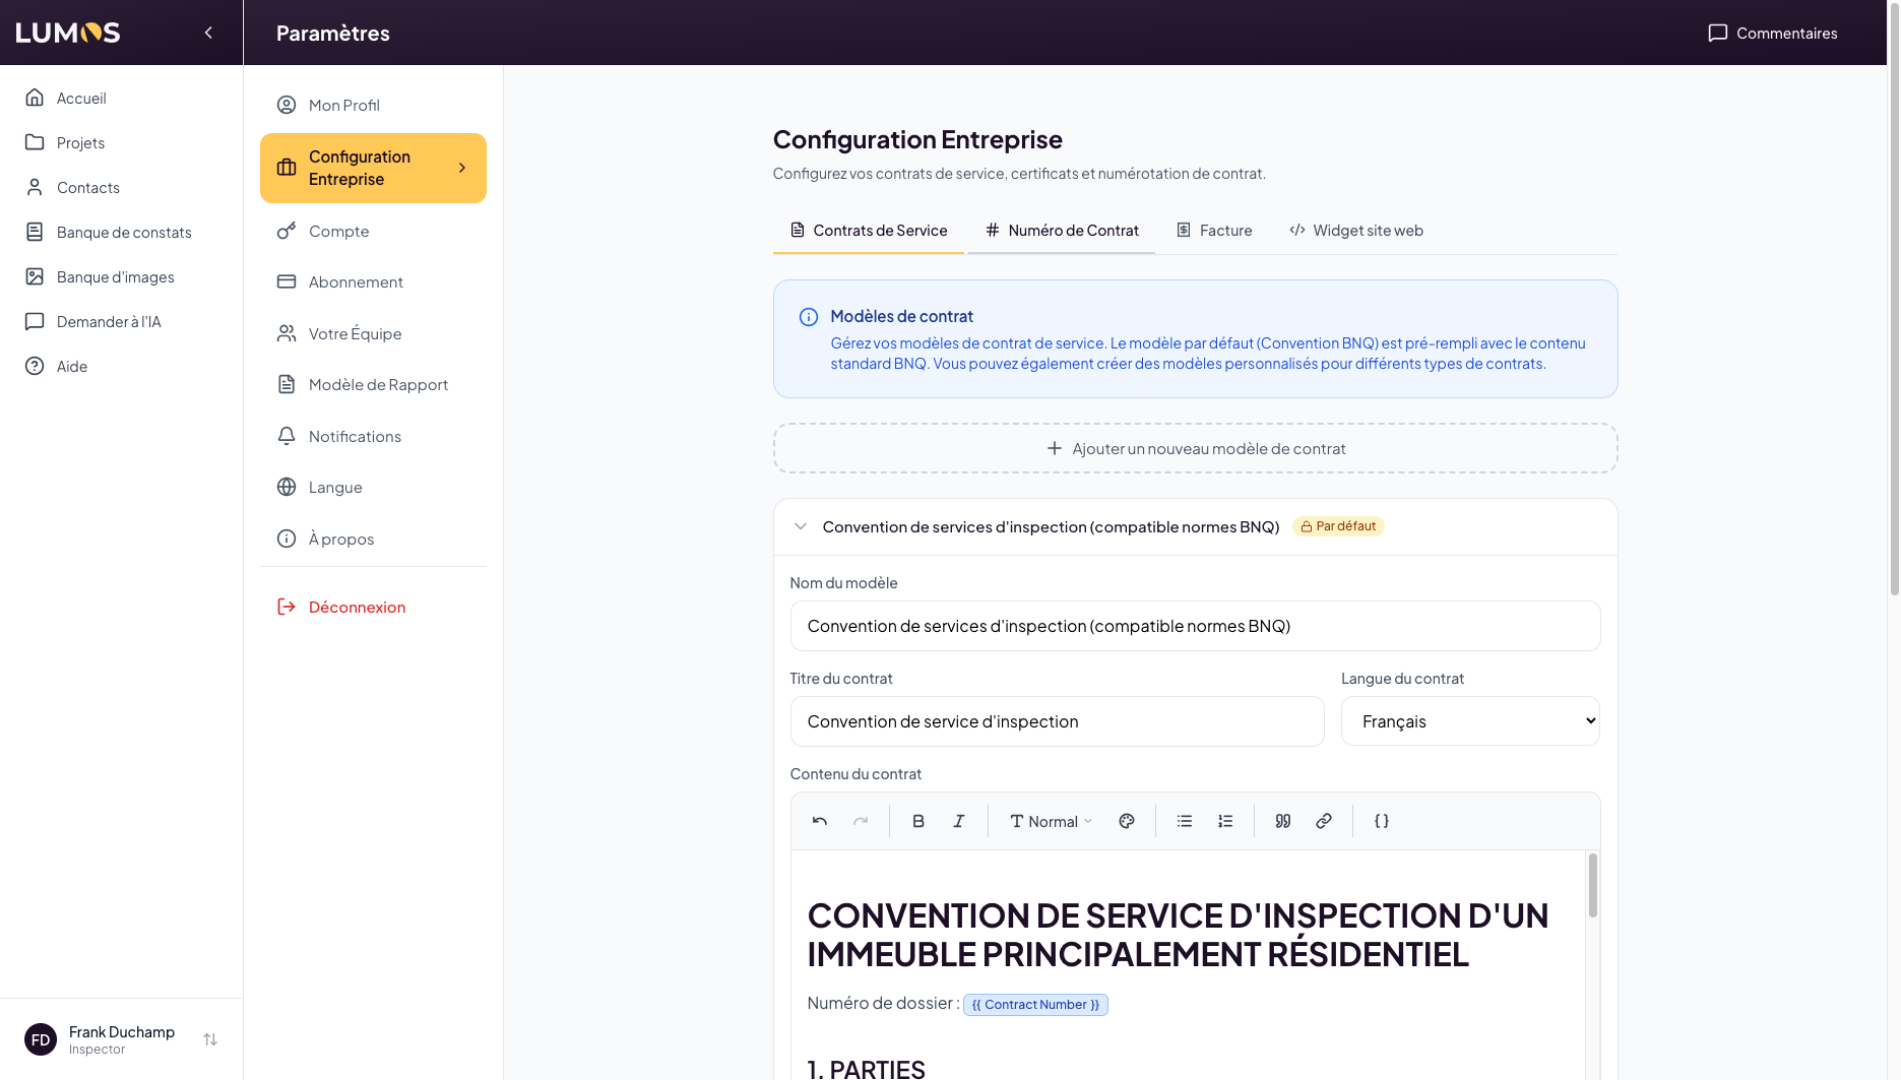
26. Edit Advanced Settings
This section allows you to manage your service agreements or contracts. Lumos comes with a default contract template compliant with the BNQ standard, but you can easily create your own.
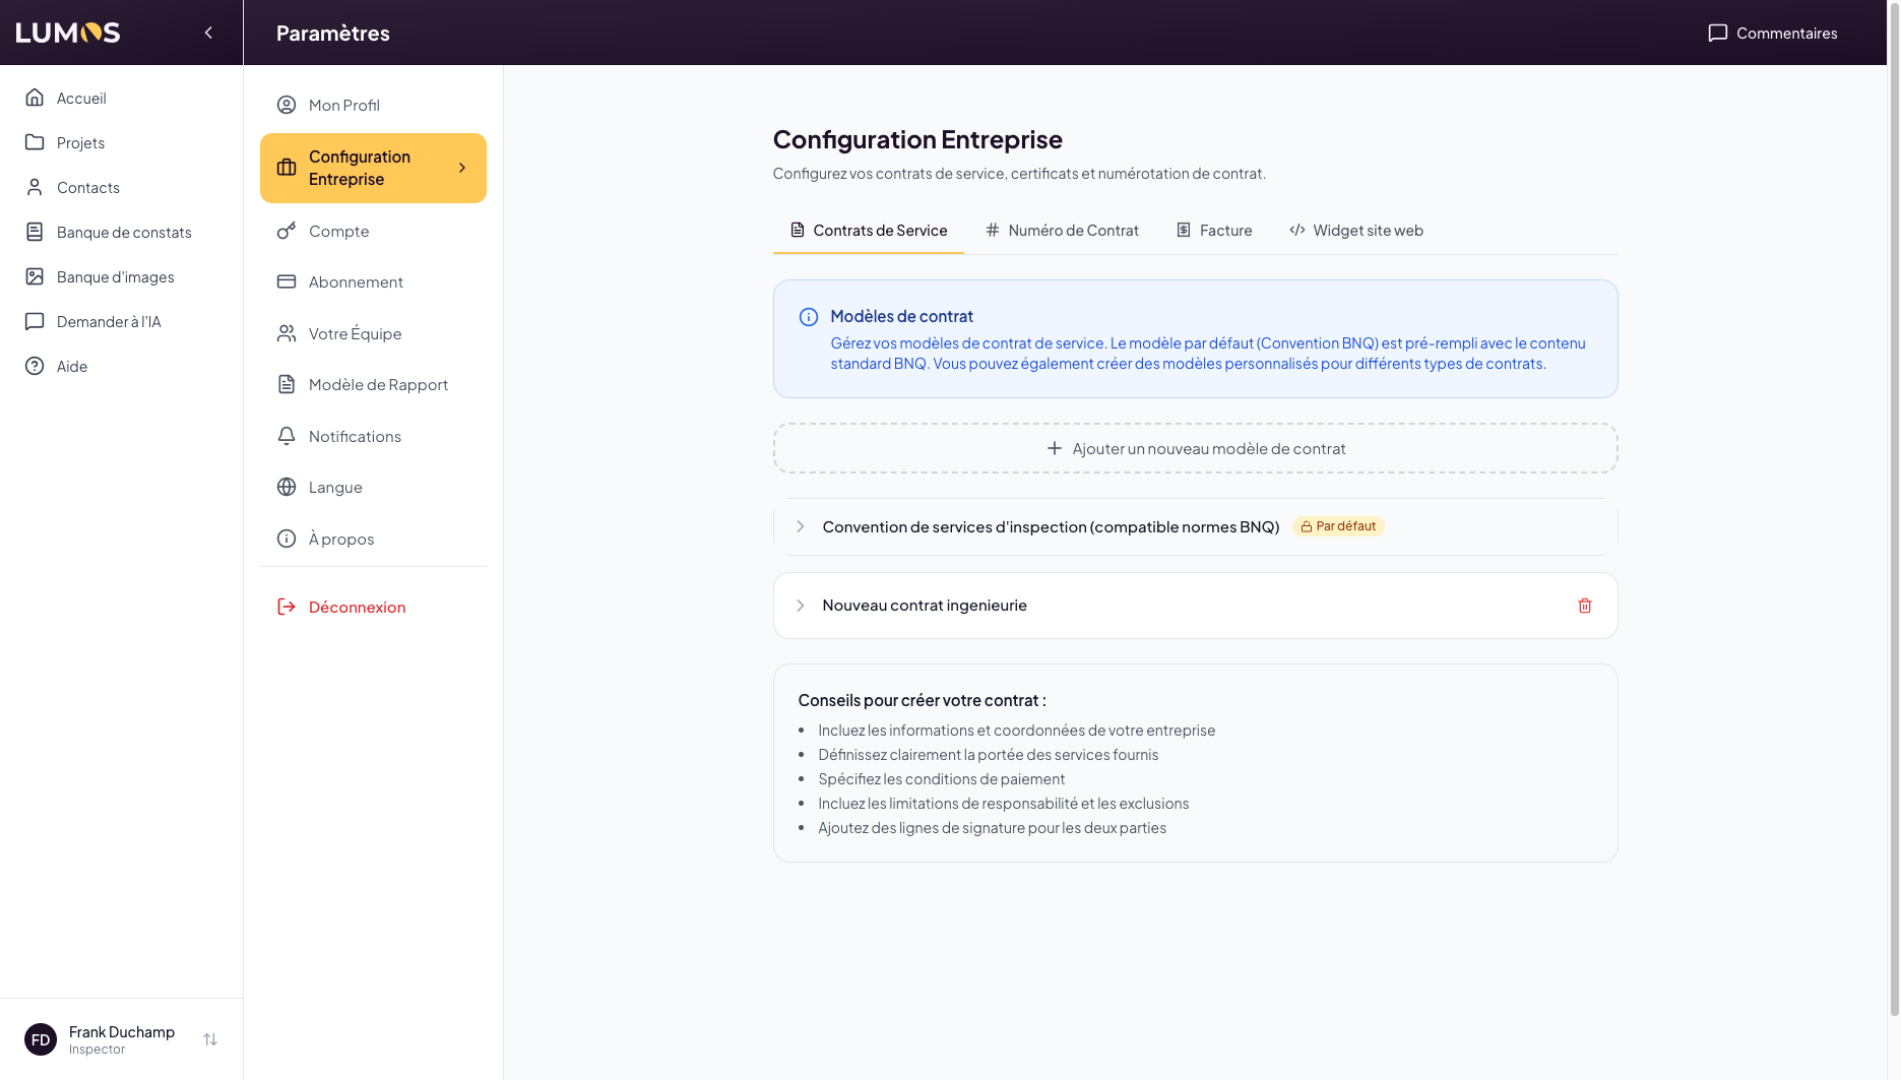
27. View Service Contracts
The service contracts you configure here are then accessible from inspections. Once ready, you can attach your contract to inspections to request client signatures, or simply send it by email. We invite you to watch the inspection report video for more information on how service agreements work.
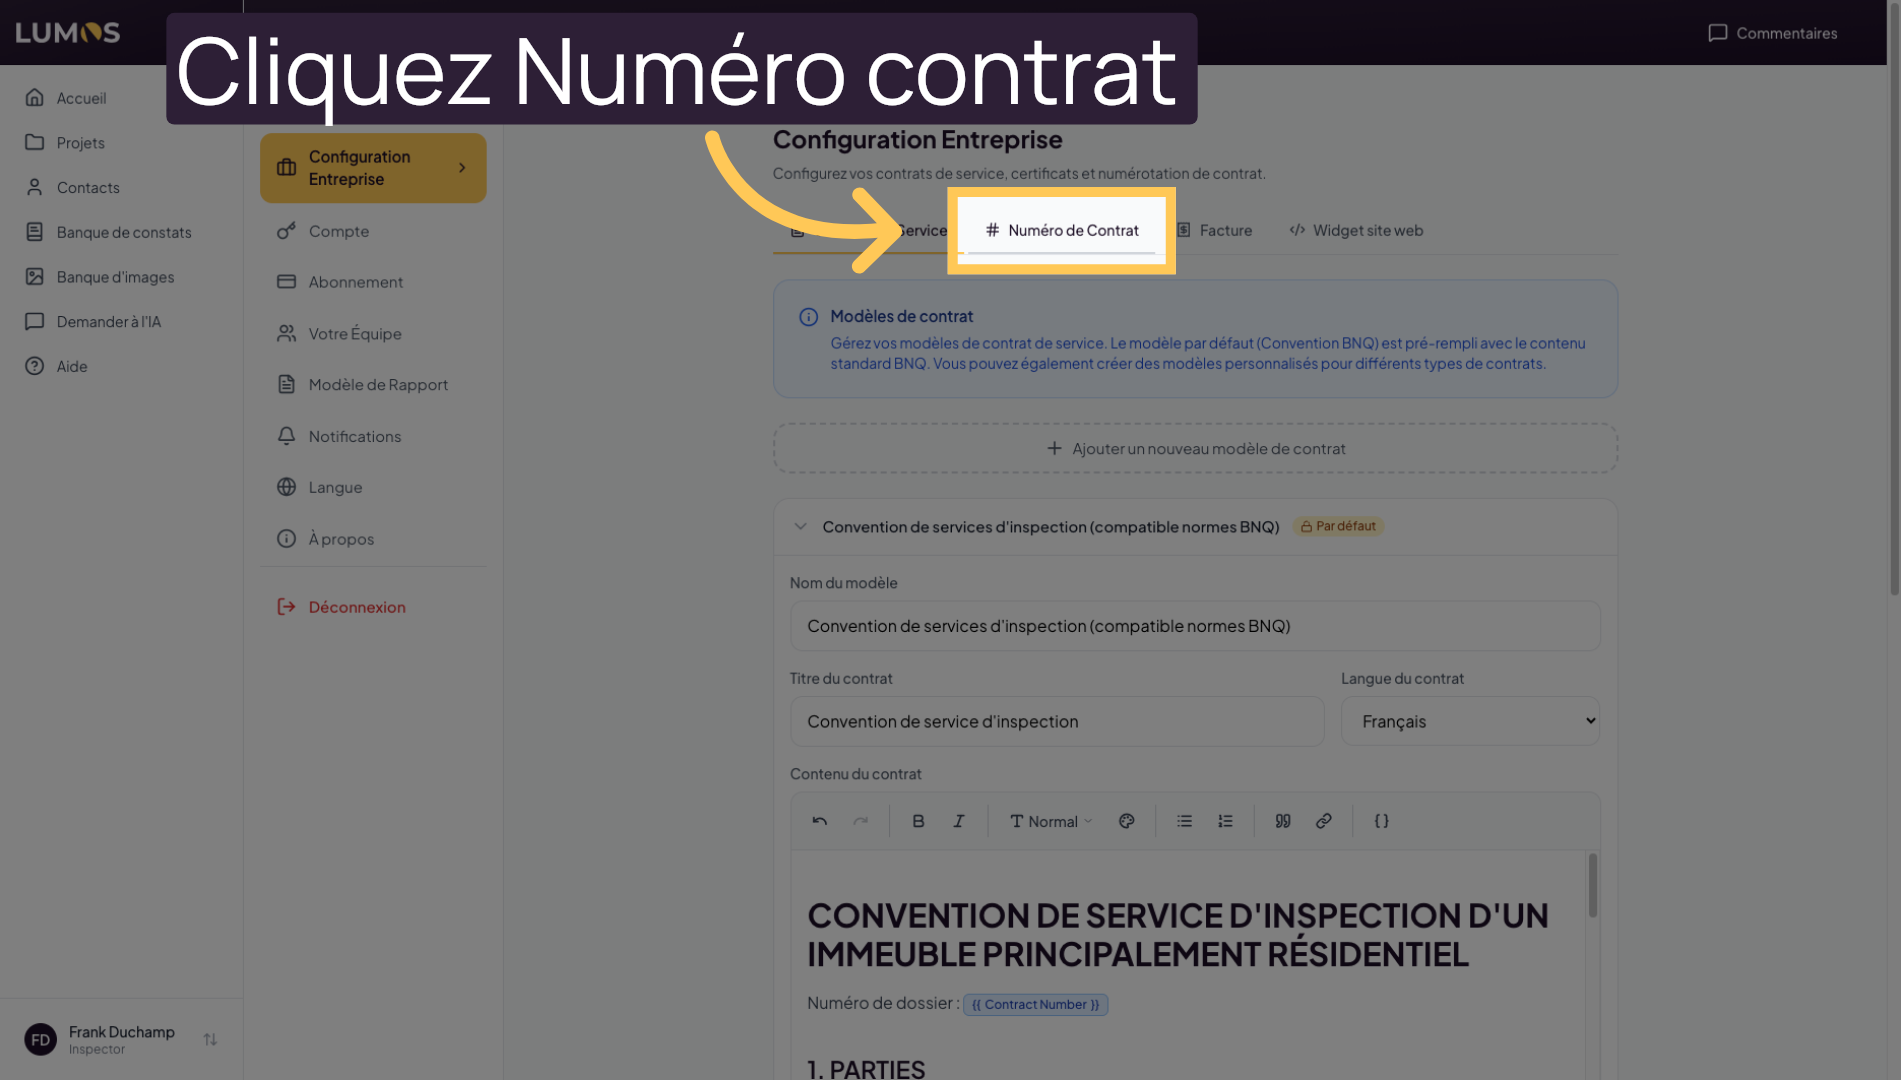
28. Manage Contract Number
Click on “Contract Number” to define or modify the generated contract numbers.
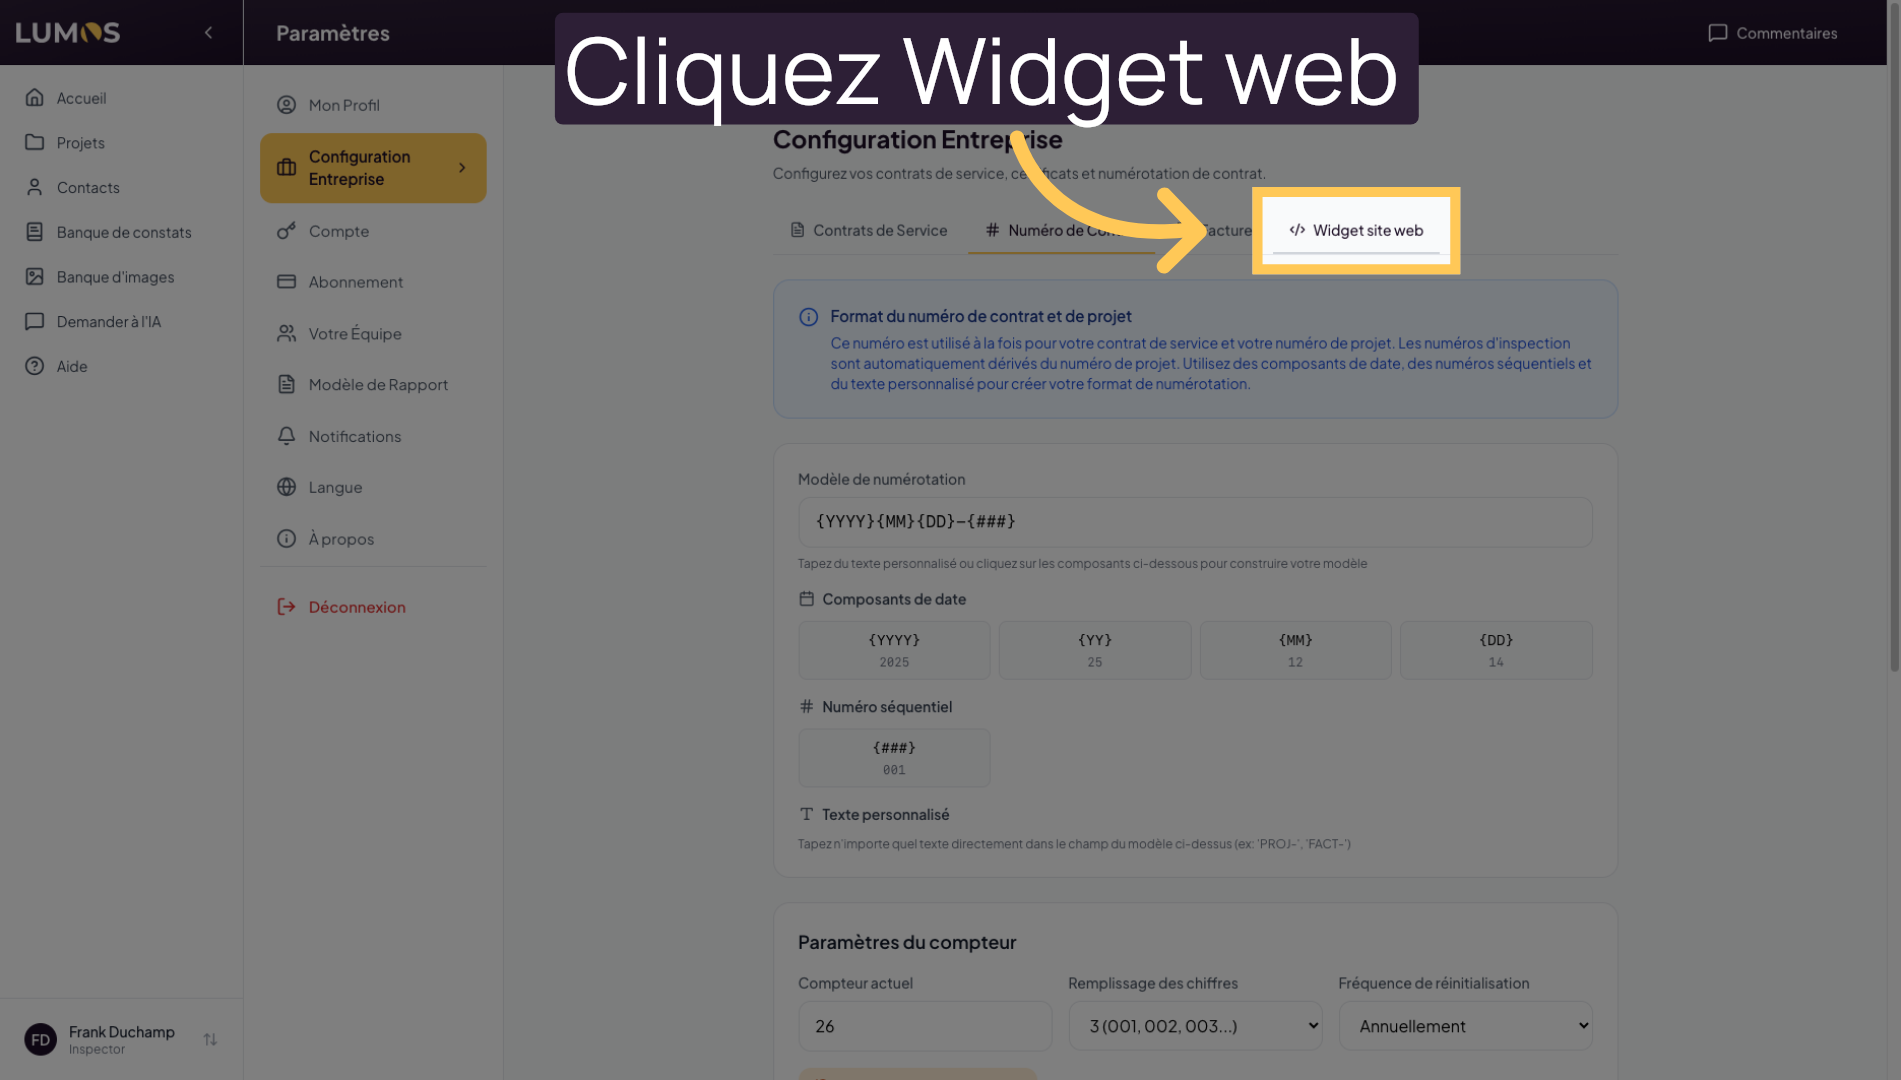
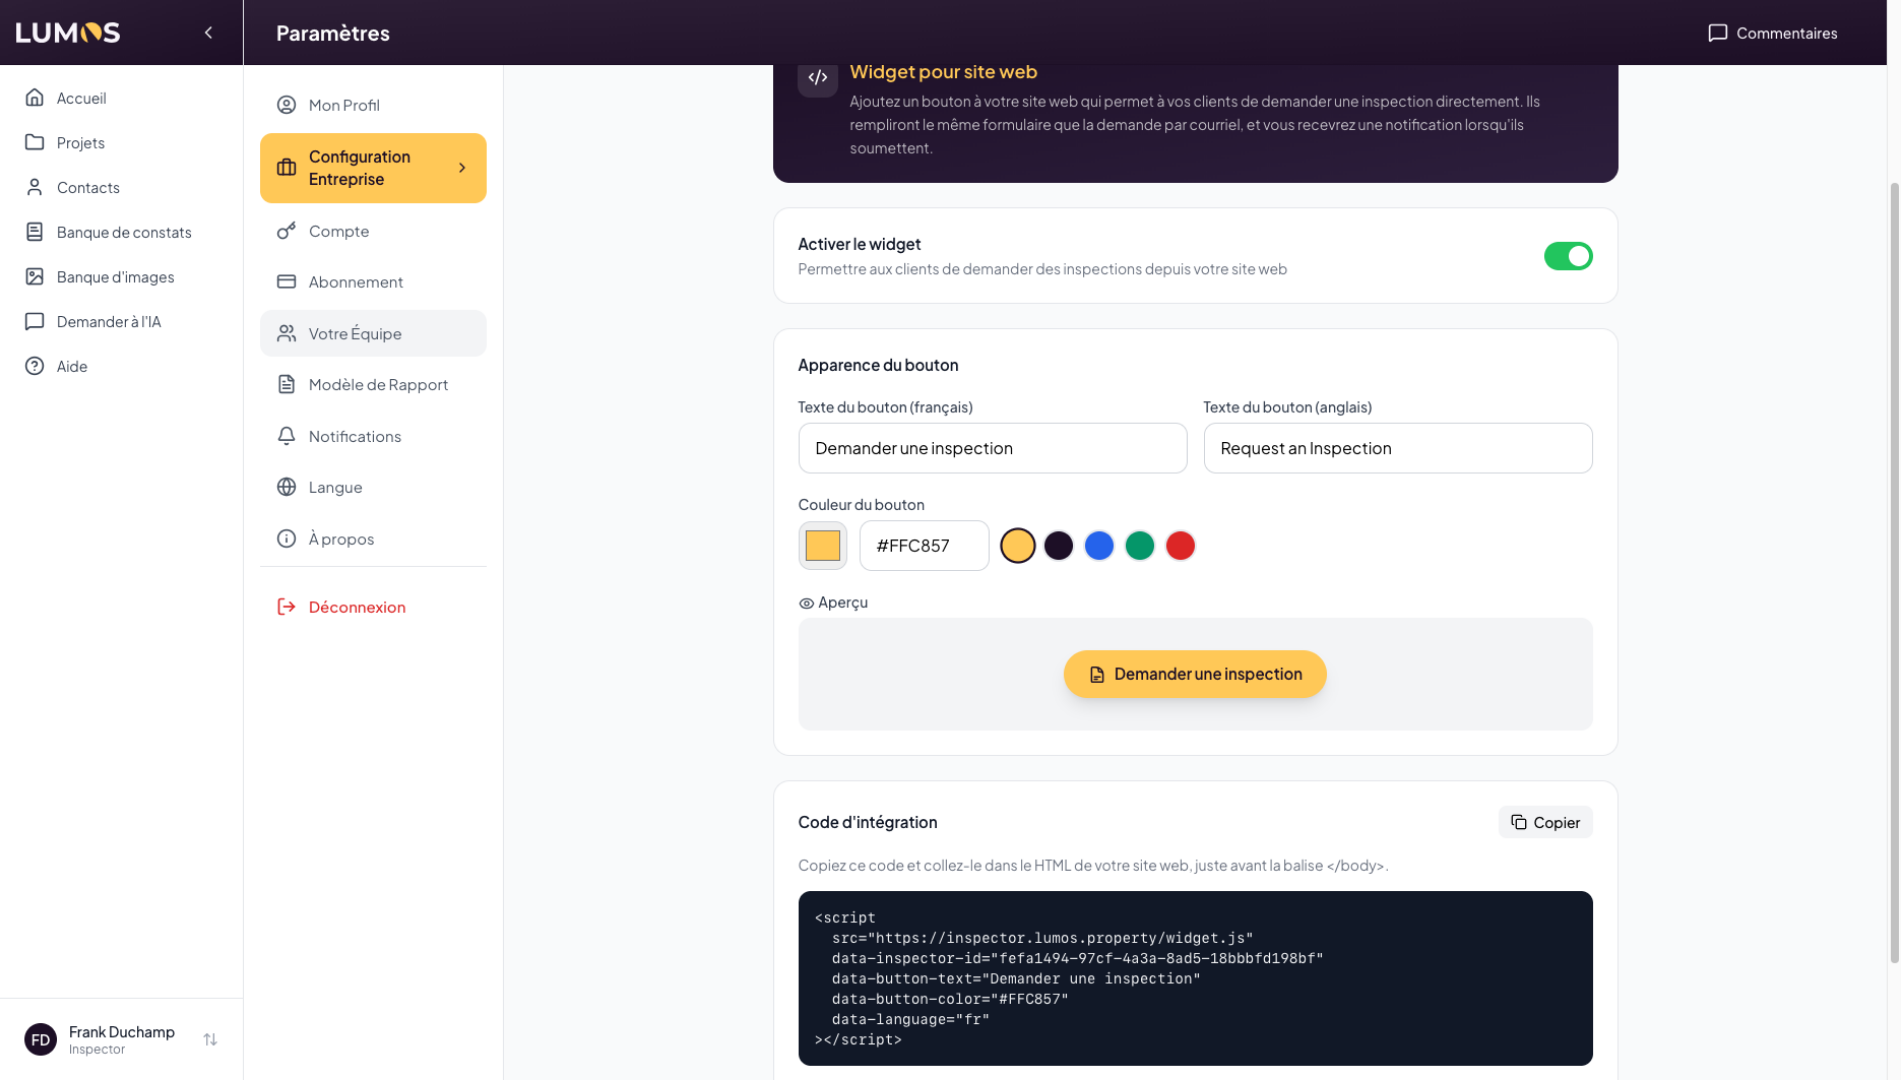
29. Configure the Website Widget
Click on “Website Widget” to customize the Lumos Inspection integration on your website.
30. Using the Lumos Widget
Lumos allows you to embed a button on your personal website that lets your clients submit service requests directly into Lumos. We invite you to watch the widget tutorial video for more information on setting up this tool.
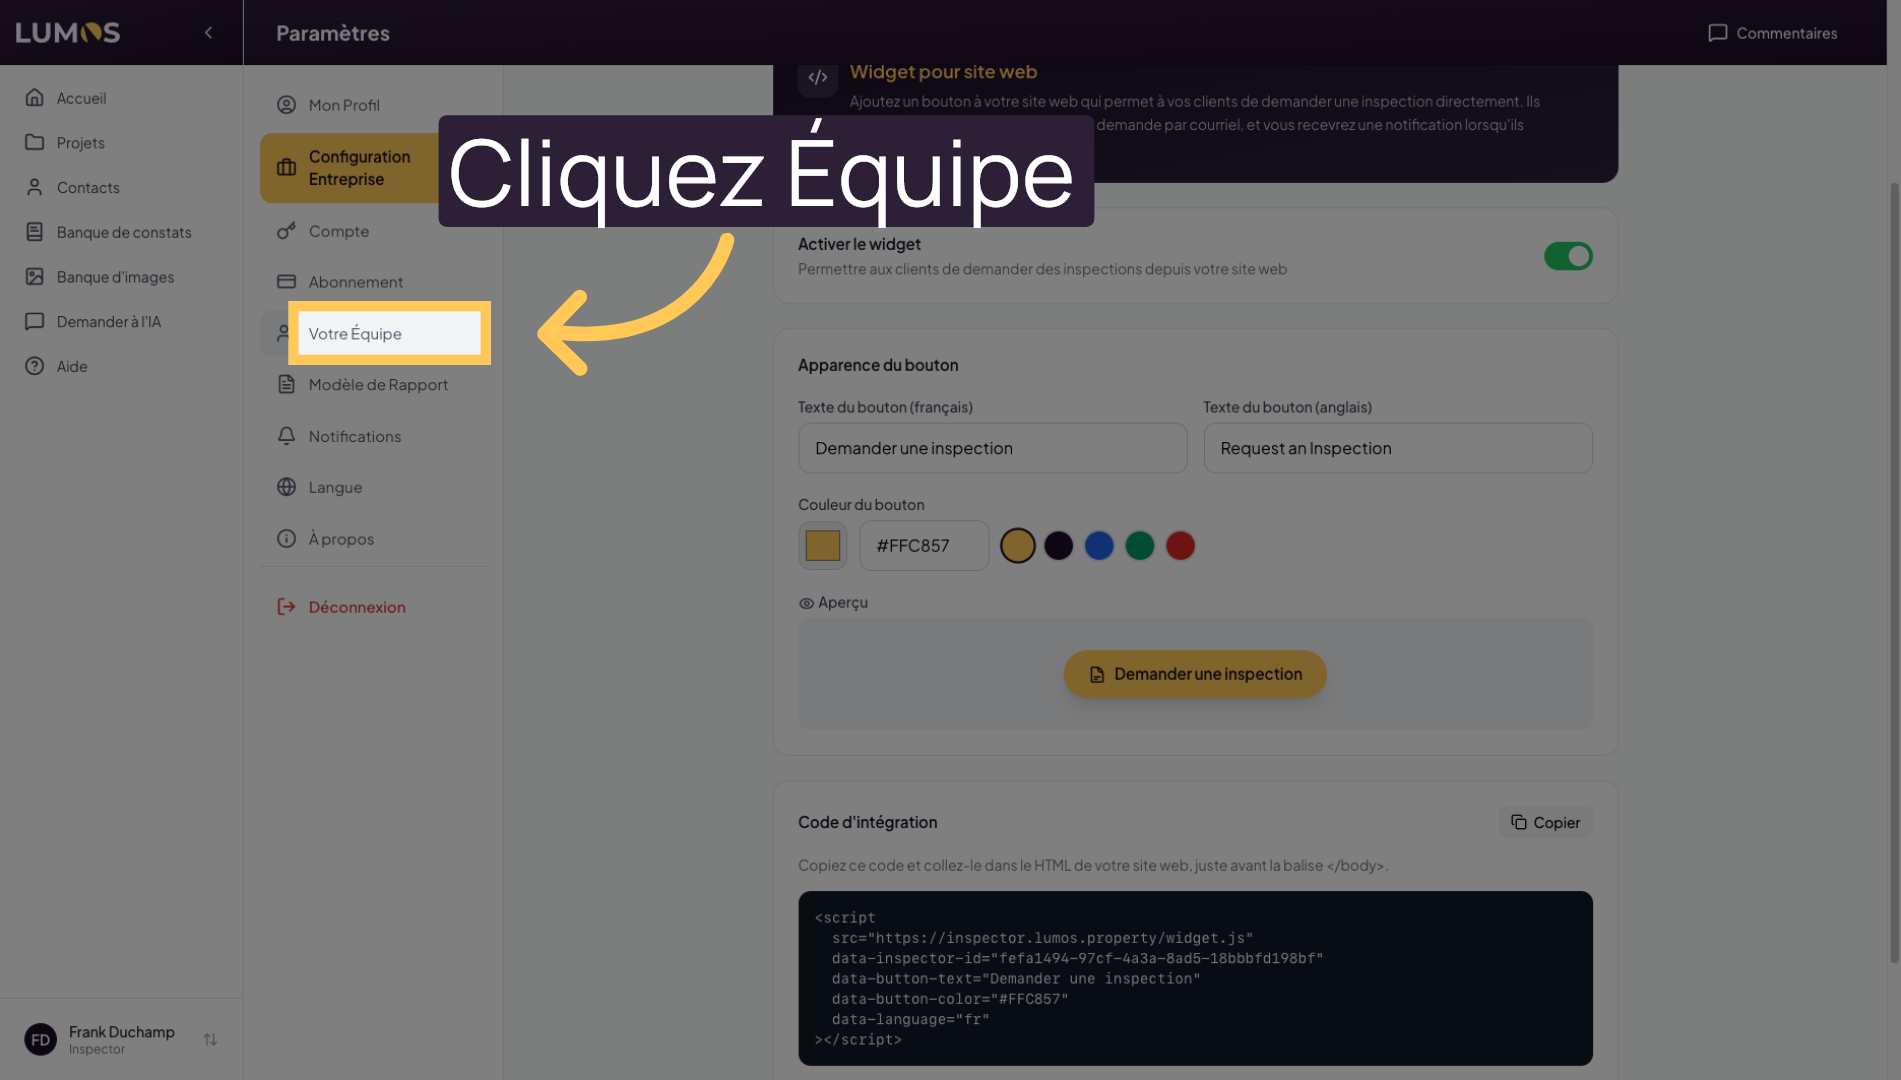
31. Access Team Management
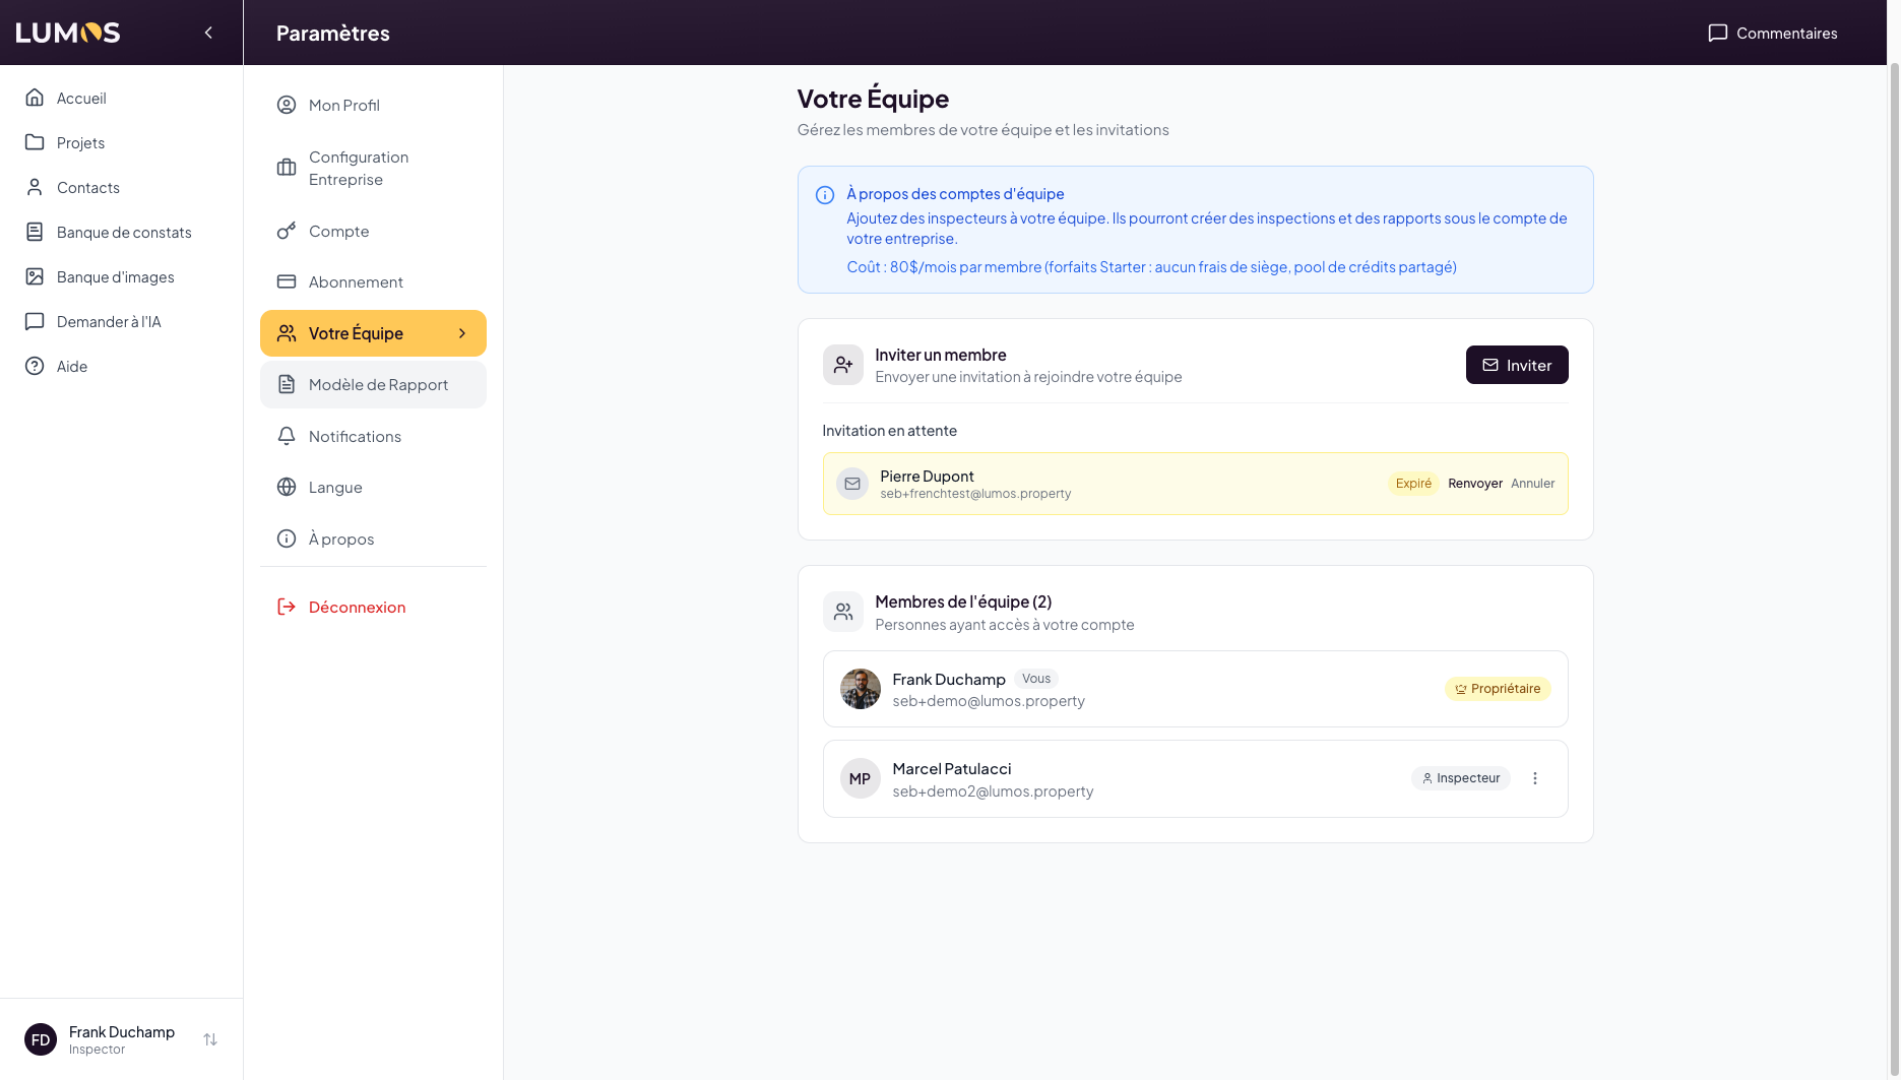
Click on “Your Team” to manage members and their roles in the application.
32. Invite and Manage Team Members
As the owner of a Lumos account, you can invite members to join your account. These team members can then share inspections, findings, and much more with you. We invite you to watch the team management video to learn more about how it works.
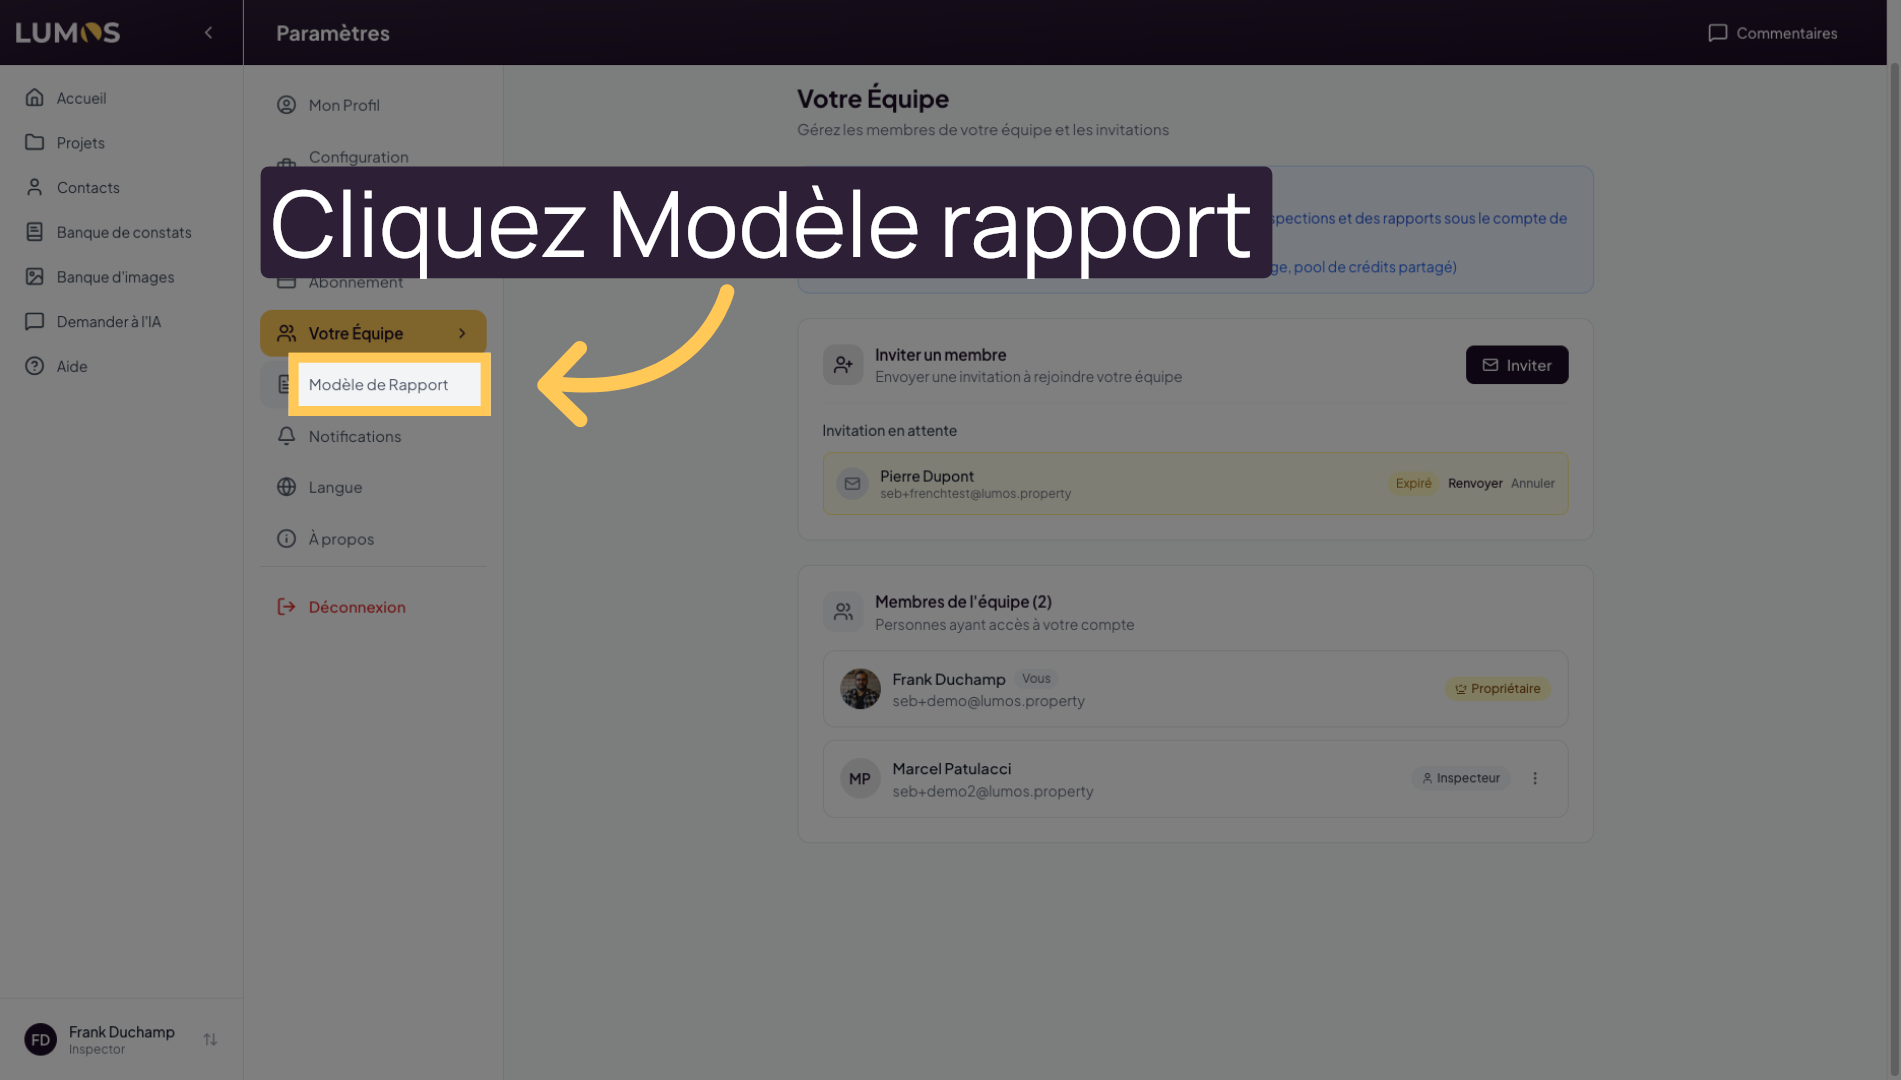
33. Choose a Report Template
Click on “Report Template” to select or modify inspection report formats.
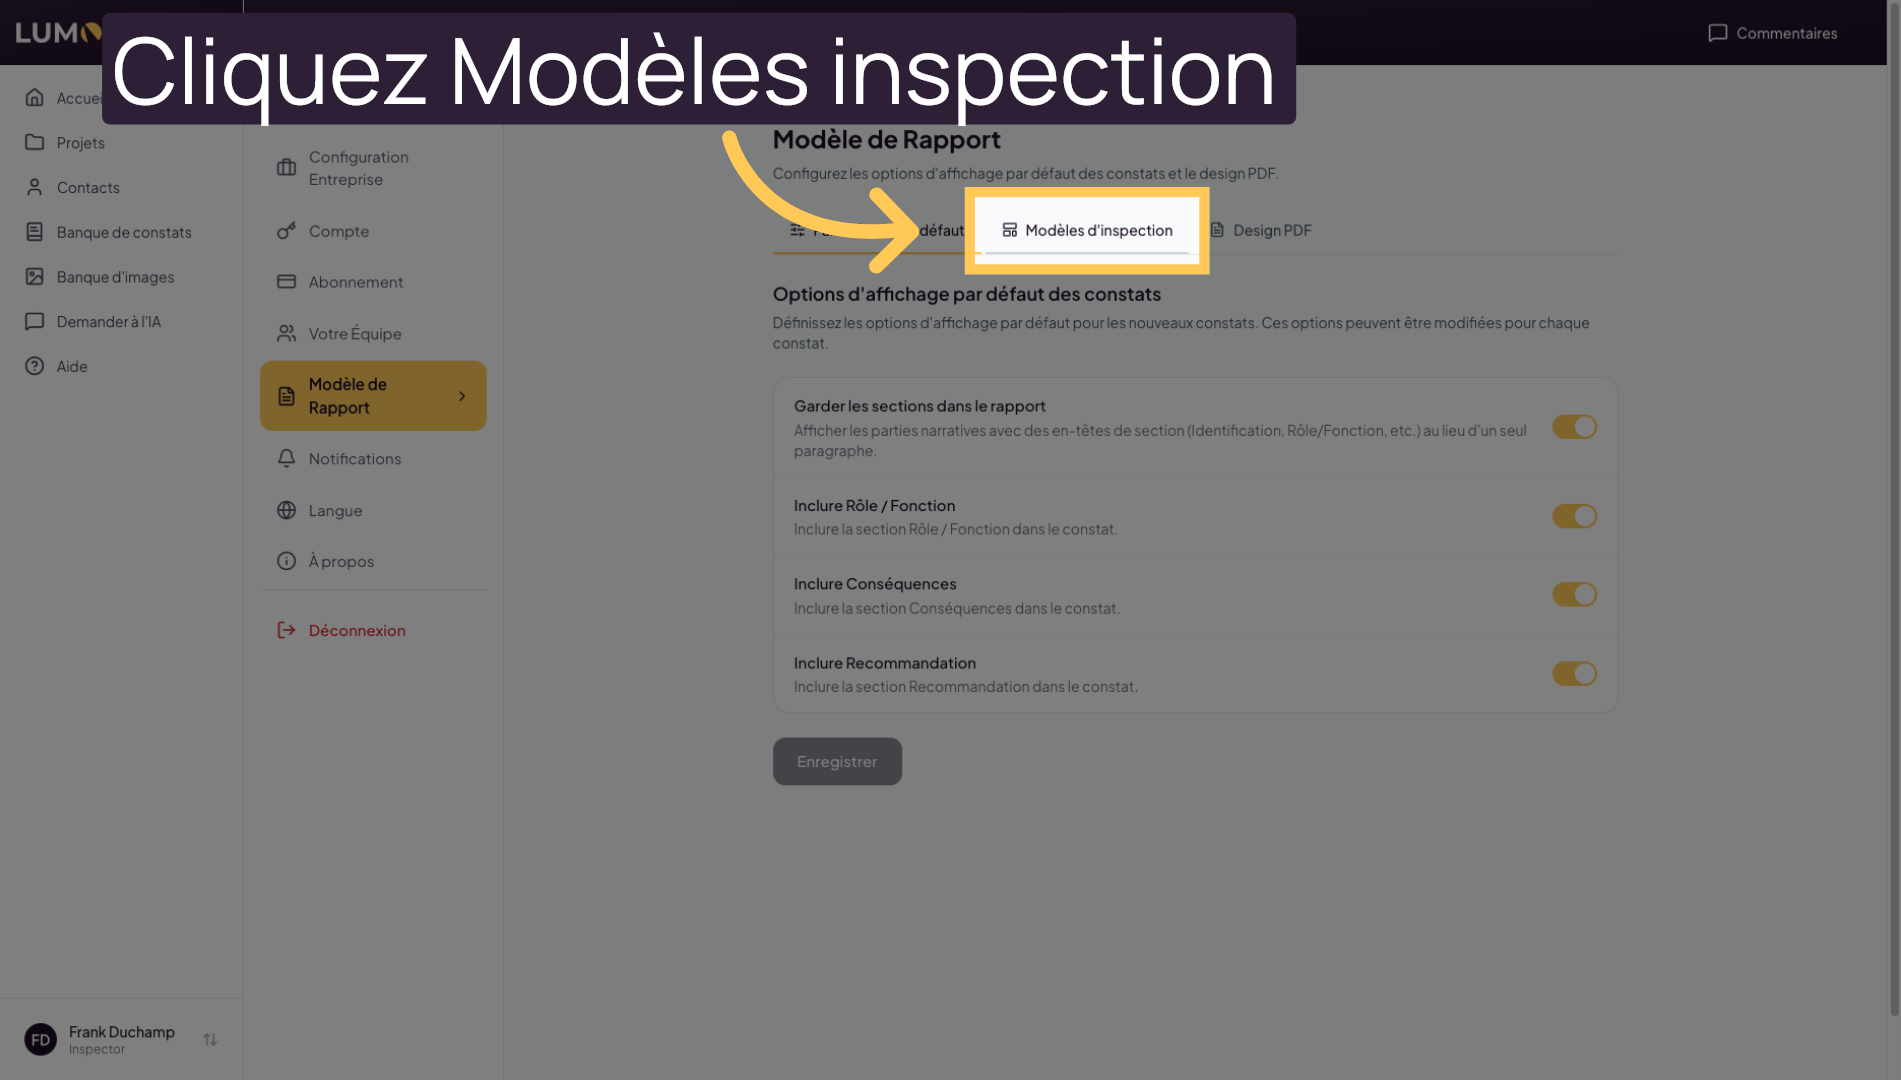
34. Manage Inspection Templates
Click on “Inspection Templates” to create or adapt the templates used during inspections.
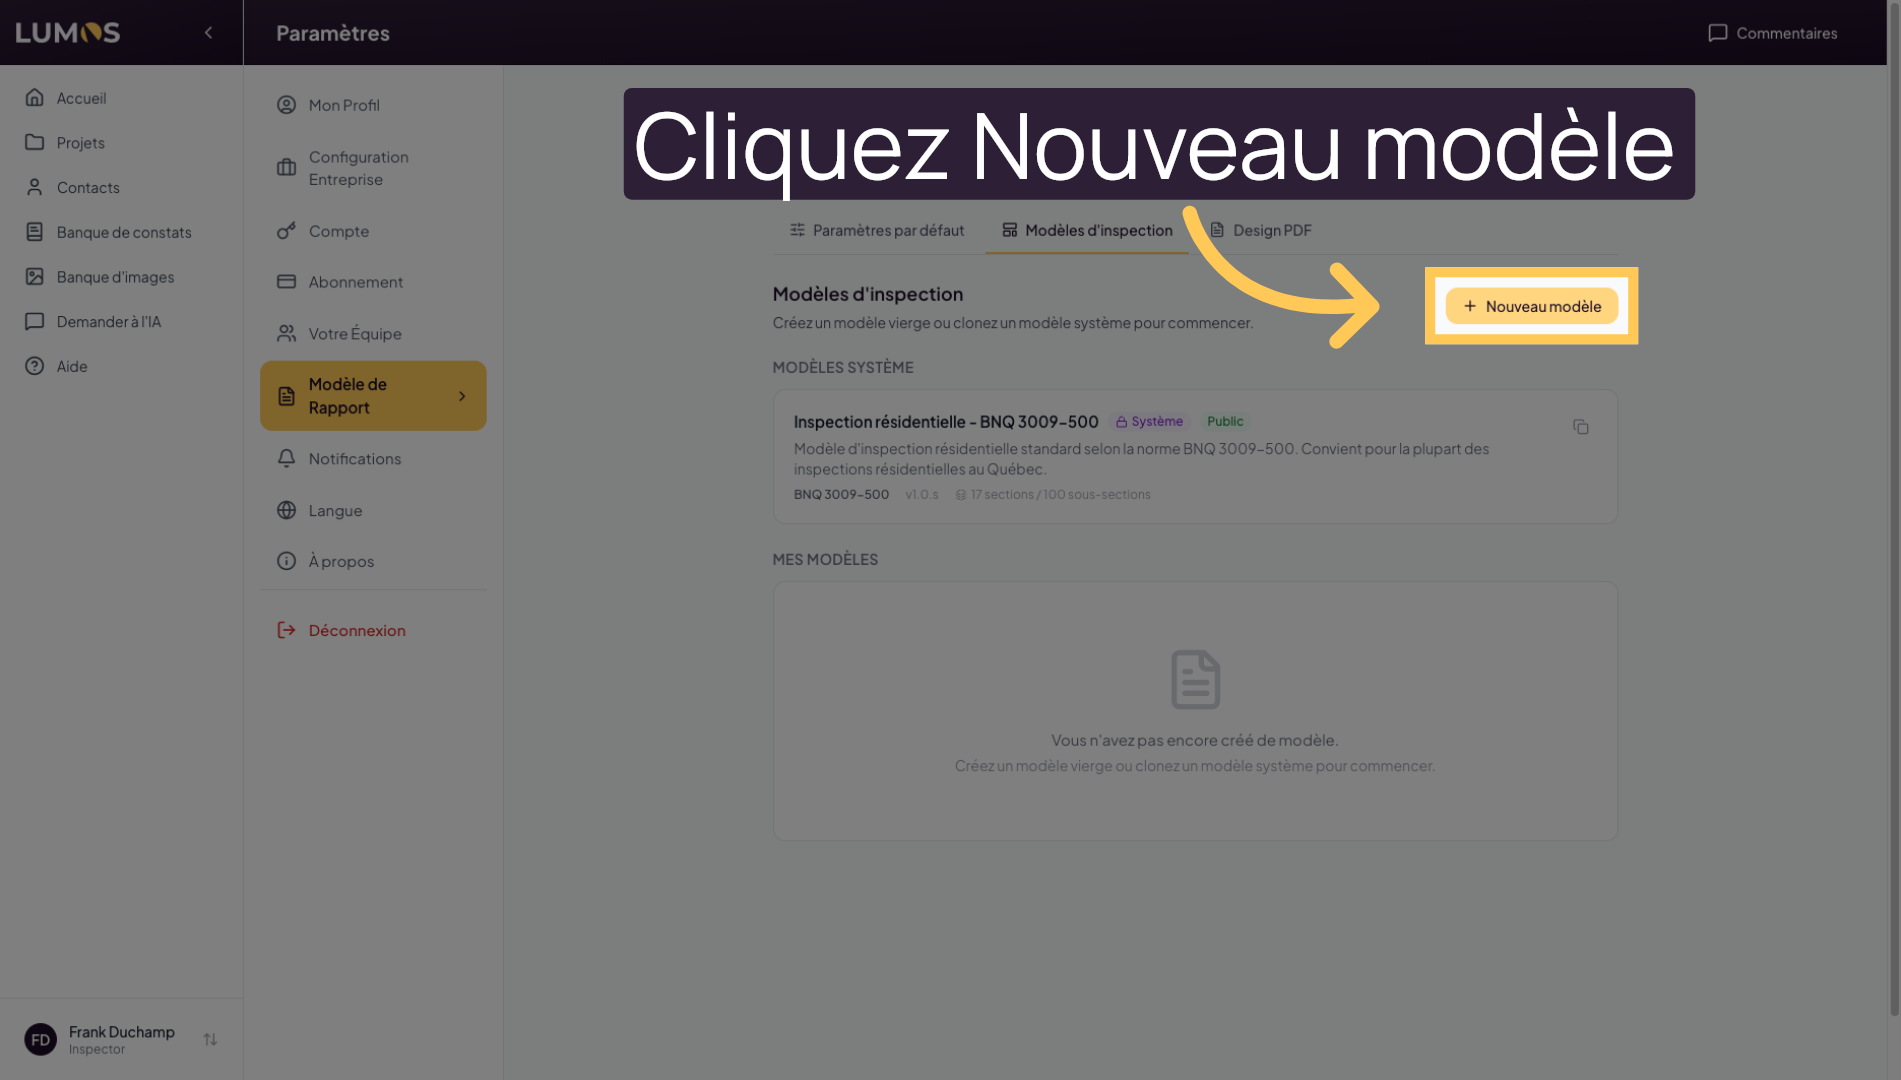
35. Create a New Template
Click on “New Template” to start creating a custom inspection template.
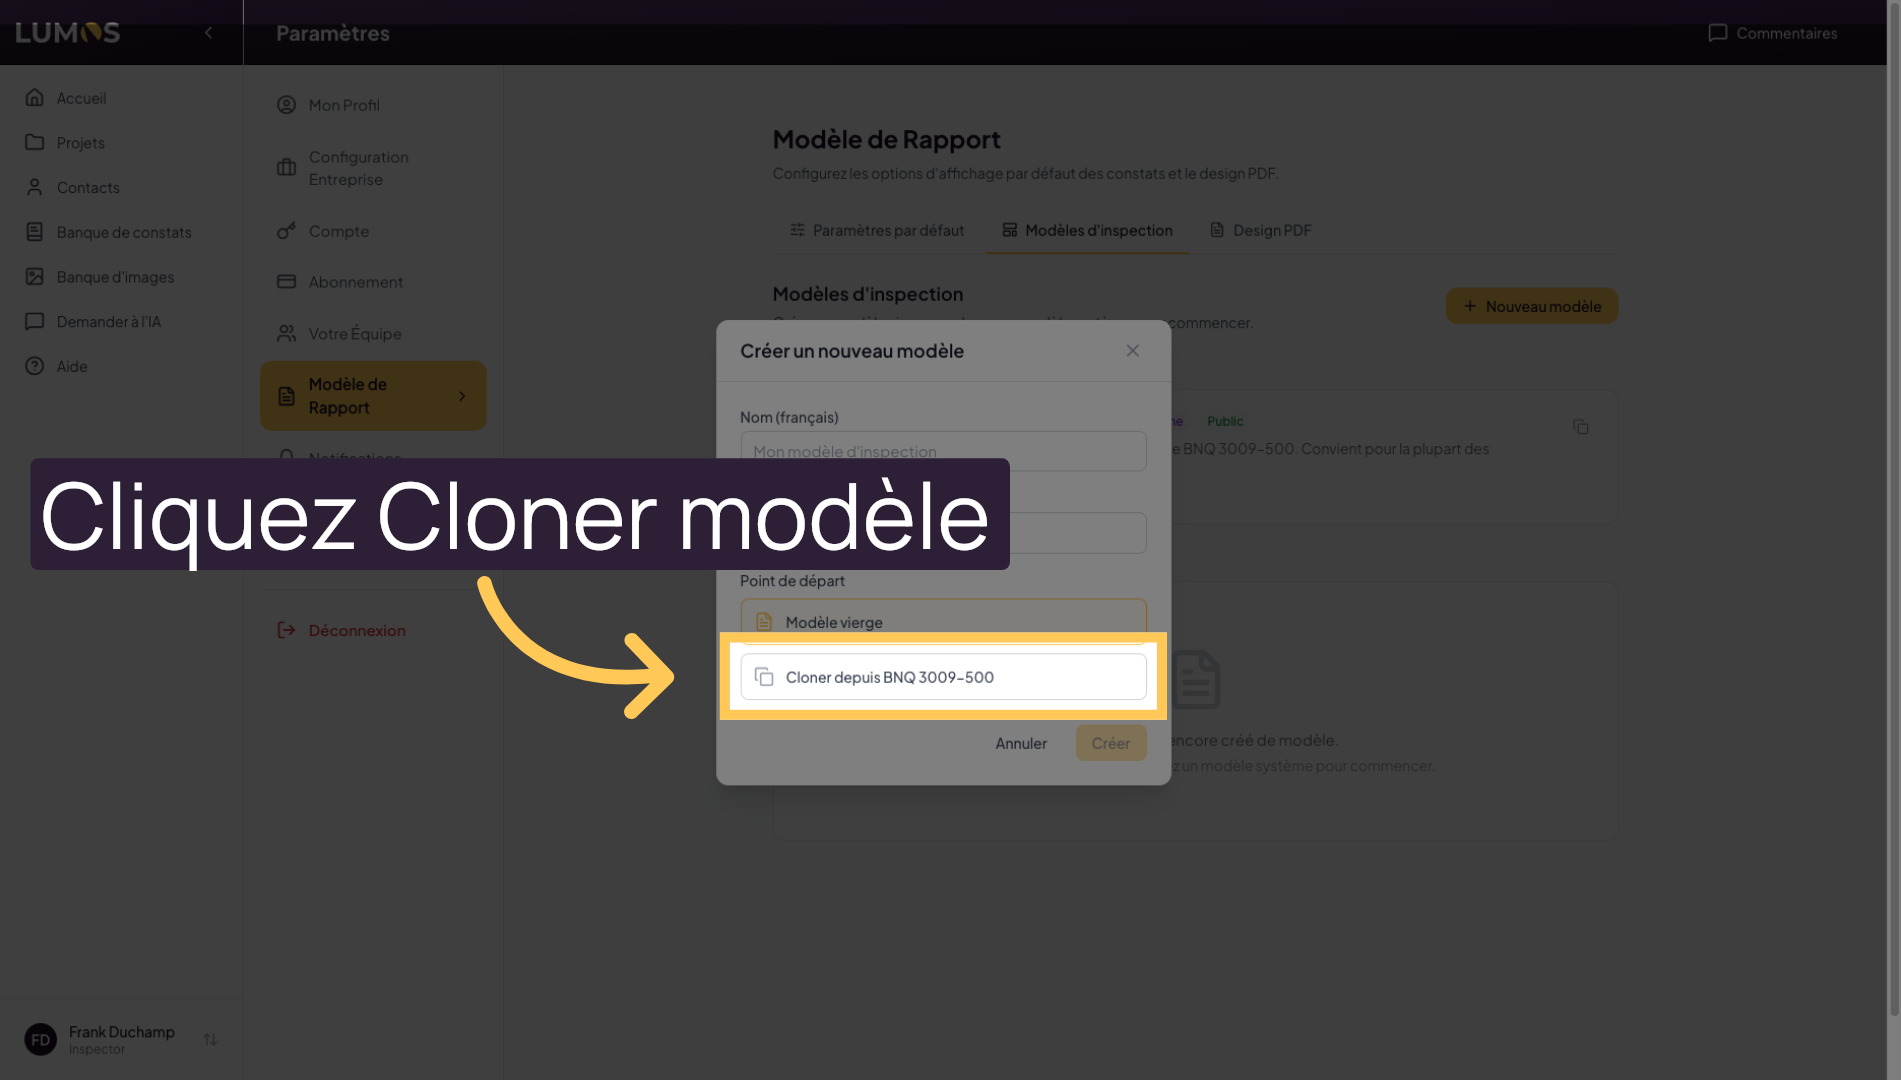
36. Clone an Existing Template
You can start from a blank template, or start from the existing base that Lumos provides by default to duplicate a standard template and adapt it to your needs.
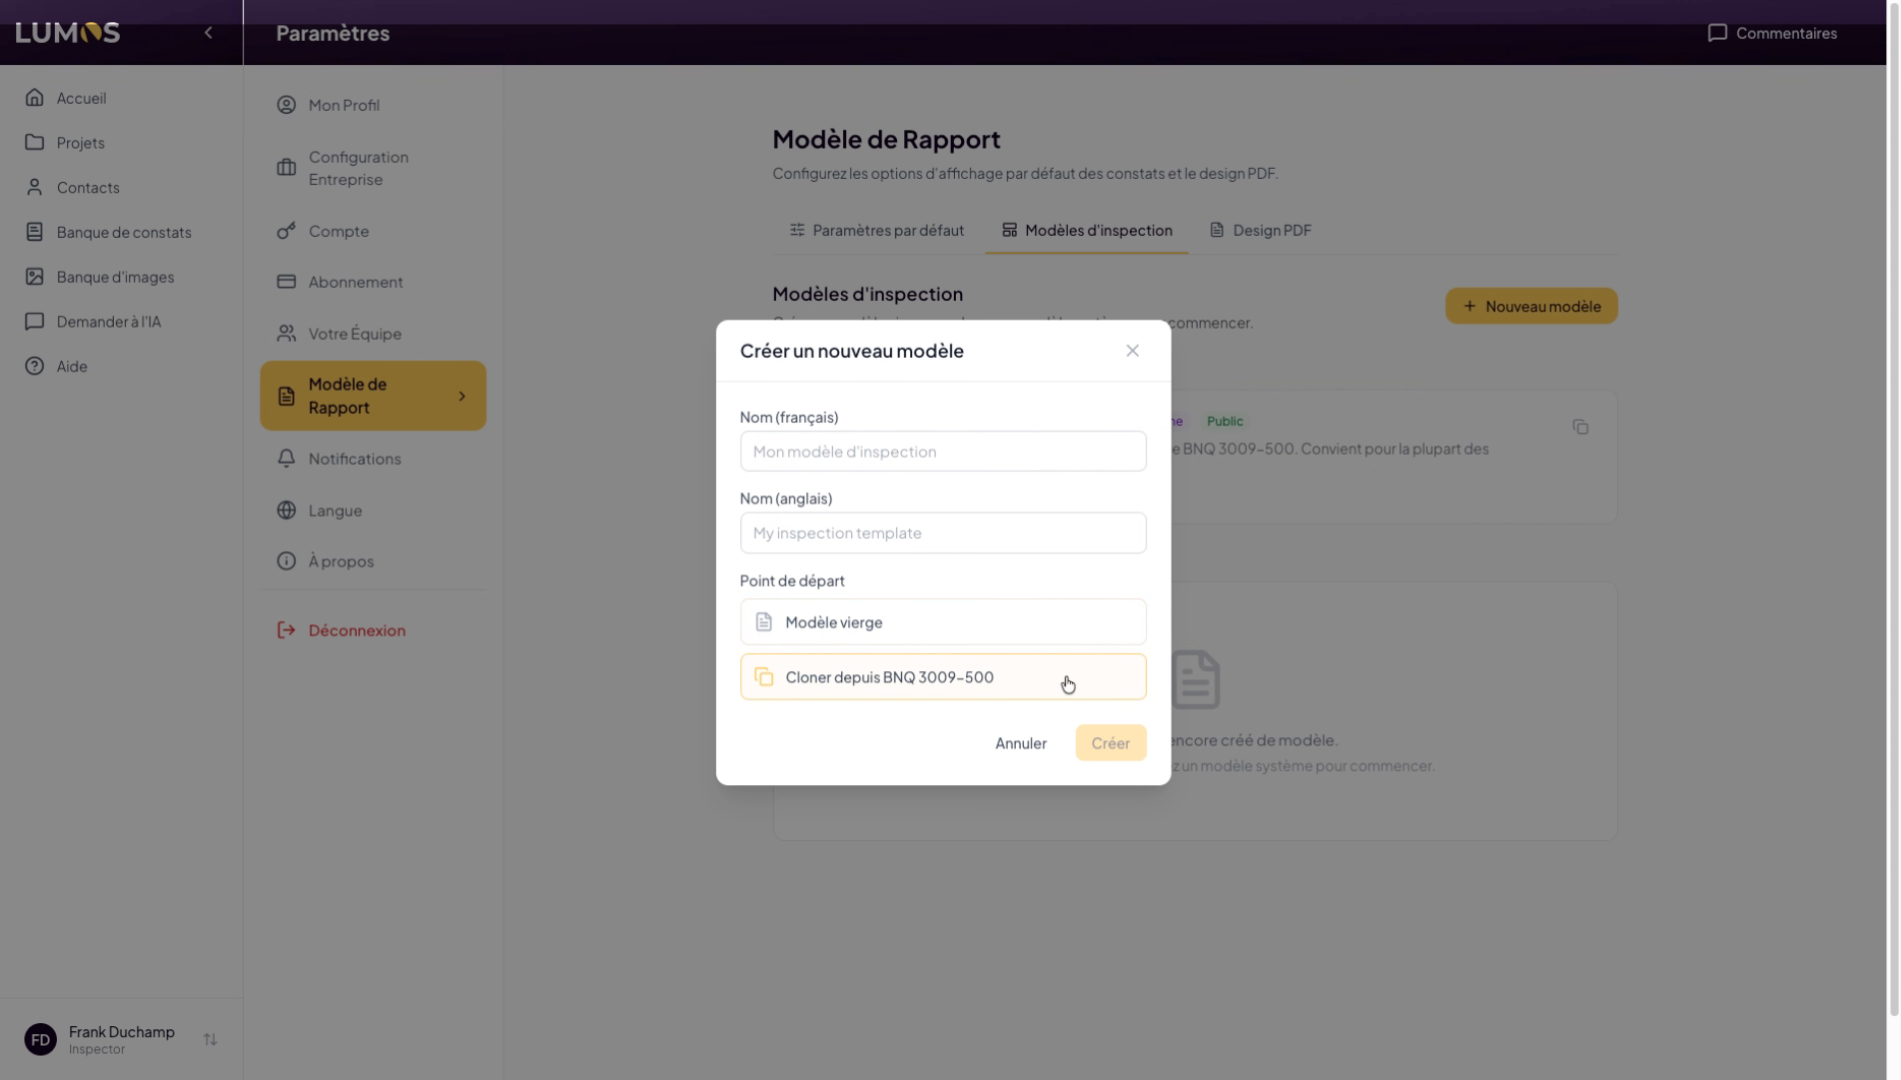
37. Name the Cloned Template
This walkthrough showed you how to navigate Lumos Inspection and use its key features to efficiently manage your projects and inspections. To learn about advanced features, check out our other help sections.