The interactive web report
The interactive report is Lumos’s primary delivery format. It is what your client sees when opening the link you sent them. This page describes its structure, page by page, so you know exactly what your clients have access to.
The top header
At the top of every page of the interactive report:
- Your business logo (on the left) — pulled from My Profile > Business.
- The inspection type (for example “Pre-purchase inspection report”).
- The current page (for example “Executive summary” or a section name).
- The property address.
- The date and time of the inspection.
- A Download PDF button that builds the PDF live from the current report content.
The left sidebar (table of contents)
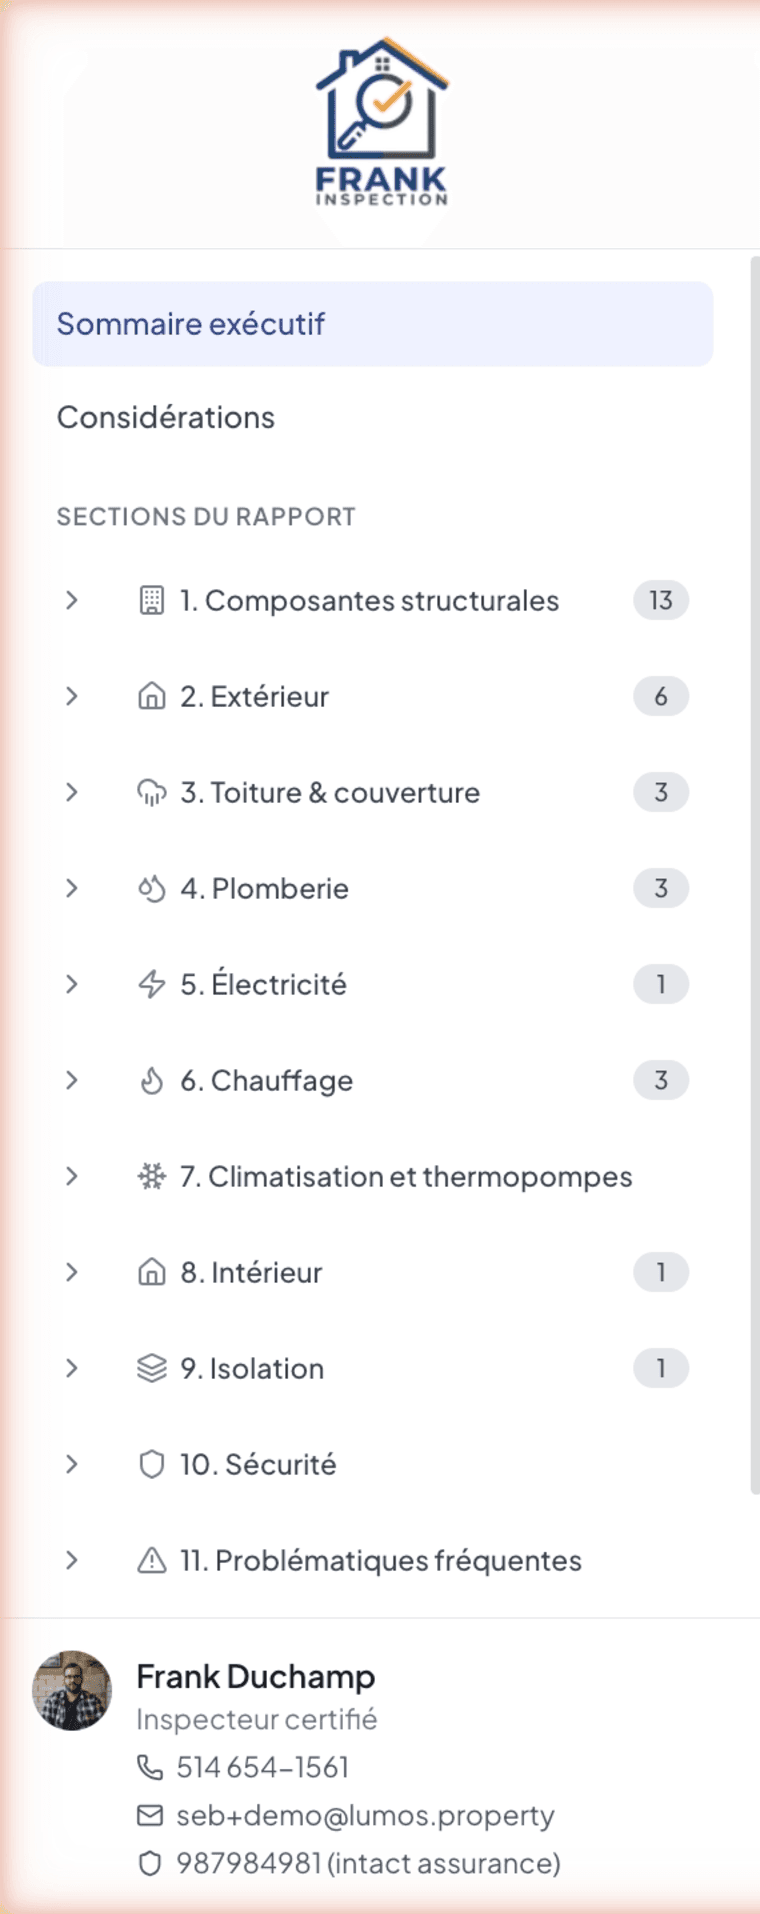
From top to bottom:
- Executive summary (home page)
- Considerations — the aggregated view of the report’s documents (Reader’s Notice, Items to Consider, Inspector’s Certificate, and other Document-type subsections of the template)
- A label “REPORT SECTIONS”
- The numbered list of building sections, with a narrative counter badge per section (for example “1. Structural Components” with badge
2, “2. Roofing & Cover” with badge1) - Conclusion at the end of the list
Each entry is clickable and brings your client straight to the matching page.
The inspector card (bottom of the sidebar)
Always visible in the sidebar: your inspector card with your photo, name, title (“Certified Inspector”), phone, professional email, and liability insurance number. Your client can reach you at any time from inside the report.
The Executive Summary page
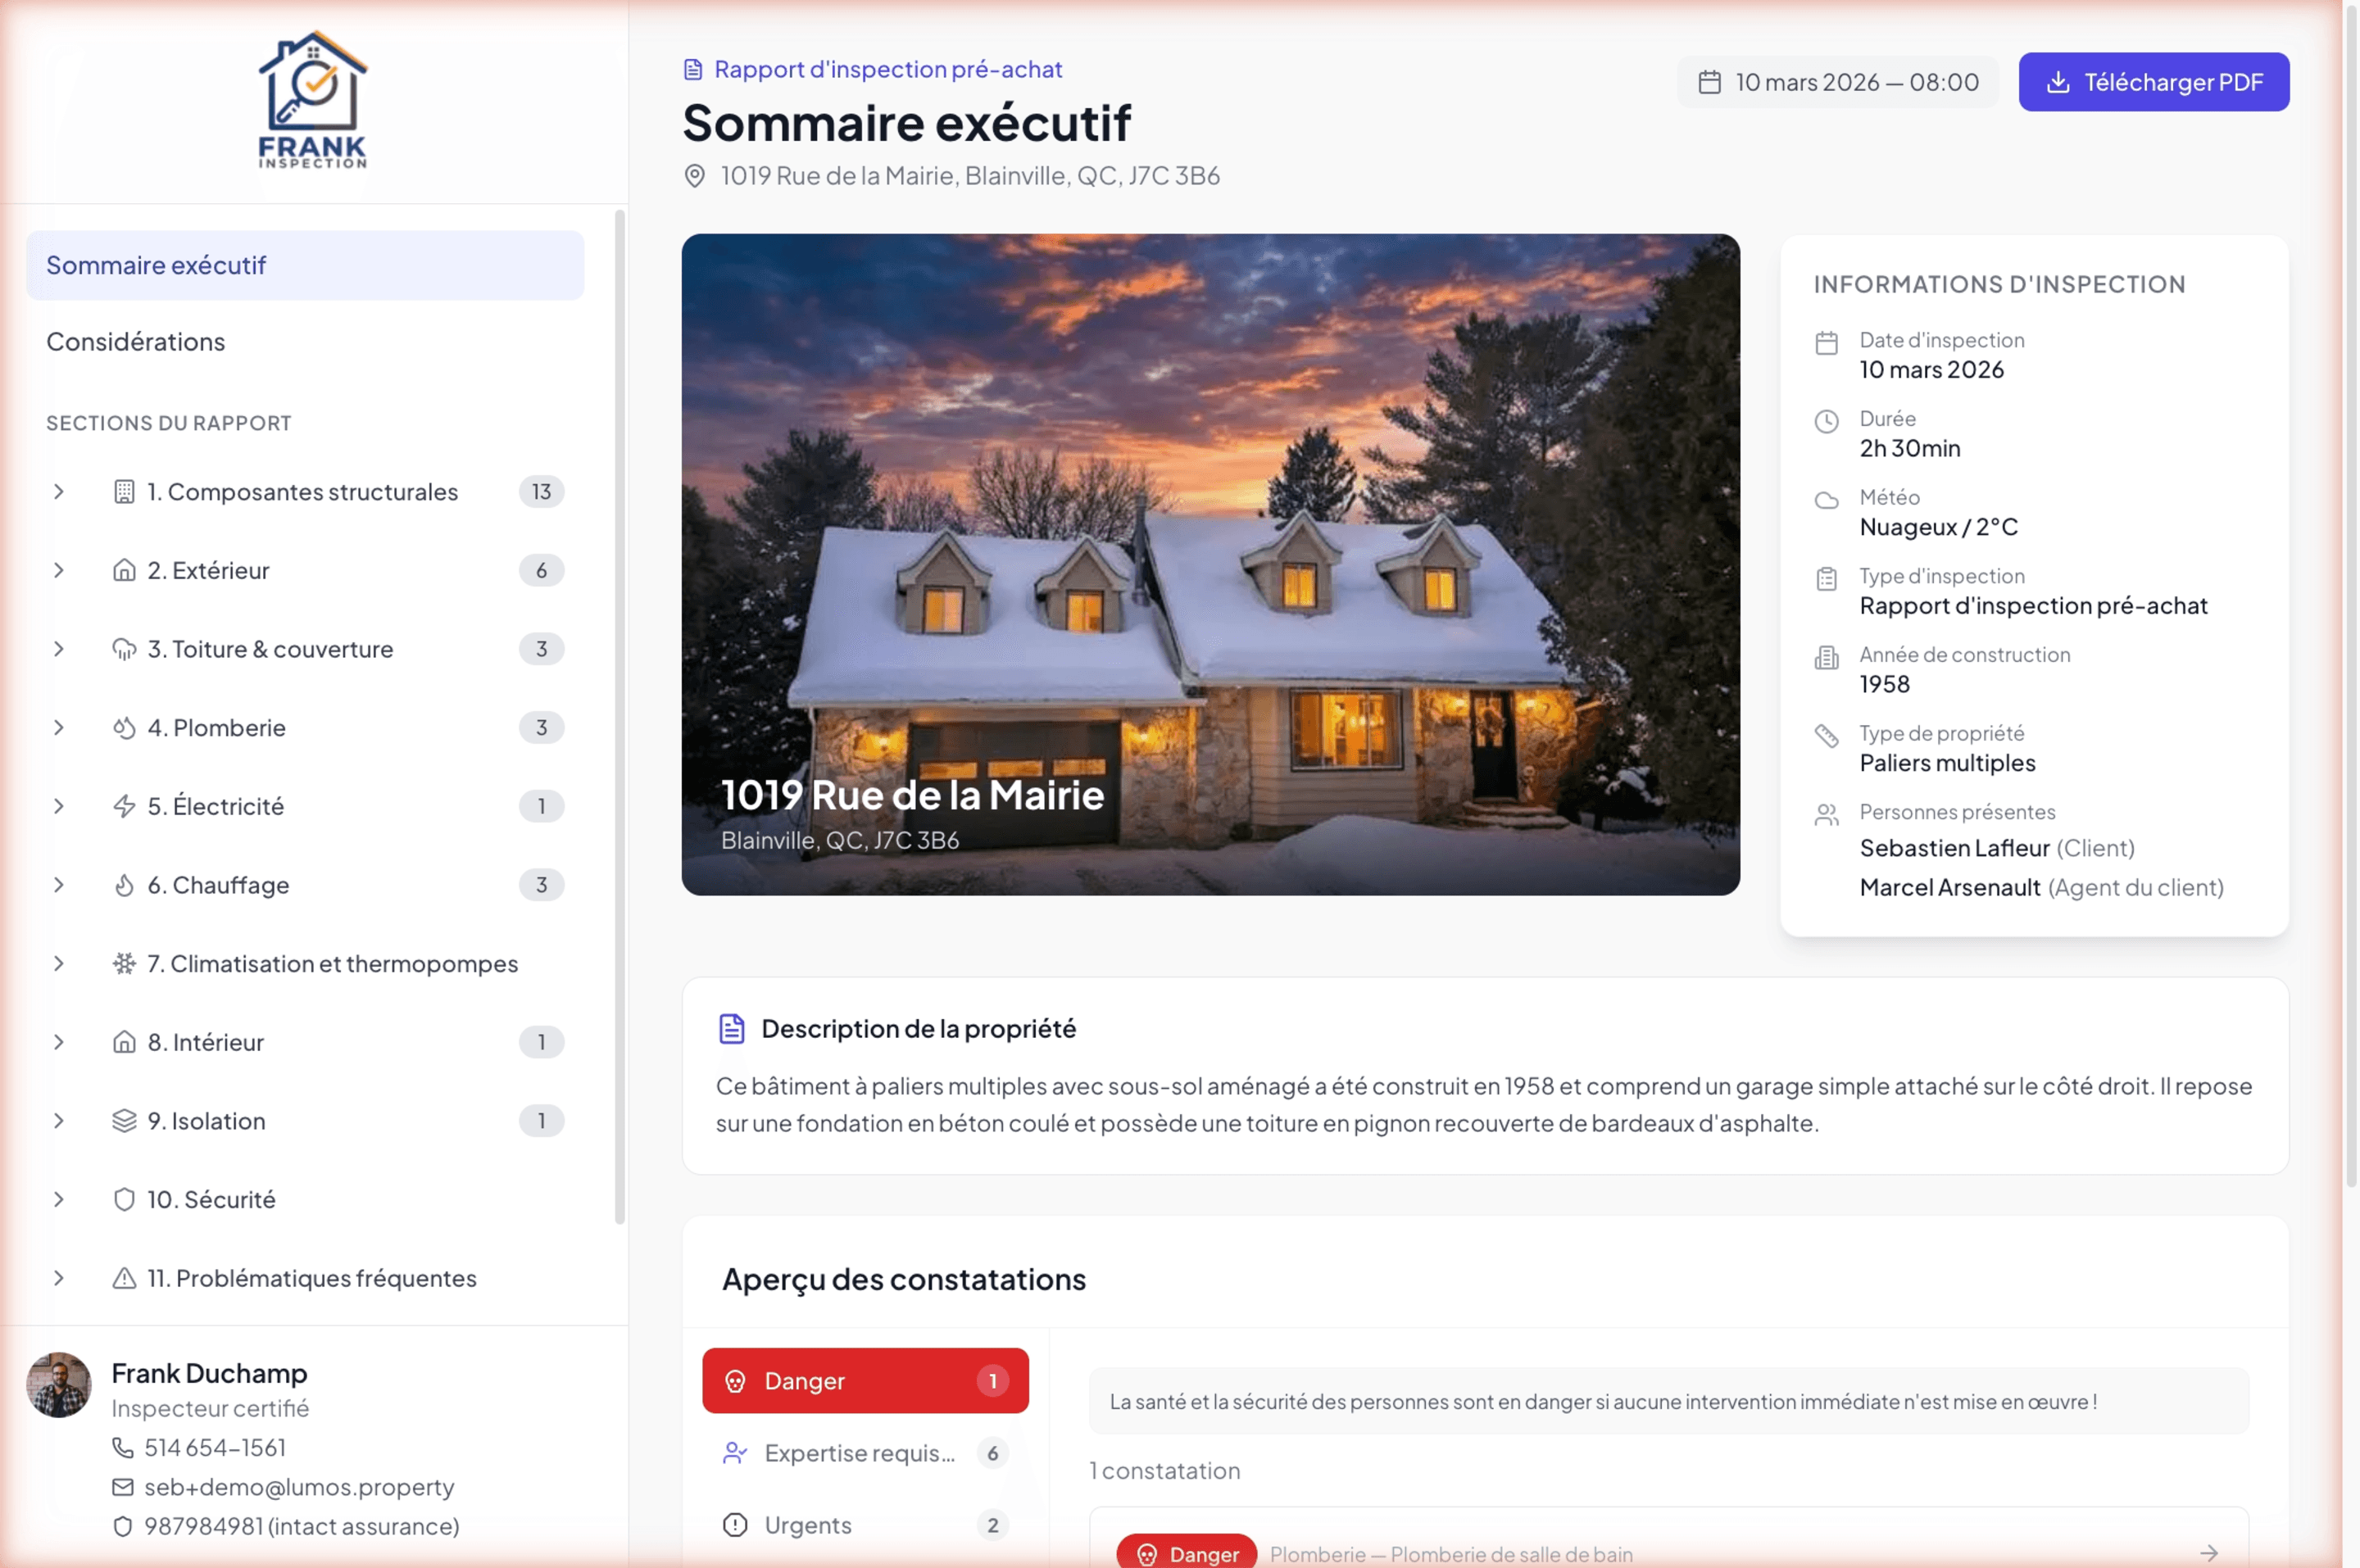
Landing page of the report. It offers a complete overview at a glance.
Hero photo
The main property photo, large, with an overlay showing the full address.
”Inspection Information” card
On the right: a summary of the visit conditions and context.
- Inspection date
- Duration
- Weather (for example “Sunny / 2°C”)
- Inspection type
- Year built
- Property type
- People present (with their role in parentheses: Client, Seller’s agent, etc.)
Property description
The descriptive prose you wrote (possibly enriched by AI) on the inspection record.
”Findings overview” card
The most important block of the summary. Presents the report’s narratives, grouped by severity. Tabs at the top of the card (with counters) toggle the display between your template’s severity levels.
For each selected tab, Lumos shows:
- A description of the severity (for example “The inspector mentions that a correction must be made or an intervention is necessary to prevent component degradation.”)
- The total number of narratives at this level
- The list of narratives: each line shows a severity badge, the breadcrumb “Section — Subsection” (for example Roofing & Cover — Roof Cladding), and the narrative title. Clicking the line opens the matching subsection.
Building section pages
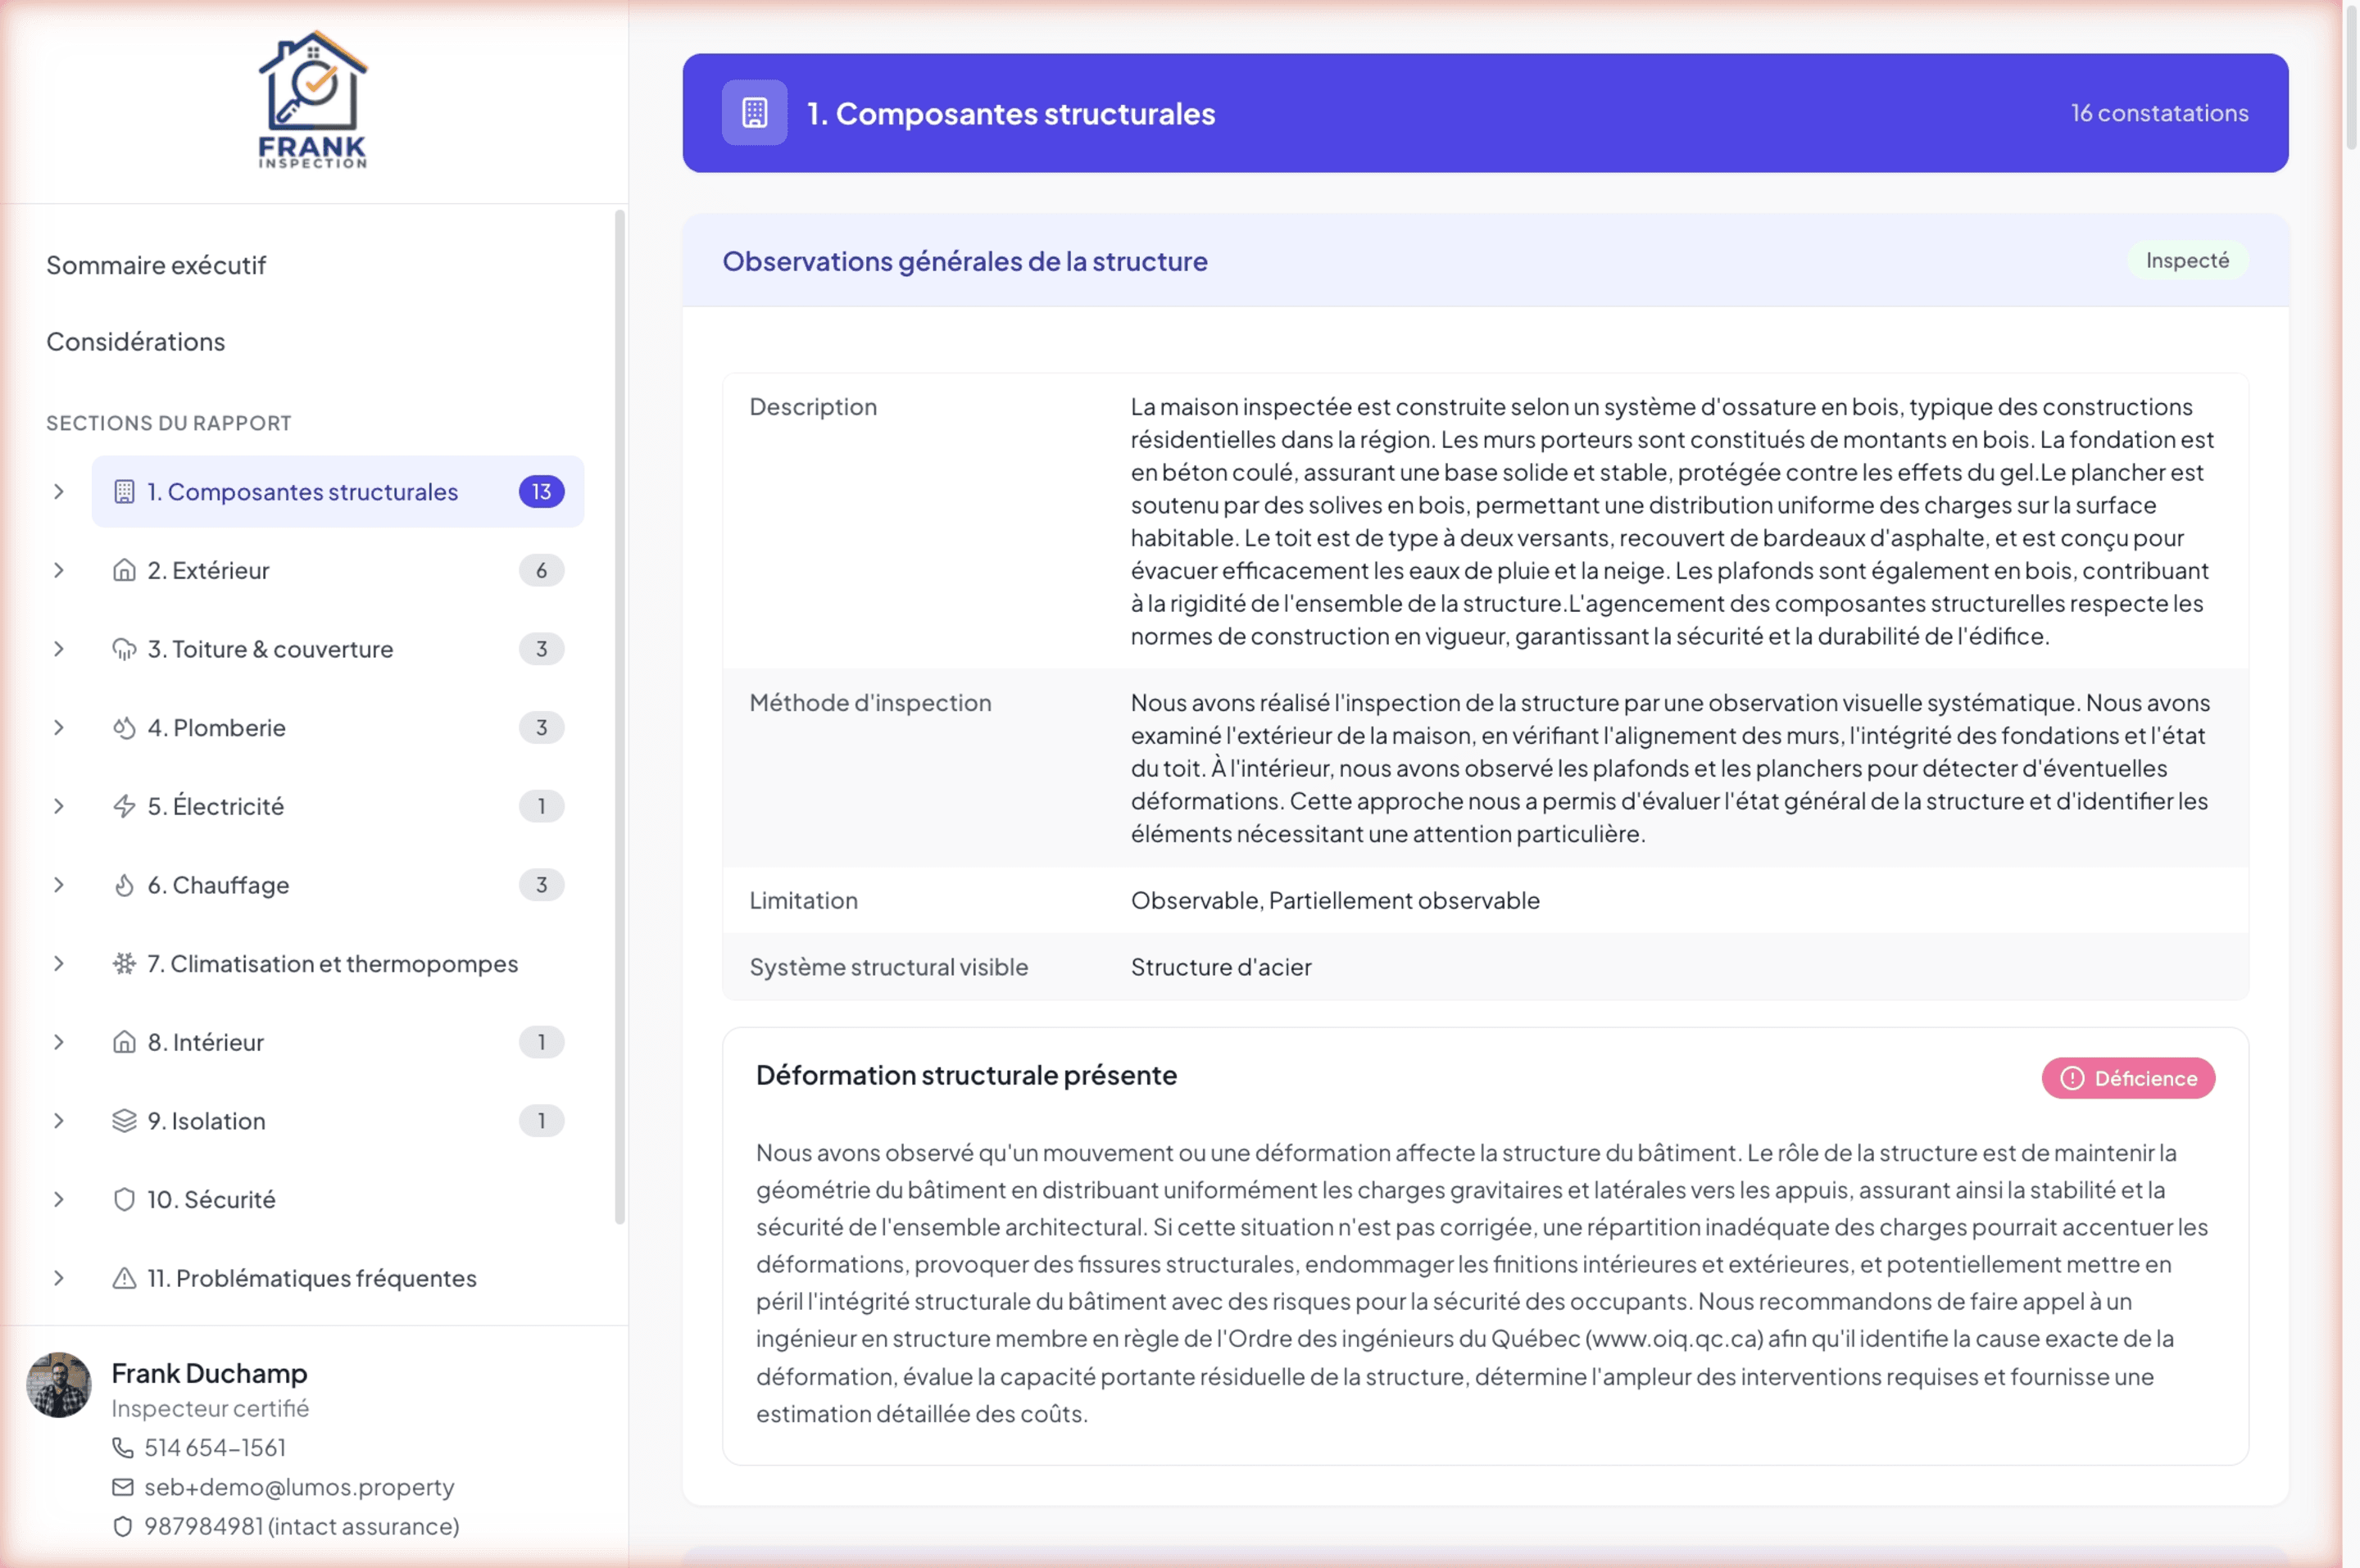
When your client clicks on a section in the sidebar, the page opens with:
- The section title
- The relevant subsections
- For each subsection: the associated narratives (title, severity, four-part content if included in the report, attached photos with their annotations).
Document-type pages
Document-type subsections (Reader’s Notice, Items to Consider, Inspector’s Certificate, Conclusion) are accessible via the sidebar and the Considerations section. They display the written text you configured in the template or customized for this specific inspection.
Best practice: preview before sending
Before clicking Send report to client, open the Client Report Preview from the inspection editor’s 3-dot menu. You will see exactly what your client will see, and can adjust before delivery. See The 3-dot menu in the header.
See also
- Send the report to the client
- The client experience — the access page and branding
- Generate and download a PDF
- Document-type subsections — what feeds the Considerations section