Customizing your Report Template — overview
The Report Template is the core piece of your Lumos. It defines the structure of all your inspections (building sections and sub-sections), the severity levels you use, the inspection elements per sub-section, and the narratives automatically suggested at each point in the report. This entire section is dedicated to understanding it and customizing it.
Who this section is for
When starting out, you don’t need to modify the template. The system template Residential Inspection - BNQ 3009-500 provided by Lumos covers the great majority of residential inspections in Quebec and complies with the BNQ 3009-500 standard. You can start your activity using it as is.
This section concerns you when:
- You want to adapt the structure or phrasings to your style.
- You do specific inspections (commercial, pre-handover, multi-unit) that need a dedicated template.
- You manage a team and want to align everyone on consistent predefined narratives.
- You want to simplify a template by deactivating sections that are never relevant for your clientele.
Where the template is configured
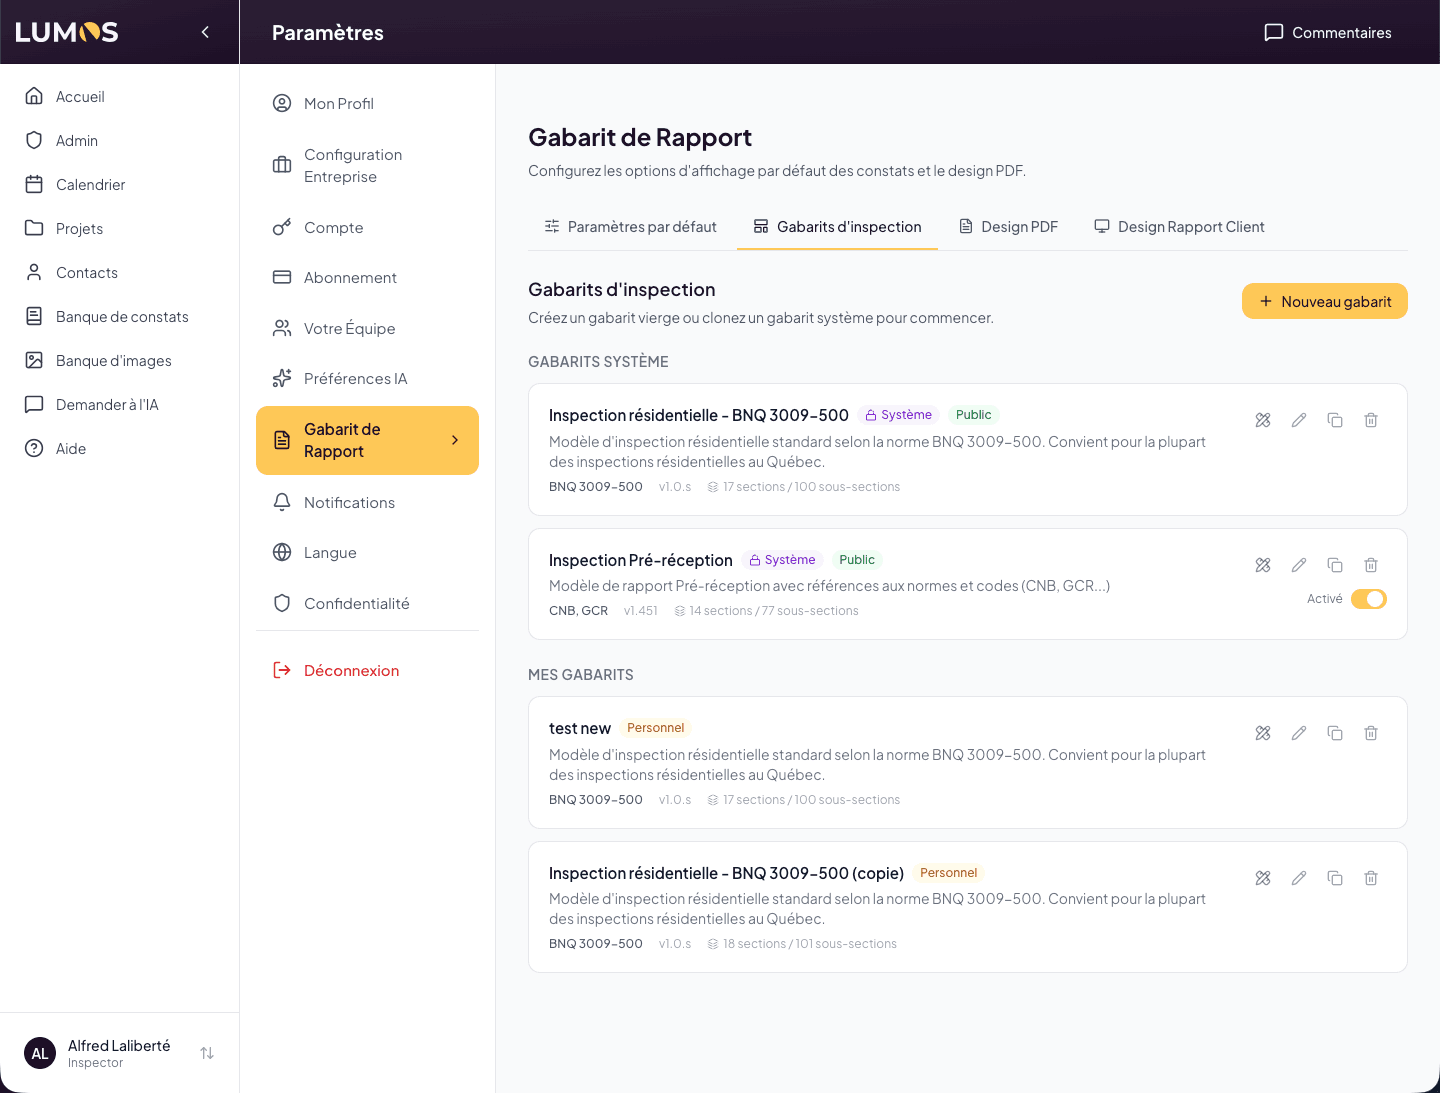
Settings > Report Template. Five tabs:
- Default settings — global narrative display options and property description customization.
- Inspection templates — the list of your templates (system and personal) and the + New template button.
- PDF design — accent color, density, photos per row, PDF font style.
- Client Report design — accent color and options for the interactive web report.
- BNQ Conformity — enable the conformity gauge (Alpha).
The template editor opens when you click Edit or Duplicate a template. That’s where most of the customization work happens, and it’s what this section describes in detail.
A “what you see is what the inspector will see” editor
The template editor faithfully reproduces the form the inspector fills out in the field: same status cards, same inspection elements, same findings list. You edit directly on this mockup — click a title to rename it, hover an element to reveal its tools, drag and drop to reorder. No preview mode needed: what you build is exactly what your team will see during an inspection.
Two visual cues confirm you are in the editor (and not in a real inspection): the Template editor badge next to the name in the header, and the aubergine tint of the interface.
What a template contains
A template describes, in order:
- Identity — name, description, applied standard, version.
- Report configuration — table of contents, summary page, section numbering.
- Severity levels — the colors/icons/emoji inspectors assign to findings (default: the 7 BNQ levels).
- Sections — the major parts of the report (Structural components, Exterior, Plumbing, etc.).
- Sub-sections — the building components within each section (Foundations, Load-bearing walls, etc.).
- For each sub-section:
- An inspection status (Inspected / Not inspected / Inaccessible / Not present).
- Inspection elements (text fields, dropdowns, checkboxes).
- A list of predefined narratives linked to the Narrative Bank.
All this content is bilingual (FR + EN, the inspector picks the report language when sending). In the editor, however, you work in one language at a time: the FR / EN switch in the header flips the whole interface, and Auto-translate fills in the other language in the background as you type. See RT.2 Editor anatomy.
The snapshot: why a modified template doesn’t affect ongoing inspections
Lumos applies an important principle: the template is locked at inspection creation time.
Concretely:
- The inspector starts an inspection on May 15 using your personal template.
- Lumos takes a frozen copy of the template (snapshot) and attaches it to the inspection.
- You modify the template on May 20 (add a section, remove a narrative).
- The inspection started on May 15 keeps using the May 15 snapshot, intact.
- Any new inspection after May 20 uses the current version of the template.
This lock protects reports being written from unintended changes and guarantees consistency within a single report from start to finish.
Auto-save and version history
The editor saves every change automatically — there is no Save button. The header indicator confirms the state (“Saved”, “Saving…”). The Undo button reverts your latest changes, and the History (header ⋯ menu) keeps snapshots of your template: Lumos creates one each day you modify the template, and you can create one manually before a big overhaul. The template version number is managed automatically by this history.
How this section is organized
Eleven pages, in order of increasing difficulty:
- RT.1 — Choose, duplicate, create a template
- RT.2 — Editor anatomy (header, navigation, editing area)
- RT.3 — Sections and sub-sections (create, reorder, delete)
- RT.4 — Narrative sections (Notice to reader, Conclusion, etc.)
- RT.5 — The sub-section (settings, canonical category, behaviors)
- RT.6 — Inspection status and automatic narratives
- RT.7 — Inspection elements (the 6 types)
- RT.8 — Narrative configuration (predefined narratives and Bank links)
- RT.9 — Severity levels (Icons / Emojis / Color dots)
- RT.10 — Template configuration (identity, table of contents, summary page)
You can go through them in order the first time, then come back to specific pages as needed.
See also
- Chapter 13 — Your personal libraries — overview of the libraries (narratives, images, templates, contracts)
- Chapter 7 — The inspection editor — how the template comes alive during an inspection
- Chapter 8 — The Narrative Bank — where the narratives referenced by templates are stored