Sections and sub-sections
The building sections and sub-sections form the backbone of the template. This page describes how to create, rename, reorder and delete them, plus each section’s own settings.
Two types of sections
Lumos distinguishes two types of sections, identifiable by their icon in the navigation:
Sections with sub-sections
Classic sections containing multiple sub-sections, each matching a building component. Examples in the BNQ template:
- Structural components → Foundations, Slabs on grade, Floors and joists, Load-bearing walls, etc.
- Plumbing → Supply system, Drainage, Water heater, Laundry room, etc.
- Roofing → Covering, Drainage, Flashings and sealants, Penetrations, etc.
Each sub-section has its own form (inspection status, elements, predefined narratives). See RT.5 to RT.8.
Text blocks (narrative sections, page icon)
Sections without sub-sections that contain a free-text page written in a rich editor. Used for context, introduction and signature pages: Notice to reader, Items to consider, Inspector’s certificate, Conclusion. See RT.4.
Adding a section
At the bottom of the navigation, two controls:
+ Add a section
Creates a section with sub-sections. Use it to add a major category of components (for example Safety, Plumbing, Roofing).
The new section appears at the bottom of the list and its settings page opens: give it a name, pick its icon, then add its sub-sections.
Add a text block
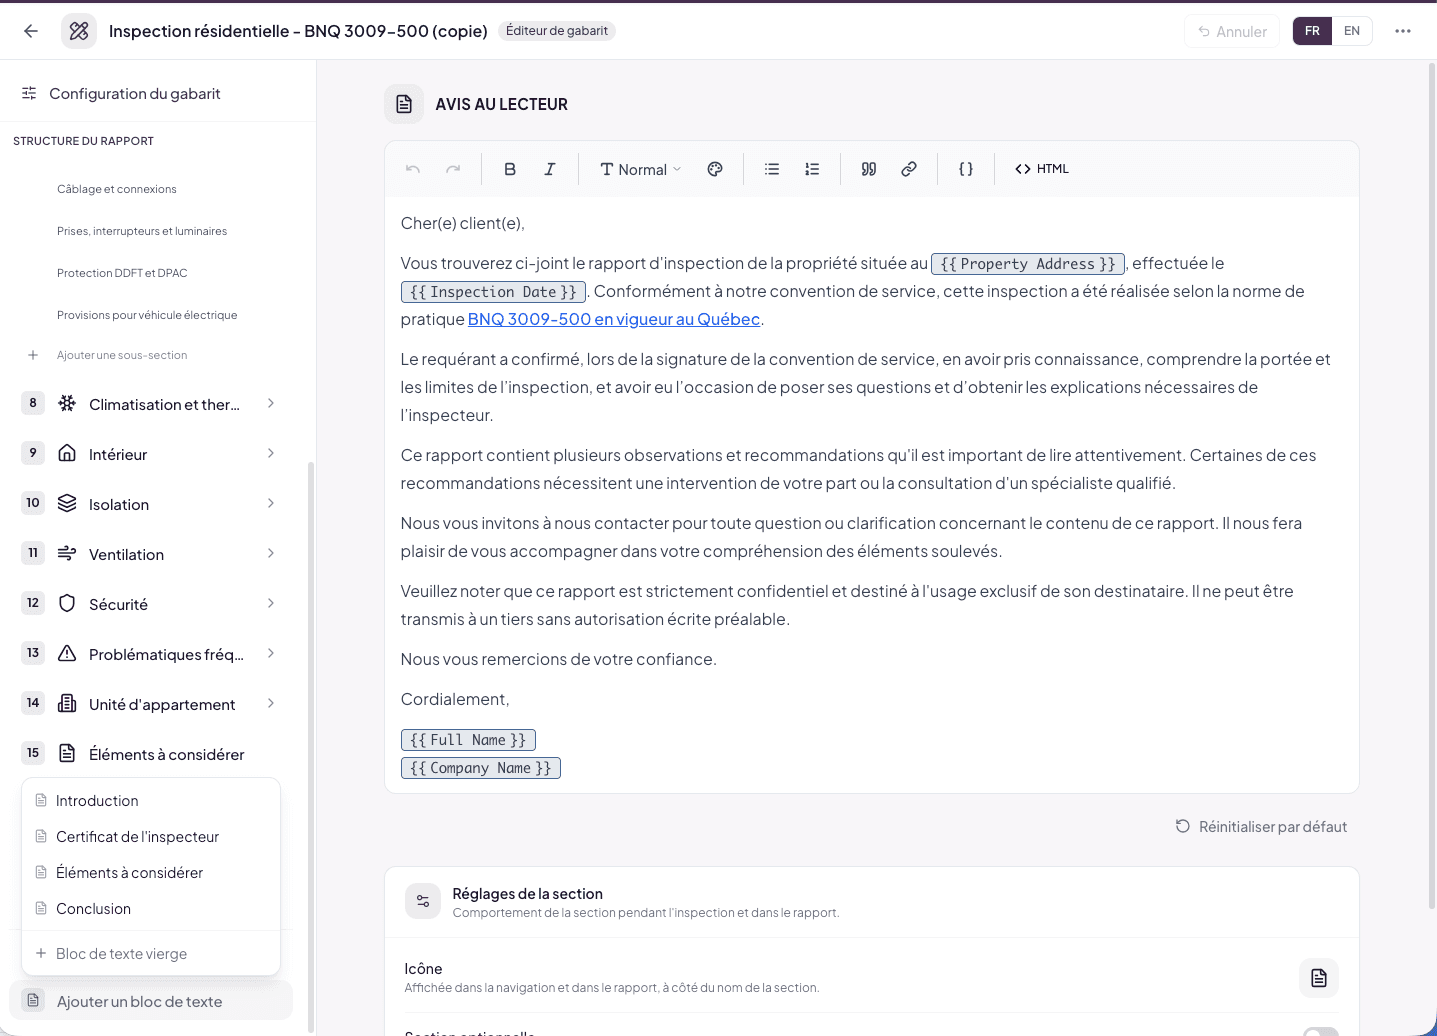
Opens a menu with 5 options:
- Introduction — pre-written model for an introduction page at the start of the report.
- Inspector’s certificate — attestation page model with your identity and license.
- Items to consider — recap page model for points outside the BNQ scope.
- Conclusion — report closing page model.
- Blank text block — empty narrative page, no model, for a custom section (Methodology, Specific warnings, etc.).
The first 4 models provide a starting text you then adjust. See RT.4 for editing.
Adding a sub-section
Expand a section in the navigation (chevron): the + Add a sub-section row appears below its sub-sections. The new sub-section opens directly for configuration.
Renaming
Everything renames in place, directly on the page:
- A section: click the section in the navigation — its settings page opens with its title at the top. Click the title to edit it.
- A sub-section: click the sub-section — its title edits the same way at the top of the form.
With Auto-translate on (⋯ menu), the other language fills in automatically — see RT.2.
Reordering by drag and drop
When hovering a row in the navigation, the number turns into a drag handle (dots on a white pill). Grab it and drag:
- sections reorder among themselves;
- sub-sections reorder within their section, and can even be moved to another section;
- numbering updates automatically.
Deleting
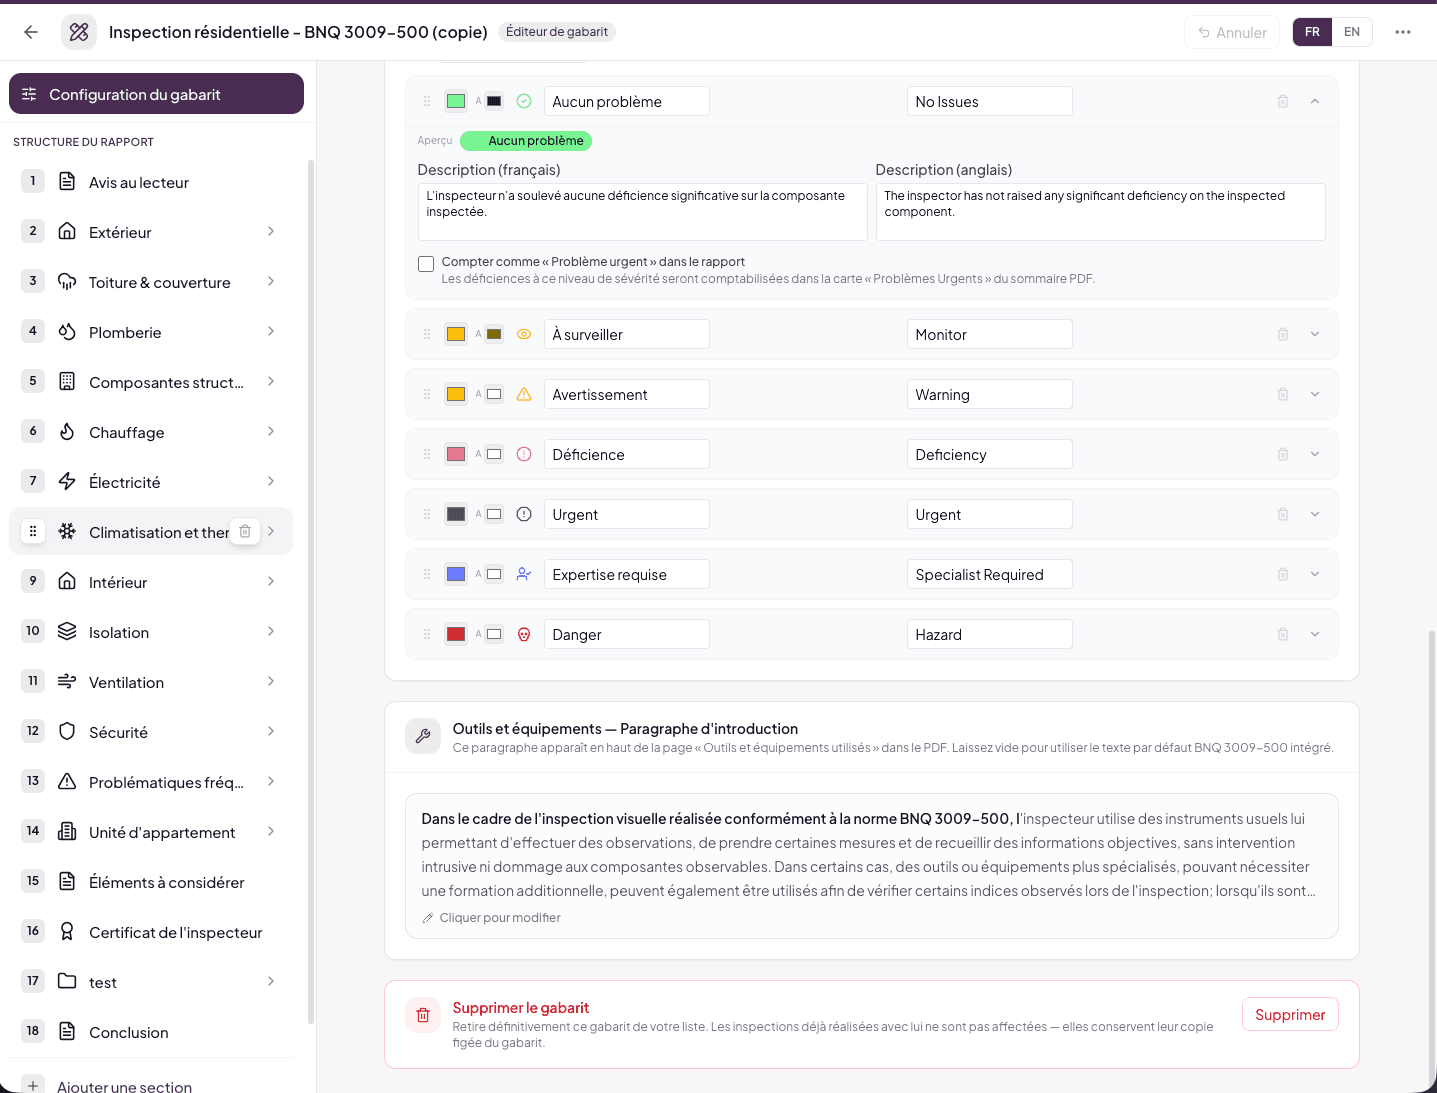
When hovering a row in the navigation, a trash icon appears in a floating pill on the right. Click it: a confirmation shows the element’s name.
Deletion is recoverable. After a deletion, the header’s Undo button (or Cmd+Z) restores the section and all its content. For a longer-lasting safety net, create a snapshot via ⋯ > History before a major restructuring.
Section settings
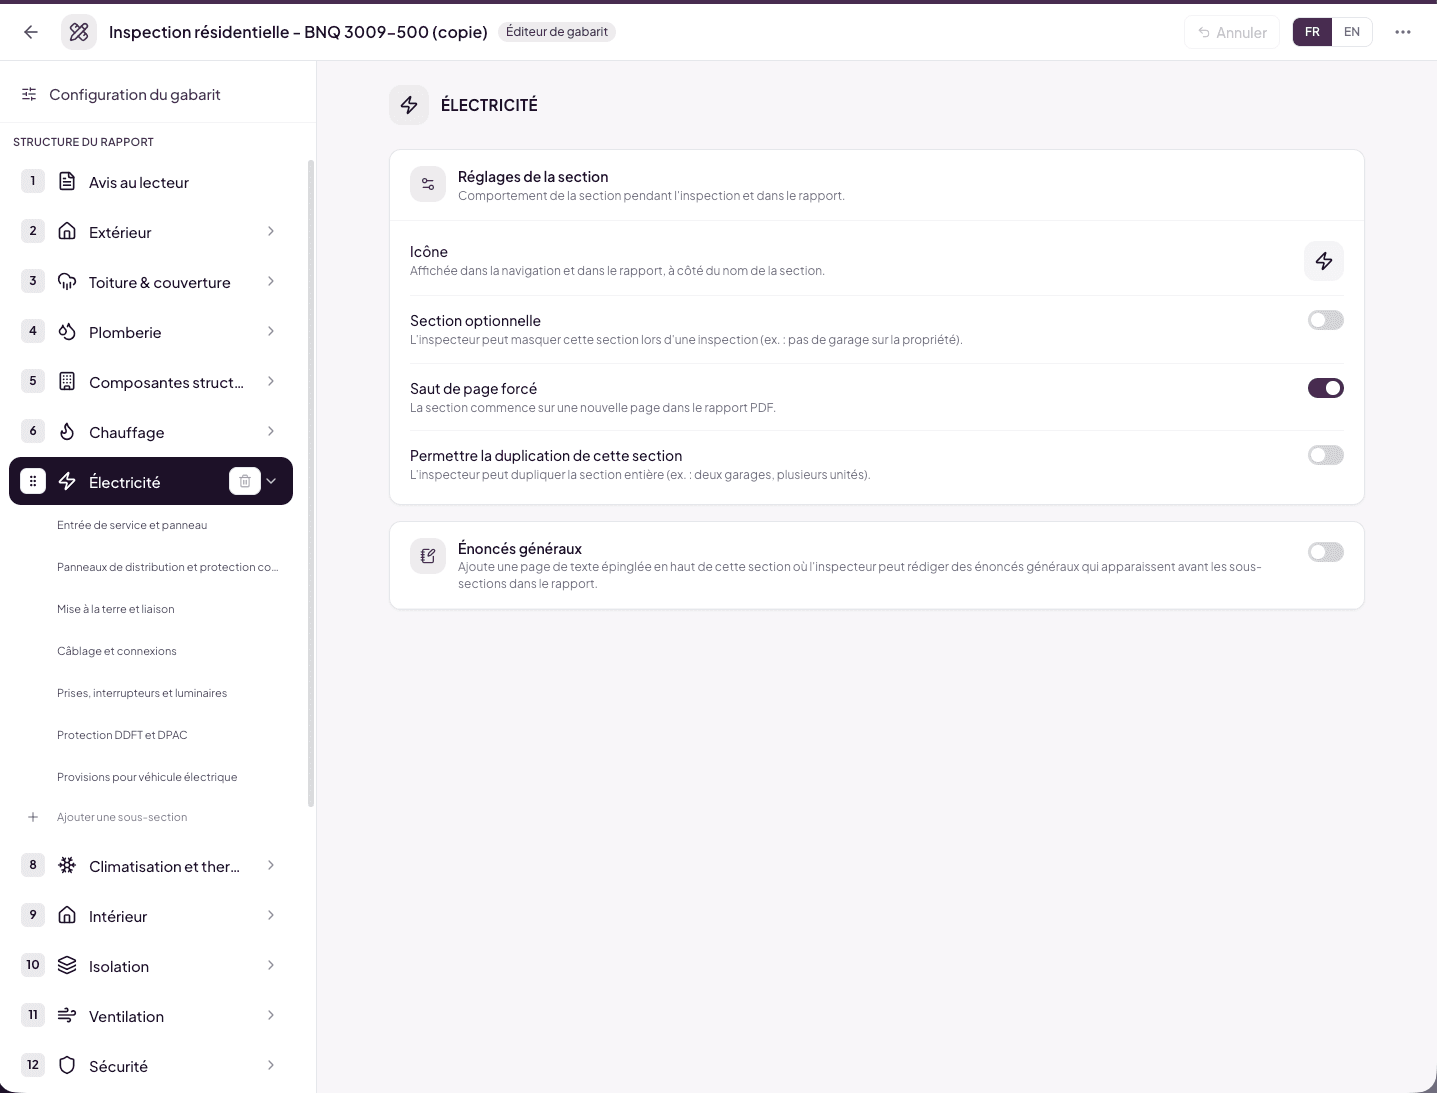
Clicking a section in the navigation opens its settings page:
Icon
The icon shown in the navigation and in the report, next to the section name. Click it to open the icon picker (search + grid).
Optional section
The inspector can hide this section during an inspection (for example: no garage on the property). When enabled, a sub-option appears: Enabled by default — determines whether the section is included or excluded when a new inspection starts.
- Optional + enabled by default — sections almost always relevant (Garage, Basement): the inspector removes them when needed.
- Optional + not enabled by default — rare sections (Pool, Secondary building): the inspector adds them if the property has them.
Forced page break
The section starts on a new page in the PDF report.
Allow duplicating this section
The inspector can duplicate the entire section in an inspection — for example two garages, or several units of a multiplex.
General statements
Adds a text page pinned at the top of the section where the inspector can write general statements that appear before the sub-sections in the report. You can customize this page’s title (for example “General statements — Plumbing”).
Practical recommendations
- Work on a copy, not on the system template. Always duplicate before modifying (see RT.1).
- Create a snapshot (⋯ > History) before major structural changes (deleting entire sections, redesigning the tree).
- Write in your language and let Auto-translate fill in the other. Check occasionally by flipping the FR/EN switch.
- To reorganize large chunks, drag and drop in the navigation is the fastest path — sub-sections can change section in one gesture.